
Estate shutters can add a stately appearance to your home and block out light. Learn how much estate shutters cost, depending on window size and material.
Design and build a piece of homespun flair for under $50


Whether you’re looking to block out the sun or bring a little style to your room, adding curtains can be one of the most rewarding home projects. If you’re still searching for that perfect curtain rod, though, you may not know that you can use an old gas pipe to make your own.
It’s a relatively simple job that could cost as little as $50—and hey, you might even call it an eco-friendly DIY project if you’re recycling old materials. Plus, you can make the design your own if you’re willing to spray paint or search around for the perfect set of colored pipes.
This six-step guide will walk you through how to make your own DIY pipe curtain rod.
Curtain rods should extend at least 4 inches past each side of your window frame. Ideally, for long sections (7 or 8 feet plus), you’ll connect two medium-length pipes in the center with a union fitting. For shorter sections, you may only need one pipe.
If you’ve got several pieces of pipe and need to mix and match, a local handyman service might be a better option for your curtain project.
Whether you’re buying new or using recycled pipes, thickness is the most important characteristic to consider. Pipe dimensions range greatly, and you’ll find several options at the store or online. Three-quarter-inch thickness is popular, but you may decide to use a smaller or bigger size.
If you’re recycling old pipes, be sure to clean them well before beginning the project. You might also consider spray painting them. Textured and metallic spray paints give your new curtain rod a unique look. Do this outside or in an area with plenty of ventilation.
If you’re covering an 8-foot section or greater, you’ll need a union fitting to bring the two pipes together. After they’re attached, screw the elbow joints into the floor flanges, then connect them on both sides of your pipe/rod.
Using a ladder, measure and mark where screws need to go with a pencil above the window or section of the room. You should hang curtains 4 to 6 inches above the space you’re covering.
It’s best to have another person help you. They can help you hold the pipe in place while you mark the screw holes and tell if it looks level from the ground.

Set the pipe aside and pre-drill screw holes where you marked. Be sure to use screw anchors if you’re not screwing the curtain rod into a stud. These help to distribute the weight on your wall, making for more secure hanging. A loud “bang” in the night from your curtain rod hitting the floor won’t be fun for anyone. Better to be safe than sorry.
Once it’s marked, have your partner hold the rod in place while you use a power drill to install the curtain rod.
Shower curtain hooks make it easy to remove your curtain for cleaning. You can buy a pack online or at a home improvement store for between $8 and $20, depending on which style you want. Pro tip: You can find some cool patterns online that might not be available in stores.
From average costs to expert advice, get all the answers you need to get your job done.
Estate shutters can add a stately appearance to your home and block out light. Learn how much estate shutters cost, depending on window size and material.

Discover the average window treatment cost, including price ranges and key factors, to help you plan your project with confidence.

Looking to step up your home’s interior with window treatments? Use this guide to blinds installation cost to set an appropriate budget for your project.
Discover exterior shutters cost, including average prices, installation factors, and ways to save. Get expert tips to plan your exterior shutter project.
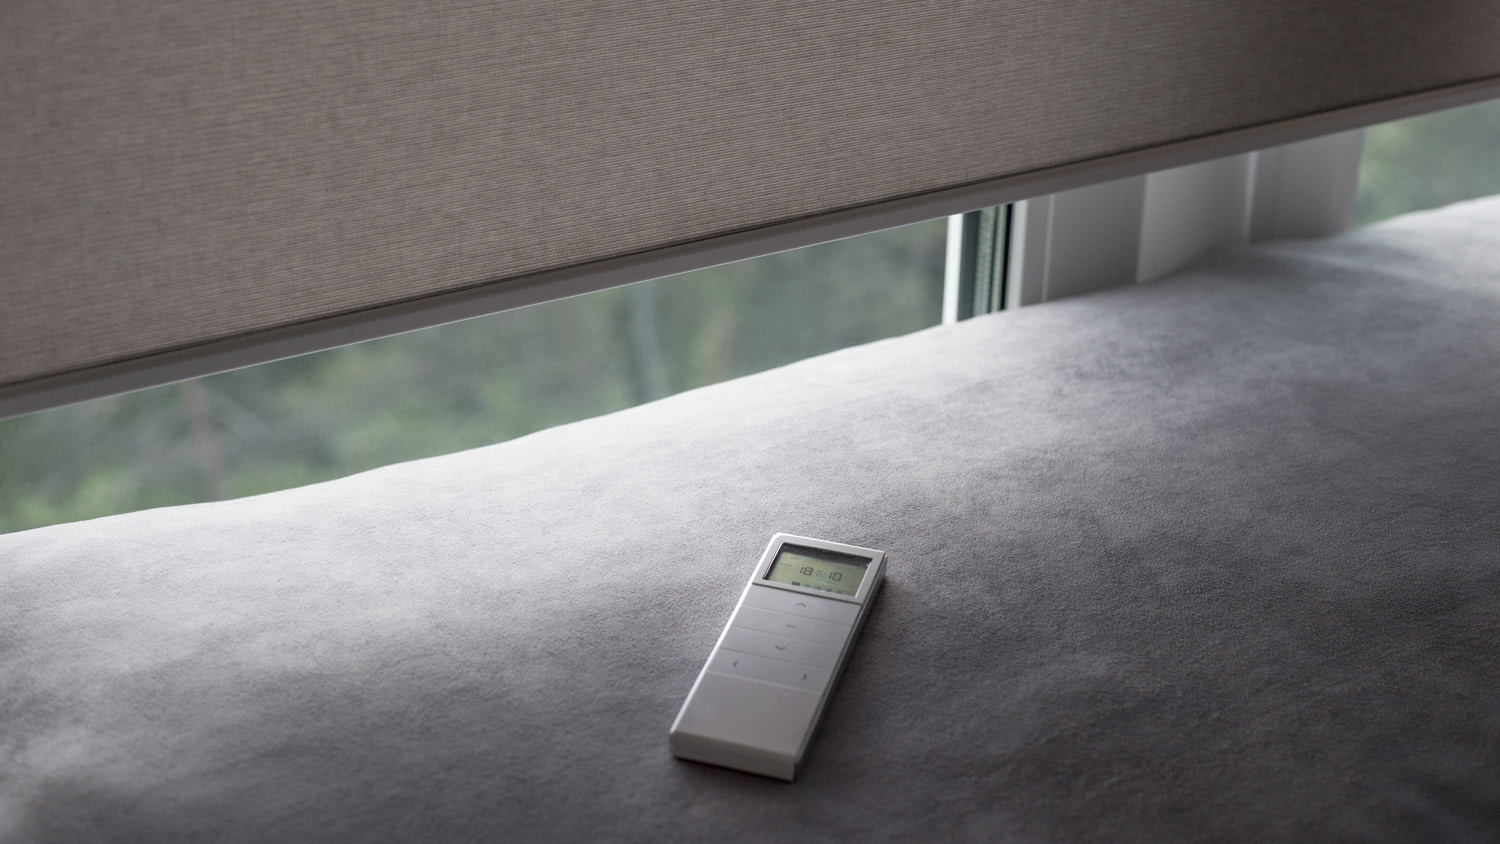
Wondering how much do motorized blinds cost? Discover 2025 prices, key cost factors, and tips to save on your motorized blinds installation.

Even new, high-quality windows can allow noise pollution to enter your home if not correctly installed. Here’s what you need to know about why your new windows are letting in more noise and what you can do to fix the problem.