Both materials and labor determine hardwood floor installation costs. This guide breaks down all the prices you need to know before starting your new flooring project.
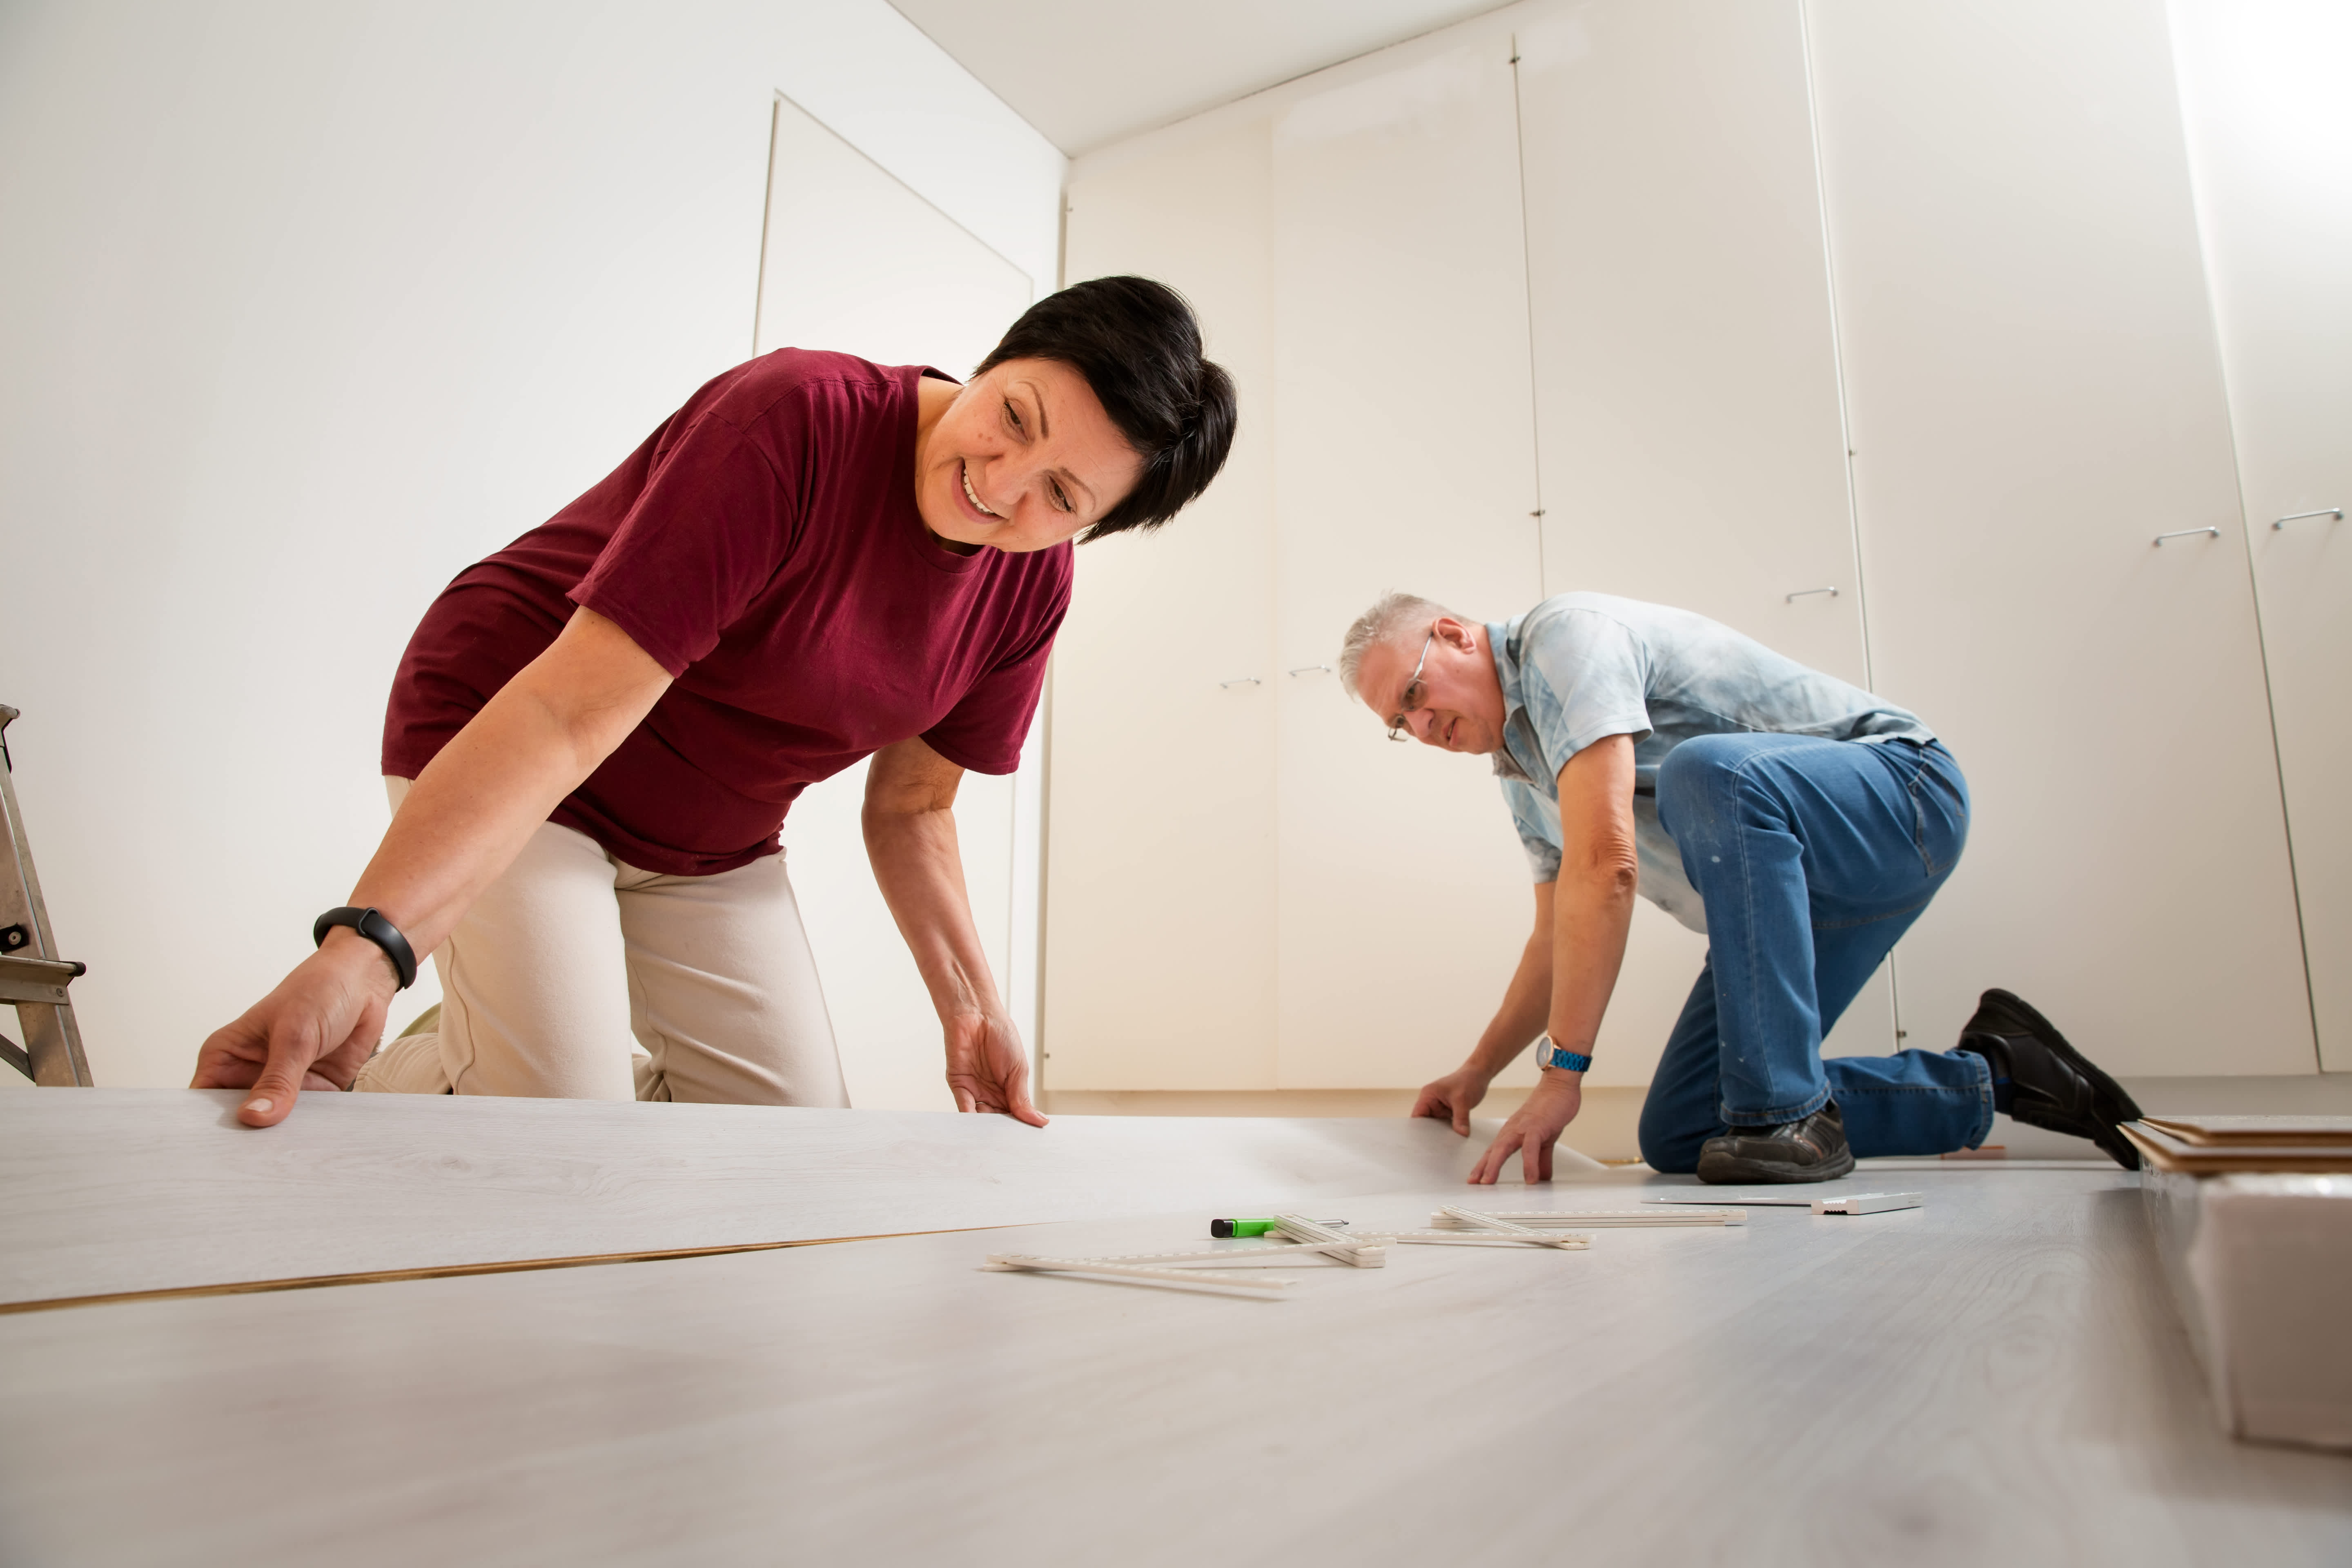
The perfect project for savvy DIYers looking to elevate their aesthetic

Installing a hardwood floor requires a level plywood subfloor at least three-fourths of an inch thick to support nail-down installation methods.
Professional hardwood floor installation costs $3 to $6 per square foot, while planks range from $6 to $25 per square foot depending on wood type.
You'll need to acclimate your flooring for about a week before installation to prevent gaps and cracks from wood expanding or contracting.
Hiring a local wood floor installing professional takes the pressure off leveling subfloors and face-nailing rows, keeping your installation plumb and secure.
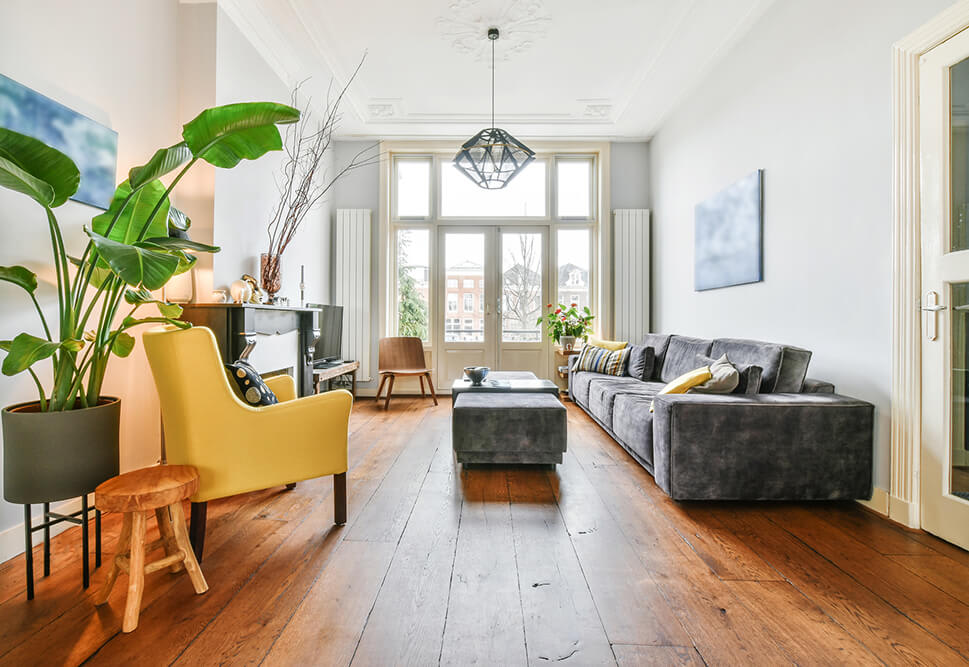
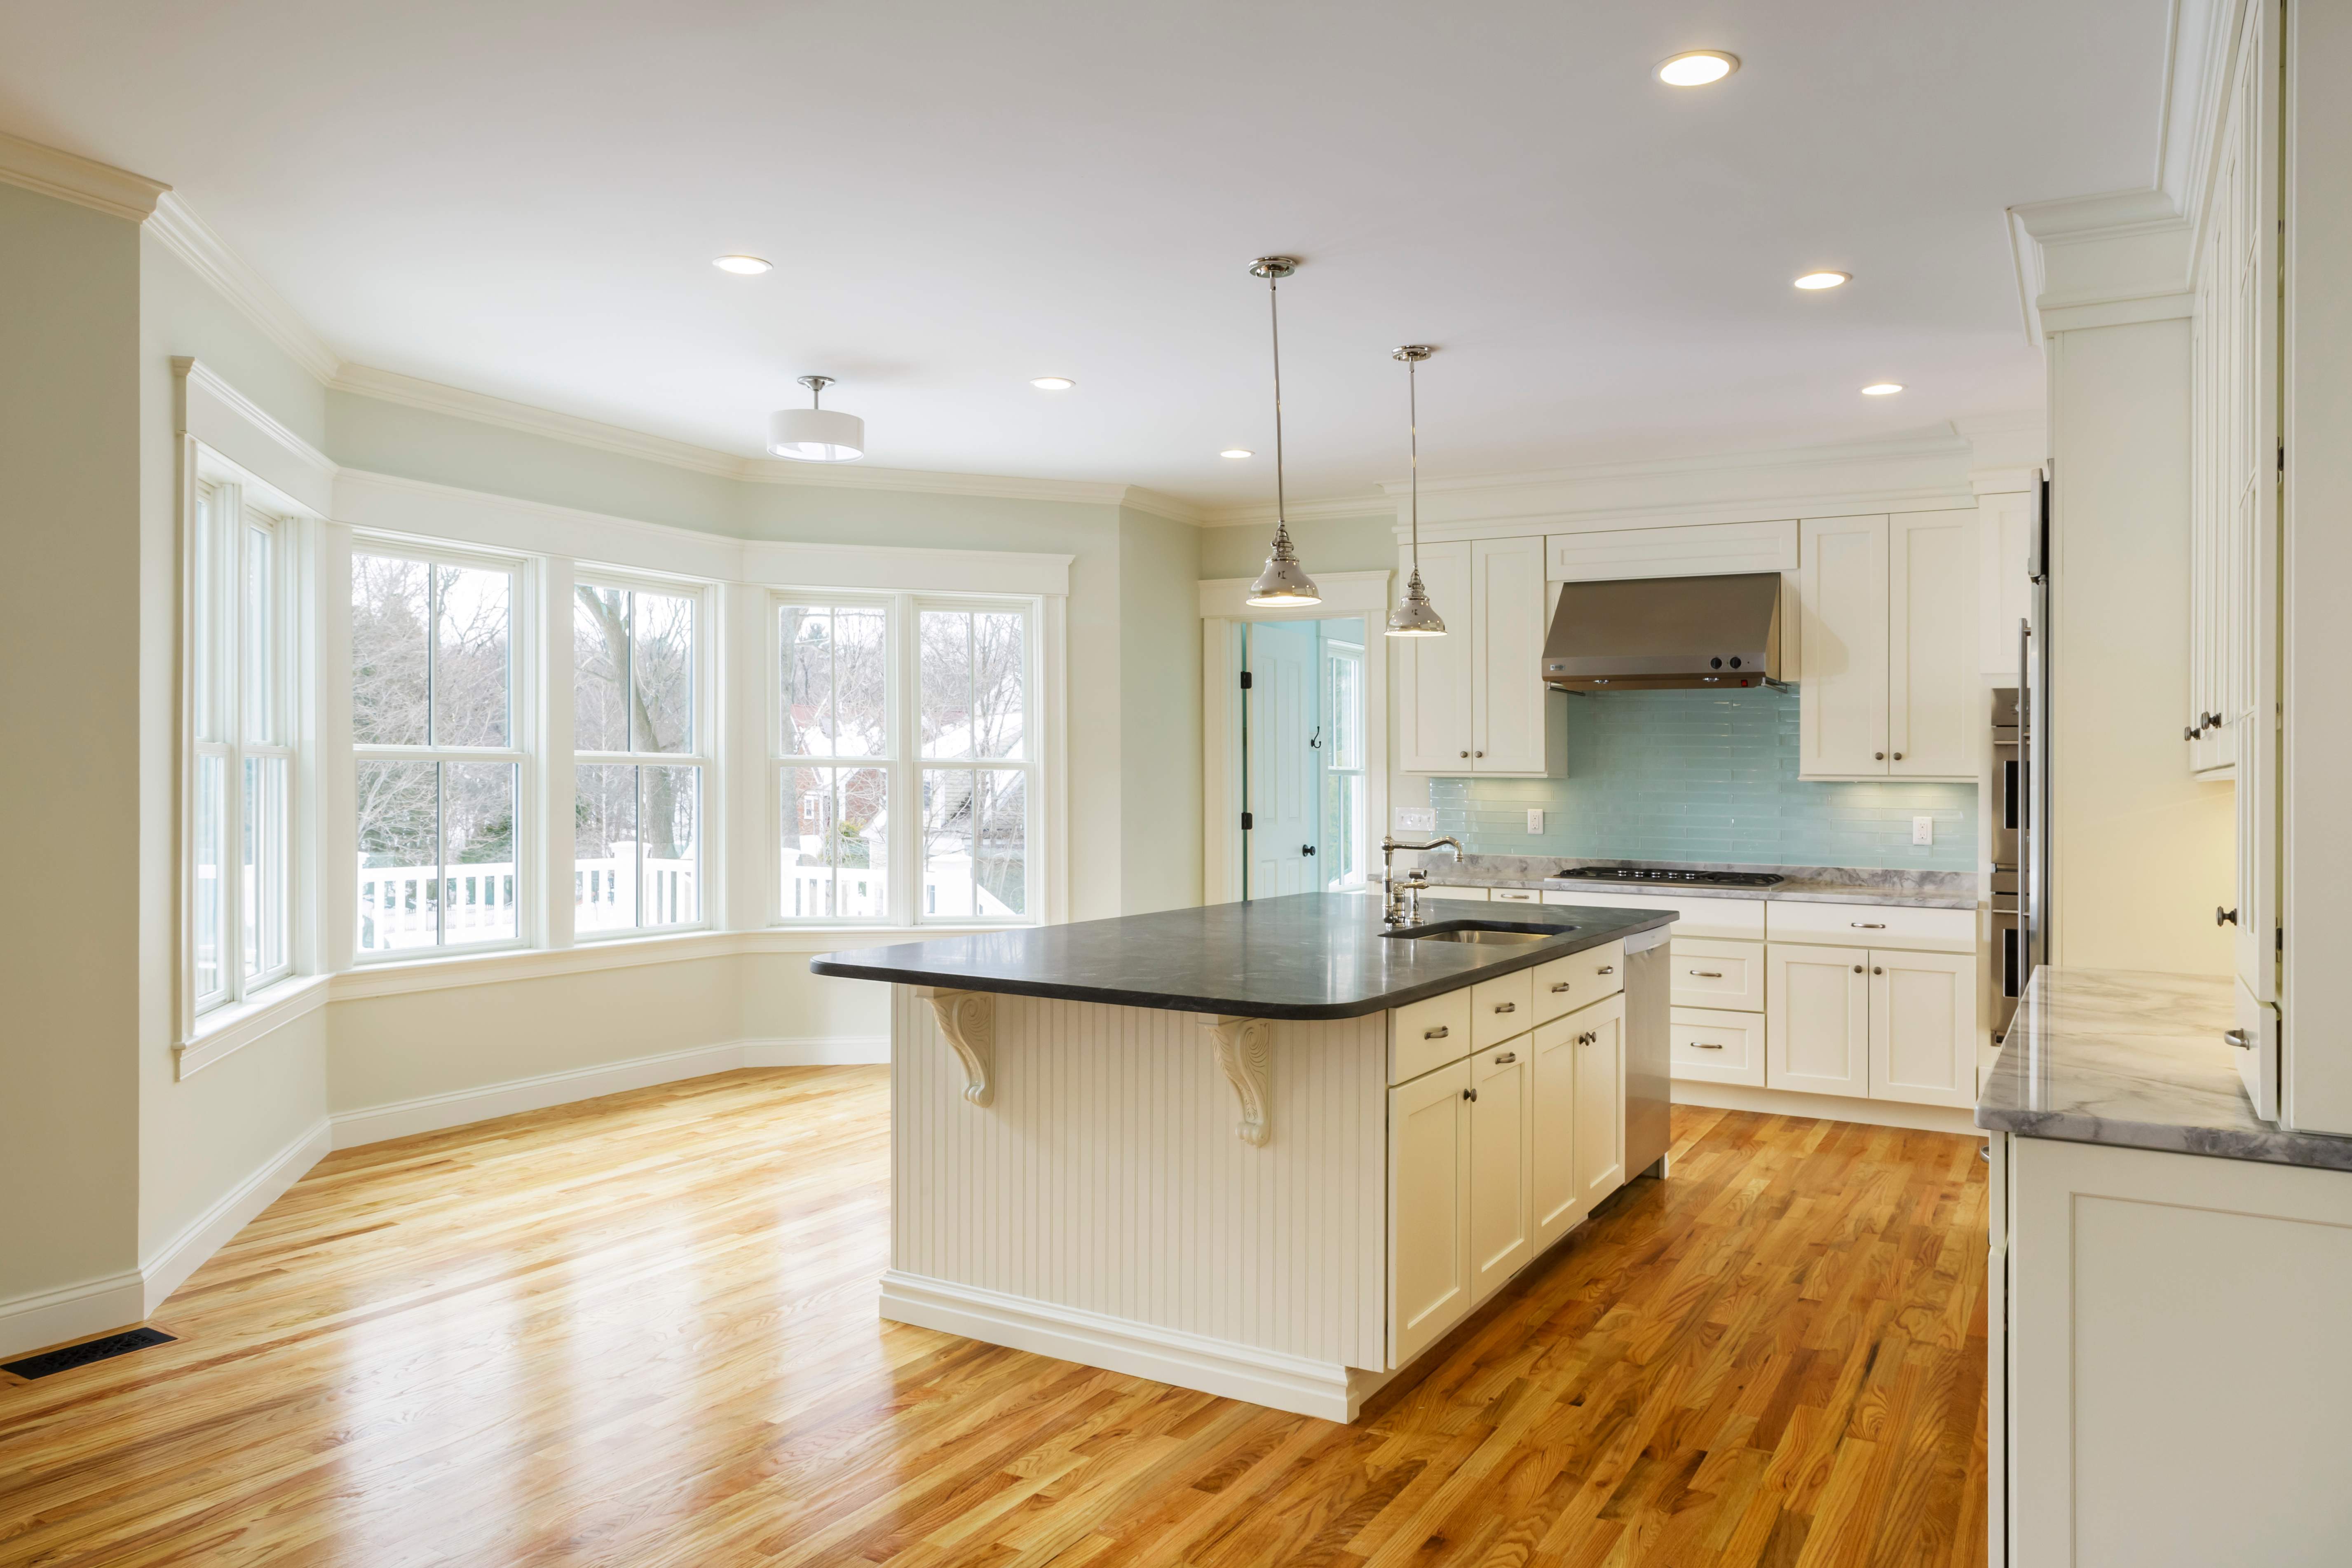
Hardwood floors have a knack for adding warmth and texture to any aesthetic. They're also easier to clean than their carpeted counterparts and many homeowners find them more attractive than engineered hardwood, so it's no surprise that so many people covet this flooring style for their homes. If you're a savvy DIYer looking to elevate your look, then use this handy guide to help you install your very own hardwood floors.
There are several ways to install hardwood flooring. Some hardwood flooring requires you to glue the planks down, while others feature tongue-and-groove or click-lock planks designed for use on cement, tile, or radiant-heat floors. However, for this hardwood flooring tutorial, we're focusing on nail-down installation, which is the most common type.
Nail-down hardwood flooring installation requires a level subfloor at least three-fourths of an inch thick to which you can nail the wood planks. Subfloors are commonly made from plywood and must sit beneath any nail-down hardwood flooring. Fortunately, many homes already have this subfloor installed. If you're unsure whether you have a subfloor or you don't feel comfortable installing one, then call a local flooring contractor to help.

After you pick the perfect wood floor, multiply the length of your room by its width in feet to determine how many square feet of flooring you need. For example, if your room is 10 feet wide and 12 feet long, you'll need at least 120 square feet of flooring. However, It's a good idea to purchase 5% to 10% more flooring than your square footage to account for any irregular boards or cutting mistakes during installation.
Since wood swells and shrinks depending on the climate, give your hardwood flooring some time to acclimate to your home's environment before you install it. Putting the planks in the space where you plan to install them for about a week is typically sufficient. This step can help prevent gaps and cracks in your floor due to the wood expanding or contracting.

After you acclimate your flooring, prepare the area for installation. Like we mentioned, you need a level subfloor that's at least three-fourths of an inch thick to which you can nail the hardwood flooring. If you don't have a subfloor, you can install one by purchasing enough subflooring material, commonly plywood, to cover the entirety of your room's floor. Then use drywall screws to attach it to your floor joists.
Next, thoroughly sweep and clean the area and remove any base molding. This is also a good time to check for any squeaking in the subfloor by walking over each part of it. If you notice any squeaks, drill a drywall screw through the subfloor and into the floor joists where you notice the squeaking. In most cases, this will quiet the noise.

Before you lay the planks, install a vapor barrier to help protect your new floors from moisture damage. This barrier will also help to reduce noise when people walk across the floor. Asphalt-saturated #15 felt, aka tar paper, tends to work best as a vapor barrier.
To install the barrier, roll it out across the whole floor, leaving at least four inches of overlap with the floor's edges. Then smooth the barrier out with your hands, eliminating any wrinkles or bumps, before using a staple gun to attach the vapor barrier to the edges of your subfloor.
Now it's time to officially begin your floor installation. Snap a chalk line about one-half inch out from each wall in the room. This gap gives your floor some room to naturally expand and contract with climate fluctuations.
The first and second rows, as well as the final two rows, require you to nail through the face of each board, but you can use a pneumatic nail gun to nail through the tongues of the rest of the boards.
To start your first row, choose a long, straight board and line it up with your chalk line so that the board tongues face toward your room's center. Do the same thing with as many planks as you need to complete your first row. Use boards at least 12 inches long for the final pieces of each row. You can use a circular saw to cut the precise size you need.
Once you have your first row of planks aligned, drill pilot holes every 10 to 12 inches along the edge of the plank closest to the wall. These holes will help prevent the wood from splitting when you nail it to the subfloor. Next, use 10d finishing nails to face-nail each board (aka drive the nail all the way through the subfloor) at every joist. Make sure the nails go through the subfloor into the joists.
Then use a nail-set to ensure the nail is slightly below the floor's surface to prevent anyone from tripping over it. Fill the hole created by the nail-set with a bit of wood putty. Finally, secure the row using a pneumatic nail gun to drive nails through the tongue joint.
To start your second row, tuck the groove of your new row's boards into the tongue of the first row's boards. You can tap them into place with a mallet. Then complete all of the steps you took for the first row on this second row.
With these and other rows, you might need to use a jigsaw to cut the planks around objects, like vents, to ensure a snug fit.

After installing the first and second rows, line up your next row. These middle rows don't require you to face-nail like the first two. You can jump right to using a pneumatic nail gun to drive nails through the tongue of each new plank, ensuring there's a nail about every 10 to 12 inches.
Install one row at a time, using a mallet to help you tap rows into place. Make sure to vary your board lengths in each row so that your end joints are staggered in a random pattern for maximum strength—repetitive end joints can result in a weaker floor. This could also be the cause of your hardwood floor buckling.
Once each row approaches the wall, choose final pieces at least 12 inches long. You can use a circular saw to cut the precise length you need. Keep adding rows like this until you only have two rows left to install.
Like the first two rows, the final two rows need to be face-nailed. Install these the same way you installed the first two. Drill pilot holes every 10 to 12 inches on the edge closest to the wall, then use 10d finishing nails to face-nail each board. Fill the holes created by face-nailing with wood putty.

Once you nail down all of the rows, use wood putty to conceal minor marks or damage caused during installation. Make sure the putty matches the color of your hardwood flooring finish. Many prefinished hardwood flooring manufacturers also sell matching putty, so you can inquire about that if you purchase prefinished planks.
Finally, use wood floor stain or paint to finish your floors in the hue of your choice, then install your base molding. The molding should completely cover the half-inch gap you left for the wood to expand and contract. The wood floor stain will help you care for your hardwood floors.
Hardwood flooring costs around $3 to $6 per square foot to install, which doesn't include the cost of the planks. Planks for hardwood floors typically range from $6 per $25 per square foot, depending on the type of wood. Installing hardwood floors yourself can potentially save you money since you'll only need to pay for the materials. However, installing hardwood floors requires a fair bit of time, energy, and skill, so we only recommend this project for experienced DIYers who feel comfortable with each step of the process.
This company does it right. Firstly, I want to say that Landan was a joy to work with. He was so kind, transparent, and had everything under control. His entire team showed up ready to work and they were all very respectful of the fact that we were in an office space. A little backstory – we...
Terrible experience. Walls/trim/floors/cabinets/doors all have drip marks, overspray, etc. Tiling at the fireplace had to be redone by another vendor due to incorrect and shoddy install by Profect. Contractor had his children in our house while he was on site without prior authorization or...
 Profect painting & exteriors
**Would rate a 0 if i could** NEVER USE THIS COMPANY!!!!! They shattered my tv console and dresser, lost a mirror, and never finished the move. The broken furniture cost me over $600 to replace. They left me with 6+ hours of personal labor moving my 1BR apartment, when I was quoted a FULL...
 All My Sons Moving & Storage
Finished Basements Plus was wonderful from beginning to end! First, they came out quickly for an estimate. I had 4 estimates and theirs was by far the best. (2 of the estimates were more than $20K higher than for the exact same work). Beyond their fair pricing, the work was excellent. They...
 Finished Basements Plus Inc.
AFS was excellent from start to finish. Jess, the sales associate, was fantastic...very knowledgeable and very professional. The installation crew was excellent. I couldn't be more pleased with the process. Best of all, my new floor looks fantastic!
 America's Floor Source
It was wonderful working with Yordy and his team. They were very professional and are experts in what they do. They have completed the work on time, with better quality and with in fairly reasonable price. We just started with backsplash work , but liking his work, we went on to provide...
We were having 2”x 2” tile installed . There was a small installation error and the new additional replacement tile was from a different lot and the colors didn’t match. Joe assured us that he would rectify everything , which he did without hesitation. We decided to go with the 18” x 36” tile...
 CarifaTile
We hired Jim to replace our hardwood floors with new hardwood. He and his helper Jerry did a fantastic job. Their work ethic is impeccable!! We would highly recommend McColl Floors!
Description says they handle window repair including rotten hardwood - they called me back right away but didnâ t leave a voicemail. I followed up 3 days later and they said they donâ t do that kind of work.
Chaz, the owner, was very responsive and he communicated with us throughout the entire process. The overall cost was in the middle compared to the three estimates we received. The installation crew was very professional. Chaz was considerate enough to send a crew back to our home to repair...
 Unique Hardwood Floor LLC
From average costs to expert advice, get all the answers you need to get your job done.
Both materials and labor determine hardwood floor installation costs. This guide breaks down all the prices you need to know before starting your new flooring project.
Get the look of hardwood at a fraction of the cost. This guide will help you understand the cost to install engineered hardwood floors in your home.
Materials and labor determine hardwood floor installation costs in Detroit, MI. Learn the prices you need to know before starting your hardwood project.
Discover who installs hardwood floors. We share the two best professionals to work with to protect your investment in your home.
You can install hardwood floors over concrete, but you need to prepare the surface properly and install the right vapor barrier.
Can you install hardwood floors over tile? The answer is yes, if you do it the right way. Here’s everything you need to know to upgrade your floors.