
•
Drop ceilings are an affordable way to finish your room while maintaining access to utilities. Use this drop ceiling cost guide to estimate your project total.
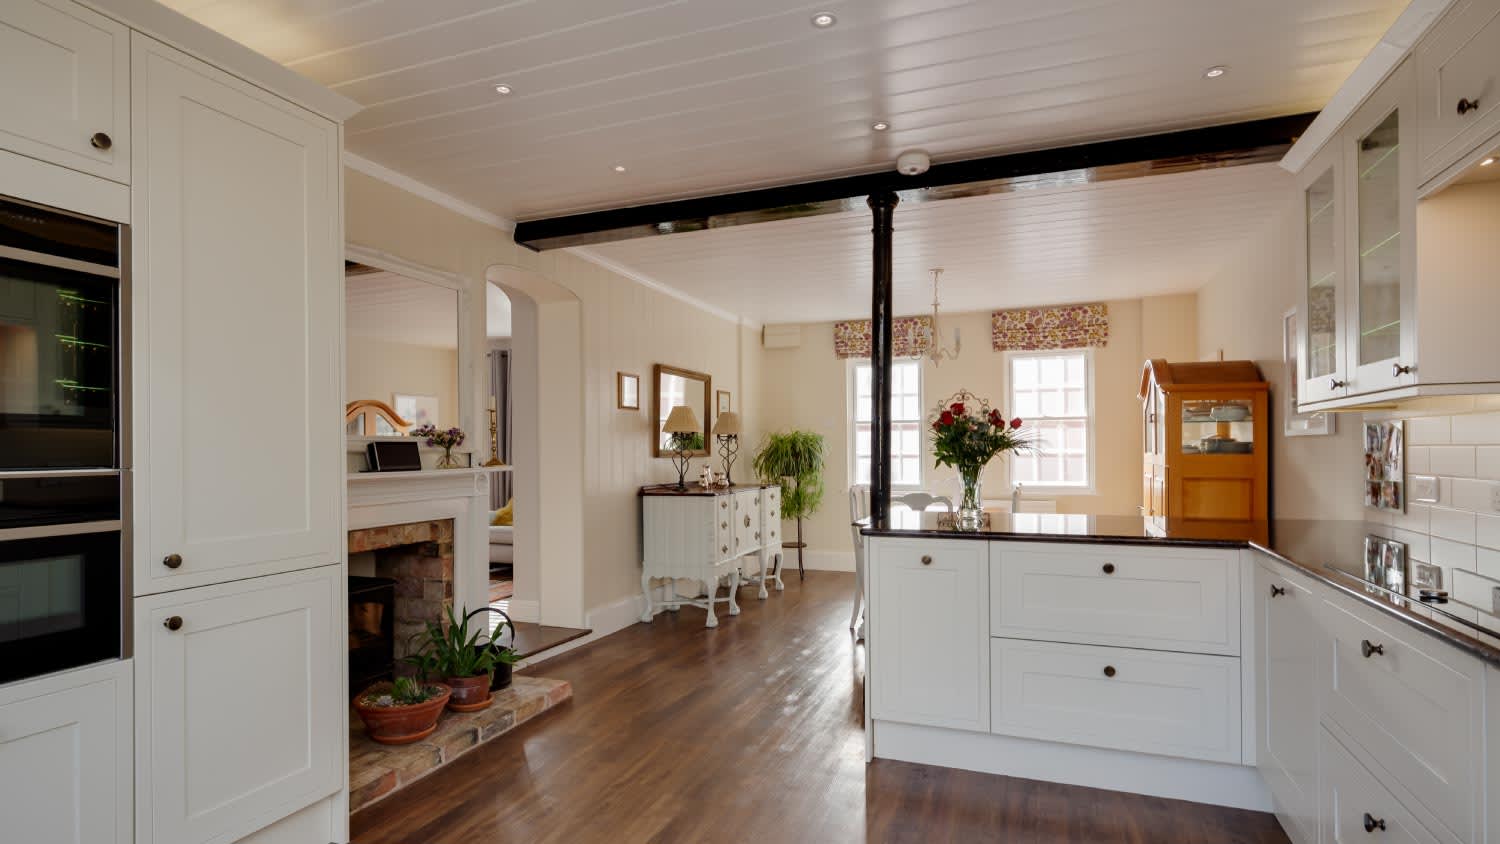
Cover up old pipes or ceiling texture with a modern drop ceiling

Drop ceiling installation starts with measuring your room and planning your layout on grid paper, so you know exactly how many panels and materials to purchase.
Expect to pay $2 to $5 per square foot in labor costs if you hire a pro, while DIY projects cost $500 to $1,000 for materials.
Your wall molding attaches to studs along a level perimeter line, creating the support structure for main beams and cross tees that hold your ceiling panels.
Hiring a local suspended ceiling professional keeps gridwork installation level and aligned, helping you avoid measurement errors and ensuring proper panel fit throughout your space.
Looking for basement ceiling ideas? Drop ceilings can provide a stylish cover for unsightly drywall stains or exposed ductwork and plumbing. With careful preparation, installing a drop ceiling is an easy and rewarding DIY project that saves you money and refreshes the look of your space. Our guide walks you through the key steps for a drop ceiling installation, from planning your ceiling layout to suspending it.
Before installing a drop ceiling, there are a few items you should check off your to-do list.
Before you purchase a drop ceiling, contact your local building authority. Depending on the state where you live, you may need a building permit before starting your project. Some municipalities even require you to submit your drop ceiling designs in advance.
You can also ask your local authority about any minimum ceiling height requirements when you reach out. Most drop ceiling styles require at least 4 inches of clearance from the structural ceiling of a room to allow access above, so you’ll need to verify whether a drop ceiling is feasible in your space.
Another must-do before you install a drop ceiling is to measure your room and buy the right amount of materials. With your measuring tape, take measurements along each wall in the space where you’ll be installing your ceiling. You can use these measurements to plan out your ceiling project on a sheet of grid paper.
As you plan your layout, keep in mind that you can cut your ceiling panels. That means you can choose to design your layout with border panels of the same width on opposite sides of the room rather than leave a single odd-sized row at the end.
With your measurements in hand, you’ll have an installation plan and know how much material to purchase. No matter what style of drop ceiling you choose, you’ll end up following the same basic steps for installation. Your options come down to size and look.
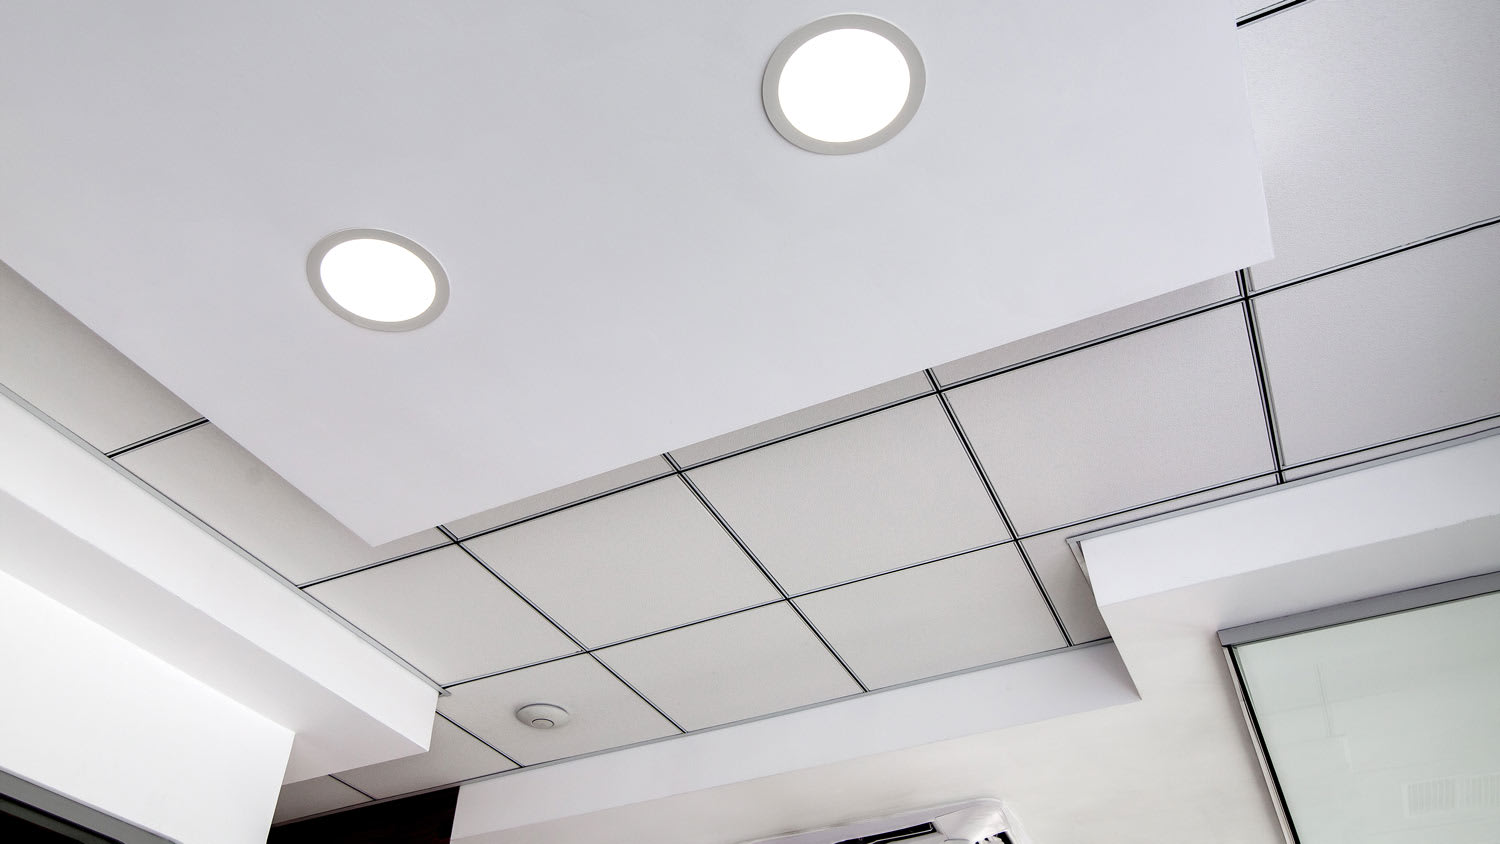
Standard sizes include a 2-foot-by-2-foot square panel option or a two-foot-by-four-foot rectangular option. Styles range from the basic white fiberboard panels seen in office spaces to beautiful decorative ceilings made from plastic, metal, or wood. Unpack your panels at least 24 hours before installation so they can acclimate to the temperature and humidity of your space.
Now that you have your measurements and materials in-hand, you can start the installation. First, you’ll need to cut your border panels. If you plan to have even borders, you can do some simple math to determine how to cut your border panels:
For the length of a border panel: Divide the room's width by the length of a single panel and add the remainder to the length of the panel.
For the width of a border panel: Divide the room's length by the width of a single panel and add the remainder to the width of the panel. Then divide by two again.
Don your safety glasses and protective gloves before you make any cuts. Always cut your panels face up using a sharp utility knife. Cutting through the backside may damage the visible surface. Some types of drop ceiling panels require special cutting procedures, so check the manufacturer instructions that come with your product.
Keeping any local regulations in mind, choose a height for your ceiling—using a hand level and pencil, place marks on the walls around the room at your desired height. You can also use a laser level for simplicity. Snap a chalk line to connect your pencil marks into a level perimeter.
Wall molding, also called wall angles, consists of L-shaped rails that attach to the wall, forming the perimeter of the grid that supports your ceiling panels. Wall molding attaches to your main beams and cross-tees, which form the rest of the gridwork. Locate studs using a stud finder. You'll nail or screw your wall molding to your wall studs along the perimeter line. Install each section of wall molding, so it butts up against the end of the sections next to it. Use tin snips to cut corner sections to length at a 45-degree angle. Some drop ceiling products include clip-on corner pieces to hide these joints.
If your walls are stone or concrete, use the appropriate fasteners that come with your ceiling. Alternatively, you can substitute your wall molding with the main beam that runs from the ceiling joist closest to the wall. Main beams should be installed perpendicular to your joists.

This is the most important step in your drop ceiling installation, so carefully follow any instructions that come with your product. First, use your installation plan from step two to mark the position of your main beams where they’ll rest on your wall molding. Stretch and attach pieces of leveling string between opposite marks as a guide. Next, find your joists with a stud finder. At the end of your first string, install a hook in the ceiling joist directly above where the first main beam and cross tee will intersect. Move down the line and install a hook at each intersection, repeating the process along each string. Cut a length of suspension wire for each hook that’s 12 inches longer than the distance between ceiling levels. Fasten the wire to each hook, then stretch it taut with your pliers and bend it at a right angle where it crosses the string.
Slide each wire through one of the small round holes in each main beam. You may need to cut the first main beam to ensure there’s a hole where the first cross tee will be. Always put cut ends of main beams on a wall molding.
Once your main beams are hung, you'll complete the grid with your cross tees. First, measure and cut your border tees, so they match the size of your border panels. Place the cut ends on your wall molding and connect the uncut ends to the nearest main beam. From there, you'll insert your uncut cross tees in line with the border cross tees until you reach the opposite wall. Connect tees by snapping them into precut openings along your main beams. Each time you connect two grid elements, you should hear an audible click to indicate a proper connection.

To put your ceiling panels in place, start at the center of the ceiling grid to help force loose gridwork into alignment as you work toward the edges. Most drop ceiling designs require no hardware to secure ceiling panels. Simply tilt each panel and slide it through a grid opening at an angle, carefully lowering it into place. If you need to make cuts for lighting or other required openings, do so with the panel facing up just as you cut your border panels.
On top of your $3 to $30 per square foot material costs, you’ll pay an additional $2 to $5 per square foot in labor costs if you hire local suspended ceiling installers to do the job for you. So, you could save between $600 and $1,500 for a 300 square-foot room if you DIY drop ceiling installation.
Cancelled appointment two hours after they were supposed to come for drywall work.
I would recommend this company to anyone! He showed up on time, was friendly, completed a very difficult repair on our dryer vent cover, was responsive, and pricing was extremely fair and competitive. I would have him back to do any of our repairs or cleanings without hesitation!
I cant stop admiring my newly painted walls. Custom Paint Jobs LLC made my house feel brand new.
Excellent experience with hiring Tether House to Mount our 77’ Samsung TV in our bedroom. Fast, friendly, and knowledgeable. Highly recommend.
Excellent customer service and knowledge. I was recommend to him from my neighbour. My front door and window came in great and were installed beautifully perfectly, I m very satisfied with their excellent work, so decided to order one more big bow window for my living room. I cant wait for...
Manuel Calvillo is the best option in the area for roofing and you won't be disappointed.
Would hire again. Wall looks great. Happy with job.
 Central Paving
Involved an extensive bathroom remodel, including removing tub & installing walk in shower, new drywall, custome tile work to ceiling, plumbing, etc. Overall, job was done on time and on budget. Nick & his team were very professional and had high attention to detail. Quality was great. Highly...
 Stamos Flooring and Remodeling LLC
We have had a great experience with Rising Height for the past five years on a number of miscellaneous renovation projects. They laid flooring for us and had a very good sub do the finish. Installed drywall for a vaulted ceiling, finished an attic/loft with new subfloor, framing and drywall,...
 Rising Height Unlimited
Mr. Lopez was super nice and professional. He repaired our drywall just as he described during the estimate phase. Our dining room wall looks great again! Thanks Mr. Lopez!
From average costs to expert advice, get all the answers you need to get your job done.
Drop ceilings are an affordable way to finish your room while maintaining access to utilities. Use this drop ceiling cost guide to estimate your project total.
Installing beadboard ceilings is a great DIY project. Learn what to expect cost-wise from this project, whether removing or covering a popcorn ceiling.
Discover the average cost of stretch ceiling installation, key price factors, and ways to save. Get transparent pricing to plan your stretch ceiling project.

Drop ceilings are secondary ceilings of grids or suspended drywall. Learn more about how this ceiling type is used in residential and commercial buildings.
Still debating drop ceiling versus drywall? Keep reading to learn how these two ceiling types differ and which option is right for your home.
Learn how to figure drop ceiling grid and tile material for any room in your home using this calculator to minimize waste and maximize attractiveness.