
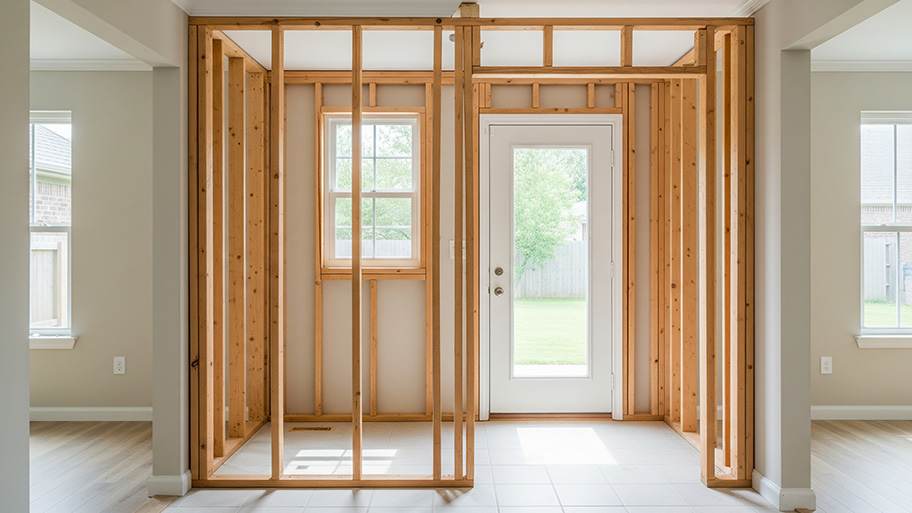
Sometimes, all your home needs is a new wall to make a room or provide an updated function to an existing space. Learn how much it costs to install a new wall.
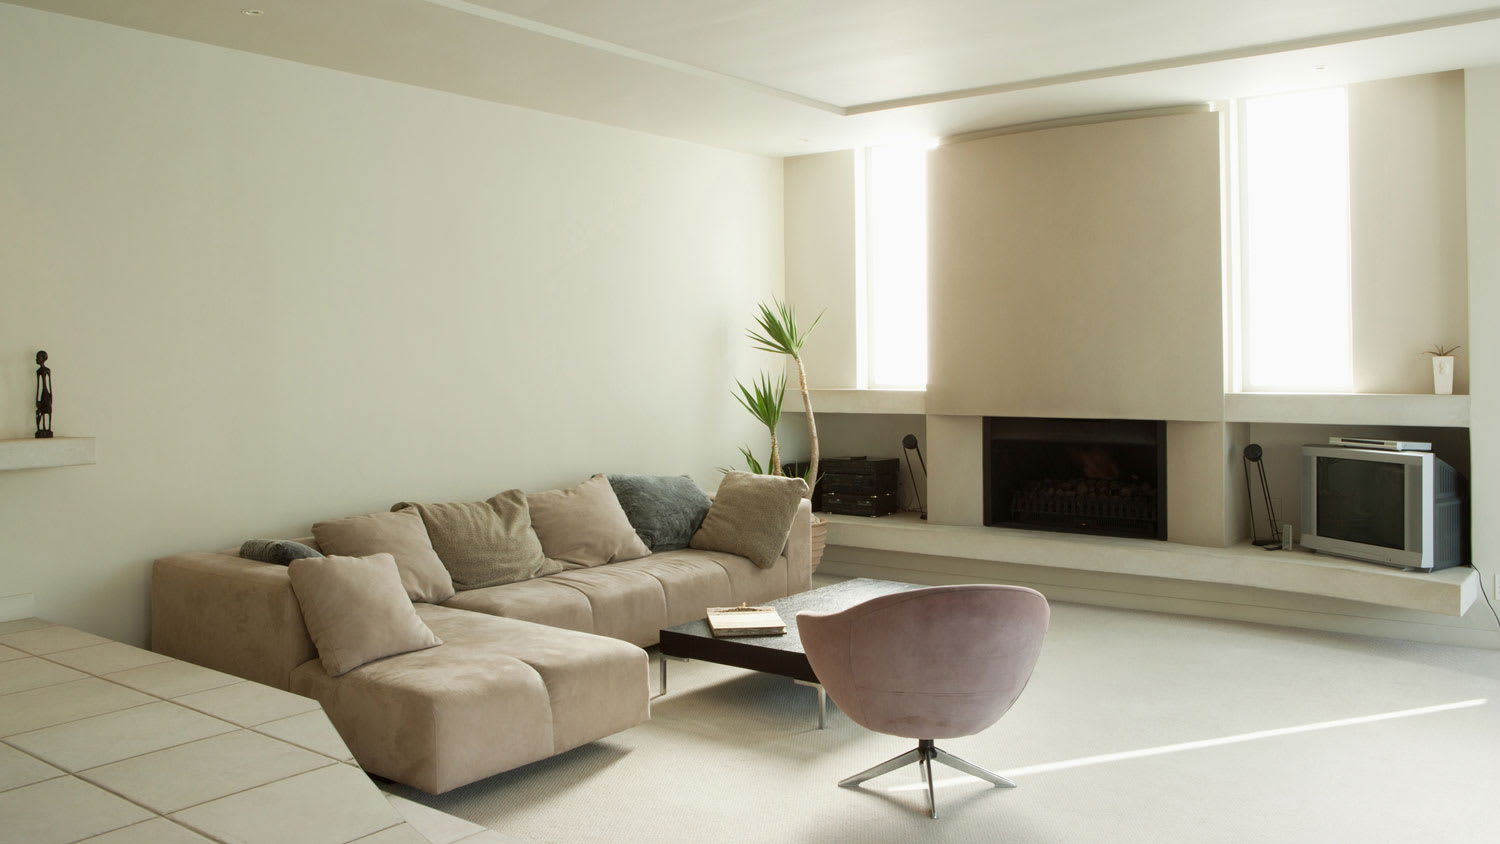
Put the finishing touch on an entryway with a smooth curve

Building a drywall arch is challenging for DIYers because bending drywall around curved frames without breaking it requires patience and careful craftsmanship.
Your project needs about $75 in materials, including drywall sheets, tape, bead edging, mud, screws, and blades for finishing work.
You'll need to install vertical drywall pieces first, then flex and screw the curved center section carefully to avoid snapping the material.
Hiring a local drywall professional takes the guesswork out of floating curved edges and mudding seams, especially when perfecting the arch shape.
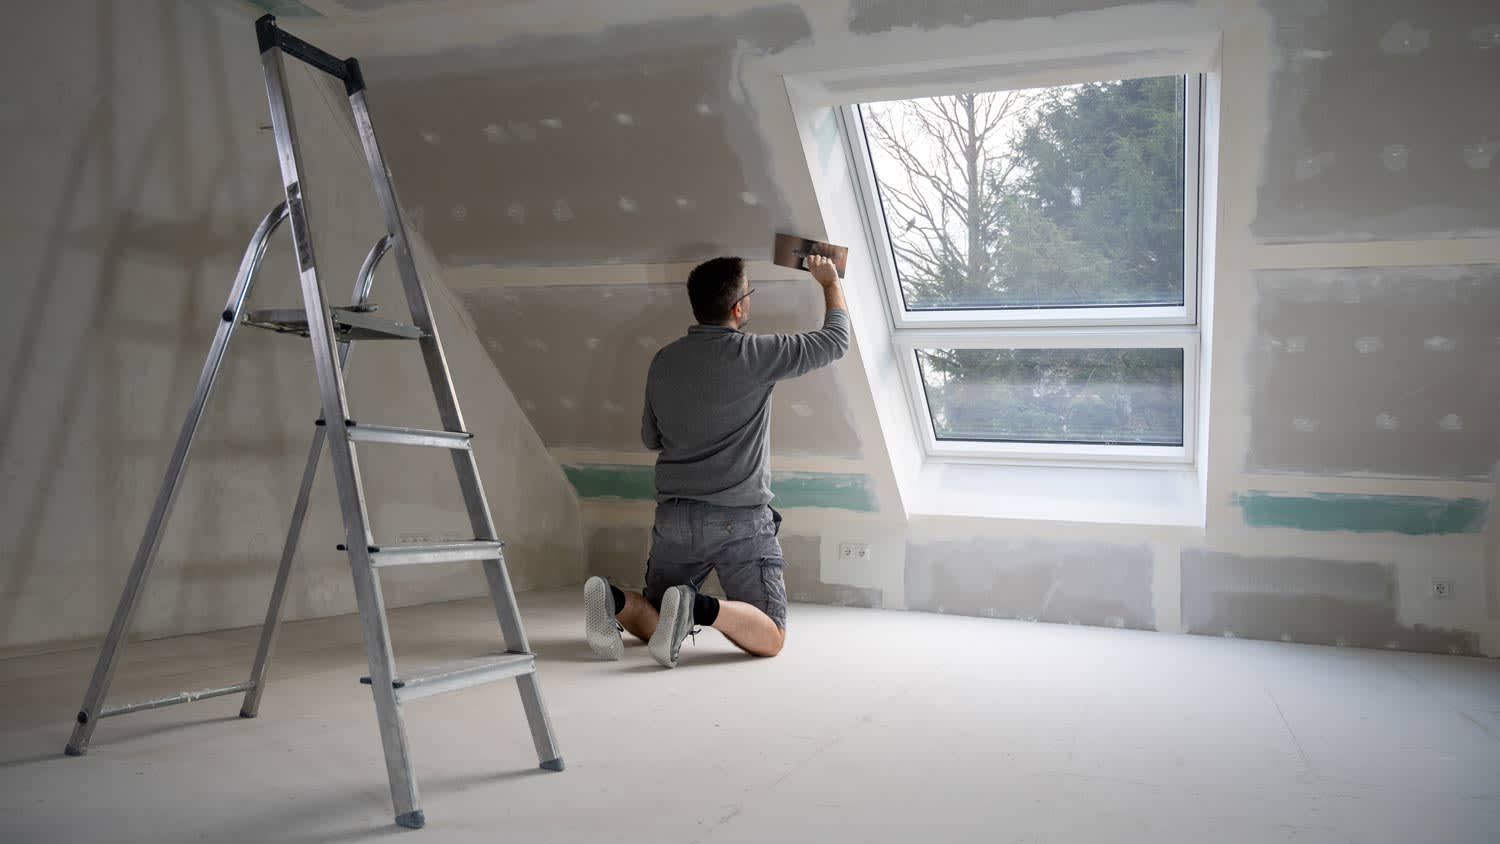
If you’re handy with carpentry tools and have built yourself an arched entry or doorway, you might also want to tackle the finishing work to make it all come together. Drywalling an arch is one of the more challenging home improvement projects to master if you’re new to handling drywall, tape, and plaster mud, but with a bit of patience and careful application, you’ll be able to get it right. If you’re ready to reap big rewards, here’s how to get started with a drywall arch.
The easiest part of installing a curved drywall arch is the first step. Simply screw on a piece of fresh drywall over each side of the arch frame and cover it up temporarily. Then, using a drywall saw, cut it back to the curve to expose the arch again.
Now that you’ve covered the sides of the arch, you’ll need to work on the center, curved section. Cut a piece of 1/2-inch-thick drywall to width and, working from one side, start flexing the material carefully. Install screws as you go to keep the shape. It’s easy to break the drywall in this step, so work carefully lest you find yourself repairing drywall damage in the process. If you snap the drywall, start over with a fresh piece.
Learning how to bend drywall around an arched frame is a challenge that requires craftsmanship, so be patient and plan on wasting a few sheets as you practice getting the measurements right.

Using drywall tape, cover up the transitional cracks and seams where the three pieces of drywall meet. Then, cover up the archway edges with the bead edging, which is specifically made to create a smooth edge for projects like these. This step will ensure that you have a clean curve to work with once you start mudding.
Thin your mud according to the manufacturer’s specifications with the mud bucket and mixing rod. Working in sections, float the mud with a drywall knife over the seams and holes for the first skim coat, then let dry.
Sand between coats, knocking down the rough edges you create when mudding, and try to get as close to the arch curve you’re trying to replicate as possible. Repeat this step until you have a clean curve. Then, slowly build thin layers of drywall mud onto the curves and flats while honing in the edges closer to perfection with each pass. You’ll likely need at least five passes to get it right.

Now that you’ve got the drywall sanded and prepared for painting, it’s time to prime the raw drywall and cured mud with a good quality primer. For the topcoat, choose the right sheen that is either a flat or matte finish to make the edges disappear and blend it in with the surrounding wall surfaces.
Drywalling a curved surface is one of the more challenging projects for the part-time DIYer. The skill level required to float out long, shaped edges with drywall mud and sandpaper can demand a lot of your time and energy. You may want to consider requesting a quote from a professional drywall contractor.
Cancelled appointment two hours after they were supposed to come for drywall work.
I would recommend this company to anyone! He showed up on time, was friendly, completed a very difficult repair on our dryer vent cover, was responsive, and pricing was extremely fair and competitive. I would have him back to do any of our repairs or cleanings without hesitation!
I cant stop admiring my newly painted walls. Custom Paint Jobs LLC made my house feel brand new.
Excellent experience with hiring Tether House to Mount our 77’ Samsung TV in our bedroom. Fast, friendly, and knowledgeable. Highly recommend.
Excellent customer service and knowledge. I was recommend to him from my neighbour. My front door and window came in great and were installed beautifully perfectly, I m very satisfied with their excellent work, so decided to order one more big bow window for my living room. I cant wait for...
Manuel Calvillo is the best option in the area for roofing and you won't be disappointed.
Would hire again. Wall looks great. Happy with job.
 Central Paving
Involved an extensive bathroom remodel, including removing tub & installing walk in shower, new drywall, custome tile work to ceiling, plumbing, etc. Overall, job was done on time and on budget. Nick & his team were very professional and had high attention to detail. Quality was great. Highly...
 Stamos Flooring and Remodeling LLC
We have had a great experience with Rising Height for the past five years on a number of miscellaneous renovation projects. They laid flooring for us and had a very good sub do the finish. Installed drywall for a vaulted ceiling, finished an attic/loft with new subfloor, framing and drywall,...
 Rising Height Unlimited
Mr. Lopez was super nice and professional. He repaired our drywall just as he described during the estimate phase. Our dining room wall looks great again! Thanks Mr. Lopez!
From average costs to expert advice, get all the answers you need to get your job done.
Sometimes, all your home needs is a new wall to make a room or provide an updated function to an existing space. Learn how much it costs to install a new wall.
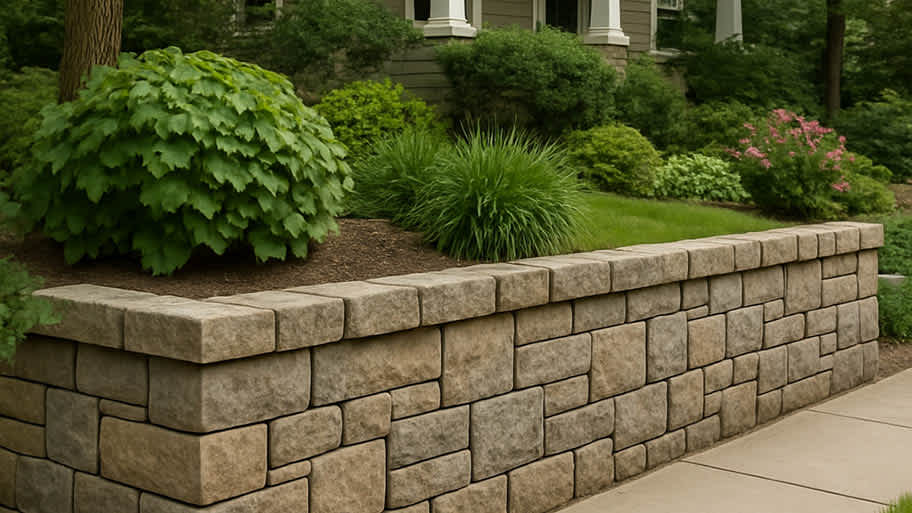
Kick erosion to the curb with an eye-catching retaining wall. Retaining wall costs vary based on the material, but this guide will help you budget.
A bowing basement wall needs immediate repair. Learn how much it costs to repair a bowing basement wall and what factors can affect the final price tag.
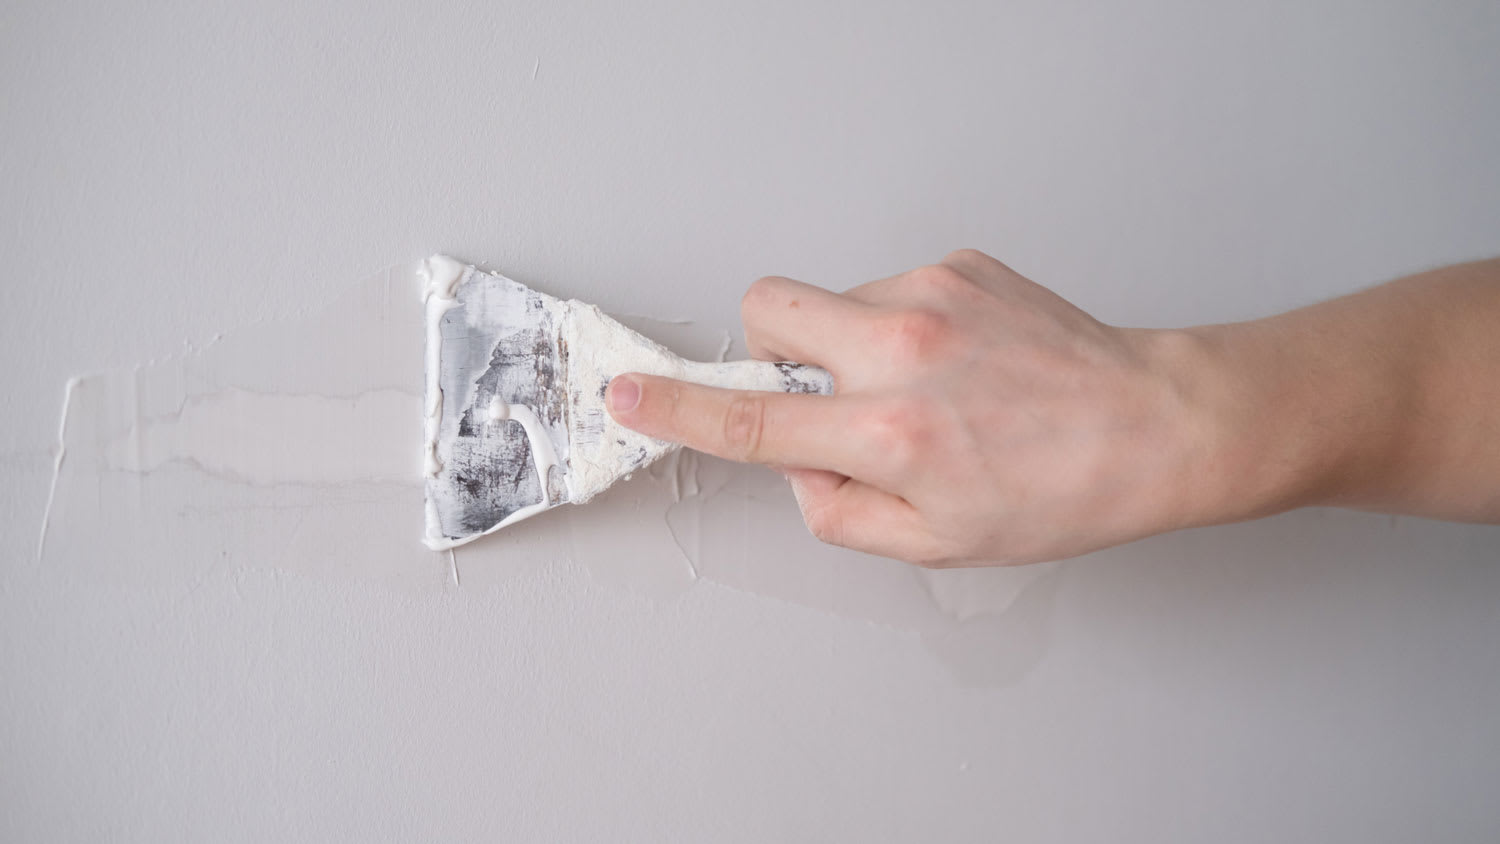
After spackling your walls, you’ll have to wait until it’s fully dried before painting, but how long? Use this guide to estimate how long spackle takes to dry.
How long does plaster take to dry? It depends. This guide shows you how long plaster needs to dry and cure and why the process is worth the wait.
How long does drywall mud take to dry? In most cases, you need to wait at least 24 hours before moving to the next step of your project. Read on to learn more.