Roof ridge vents protect your home by reducing moisture in the attic. A number of factors affect ridge vent cost, and we break them down here.
Keep breezy air in and moisture-loving mold out

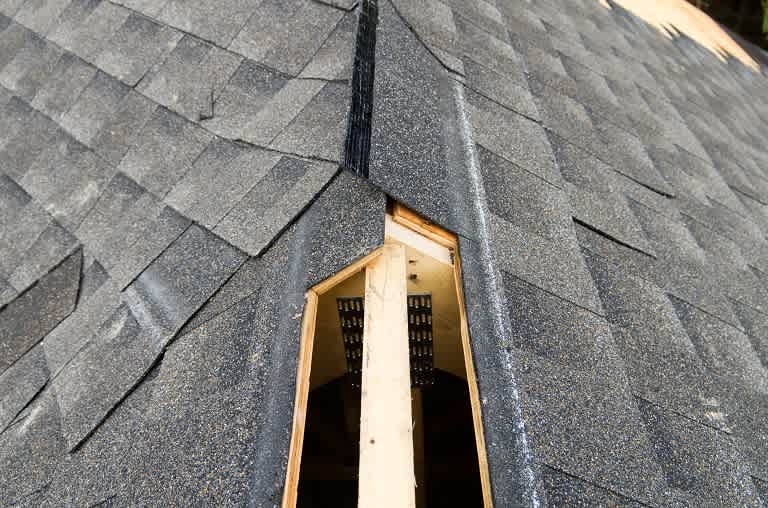
Your gable vent repair work starts with removing the damaged vent and trim boards after scraping away old caulk and extracting nails or screws.
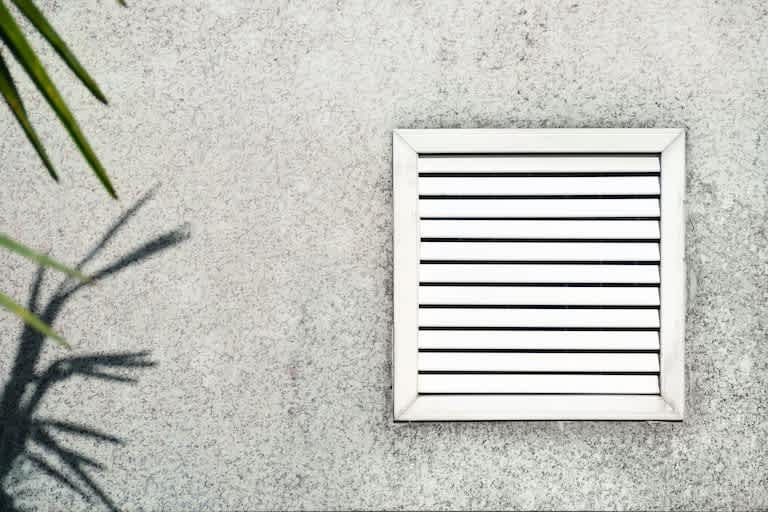
Expect to pay $150 to $200 for a new gable vent and related supplies when you handle the project yourself.
You need to create a snug frame fit using two-by-fours, leaving a 1/8-inch clearance on all sides before securing with nails.
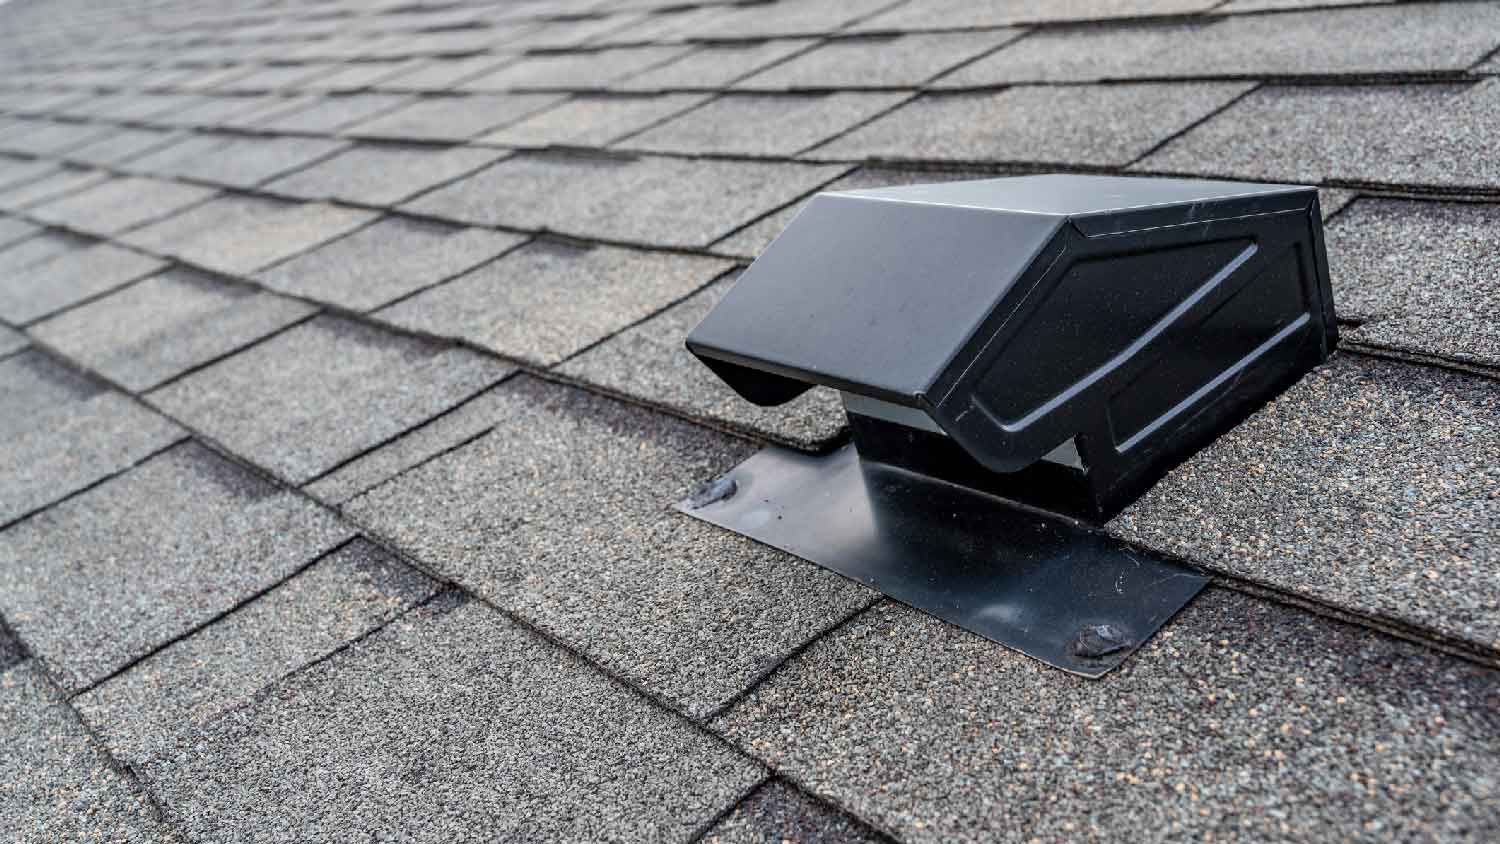
Hiring a local roofing professional keeps you safe on the roof and ensures proper vent installation with secure framing and weatherproof sealing.
When climbing up on the rooftop, it's a good idea to familiarize yourself with basic ladder safety. This includes having another person down below to ensure you don't get hurt. Your ladder should be tall enough to reach the roof and be able to support you on the climb. If it rained recently, wait until your roof is dry. Wet roofs sharply increase the risk of a dangerous slip and fall. After the roof is dry and you can safely climb up with your spotter below, check for loose roofing tiles, wet leaves, and other potential hazards that could cause you to slip while working.
Climb up to the exterior side of the attic. Remove the damaged gable vent and trim boards surrounding it by scraping the old caulk around it with the utility knife, then remove the nails or screws using the nail puller or reverse function of the power drill.
Gently remove the vent and frame from the attic and put the trim boards to the side.
Use a rag to wipe off dead leaves, dirt, and other debris from the opening where the old vent was. It doesn’t need a broom-clean level of cleanliness that one would expect of a home that’s in move-in condition, but it’s important to get rid of dead leaves and anything else in the hole for the frame. Debris can make the new vent fit too awkwardly, and flyaway dirt can cause the caulk not to do its job. Swipe the rag over the adjacent shingles or tiles so that excess dirt and leaves don’t fly in your face, or into the wet caulk when you need to caulk the vent later.
With the utility knife or a patching knife, scrape off any leftover caulk where the old vent was. This is equally important as getting rid of debris because too much old caulk gumming up the frame can make it hard for the new vent to fit properly. Scrape it out like you’re clearing the charred bits off a grill or griddle with a metal spatula.

If your new vent comes with a frame, follow the manufacturer’s installation directions. If you need to make your own frame, pop the two-by-four into the bottom of the vent opening. Depending on the size of both the new gable vent and the opening, you might need multiple two-by-fours to create a makeshift frame. Your goal is to get the gable vent to properly fit into the opening without huge gaps on any sides.
Once you’ve gotten the new frame to fit into the vent opening with no gaps left, hammer the frame between the gable end and studs with 8d nails. Ensure there's a clearance of 1/8 inch on all sides of the frame. The fit should be snug, without huge gaps, but it doesn’t need to be completely airtight.
Put the replacement gable vent into the frame. Adjust the fit as needed, particularly if you need to stop what you’re doing, and get additional two-by-fours or scrap wood so the frame properly fits both the hole and the new gable vent.
Once you have that snug fit that you need, attach the new gable vent with the power drill and galvanized screws. If your new vent came with hardware from the manufacturer, you can use that instead of your own screws.
Once the screws are firmly in place, caulk the edges of the vent and let it cure for at least one hour. The pre-built or makeshift frame should fill the gaps in the hole, but the caulk should cover that 1/8" clearance from earlier for all the outer edges.
It’s a good idea to have your caulking gun prepped before you take it up to the roof. Applying caulk can take practice, and silicone-based caulk is a must for gable vents since it keeps moisture out.
Replace the trim boards that were removed when extracting the damaged gable vent. Put a bead of caulk into every seam between the vent and boards, then let it set for at least an hour.
Think of it like creating a very delicate and artisanal plate of nachos, except you should never place caulk in the microwave to get it to spread faster.

After the caulk around the vent and trim boards are completely cured, use a clean cloth to apply the oil-based primer to the trim boards and let it dry. Use paint thinner to clean your paintbrush.
Once the primer is completely dry, apply two coats of the oil-based paint of your choice. Wait for the first coat to fully dry before applying the second coat, then clean your paintbrush with paint thinner again.
Installing a new roof vent is a relatively budget-friendly project if you’re a DIYer. A new gable vent and related supplies cost around $150 to $200.
However, if you don’t feel safe doing this work several feet above the ground, it’s best to hire a licensed and insured local roofing company. The cost to hire a professional roofer will be significantly less than the hospital bills and lost income if you fall badly. If you hire a pro to do the work, they’ll charge around $40 to $80 per hour not including supplies.
Your local duct installer may also have the proper license and bonding to install roof ventilation systems like gable vents. They can help determine the best ventilation solution for your attic and entire home to prevent mold growth and address other concerns you have.
I normally do not leave reviews, but my experience with Worthington Air was extremely frustrating and disappointing. About 30 days ago, I had a consultation done for an HVAC replacement and was quoted approximately $15,079. Based on that quote, I applied for financing through their company...
Great company! Price was competitive, technician showed up on time and completed the job (exterior electric Radon fan replacement) quickly. Would hire them again.
Raven and crew does absolutely fantastic job. They are very professional if any concerns were to occur with any of her work she always took responsibility and finished out with a great job. I have worked with her business for a year and have always been satisfied. Very trusted business and...
I would recommend this company to anyone! He showed up on time, was friendly, completed a very difficult repair on our dryer vent cover, was responsive, and pricing was extremely fair and competitive. I would have him back to do any of our repairs or cleanings without hesitation!
Ace Fireplace Services' chimney sweep service is truly exceptional. They used advanced technology to ensure a thorough cleaning process, and my chimney has never looked better. I highly recommend their services.
 Ace Fireplace Services
The technician was very professional and friendly. He answered all my questions and was very thorough. He left the fireplace area very clean . He inspected from the roof and advised me as to other work that might need to be done. There was no pressure there. I was very satisfied with the...
 Supreme brick & chimney
Excellent experience with hiring Tether House to Mount our 77’ Samsung TV in our bedroom. Fast, friendly, and knowledgeable. Highly recommend.
On time, clean and finished fast. Windows seem sturdy and the finish is good. Caulking was done with no smudges. Would recommend.
Great job...edging and pre clean up went well with a great job with seal coat. Friendly, efficient and professional.
 All Star Paving and Sealing
Good workers and they do a good job.
From average costs to expert advice, get all the answers you need to get your job done.
Roof ridge vents protect your home by reducing moisture in the attic. A number of factors affect ridge vent cost, and we break them down here.
This guide lays out the cost to install a roof vent on your home depending on the type of ventilation that's best for your roof based on several factors.
Several factors impact dryer vent installation cost. Use this guide to learn what affects the cost, and how much you should budget for this project.
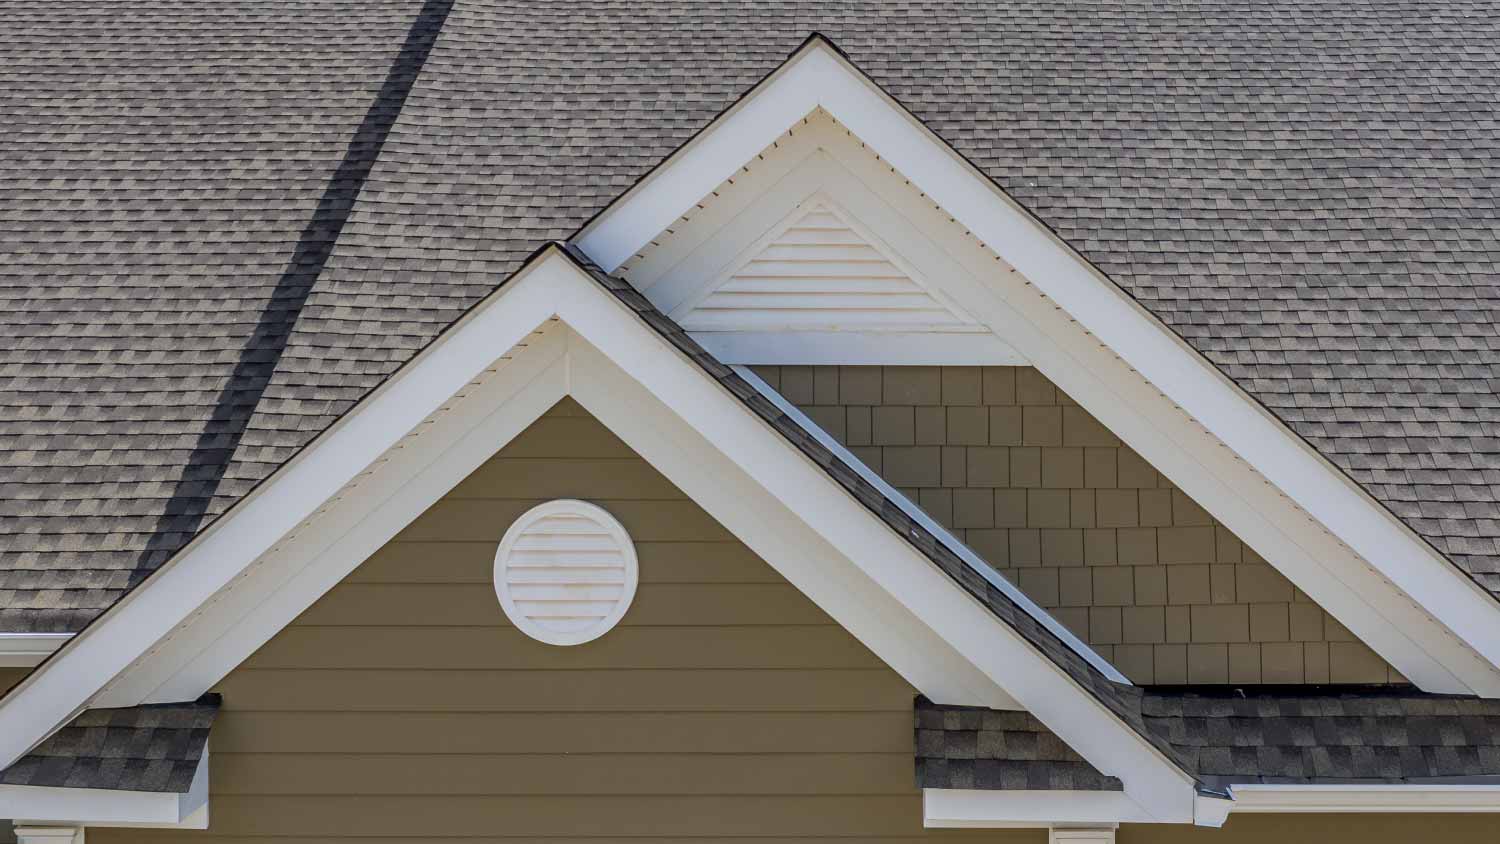
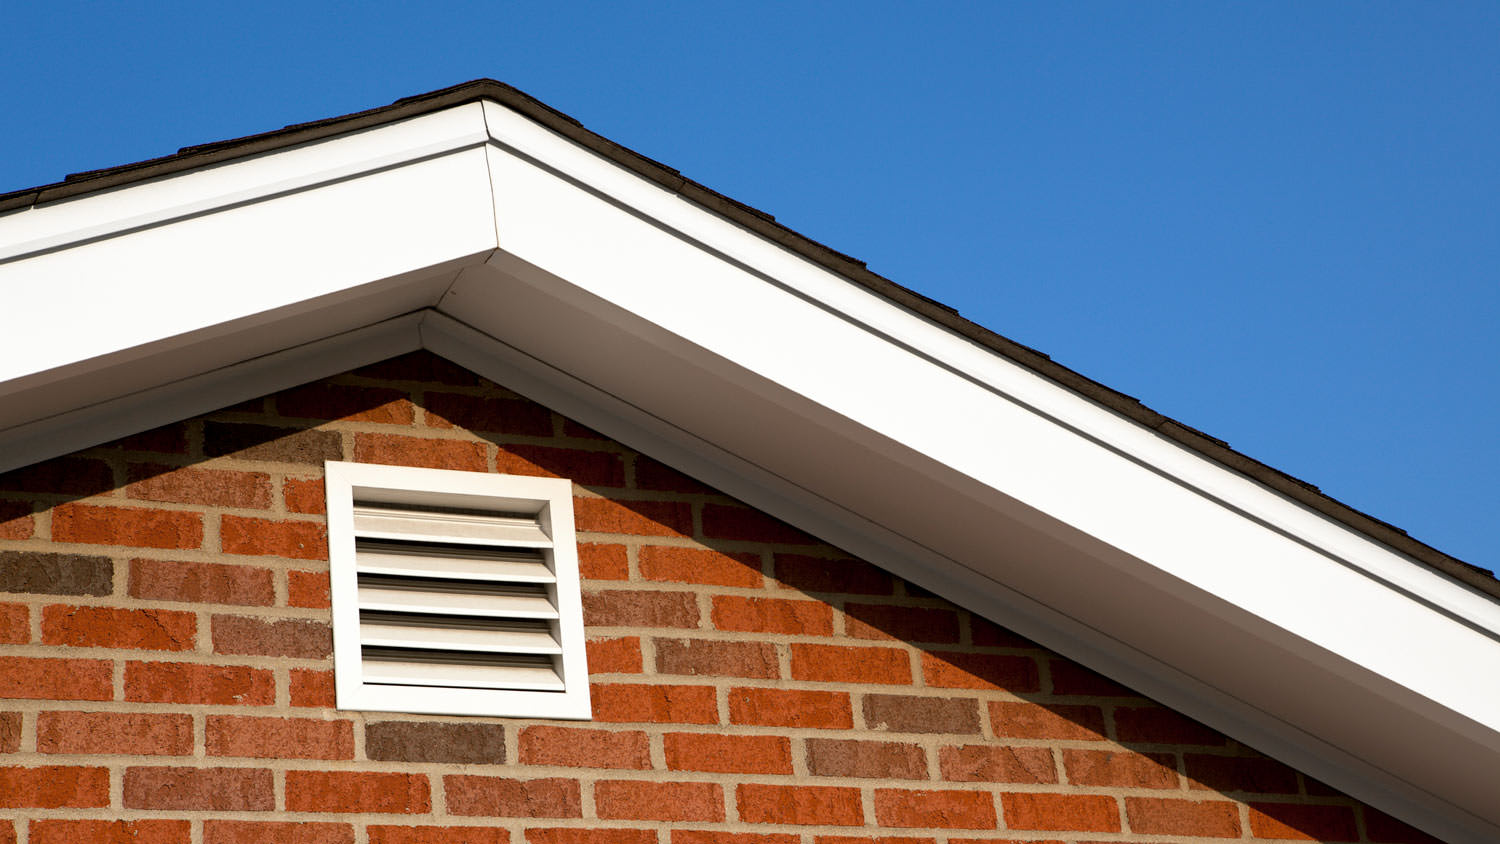
What is a gable vent? Found in gabled roofs, learn how these passive vents keep things cool and dry by providing ventilation in your attic space.
Can you combine gable vents with ridge vents within the structure of your roof? When it comes to attic ventilation, more exhaust is not always better. We explain why.

Looking for passive airflow for your attic? Weigh the features of two popular types of roof vents—gable vents and ridge vents—to find your best match.