
•
Discover the cost to build an outdoor kitchen, including average prices, cost factors, and tips to help you plan your project and maximize your investment.
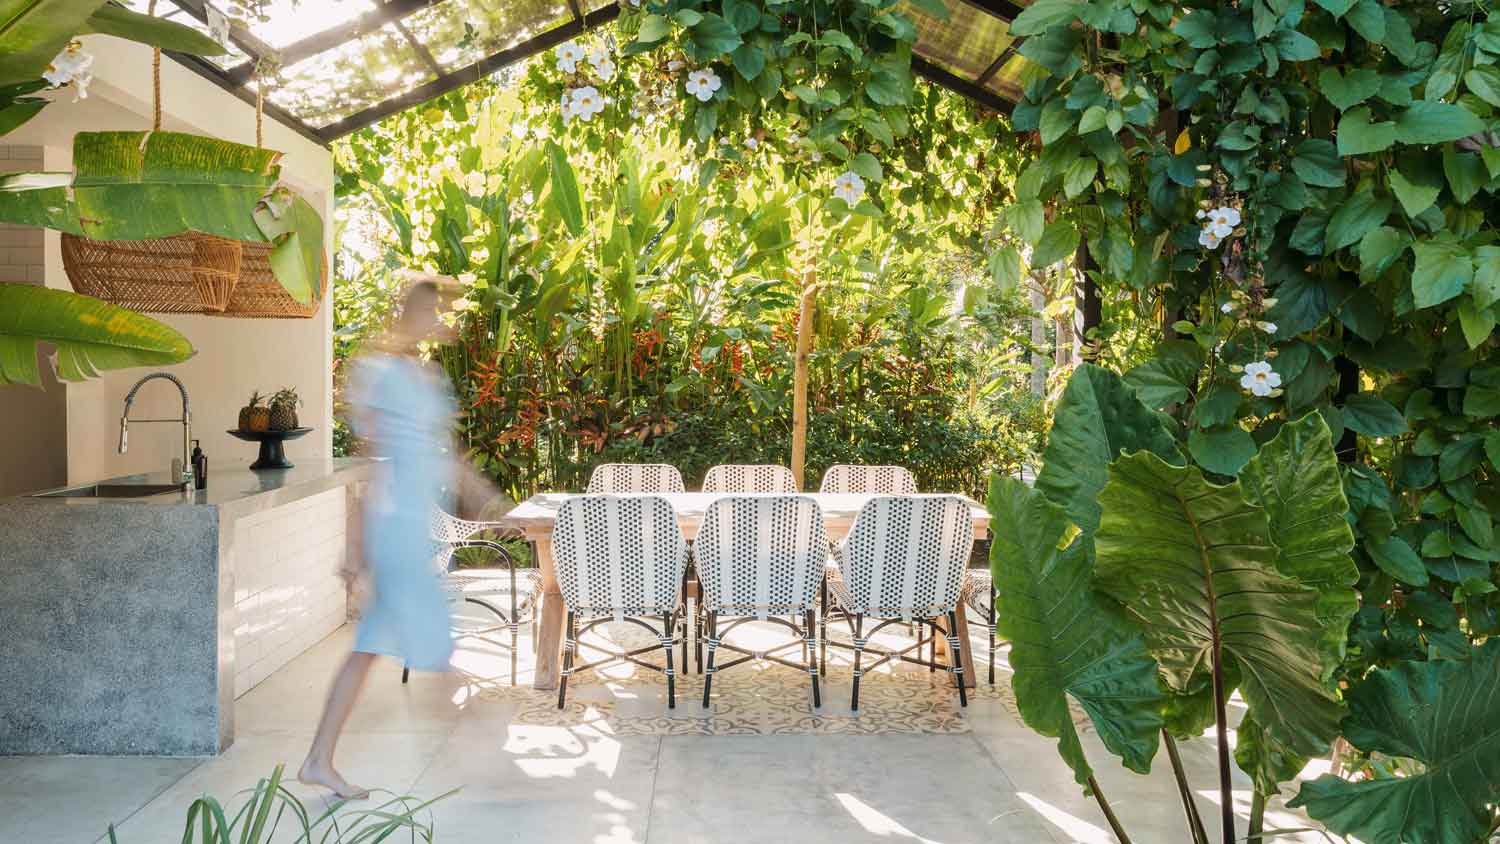
Revamping your outdoor space may be easier (and more affordable) than you think

Building DIY outdoor kitchen cabinets from a ready-to-assemble kit simplifies your project by including all components and clear instructions for assembly.
Expect to pay $6,051 to $24,980 to build an outdoor kitchen, with average costs around $15,515, though DIY cabinet installation saves $1,500 to $6,000.
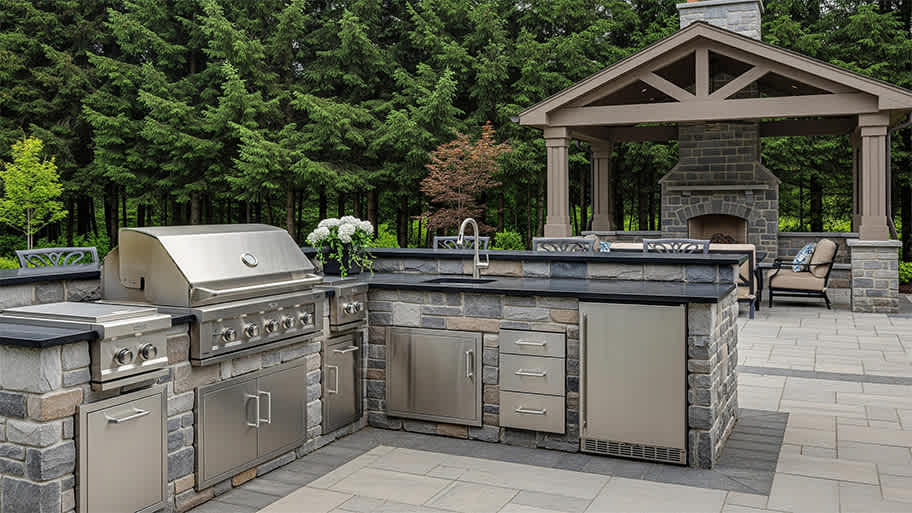
Your outdoor kitchen cabinet materials should resist weather damage, with options like wood, stone, HDPE, or stainless steel matching your space and climate.
Hiring a local outdoor kitchen professional keeps utility hookups safe and handles complex framing, cladding, and countertop installation for your new space.
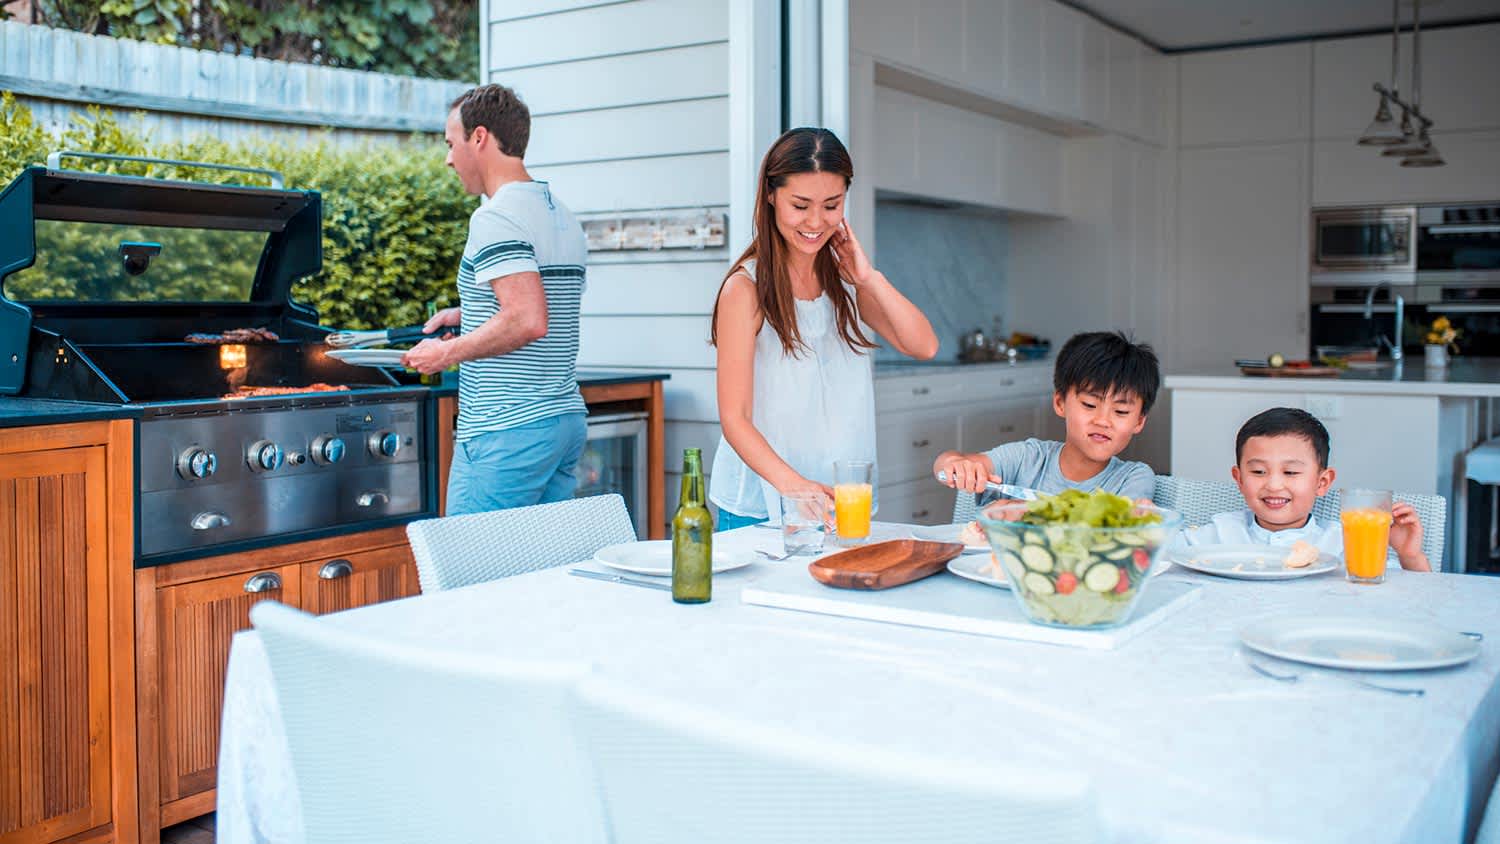
An outdoor kitchen is the perfect space for gathering with loved ones and taking your backyard BBQs to the next level. But creating a gorgeous entertaining space doesn’t have to break the bank. By building your own cabinets, you can reduce your outdoor kitchen cost and still get the space of your dreams. In this guide, we’ll review the different types of DIY outdoor kitchen cabinets and take you through the process of assembling them.
There are two main ways to DIY outdoor kitchen cabinets: building them from scratch or using a kit. Ready-to-assemble (RTA) cabinet kits come with everything you need to create your cabinets, including simple directions for assembly. Some kits are customizable, giving homeowners greater flexibility in terms of layout and design. Many kits, however, are pre-manufactured, so you’ll have less control over the finished design. Kits are ideal for beginner to moderate DIYers and those who want a simpler project.
If you are a DIY pro or want a completely custom outdoor space, you may be tempted to forgo the kit completely and build your cabinets from scratch. This method gives you total control over your project; you can personalize every aspect of it from layout to finishing touches. However, it’s much more complex and laborious than the ready-to-finish option. Unless you have the proper contracting experience, consider hiring a professional outdoor kitchen builder near you.
Homeowners can choose between ready-to-finish cabinet kits and ready-to-assemble outdoor kitchen sets. Both are great options for average DIY-ers. They supply you with all the components you need to complete your project and come with easy-to-follow instructions for installation. However, the two offer different levels of active work and customization.
Ready-to-finish (RTF) kits include all the components you’ll need to build the basic structure of your cabinets. You won’t need to worry about sourcing materials or building frames from scratch. These kits allow you to fully customize the layout, materials, and finishes of your cabinetry, too. We recommend this kit for those who want to tailor their outdoor kitchen to their space and aren’t afraid to take on a little more work. If you opt for a kit, follow the manufacturer’s instructions closely, which may be slightly different from the step-by-step below.
Ready-to-assemble (RTA) cabinets make the daunting task of building an outdoor kitchen simple. These kits require less assembly and often come with pre-made appliance cutouts. Plus, the panels are pre-finished. This translates to less work, but it can also mean less personalization. RTA cabinets are available in a limited number of designs, offering less flexibility to personalize the layout and look of your new space. These kits are ideal for beginner DIY-ers and those who aren’t looking for a lengthy project.
Building an outdoor kitchen requires a lot of prep work—--even when you’re using a kit. By the time you pick out your cabinets, you have already spent weeks browsing covered outdoor kitchen ideas, found a suitable location, measured your space, and chosen a design. Now you’re ready for the real work to begin!
Before your cabinets arrive, make sure you have a suitable base for your outdoor kitchen. This can be a pre-existing patio or deck or a newly poured concrete slab so long as the surface is level and capable of supporting the weight of your fixtures and appliances. You must install any essential utility lines, too. In general, you should always hire a professional plumber or electrician to run new plumbing, gas, and electrical lines.
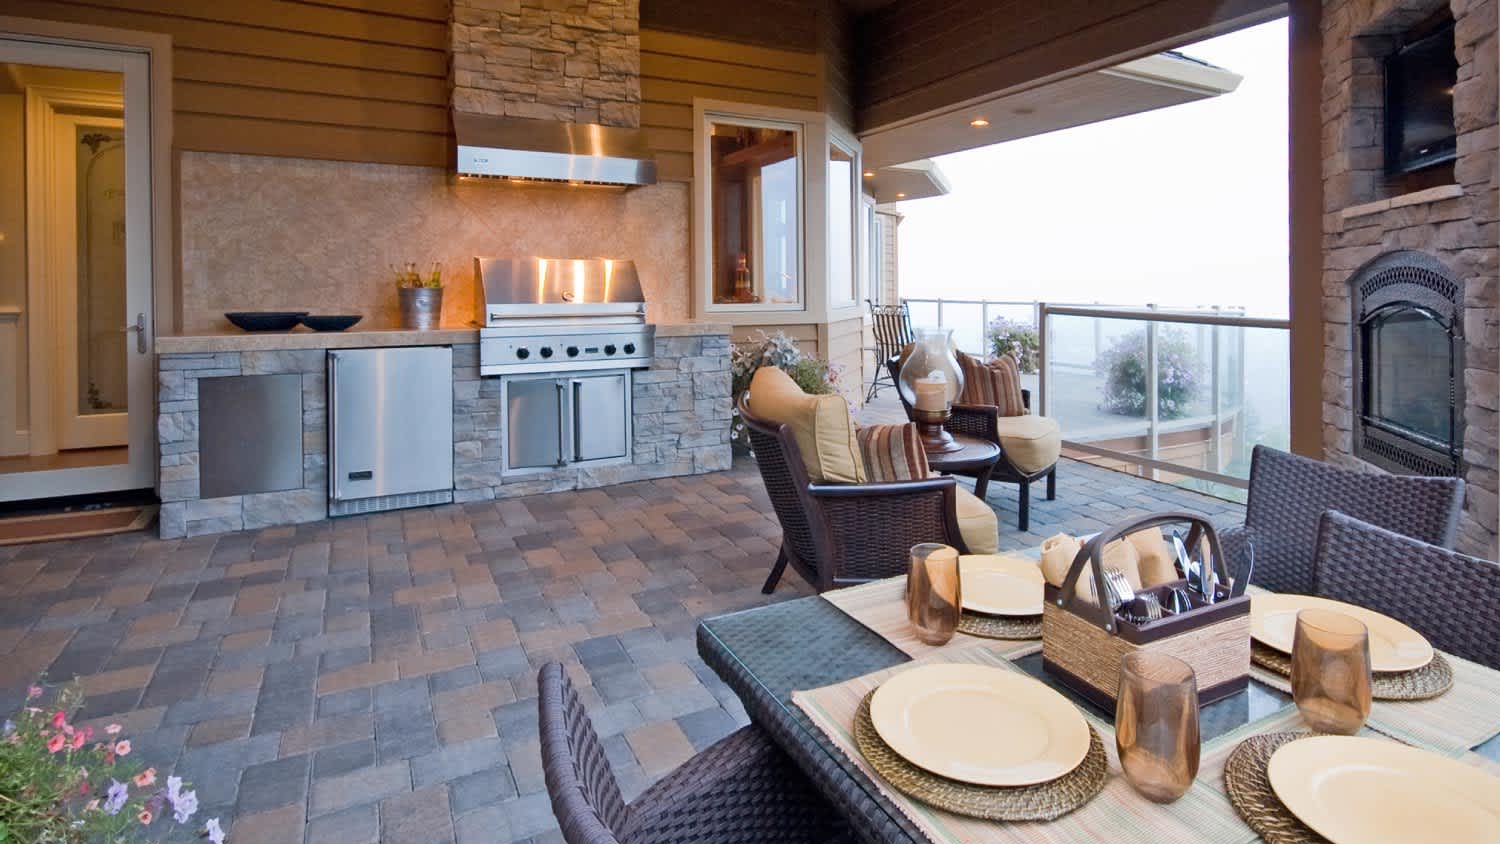
The material you choose for your outdoor kitchen cabinets plays a big role in their appearance and longevity. Manufacturers offer a variety of materials that can withstand the elements and complement the aesthetic of your outdoor space. Here are a few of the best options to consider, along with their pros and cons.
| Material | Pros | Cons |
|---|---|---|
| Wood | Customizable, durable | More susceptible to weather damage, requires more regular upkeep |
| Stone, concrete, and brick | Ultra-durable even in extreme weather conditions, stylish | May require professional installation, harder to repair and clean |
| High-density polyethylene (HDPE) | Easy to maintain, long-lasting | Color may fade in sun, susceptible to damage from high heat |
| Powder-coated aluminum | Doesn’t rust or corrode, simple to maintain | Conducts heat, vulnerable to damage |
| Polished stainless steel | Sleek, stylish, super durable | Becomes hot and reflective in sunlight, requires regular maintenance |

Ready-to-assemble cabinet kits come with assembly instructions, making it a fairly straightforward process. Here’s an overview of the steps you may need to complete to build your outdoor cabinets.
Plan to assemble your cabinets in the same area where your outdoor kitchen will be. The area should have ample space for unboxing, laying out all the pieces, and working. Keep in mind that DIY outdoor kitchen cabinet kits come with a lot of heavy pieces. You may want to enlist a friend or family member to help with the delivery. Clear the path to your assembly area so you can roll a furniture dolly to the space without obstacles.
Once your delivery arrives, start by unboxing all the components and laying them out in the assembly area. Check for missing pieces or damaged parts. Gather any additional tools and supplies you may need for assembly. You should also use this opportunity to read over the instruction booklet and safety information.
Follow the detailed instructions included in the kit to assemble your cabinets. The specific steps will vary depending on the manufacturer and design. In general, you’ll begin by building the frame. Many kits come with premade cutouts for appliances and storage. Some, however, may require you to create your own (more on that later).
Next, attach the frames together. If you need to attach additional pieces, use clamps to hold them together while you connect them using a screwdriver or wrench. For some DIY cabinet kits, you may also be instructed to drill pilot holes and create bracing components.
Lastly, you’ll install the adjustable feet to ensure the cabinets are level. Throughout each step of the process, check that the surfaces are level and make any necessary adjustments as you go.
If your cabinets don’t come with premade cutouts, you’ll need to create them manually. Check your design plans and appliance cutout sheets for the dimensions and layout. Use a grinder with a masonry block to cut through cement board coverings. Depending on your countertop material, you must use non-combustible construction specs too.
Depending on your DIY kit, you may need to install cladding to your cabinets. Cover the frame with weather-resistant material, like stone, brick, tile, or stucco. Apply the cladding according to the manufacturer’s instructions. In general, you should install the cladding starting at the bottom and working upward. Remember to leave enough clearance for appliances and cabinet doors.
After the cladding has cured, you can install the countertops. You should follow the manufacturer’s directions for this as well. Make sure your cutouts are properly aligned before attaching counters with bolts or screws as instructed.
Now you can add all of the finishing touches to your DIY outdoor kitchen cabinets. Place shelves in chosen positions, slide in drawers, and attach the doors. Remember to leave ample clearance for smooth and easy operation. Then you can install the handles or knobs. This is also a good time to attach anchors or anti-tip brackets to the wall or floor. Secure the cabinets and ensure they’re level and properly positioned before tightening the anchor components completely.

The beginning of the project is the same as above: create a detailed design, build a floor space for the kitchen, and have rough-in utilities installed. From there, you can begin building your cabinets using the steps below.
You can build the frame using wood, metal, or concrete blocks. We recommend using wood as it’s the most DIY-friendly and doesn’t require specialized skills like welding (metal) or masonry (concrete blocks). Begin by cutting pressure-treated 2’ x 4’s with a circular saw to create your vertical studs, header, and footer pieces. Use a drill and deck screws to connect the pieces. Cut and attach cross supports for spacers.
You can use plywood or cement board to cover the frame. Cut the panels according to the dimensions of your frame. Attach the panels to the frame using exterior screws. Be sure to leave openings for cabinets, drawers, and appliances. Attach wire lath over the panels and trim it so it’s flush with the frame.
Create a scratch coat and apply it over the lath using a trowel. Let it cure for about an hour, then score it using a notched trowel keeping the lines straight and parallel to the ground. Wait at least 24 hours for the mortar to cure. Spread mortar on the back of your cladding material, scrape off any excess, and set the piece by pushing it firmly onto the scratch coat. Start at the bottom and work your way up.
Once the cladding is set, attach cabinet doors over the flanges of the cabinet boxes. Slide in any shelves or drawers. Install the countertops and any built-in appliances.
Adding an outdoor kitchen to your property can be an expensive project. On average, it costs $15,515, with normal prices ranging from $6,051 to $24,980. This price accounts for materials, appliances, permits, labor, and more. With a project as customizable as this, however, costs can range anywhere from $1,000 to $50,000 depending on the size, materials, appliances, and more.
By DIYing your outdoor kitchen, you can save around 20-40% on the total project costs. Homeowners save an average of $1,500 to $6,000 by forgoing a general contractor and option for the DIY route. However, you’ll still need to hire a professional plumber and electrician to run water, gas, and electrical lines. Consider working with an appliance installer to ensure all your new appliances are hooked up correctly, too.
My kitchen cabinets look brand new thanks to Custom Paint Jobs LLC. Their refinishing is exceptional.
If I could give 10 stars for Kitchen Tune Up, I would. I cannot say enough good things about my experience with Kitchen Tune Up and the entire team involved in the process of my kitchen project. They went above and beyond as far as service and quality with my cabinets, paint, countertops, and...
They work that 360 did on my kitchen cabinets is nothing short of amazing. I still cannot believe the difference from before and after. Jon and Jeff were both so incredibly professional throughout the whole process and their communications with me were constant and consistent. These guys...
 360 Painting Columbus
This was our second experience with The Waterworks and both times have been Exceptional! This time, Michael P. was our technician. He arrived on time, was super professional and respectful of our home and he even wore booties, a face mask, gloves and protected out kitchen floors with drop...
 The Waterworks
Phil understood the style I wanted and suggested options for materials (unlike the standard kitchen folks who kept pushing the same cabinets everyone buys). He stepped through all the decisions about the details with me, using his computer program to show the differences between the choices....
 Baker Group Remodeling
I had a great experience with this company. They installed a small TV on the wall of my kitchen between two cabinets. Team came out and did a very thorough inspection and quote. The rep who installed the TV had to do some extra work to snake the cords behind the wall from the top cabinets...
 The Theater People
We hired Andrew and the team from Midwest Lightscapes for a custom lighting design and installation on a Victorian Village home. The house had outdated low-voltage halogen outdoor lights and many of them were not working. Andrew designed and installed a new system including uplighting on the...
 Midwest Lightscapes
Scott Hall Remodeling remodeled my bathroom about 8 years ago. I was amazed at the quality of workmanship, cleanliness, price, punctuality, flow of information, and progress updates. Eight years later and they are still a model company for other remodelers. The remodel of my kitchen is...
 Scott Hall Remodeling
I couldn't be more pleased with the job Ryan and his team did! My old oak kitchen cabinets now look like brand new white ones. They were able to provide an estimate based on my photos that was far below other companies I checked with, and that was the final price too. They were able to come...
 Rhino Painting & Color Consulting LLC
<p>We had them remodel our kitchen several years ago and were so pleased we asked them to remodel our master bathroom. They are always punctual, from the initial home visit to estimate the project through the entire remodel. They do everything they can to minimize any inconvenience. There...
 Craftsmen Service Co / 1 Stop
From average costs to expert advice, get all the answers you need to get your job done.
Discover the cost to build an outdoor kitchen, including average prices, cost factors, and tips to help you plan your project and maximize your investment.
Dreaming of an outdoor kitchen? Get layout ideas for everything from a simple, low-budget DIY outdoor kitchen to a state-of-the-art, chef-worthy space.
The best outdoor kitchen design ideas are ones that suit your needs. Check out these layouts and design concepts to help you assemble your perfect outdoor kitchen.
If you dream of dining and cooking al fresco, find out how to DIY an outdoor kitchen to reduce the typically high costs of a home addition like this.

The secret to keeping the kitchen feeling fresh for years to come is regular cleaning and maintenance. Here’s how to maintain that new kitchen look.
These small outdoor kitchen ideas will inspire you to think big and maximize your space for the ultimate outdoor cooking experience.