
•
Discover the cost to paint kitchen cabinets, including average prices, cost factors, and tips to help you budget and save on your next kitchen update.
It might not be fast, but it doesn’t have to be frustrating

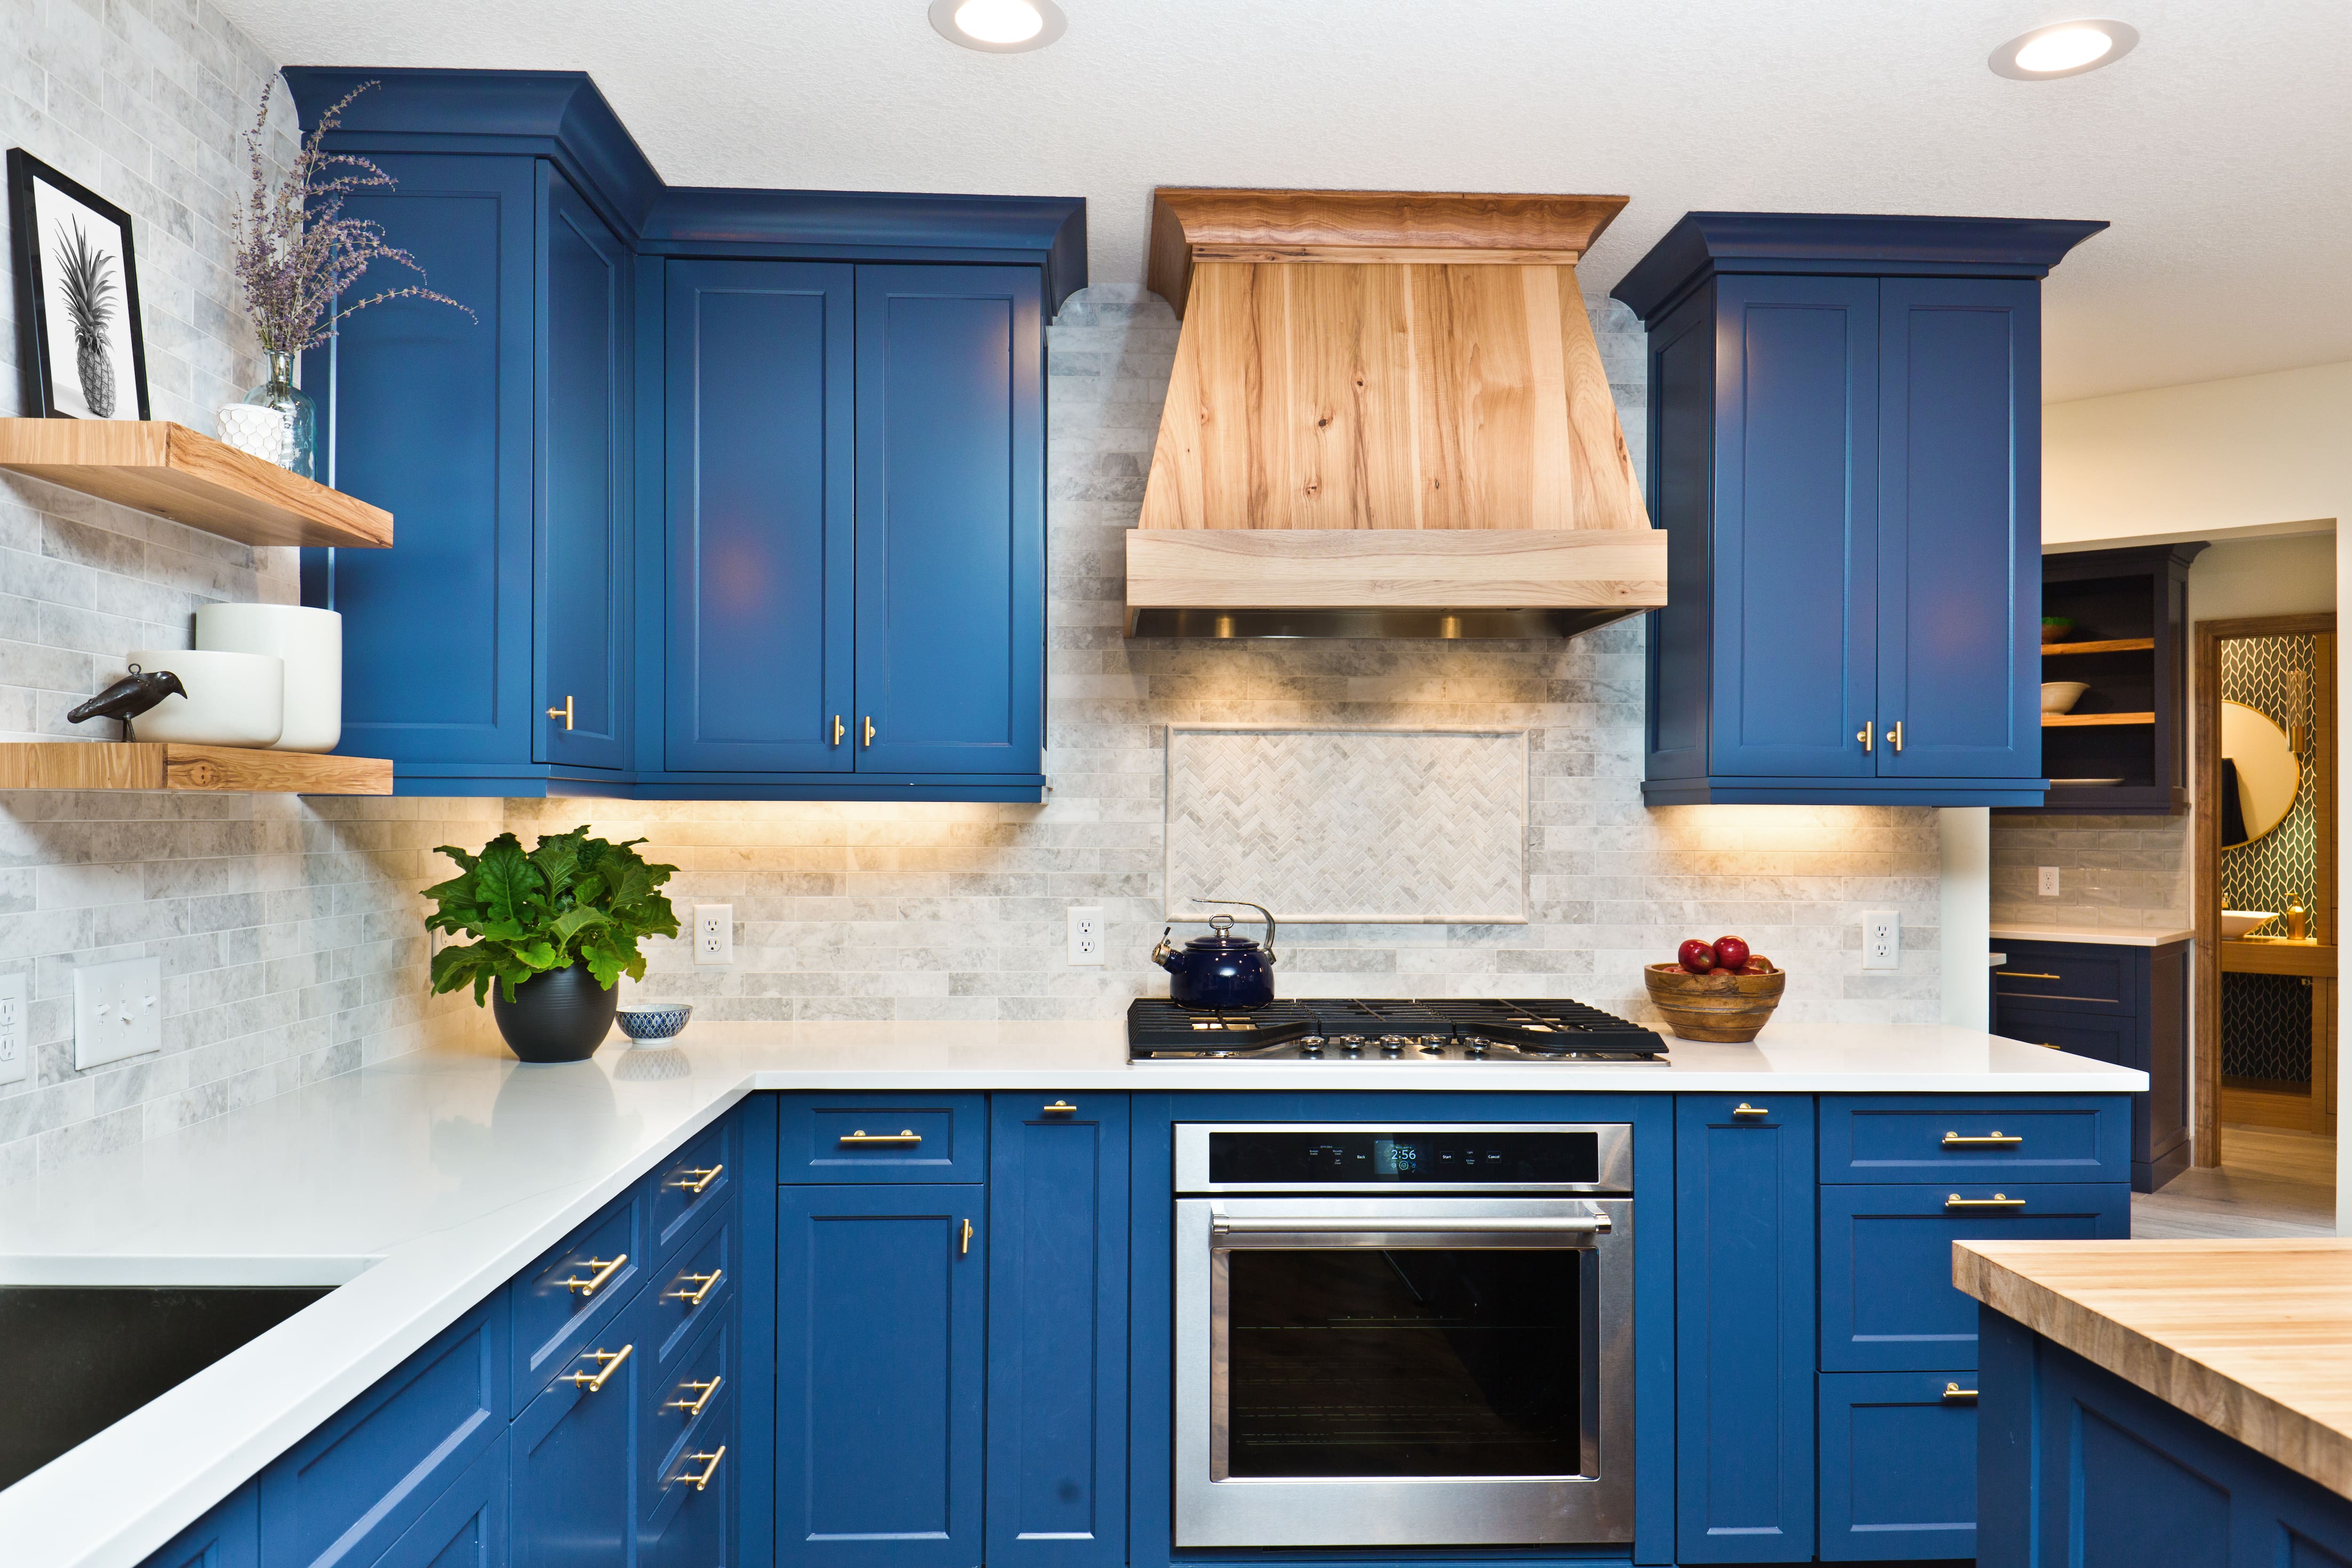
High-quality interior cabinet paint with a semi-gloss or satin finish helps prevent brush strokes and fingerprints from showing on your painted cabinets.
Sanding your cabinets before priming and between each coat smooths imperfections and helps paint adhere better, extending the life of your finish.
Plan for two to three coats of paint with 24 hours of drying time between each coat to achieve full color saturation and coverage.
Hiring a local cabinet painting professional ensures proper prep work, even application, and a smooth finish that holds up to daily use.
A fresh coat of paint on your cabinets can pull above its weight class as far as making your interior space feel fresh and new. And while cabinet painting isn’t the easiest DIY job in the world, it’s absolutely doable—especially with these eight cabinet-painting tips that ensure you’ll get it done right the first time.
Picking out paint is one of the most exciting parts of any home project. But when it comes to your cabinets (and most other paint projects, for that matter), it’s not just about the color.
Along with the right shade, quality and finish also matter. You’ll want to choose a high-quality interior paint from a reputable brand, ideally one formulated specifically for cabinets and trim. Many homeowners choose semi-gloss or satin for their finish, since glossier finishes are prone to showing brush strokes and, once the cabinets are dry and in use, fingerprints and smudges.

While it’s possible to paint your cabinets with brushes, using a paint sprayer can lead to a more even finish—not to mention an easier process for you as the painter. Of course, spray painting can make an even bigger mess than painting with brushes can. So, make sure your home is well-protected with plastic tarps and masking tape. For the portions of your cabinets that you’re able to take apart, consider painting outside or in the garage.
It can take some work to set up in the first place, but if you’re able to do it, hanging your cabinet doors for painting can make it easier to get both sides in the same coat—which can save you a lot of time since you’ll need to allow each coat to dry fully before moving on to the next one.
Try using heavy-duty clothes hangers to hang your cabinet doors from the ceiling in your garage. It’s up to you how much effort is worth putting in up front in order to make for a smoother process later.

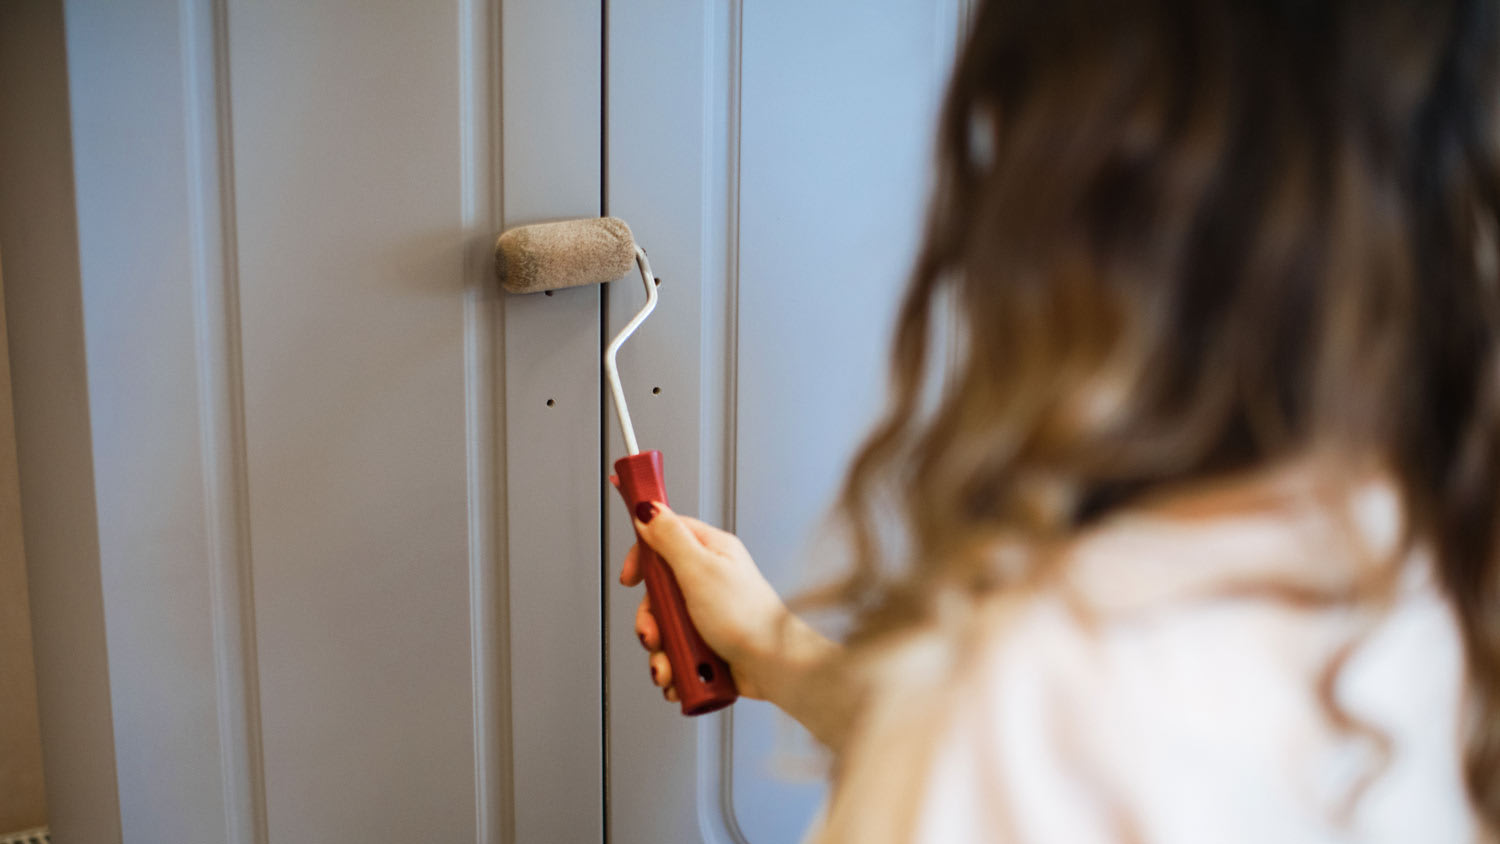
You need to sand your cabinet’s components before you get started. If you have brand-new, fresh cabinets that aren’t stained yet, you won’t need to sand too much. On the other hand, if your cabinets have already been painted, you’ll have to be much more thorough when sanding. (Using an orbital sander can help you quickly sand your cabinets for a flawless finish.)
There may also be differences depending on the material your cabinets are made of. For example, real wood can withstand more sanding than particleboard.
However, the sanding process isn’t over after your first preparatory round. For a butter-smooth finish, you’ll also want to sand between each coat of paint to help buff out the tiny imperfections that are just about impossible to avoid. Use a finer-grit sandpaper for sanding between coats than you did for the initial sanding work.
All that sanding will be useless if you end up painting the particles you’ve sanded off right back into your next coat. If you do, your cabinets will just end up feeling rough after all of that work.
That’s why ridding your cabinet doors of dust before proceeding is crucial. It might sound like overkill, but some people swear by using a leaf-blower to make sure all the grit is truly gone—best followed up with a soft, damp rag.
Once your cabinets are sanded and ready to go, the first coat you’ll want to put down is a high-quality primer. Primer lets your paint adhere better and ensures the paint’s color shows up clear and bright. It can also increase the longevity of your paint job. (Without primer, paint is more prone to chipping.)
Check out the instructions on the primer you choose, but in most cases, you’ll want to aim for one to two coats of primer. This is something professionals almost always do, so if it seems like too much work, reach out to a local cabinet painter for an expert-level finish.

Once you’ve primed your cabinets, it’s time to tackle the painting itself. Again, you’ll want to sand between each coat, and you’ll need two to three coats of paint for full color saturation and coverage.
The paint you choose will have its own guidelines on the can, but plan to put down as many as three coats. This will help ensure you buy enough paint and also that you budget enough time for the entire project.
Painting cabinets doesn’t have to be complex, but it is often a multi-day project. That’s because each coat of paint needs 24 hours to fully dry and be ready for the next sanding (and painting).
This time frame depends on what kind of paint you use (oil-based paints have longer drying times than water-based ones). However, giving each coat 24 hours to dry will ensure you don’t end up with an imperfect finish, which could extend your project’s time frame even longer if you need to redo it.
Custom Paint Jobs LLC is the go-to choice for all your painting needs. They painted both the interior and exterior of my house flawlessly. Their work speaks for itself!
Beginning with the estimate, Larry and Peyton were super helpful in getting my new condo's interior re-painted. Not only was the job well done, but also done in a super timely manner as promised.
 Five Star Painting of Plain City and Powell
From average costs to expert advice, get all the answers you need to get your job done.
Discover the cost to paint kitchen cabinets, including average prices, cost factors, and tips to help you budget and save on your next kitchen update.

Painting your kitchen cabinets may take some elbow grease, but you’ll get a kitchen makeover without a lot of money. Here’s how to paint cabinets for a new look.
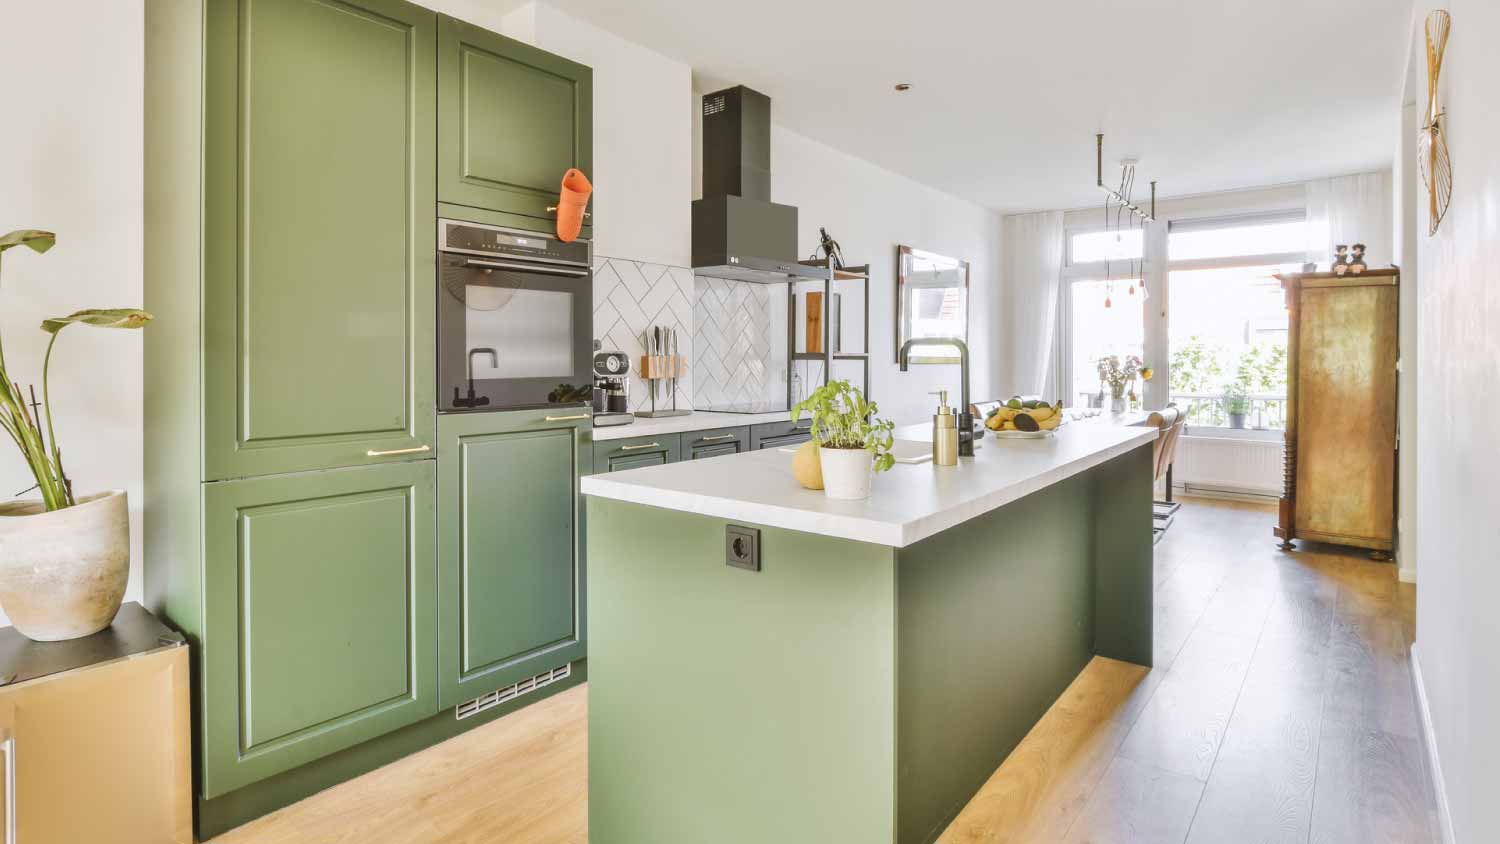
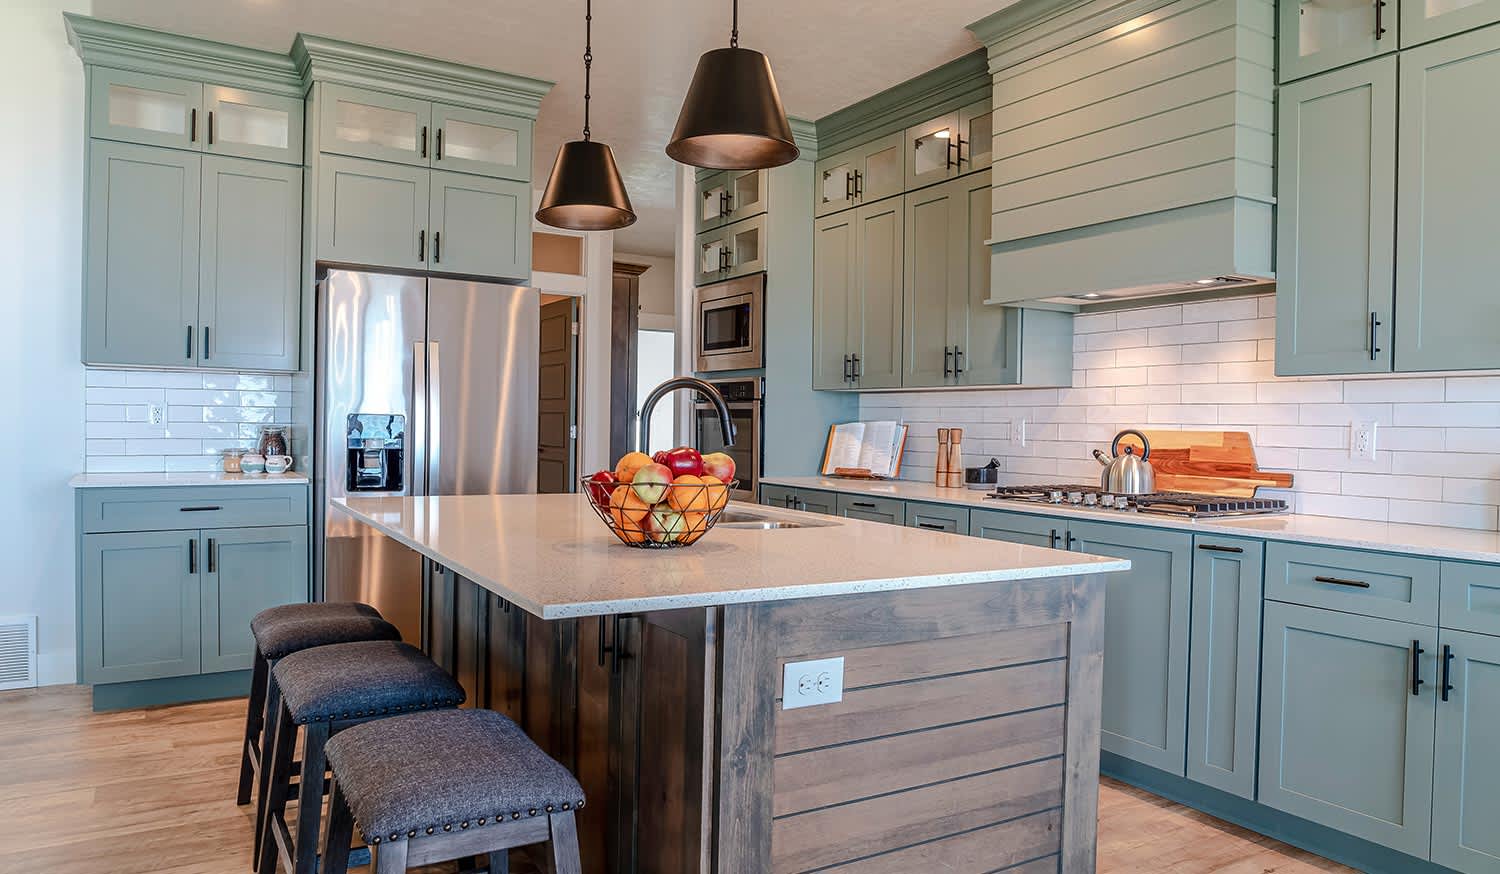
Painting cabinets white makes a kitchen feel larger, brighter, and gives it a timeless look, while also increasing the resale value of a home.
Painting your cabinets can give them a whole new look, but it’s important to hire the right pro for the job. Find out who to hire to paint kitchen cabinets.
The decision to paint or refinish your kitchen cabinets will depend on the overall look you’re going for as well as the material of your cabinets. To show off natural wood, try refinishing. To cover up laminate, paint them. This guide will help you decide.
Painting cabinets is a budget-friendly alternative to replacing them. Learn more about oil, enamel, and hybrid paint to find the best type for your project.