"The furnace took 4 days to get approved( not counting a Sunday) the others were quick but the water heater had to be ordered so without hot water for a week. One ceiling fan was easy but within a year their policy changed and They would not install the one I purchased and had to get a new one approved and then ordered online and took several weeks to get straightened out. Not sure who was at fault, AHS, installer or scheduling with renter. Fee is usually $75 per visit"
With years of experience serving the Dickinson area, we are your solution for all your electrical needs. We take great pride in our extreme professionalism, timeliness and superior customer service on every job. We make sure to develop a lasting relationship so that the next time service is needed there will be no question on who to call. Check out our 5 star reviews from happy customers! Call us today so we can discuss your needs and make a plan that fits your budget. Satisfaction guaranteed!
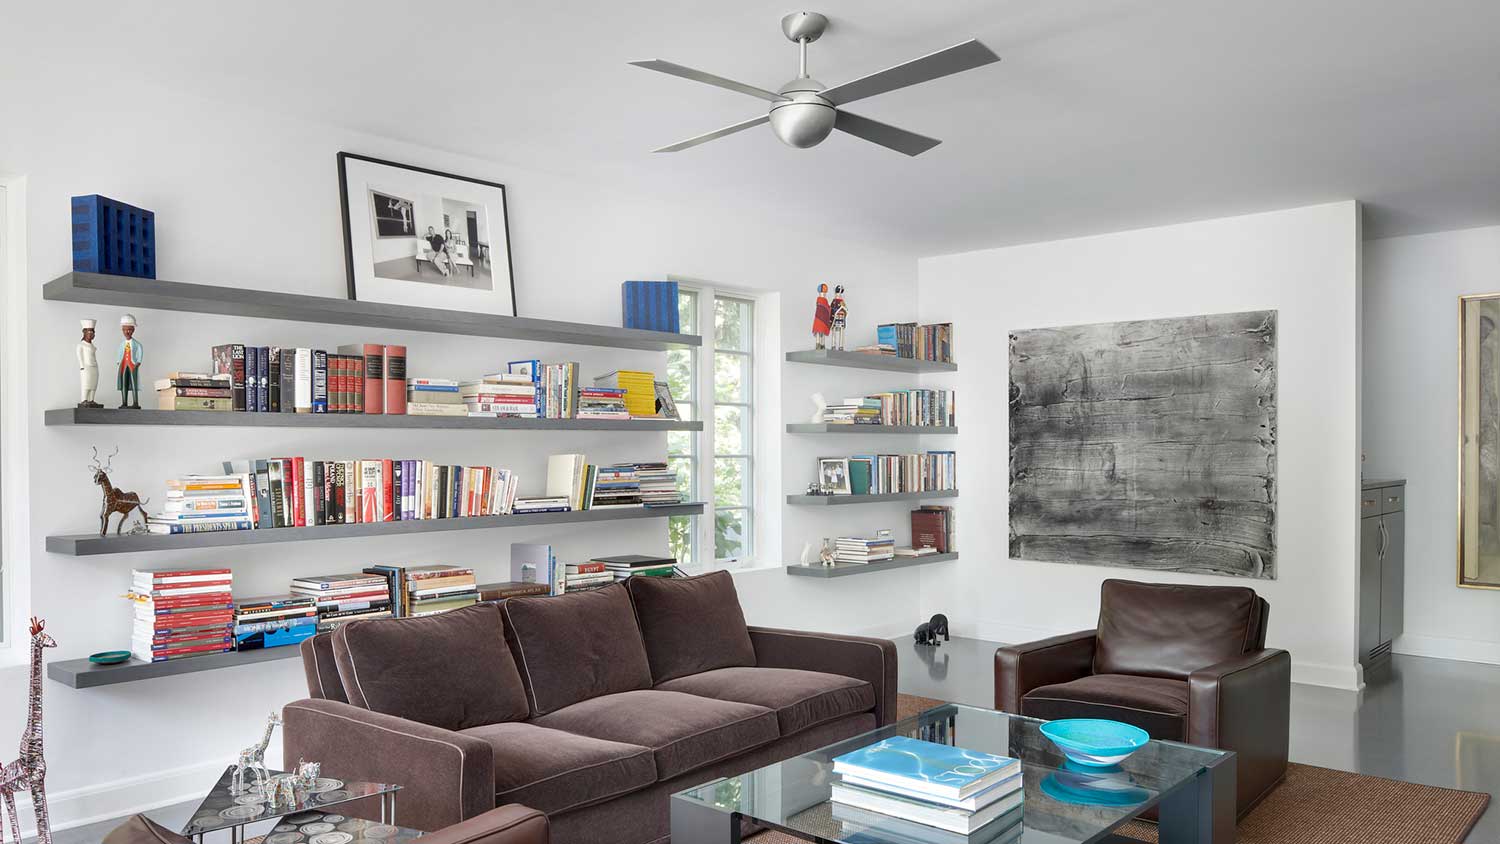
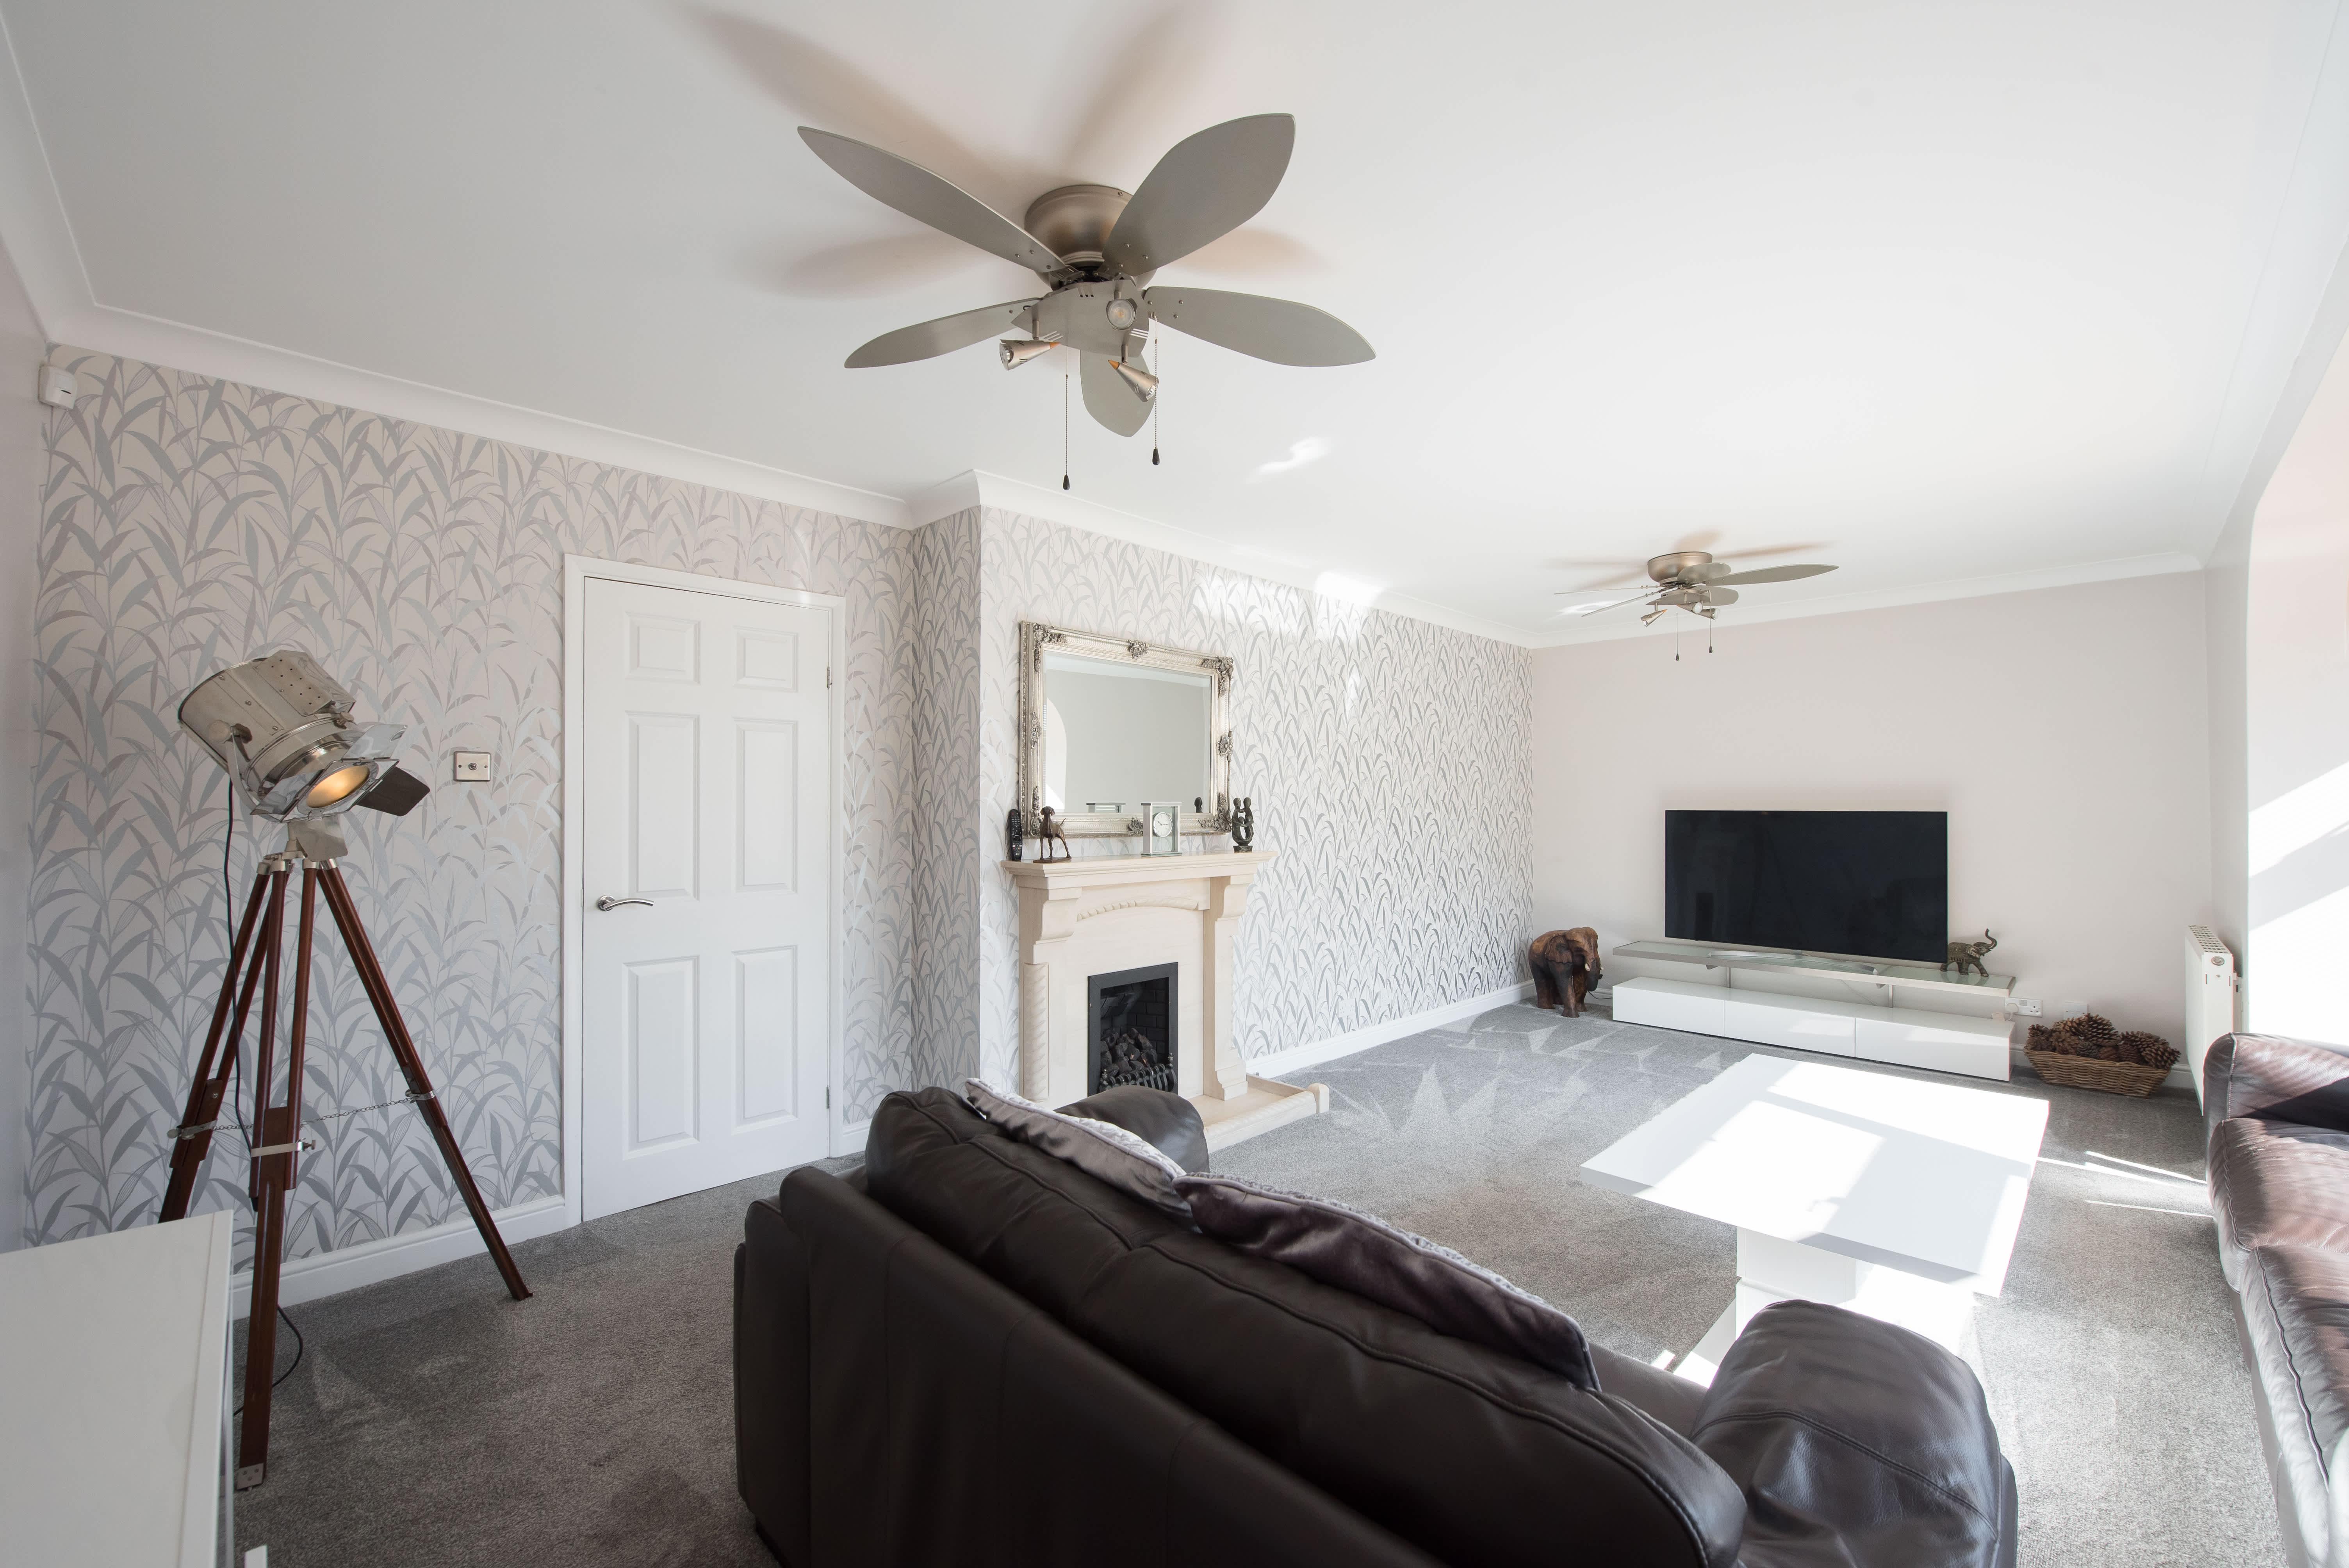
Ceiling fans are very often worth the investment because they improve comfort in your living space and help reduce utility bills. In the late spring and early fall—and even in the summer in some areas—homeowners with ceiling fans can often get away with open windows and fans, which can cut down on cooling bills and also reduce wear and tear on the HVAC system. Over time, ceiling fans can pay for themselves by saving you money on electric bills and air conditioner repair and maintenance.
Installing a ceiling fan where no wiring exists is a difficult and potentially dangerous job that should not be attempted as a DIY project. It is recommended to hire a certified electrician to build the necessary electrical infrastructure. In some areas, building codes require this work to be done by a professional to ensure safety and compliance. Due to the complexity, this type of installation is a significant job that could cost up to $2,000.
Fans not turning on, wobbling, noisy motors, or faulty remote controls are common issues requiring repair.
To determine if your ceiling box can support a fan, you must check if it is specifically fan-rated. Manufacturers are required to indicate this on the box itself. You may need to remove the existing light fixture to look inside the ceiling box for an inscription stating it is rated for fan use. If you do not see this confirmation, the box is likely not strong enough and must be replaced with a fan-rated junction box. For a proper and safe installation, you should also use a fan brace to secure the new box between the ceiling joists, which provides the necessary support for the fan's weight and motion.
In short, no. You can use the square footage range chart in this article to determine the right size ceiling fan for both indoor and outdoor spaces. However, weather elements can damage types of ceiling fans that aren't designed for outdoor use, so your ceiling fan should be weather-resistant if you plan to install it outside.
The Cooperstown, ND homeowners’ guide to ceiling fan services
From average costs to expert advice, get all the answers you need to get your job done.
Discover the cost to install a ceiling fan, including labor, materials, and tips to save. Learn what impacts your price and how to budget for your project.
Ceiling fans cool down your home while stylishly accenting your space. With a variety of types of ceiling fan on the market to choose from, you can’t go wrong.
Although the risk is low, there are a few telltale signs that a ceiling fan will fall off your ceiling. This guide explains when to worry (and when not to).
With the right size, ceiling fans are an energy-efficient way to cool a room. Use this ceiling fan size guide to find the perfect model for your space.