"Sales process was good, courteous and helpful. Installation instructions were easy to follow. Did have a small issue with one sensor which was easily solved with a call. Control panel is easy to use and well constructed. Phone app is the best part. Not a big fan of a 2 year contract and the monthly rate feels a little high, but definitely a decent system. I had emailed them a question pertaining installing on double hung windows and never received a reply, but other than that their phone support prior to that was good."
Ben Rogers Woodworking, LLC has more than 15 years of experience we are dedicated from start to finish providing our customers with the best quality of custom carpentry, siding, woodworking and more! Call now and let's get started!\n\nLocated in central Whitefish
In many cases, window tinting will boost your home value. If you’re selling your home, especially in a warmer climate, buyers are very likely to see immense value in window tinting, which improves the home’s energy efficiency and helps make the living space more comfortable. Buyers may also recognize the privacy and security improvements offered by window tinting, which could lead to them paying more for your home.
The most popular way to remove home window tint is by using a hairdryer. Most people already have one in their home, but if you don’t, you can buy one for as little as $15. All you need to do is turn the hairdryer to its hottest and highest setting and run it over the window tint for a few minutes. Then, you can easily peel it away. You may need some goo remover for any leftover adhesive, but this DIY could be free for many people.
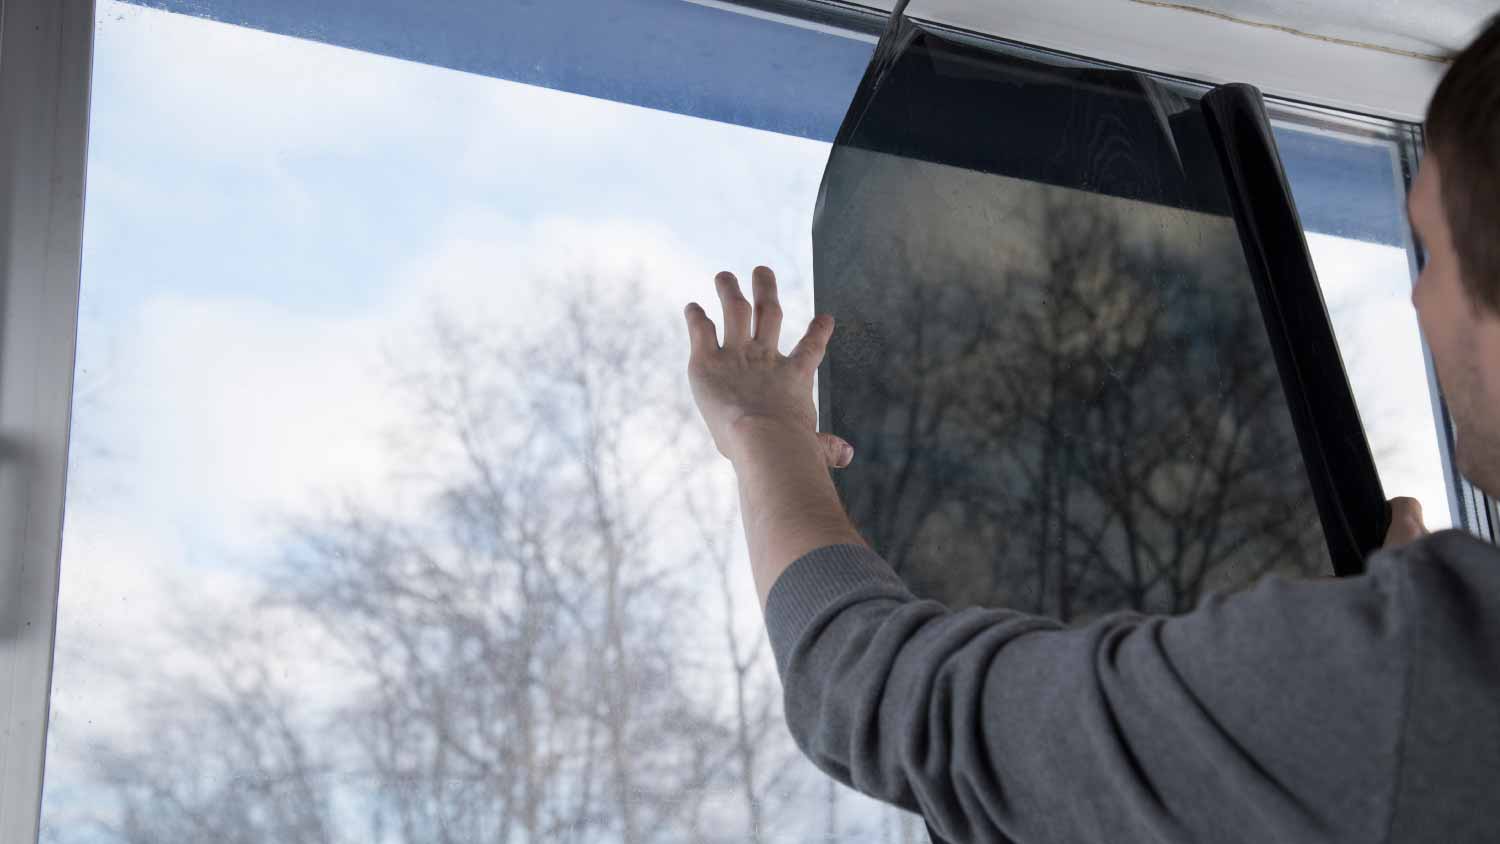
Do not use Windex or any glass cleaner when applying window film. These products contain ammonia, which will damage the film. Instead, use the application solution provided with the installation kit. If there is no solution, make your own using 1 teaspoon of baby shampoo and a gallon of bottled water.
Upgrade to double-glazed glass or apply energy-efficient coatings to reduce heat loss and utility costs.
If your window film doesn’t come with an installation kit and its own application solution, you can make your own—but don’t use soap! Instead, use 1 teaspoon of baby shampoo mixed with a gallon of bottled water. Make sure the bucket in which you mix this solution is completely clean.
The Kalispell, MT homeowners’ guide to window tinting services
From average costs to expert advice, get all the answers you need to get your job done.
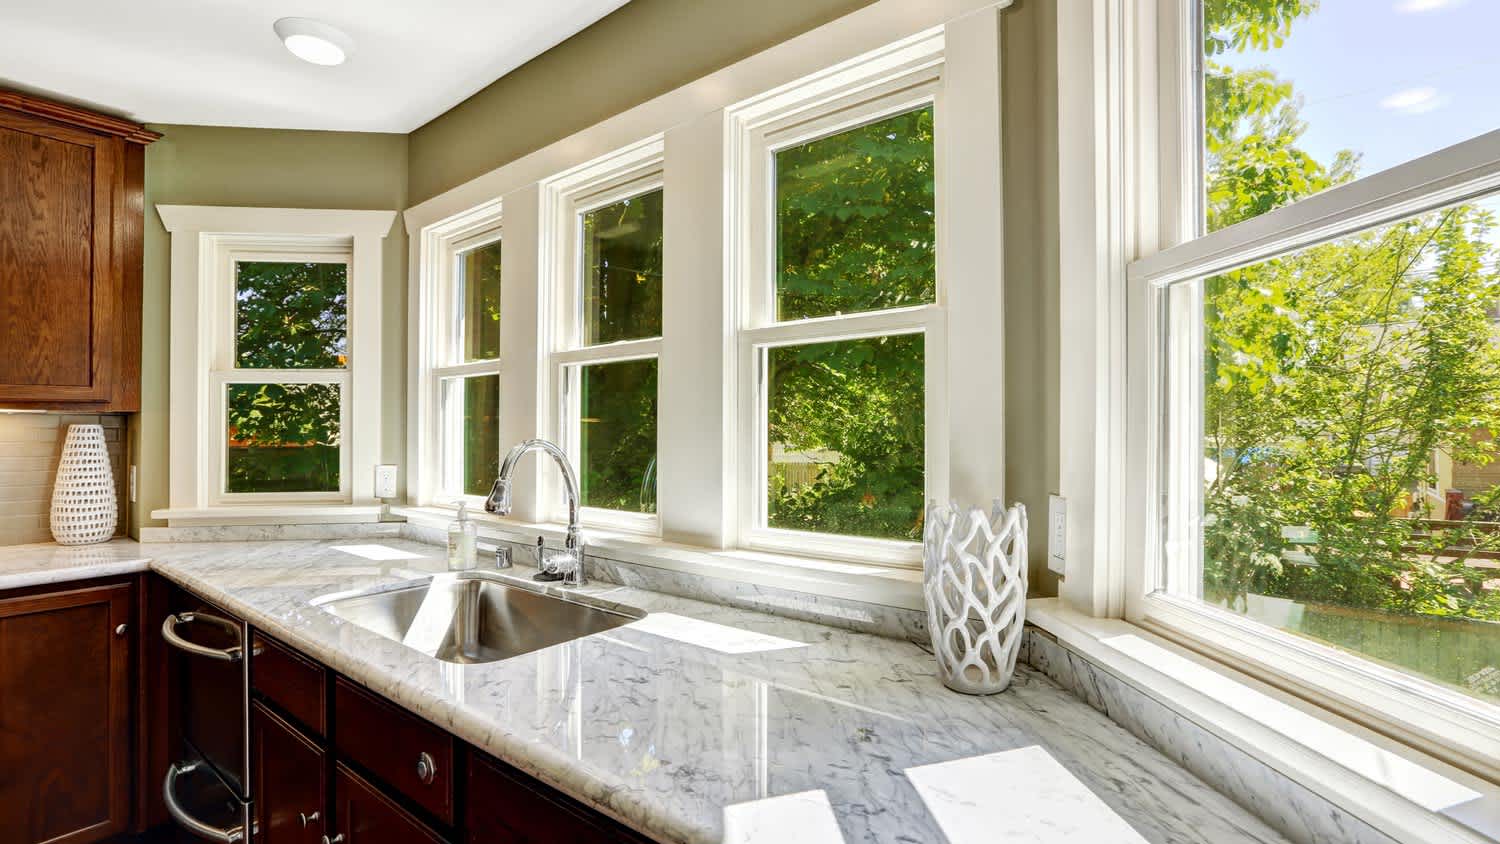
Can I tint my house windows? Home window tinting is a small upgrade that can yield major benefits. Here’s everything you need to know before taking the plunge.