



Top-rated chandelier installation pros.

Best chandelier installation pros near Bourne, MA

Enter your zip and get matched with up to 5 pros

Need a pro for your chandelier installation project in Bourne, MA?

Select your specific project to find the pro for you.

TRUSTED BY BOURNE, MA HOMEOWNERS

  • Average homeowner rating star icon4.7
    Average homeowner rating
  • Verified reviews icon384
    Verified chandelier installation reviews

Top-Rated Chandelier installation pros in Bourne - Updated Nov 2026

Avatar for Daniel Sinclair Electrician
Daniel Sinclair Electrician
5.0(
23
)

Serving Bourne, MA and surrounding areas

In business since 2023

Free estimates

Emergency services offered

"Daniel was very responsive, timely, good communication. Work was done quickly and well, I was very happy with the results. Had lights installed (sconces), ceiling fan, bathroom fan, outdoor Ring light and 3 Nest thermostats. All went well."
Additional Photos
Additional Photos
Additional Photos
Additional Photos
Additional Photos

+52

Recommended by100%of homeowners
Avatar for Big D Energy Solutions
Big D Energy Solutions
5.0(
12
)

Serving Bourne, MA and surrounding areas

In business since 2024

Free estimates

Emergency services offered

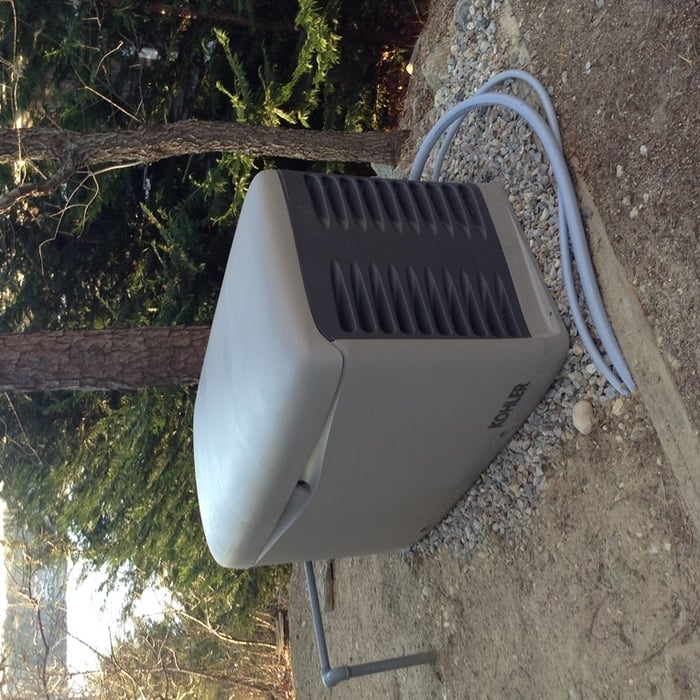
"Punctual and professional. All of the work was completed right on schedule. They upgraded my entire home and replaced electrical panel. Definitely hiring again; I have them scheduled to repair the sprinkler system electrical work and the fans in both my bathrooms. The cost was surprisingly affordable! I cannot recommend enough."
Electrical Project
Electrical Project
Electrical wiring upgrade
Electrical Project
Electrical Project

+74

Recommended by100%of homeowners
Bennett Painting Plus
3.8(
495
)

Serving Bourne, MA and surrounding areas

In business since 1982

Free estimates

Emergency services offered

"I contacted Bennett Painting Plus on May 27, 2015 to get an estimate on having painting done at a home that I was buying on June 22nd.  Fay replied to my AngiesList message with a day and would have come to give me an estimate right away, but unfortunately I didn't have access to the property until after closing.  We arranged for the estimate on site to take place on June 24th.  Fay and Burt ran about 30 min late, but they did call in advance to let me know they were running late, which I appreciated.  They gave me an estimate on the spot for $850 plus the cost of paint, which they would purchase for me and pass along their discount.  I knew the colors I wanted and passed that information along to them.  Luckily I wanted Benjamin Moore paint and that's what they also prefer to use, but would have used a different brand if I preferred.
I was very impressed that when they came to view the rooms and looked at the bathrooms, they mentioned that it looked that the mirrors were glued (they should have been mounted, not glued) and suggested that they help take them down right then. It was a great help that they did that because we couldn't have removed them ourselves. Plus, Burt put a first coat of Spackle on the holes left behind from the glue before leaving. This helped save time when they came to paint.
Fay called me the next day after the estimate and confirmed that they could paint the rooms on June 30th, which worked for me.
Fay, Burt, and another lady arrived on the 30th and put a first coat of paint on all the walls. Burt worked tirelessly to repair the bathroom walls damaged by the glue from the mirrors.  He had to put on three coats of Spackle and sand it down. Ultimately, they had to split the work into 2 days (June 30th and July 1st) because of paint drying time and the extra work needed to repair the walls. I didn't mind that at all because the delay was due to their focus on getting the job done right, rather than rushing through it.
Everyone was friendly, efficient, neat, and conscious of keeping the home clean and in good shape. Even with the extra work done to repair the walls, they honored their initial estimated cost ($850 plus the cost of paint, which came to $1,120), which I appreciated.
I really recommend Bennett Painting. They were easy to work with, responsive in their communication, and did great work.
"
HERE AT BENNETT PAINTING WE HAVE 35 YRS IN ALL PHASES OF PAINTING AND HANDYMAN SERVICE, WHEN IT COMES TO YOUR HOME THERE IS NOT MUCH WE CAN'T HANDLE, MANY REFERENCES, BONDED AND INSURED. NO JOB TO BIG OR TO SMALL, BIG JOBS BIG CREW, SMALL JOBS SMALL CREW. FREE ESTIMATES.
Additional Photos
Additional Photos
Additional Photos
Additional Photos

+34

Recommended by75%of homeowners
Showing 1-10 of 38
Chandelier Installation FAQs, answered by experts

Yes! As a matter of fact, there are many sensors that add motion to existing outdoor lights. These motion sensors attach to pre-existing flood lights and other outdoor lights without any fussy and potentially dangerous electrical work. Additionally, some flood lights and related fixtures ship with motion sensors built-in. 

The average cost to install a light fixture is $600, with a typical range of $200 to $1,100. The total cost depends on several factors, including the type and number of fixtures, wiring requirements, and your location. Additional costs may apply for removing old fixtures or for any necessary electrical or drywall work. Replacing an existing light fixture is generally less expensive than installing a new one because the wiring is already in place.

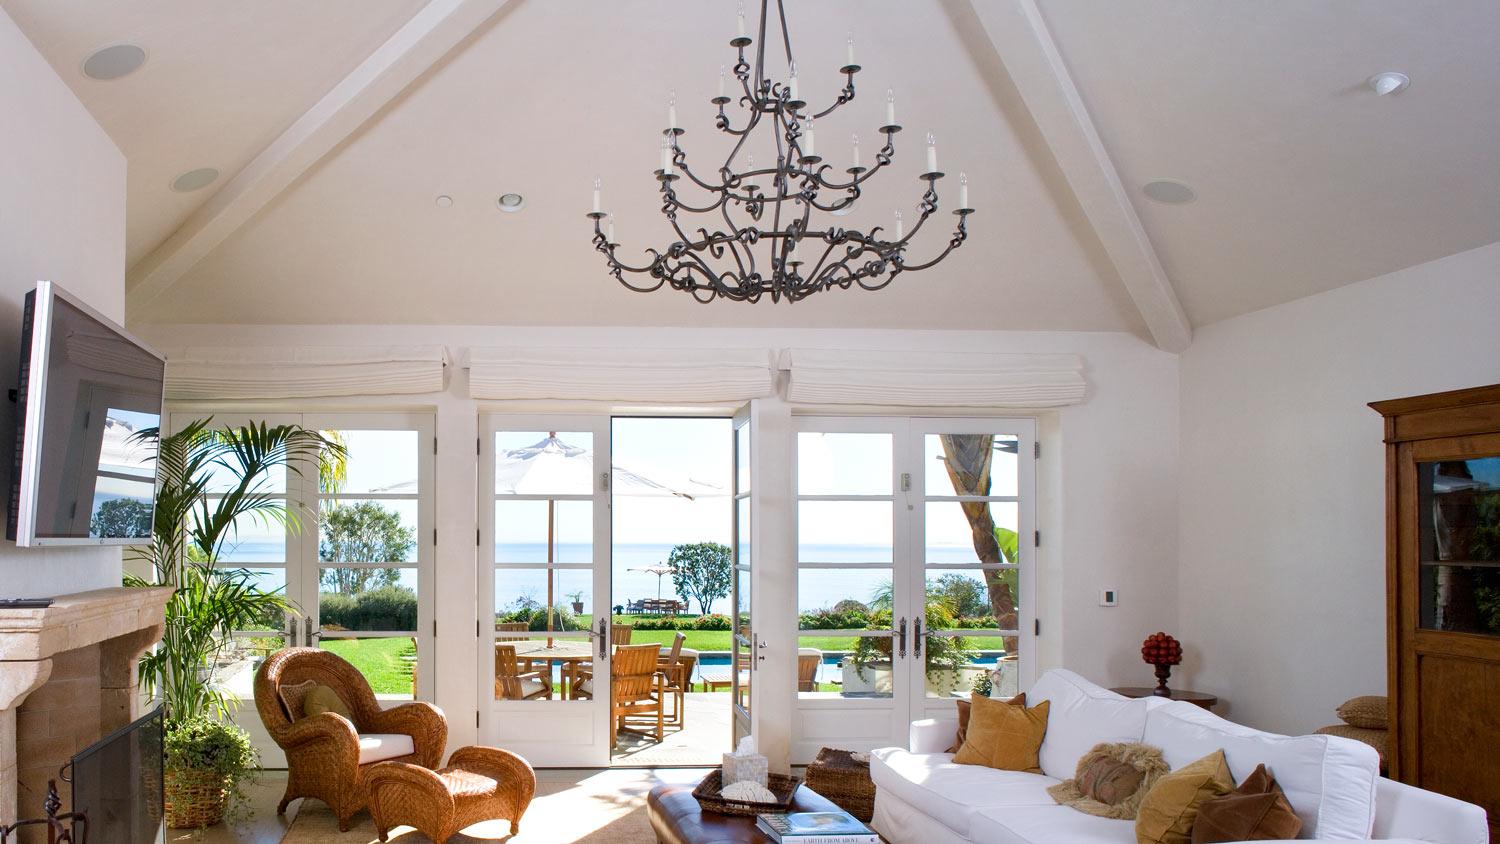
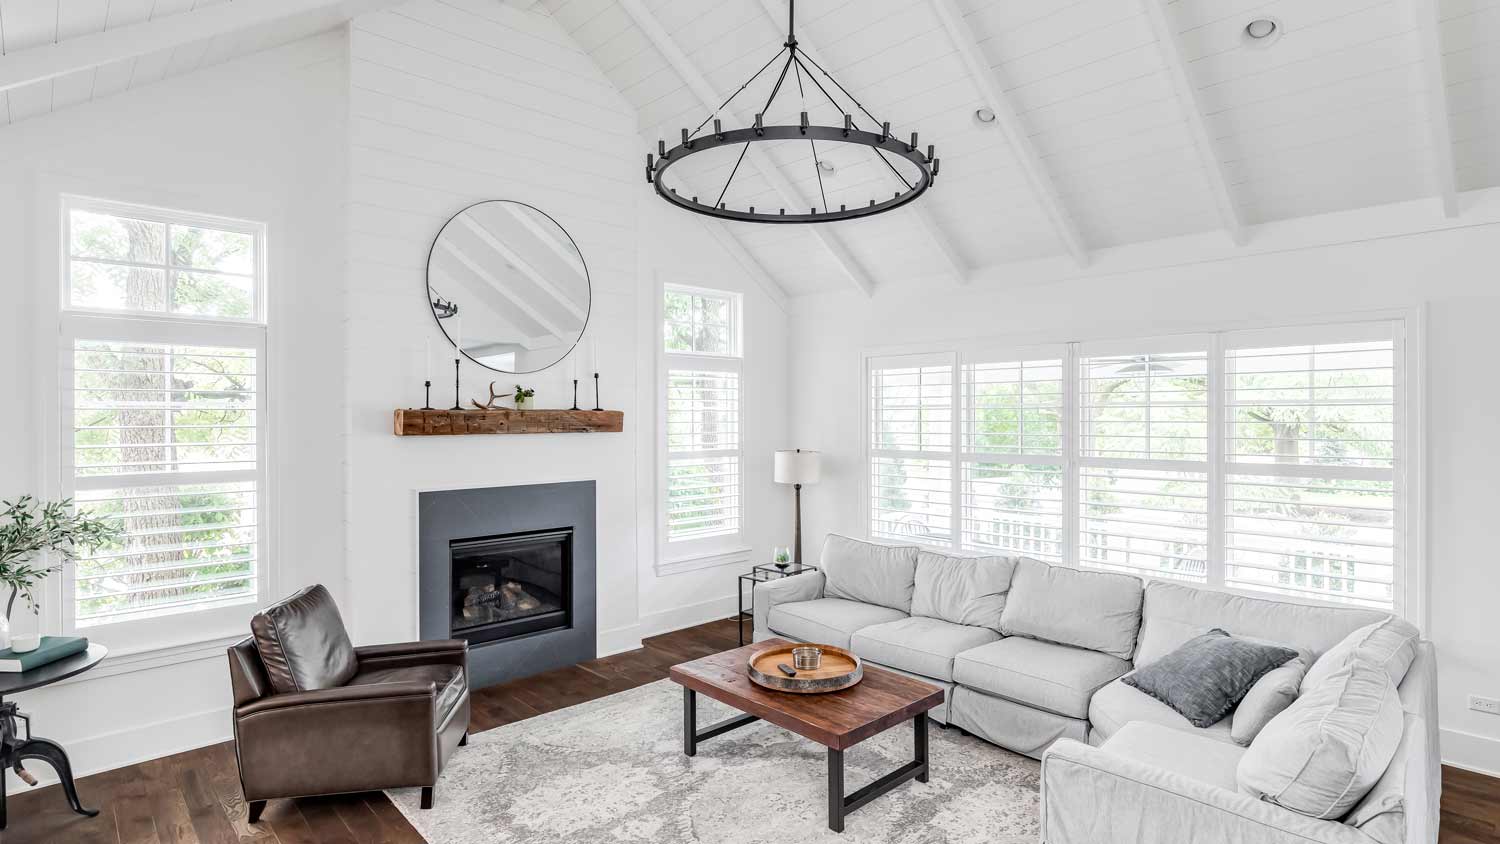
For high ceilings, chandeliers and pendant lights are great choices. They offer a decorative focal point to the room, while also illuminating the space. Track lighting may also be a good option for high ceilings as it allows you to position the lights around the space for all-over illumination.

It’s possible to remove a new construction recessed light without getting into your attic, though it’s a bigger job. You’ll need to identify the joist locations using a stud finder, then cut a square hole in the drywall of your ceiling to remove the fasteners holding the fixture. After removing the light, you’ll have to patch and paint the ceiling again.
To achieve the optimal lighting output from your under-cabinet lights, position the LED tape towards the front of the cabinet with the LEDs facing downward. For effective illumination of the work surface and backsplash, place the tape light approximately one to two inches behind the cabinet's front edge. This mounting configuration is especially suitable for dull or matte surfaces.

The Bourne, MA homeowners’ guide to chandelier installation

From average costs to expert advice, get all the answers you need to get your job done.