
•
Discover the cost of resurfacing kitchen cabinets, including average prices, key cost factors, and tips to help you budget and save on your next kitchen update.
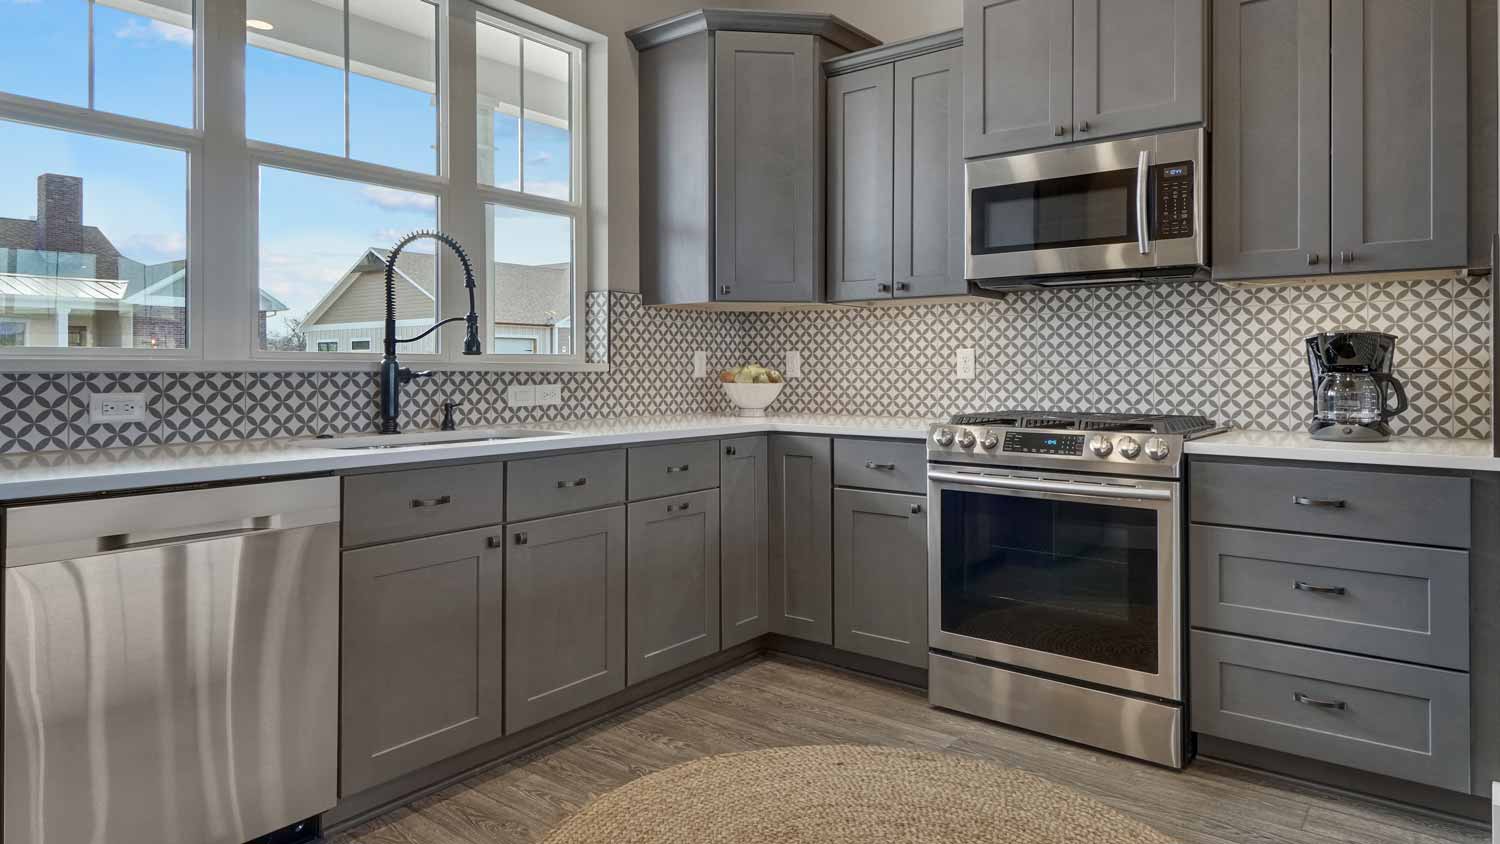
Breathe new life into your cabinets with a few tools and a little sweat equity

Cabinet refacing updates your existing cabinets by applying new veneer to the surfaces and replacing doors, drawers, and hardware for a refreshed look.
Expect to pay $4,500 to $10,550 for cabinet refacing, with individual door costs ranging from $30 to $100 plus hardware and tools.
You'll need to remove your cabinet doors and drawers, clean them thoroughly, apply plywood panels, measure carefully, and attach veneer before reassembling everything.
Hiring a local kitchen cabinet refacing professional provides expert veneer application and precise measurements, helping your kitchen transformation look polished and professional.
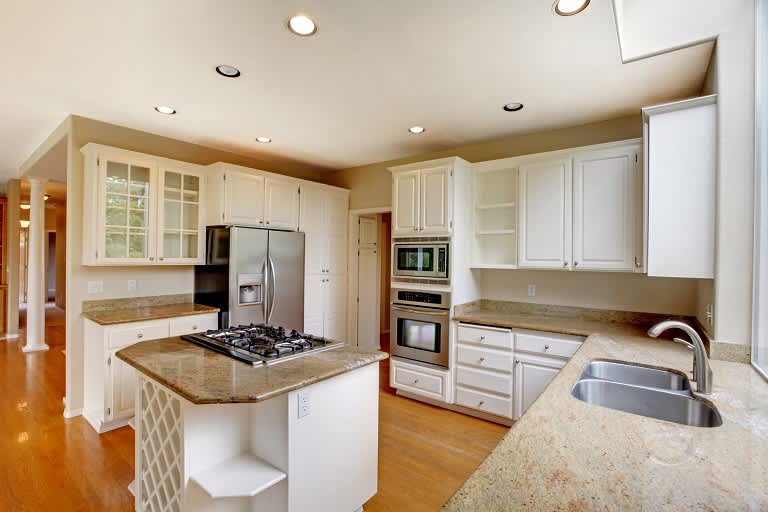
If you’re ready to give your kitchen a makeover, but are working with a small budget, think about cabinet refacing (also called cabinet resurfacing). The only catch is that your existing cabinet boxes need to be in good condition. That’s because with refacing, you keep the boxes, apply a new finish material to their surfaces, and replace the doors, drawers, and hardware. Read on to learn more about cabinet refacing and how it works.

Cabinet refacing allows you or a professional to transform your current cabinets and drawer fronts by putting a new veneer on the existing surface to refresh the look and give your cabinetry new life. Often, the door hinges and cabinet hardware also get an upgrade, so your kitchen looks almost brand-new without the price tag of an extensive renovation.
Although cabinet refacing will save you money in comparison to replacing your cabinets, it’s still not a low-cost project. You can expect to spend anywhere from $30 to $100 on each cabinet door, and that doesn’t include the money you’ll spend on new hardware or tools.
In total, cabinet refacing costs about $4,500 on the low end to $10,550 on the high end, depending on what material is used to reface your cabinets and how many cabinets will need refacing.
You can attempt to reface your kitchen cabinets as long as you have the time, patience, and attention to detail necessary to complete this DIY project. The more hands that are able to help, though, the better, especially if you have a large kitchen with several sets of cabinets to reface.
If you’re wary of your DIY skills or don’t have the spare time to do it solo, you can certainly contact a cabinet refinishing contractor near you. A cabinet refacing pro will provide the skills, tools, and experience necessary to transform your cabinetry quickly and effectively.

If you’ve ever applied wallpaper, you’ll probably be well prepared to apply veneer to your cabinets or drawers. As long as you have the necessary tools, materials, and patience, the refacing process should only take a few days to complete. The steps below can help guide you through refacing your cabinets to look brand new.
Using a screwdriver, remove all of the hinges from your cabinet doors and remove them from the boxes. Make sure to label each drawer and the box it attaches to with the same number on a piece of tape, so you know where to reattach them. You’ll also want to remove your drawers and label them as well before you start refacing them.
Whether you have drawer pulls, knobs, or handles, you’ll want to remove the hardware on your cabinets and drawers with a screwdriver. If you plan to replace your current hardware with new hardware, you may want to fill in any holes with wood filler if your new hardware has less holes or is a different size than what you currently have.
Refacing your cabinets will be much easier if you remove residue, grease, or dust before you put new fronts on. To properly clean your cabinet doors and drawer fronts, you’ll need to put on a pair of latex gloves and give the cabinets a deep clean. Once the doors and drawer fronts are dry, lightly sand them down with a medium-grit sandpaper (#60 to #80 grit) and wipe them down with a dry cloth.
Before applying your new veneer, you’ll need to take plywood panels and cut them into ¼-inch pieces and adhere them to the cabinet doors with carpenter glue. Secure the plywood pieces with finishing nails and wait for the glue to dry before sanding for a smooth surface.
Once the plywood is in place, you will need to measure the width and length of the cabinet doors to know how big your veneer pieces will need to be. After you’ve recorded your measurements, cut the veneer into strips using a utility knife and a straight edge. Each strip should be about ½-inch wider than the width of your cabinets and 2 inches longer than their length.
Line your first piece of veneer up so that it overhangs a bit from the cabinet stile (length). Peel the backing away and press the veneer into place, flattening it out with a credit card or a flat block. Repeat this step with the adjacent stile, then trim the excess material off with your utility knife and a straight edge.
Apply the veneer to your cabinet front, making sure to cover and overlap the stiles. Then, use a carpenter square to match up the two pieces of veneer and cut through both pieces with a utility knife. Remove the excess and smooth out any bumps before repeating with the other cabinet fronts.
Once everything is dry and cured, it’s time to put the cabinets and drawers back in their place and get your kitchen or bathroom back in working order. Match up the labeled numbers on the doors, drawer fronts, and boxes and screw your cabinet doors into your hinges to secure them in place.
Slide your drawers back into place and screw your cabinet and drawer hardware into place. If you filled any previous holes, you may need to screw new holes into the doors and drawer fronts before adding the hardware.
This company does it right. Firstly, I want to say that Landan was a joy to work with. He was so kind, transparent, and had everything under control. His entire team showed up ready to work and they were all very respectful of the fact that we were in an office space. A little backstory – we...
Terrible experience. Walls/trim/floors/cabinets/doors all have drip marks, overspray, etc. Tiling at the fireplace had to be redone by another vendor due to incorrect and shoddy install by Profect. Contractor had his children in our house while he was on site without prior authorization or...
 Profect painting & exteriors
Jason has helped me with multiple household projects, with the most recent being new door installation. He has always showed up on time and organized and has done an incredible job! Jason is very professional and he's now my go-to for anything around my house that needs to be fixed or...
Cole has been handling plumbing and general contracting for our four properties over the past three years, and he’s always done a great job. Most recently, he installed a sink and countertop in our retail store where none existed before, and it turned out exactly how we needed. He’s...
 ANB Renovations LLC
1st Choice Renew is simply the best! We hired them for a complete home renovation, and they transformed our space into something truly amazing. The team attention to detail and commitment to quality were evident throughout the project. They were easy to work with, very responsive, and always...
I am highly satisfied with the window replacement service I received; the professionals from Savvy Exteriors were punctual and did an amazing job that exceeded my expectations.
This company is my go to resource for all my post renovation clean ups. They get the place spotless! All we have to do after is stage the place and sell, sell, sell! They are super professional and have some amazing scent that is left in every property. I highly recommend!
My kitchen cabinets look brand new thanks to Custom Paint Jobs LLC. Their refinishing is exceptional.
On time, clean and finished fast. Windows seem sturdy and the finish is good. Caulking was done with no smudges. Would recommend.
Great job...edging and pre clean up went well with a great job with seal coat. Friendly, efficient and professional.
 All Star Paving and Sealing
From average costs to expert advice, get all the answers you need to get your job done.
Discover the cost of resurfacing kitchen cabinets, including average prices, key cost factors, and tips to help you budget and save on your next kitchen update.
When refinishing your cabinets, you’ll need to consider the condition of your cabinets, budget, color, and stain preference. Find the cost to refinish cabinets in this guide.
Get a clear estimate of cabinet repair costs. Learn what impacts pricing, compare repair types, and find ways to save on your next cabinet repair.
If your cabinets need an upgrade, consider whether you should reface or refinish them based on the type you have in your home using our helpful guide.
Learning about problems with refacing kitchen cabinets can help you avoid common errors before and during your kitchen upgrading project.

Unsure who to hire for cabinet refacing? See which pros to call for cabinet reface, compare options, and learn the process before you book.