
Staining wood may seem like a simple DIY project, but there’s more to it than you may think. Learn how to stain wood like a pro with this easy-to-follow guide.
Stain the wood without straining your patience

Choosing the best woodworking staining tips starts with matching stain type to your project, as oil-based stains protect exterior wood while water-based stains dry faster for indoor use.
Quality tools make wood staining easier, so grab synthetic brushes for water-based stains and natural bristle brushes for oil-based options, plus sandpaper in multiple grits.
Sanding before you stain opens the wood pores for better absorption, and applying conditioner helps you avoid blotchy results, especially on uneven-grained or porous wood surfaces.
Hiring a local interior painting professional takes the guesswork out of staining cabinets or trim, handling prep work, application, and finishing so your project turns out right.
Wood stain is pretty amazing. It changes the color of wood while still allowing the natural grain and texture to shine through. It even provides a fair amount of protection against the elements. However, wood stain can be finicky to apply correctly, leaving many amateurs scratching their heads. That's where we come in. Here are some useful tips for staining wood to get pro-level results.
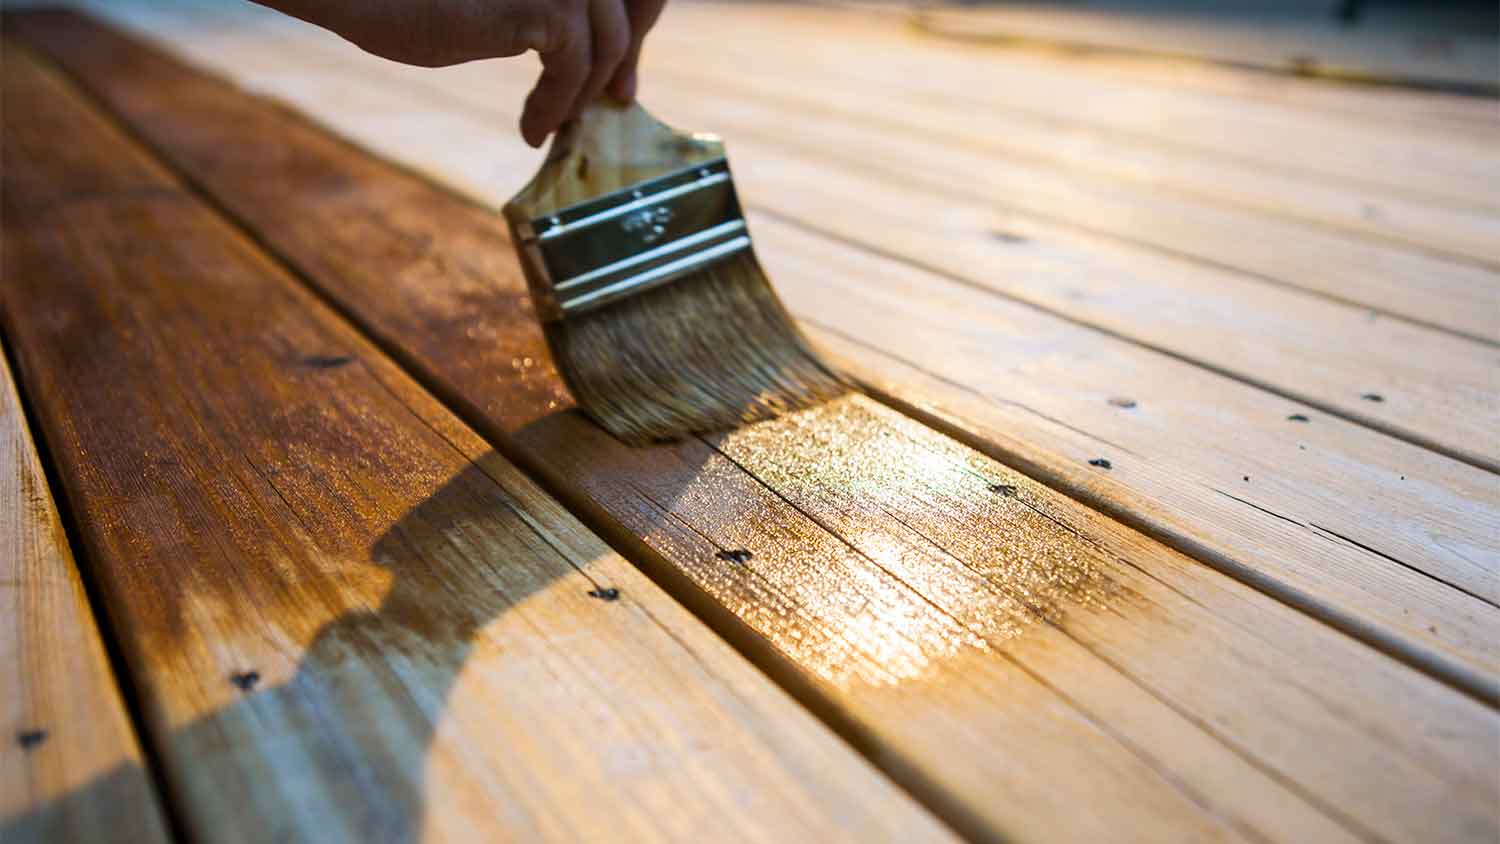
There are two basic stain options. Oil-based stains are primarily used on exterior wood, as the oil helps protect the fixture from the elements. However, it takes a long time to dry and smells awful, so it’s not ideal for indoor use.
Water-based stains are less durable but better for indoor projects. The drying time is significantly reduced, and the smell is downright pleasant compared to oil-based stains.

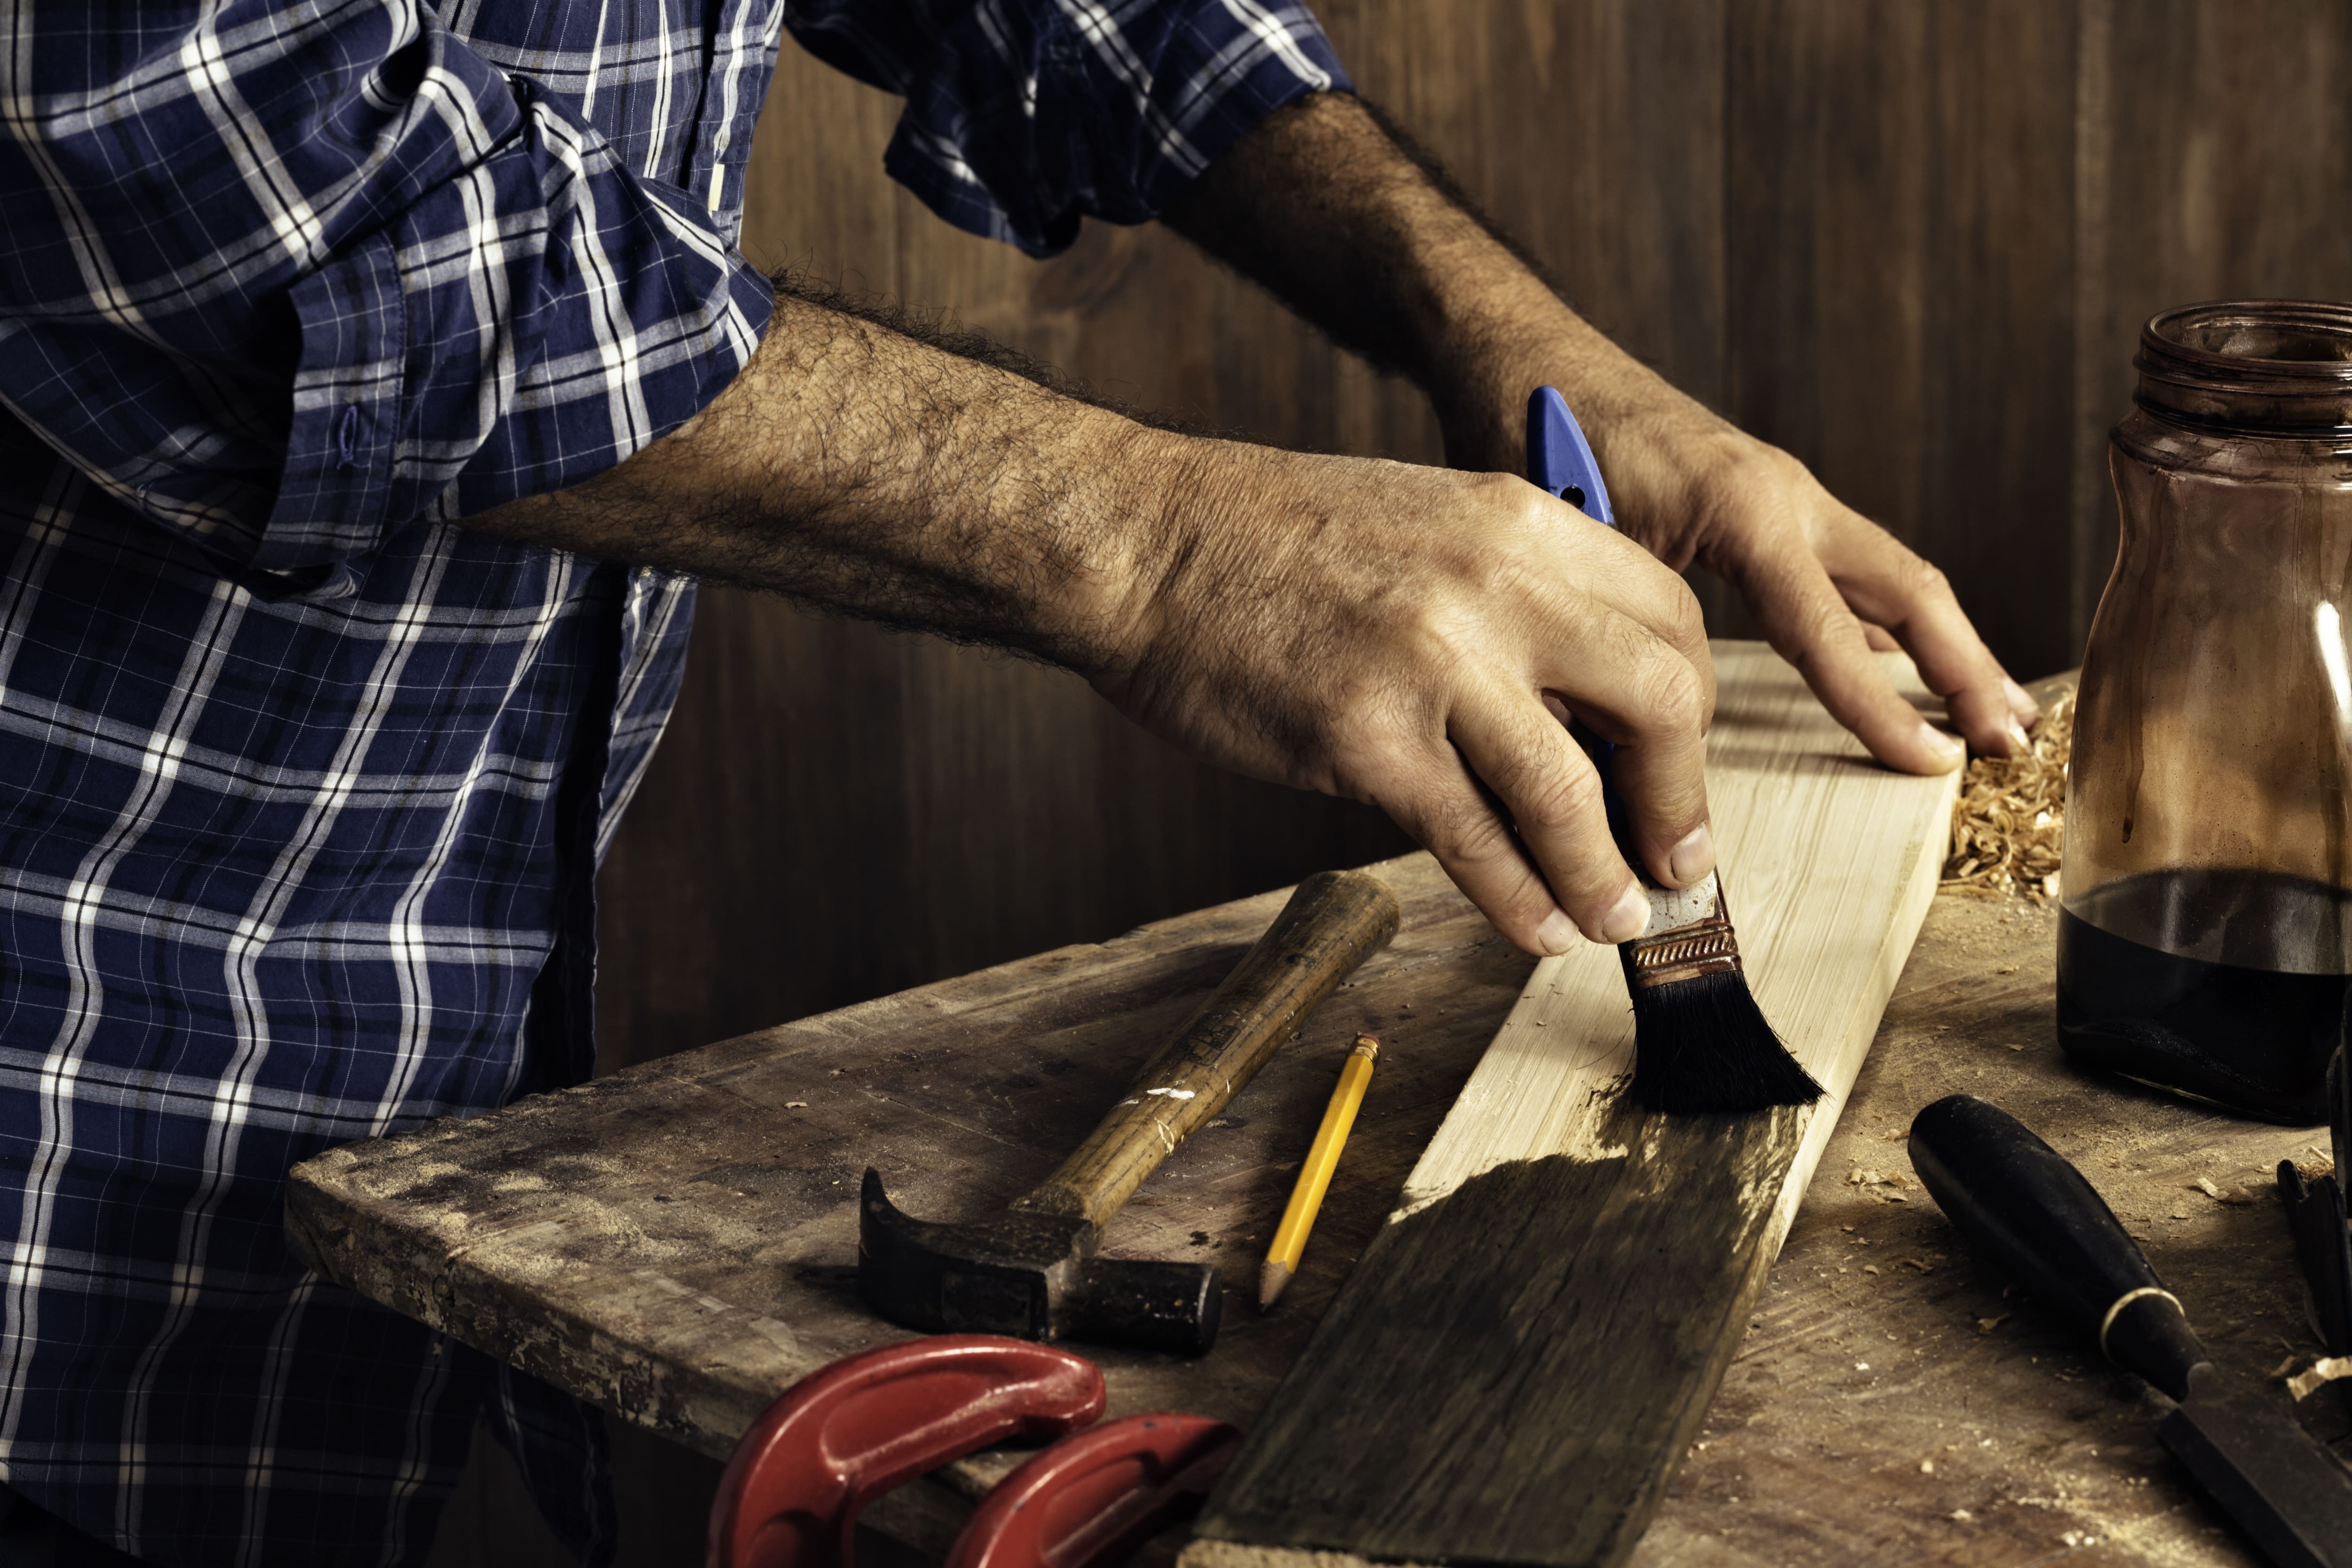
Opt for high-quality paint brushes, which will offer better coverage and help you finish quicker. If using a water-based stain, use a synthetic bristle or foam brush. For oil-based stains, try a natural bristle brush.
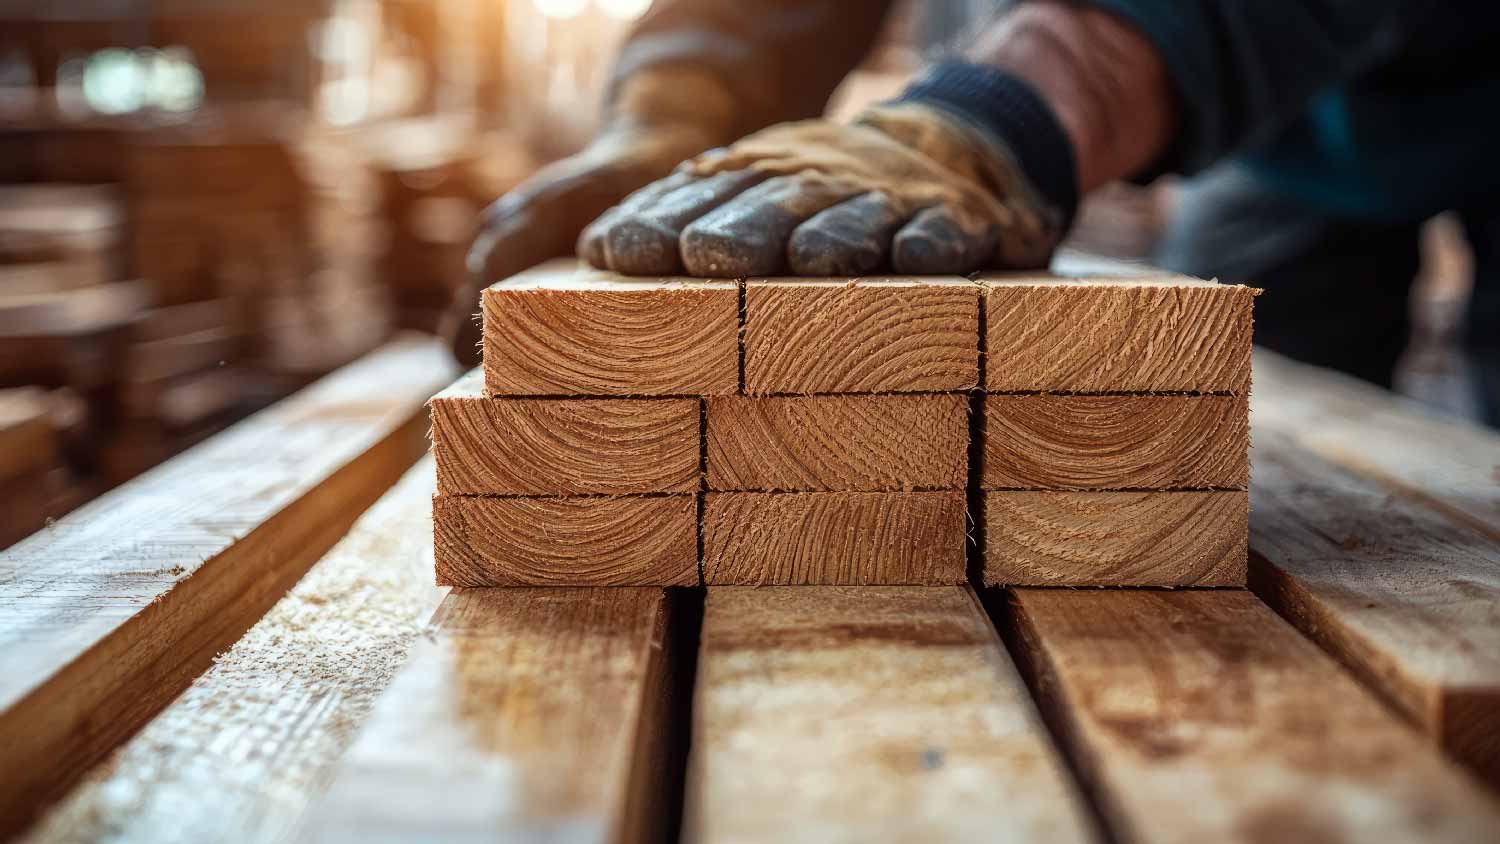
Grab some sandpaper and have multiple grits on hand. We recommend having 120, 180 and 220 grit sandpaper, just in case. Finally, scoop up some wood conditioner, finish and sealant. Make sure the sealant is compatible with the stain you chose.
We strongly recommend sanding the wood before applying a stain for a more even coat and better result. Sanding opens up the pores, making for better absorption.
Conditioner helps achieve a more even and consistent stain color, which works particularly well on porous or uneven-grained woods. Skipping this step could lead to blotchiness.
The trick to applying stain like a pro? Work quickly, but carefully. This is because stain sets rather quickly. You want to finish applying the stain within two hours of applying the conditioner.
For the application process, use thin and even strokes. Start with small layers, as too much stain at once could make things too dark. Depending on the size of the fixture, use a paintbrush or even a cloth here.

Staining wood is exacting, and DIYers may not always find optimal results. Consider contacting a local painter or wood stain specialist to guarantee the job gets done correctly. These folks stain wood every day, from decks to cabinets, and will suss out the best type of stain for the job. They'll also handle all aspects of a project, from sanding to applying a finishing sealant. Staining wood cabinets costs anywhere from $4 to $15 per square foot, while staining a deck costs $1 to $7 per square foot.
Custom Paint Jobs LLC is the go-to choice for all your painting needs. They painted both the interior and exterior of my house flawlessly. Their work speaks for itself!
Beginning with the estimate, Larry and Peyton were super helpful in getting my new condo's interior re-painted. Not only was the job well done, but also done in a super timely manner as promised.
 Five Star Painting of Plain City and Powell
From average costs to expert advice, get all the answers you need to get your job done.
Staining wood may seem like a simple DIY project, but there’s more to it than you may think. Learn how to stain wood like a pro with this easy-to-follow guide.

Removing wood stain is the first step in restoring your furniture, deck, or fencing. This four-step guide will show you how to strip stain from wood.
Can you stain pressure-treated wood? You can indeed stain your pressure-treated wood to help it last longer and look its best.

Left with a sticky mess instead of a beautifully stained wood project? Learn why your wood stain isn’t drying and how to fix the problem.
Stain protects your wood and enhances its natural beauty. Learn how long it takes for stains to dry based on your project, the type of stain, and the weather.

Painting or staining wood surfaces can give your home an entirely different look. If you aren’t sure which way to go, use this guide to decide which one is best for your next project.