
These helpful tips can teach you how to remove spray paint from practically any surface, including skin, stone, plastic, glass, and fabric.
Avoid drip drama with these smart strategies

You need proper ventilation when spray painting indoors, as volatile organic compounds from aerosol paints can cause breathing difficulties, headaches, and nausea.
Spray painting works best outdoors when temperatures stay between 55°F and 80°F, as extreme heat causes paint shrinkage while high humidity affects adhesion.
Your spray technique improves when you test on cardboard first, stay 6 to 10 inches from the surface, and apply several thin coats.
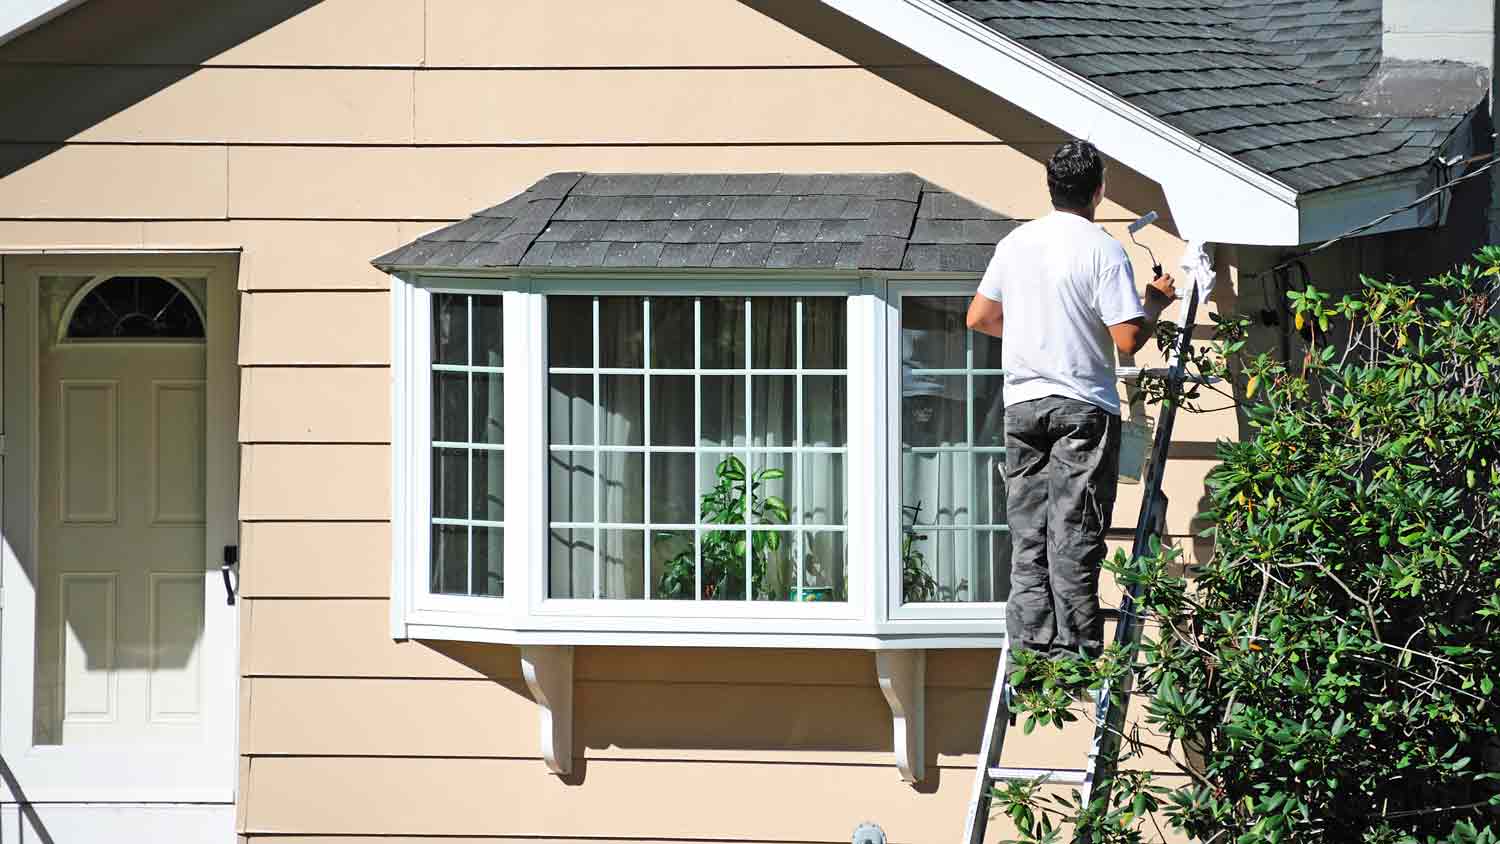
Hiring a local interior painting professional provides reliable support for large projects like coating walls or cabinets, keeping your finish smooth and drip-free.
Using a can of spray paint to cover tired patio furniture or a paint sprayer to coat your home’s exterior is a simple and speedy way to breathe new life into home and yard surfaces. However, sloppy paint sprayer skills can lead to drips, streaks, spatters, and safety issues.
We've got you covered if you’re worried about not getting things right when pressing that nozzle or trigger. These eight tips for spray painting and paint sprayer application will help you achieve a pro finish.
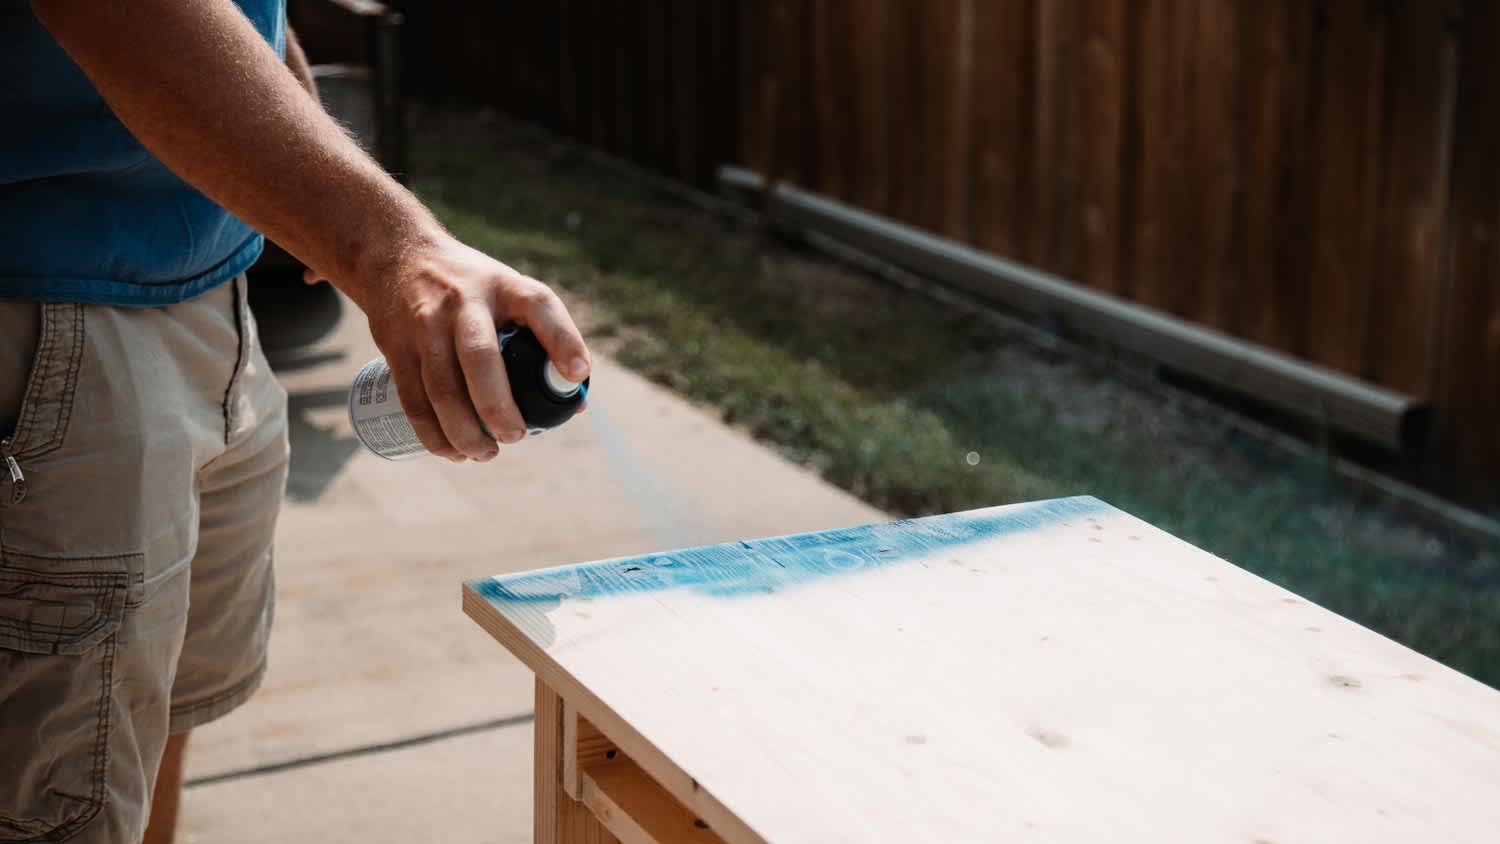
Applying paint from a can is ideal for small-scale DIY spray painting projects, such as freehand designs on accent walls, spray painting kitchen cabinets, dressers, and metal or wood patio sets. Rust-resistant, lacquer-based products are ideal for outdoor projects on flexible surfaces.
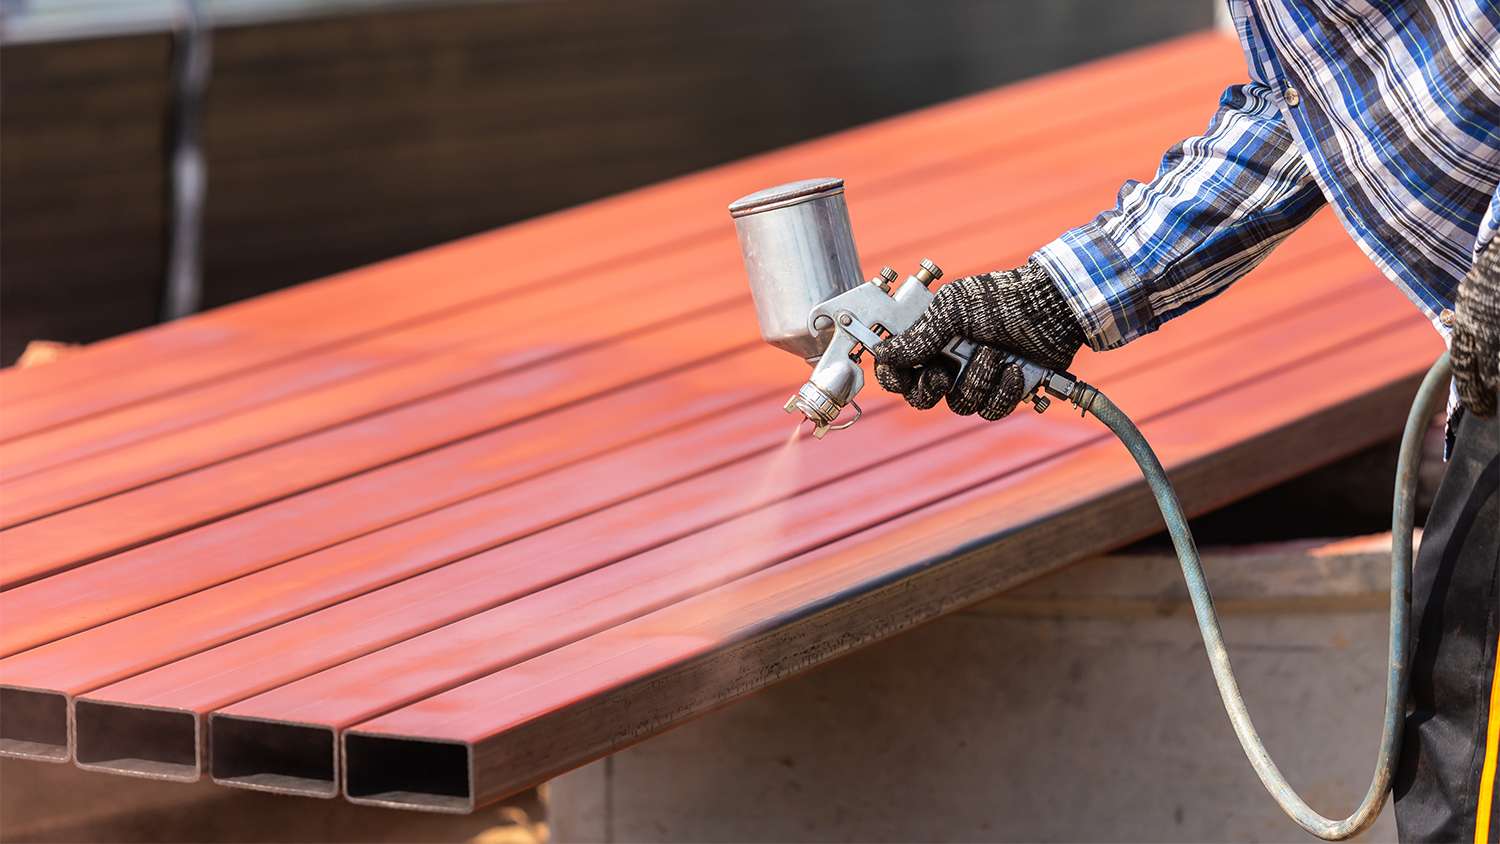
For large projects like painting exterior walls, a paint sprayer is better than a can. Learning how to use a paint sprayer means quickly and smoothly covering the walls of multiple interior spaces or the expansive siding of your home.

Whether you’re spray painting patio furniture or using a paint sprayer to cover entire walls, this is a messy DIY project. Aerosol paints can quickly spread to surfaces you don’t want them on if you don’t take proper protective measures, and removing spray paints isn’t quick or easy.
Cover surrounding floors, furnishings, or flower bed borders with heavy-duty plastic covers or masking film and hold them securely in place with painters' tape. Drop cloths, cardboard, and newspaper can be a good first line of defense, but paint can bleed through these absorbent materials.
When planning exterior paint projects, check the forecast and pick a calm, cloudy, but not rainy day. If it's too hot, spray paint could shrink around the edges or produce air bubbles as it dries—ideal outside temperatures are between 55°F and 80°F. If it's too humid, the paint can take too long to dry, causing problems with adhesion. On gusty days, you can experience paint wastage, poor coverage, and drifting.
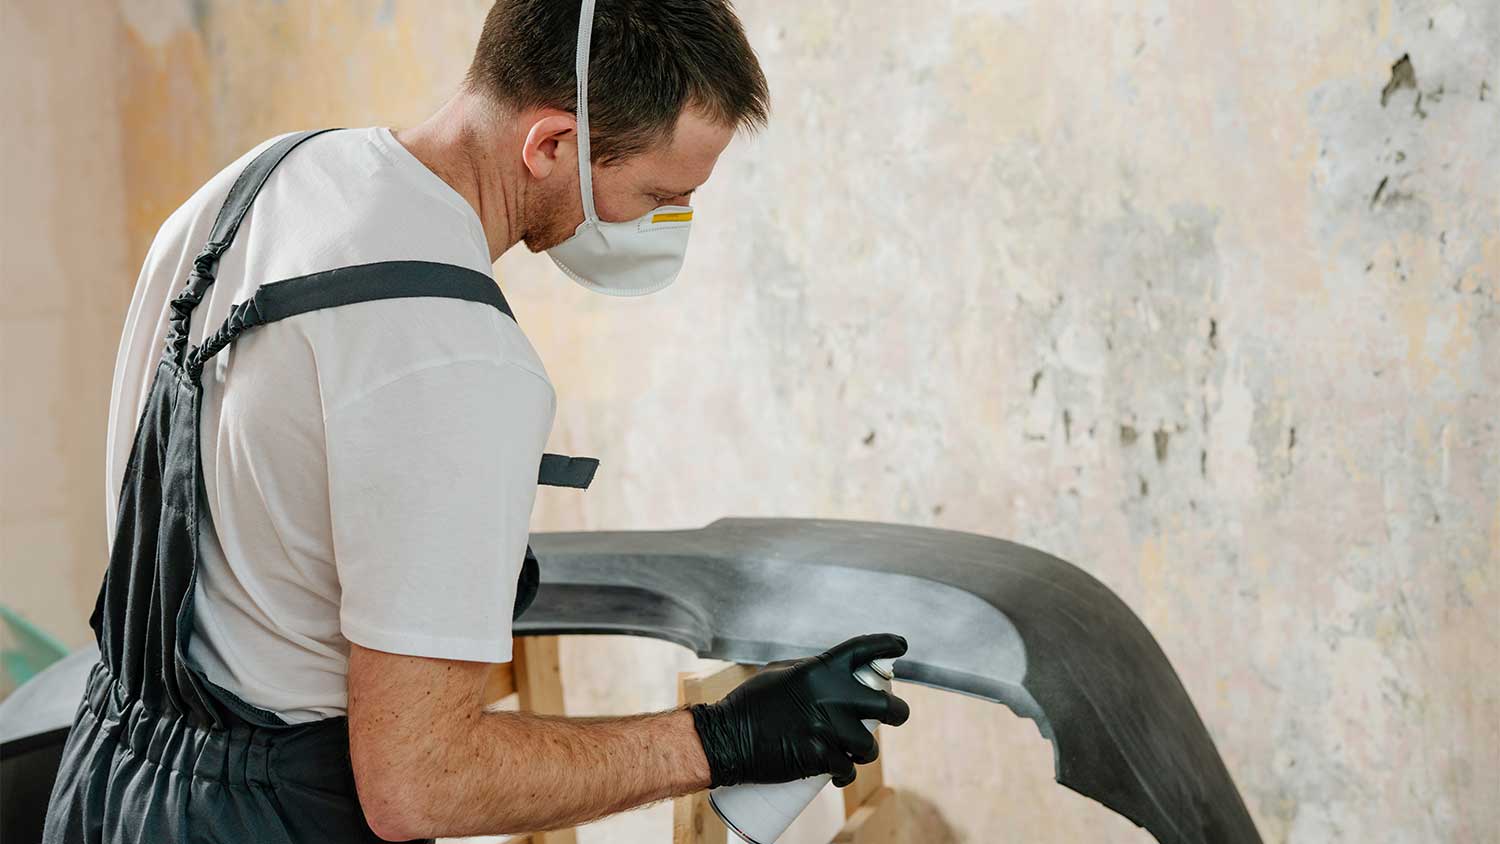
Unless you're painting indoor walls or chunky furniture items that are hard to move, it’s best to spray paint outdoors. Aerosol paints release volatile organic compounds (VOCs). Inhaling these fumes can cause breathing difficulties, eye irritation, headaches, nausea, and dizziness.
If you must apply the paint indoors, ventilate the space well by opening windows and using a fan to direct airflow outside. We recommend wearing a half- or full-face respirator with cartridges rather than a standard face mask.
The liquids and gases in spray paint cans separate when left sitting. You’ll get a good arm workout as you need to shake the can for at least two minutes at the start and periodically throughout your project. This blends the mixture of pigments, solvents, and propellants and helps prevent uneven coverage or nozzle clogging.
Press the nozzle or trigger and you're off, right? Not quite. Testing your tools and sweeping spraying technique on a large scrap piece of cardboard, wood, or other surface first helps you achieve a smooth, uniform, drip-free finish. Start 6 to 10 inches away from the surface and assess the effect. The further away you spray from the surface, the thinner and wider the coating application will be.

Yes, a paint sprayer is quicker than a roller, but it still requires patience. Get into an even rhythm when spraying your surface, allowing each line to overlap by around one-third to prevent patchiness. Several thin coats rather than one thick one produce a smoother look, as does spraying beyond the finishing point to prevent a heavy buildup along edges that can run. If you struggle to get a flawless finish, hire a local paint professional.
Don’t throw your finished can straight into the trash. These pressurized aerosol cans contain flammable propellants that can be a fire or explosive risk if punctured or exposed to heat. They often also contain hazardous chemicals. Check your local regulations for how to dispose of hazardous household waste.
If you plan to use this pricey investment again, take time to properly clean out your spray painter. Run a pump preserver through the system and clean or replace filters. If an efficient airless model is the best paint sprayer for your project, you may need to lubricate the system with a manufacturer-approved piston oil.
Custom Paint Jobs LLC is the go-to choice for all your painting needs. They painted both the interior and exterior of my house flawlessly. Their work speaks for itself!
Beginning with the estimate, Larry and Peyton were super helpful in getting my new condo's interior re-painted. Not only was the job well done, but also done in a super timely manner as promised.
 Five Star Painting of Plain City and Powell
From average costs to expert advice, get all the answers you need to get your job done.
These helpful tips can teach you how to remove spray paint from practically any surface, including skin, stone, plastic, glass, and fabric.

Spray painting can be a fun way to revamp old furniture. With a couple of simple techniques, you can get started on that long-awaited DIY paint project at home.

Looking for a DIY project to spruce up your space? These easy spray paint ideas are ones even beginners can do without prior experience.
How long spray paint takes to dry depends on the type of paint, the surface, the climate, and more. Keep reading to discover your spray paint’s dry time.
For painting car parts and other metal surfaces, powder coat spray paint is often the way to go thanks to its durability and environmentally-friendly factors.
The truth to the question, “Is it better to spray or roll on exterior paint?” is that both have pros and cons, but a few factors will help you decide on one.