

•
Discover the average stucco repair cost, key price factors, and ways to save. Get expert tips to budget your stucco repair project with confidence.
Don’t get stuck with cracked stucco when a DIY repair is as easy as 1-2-3

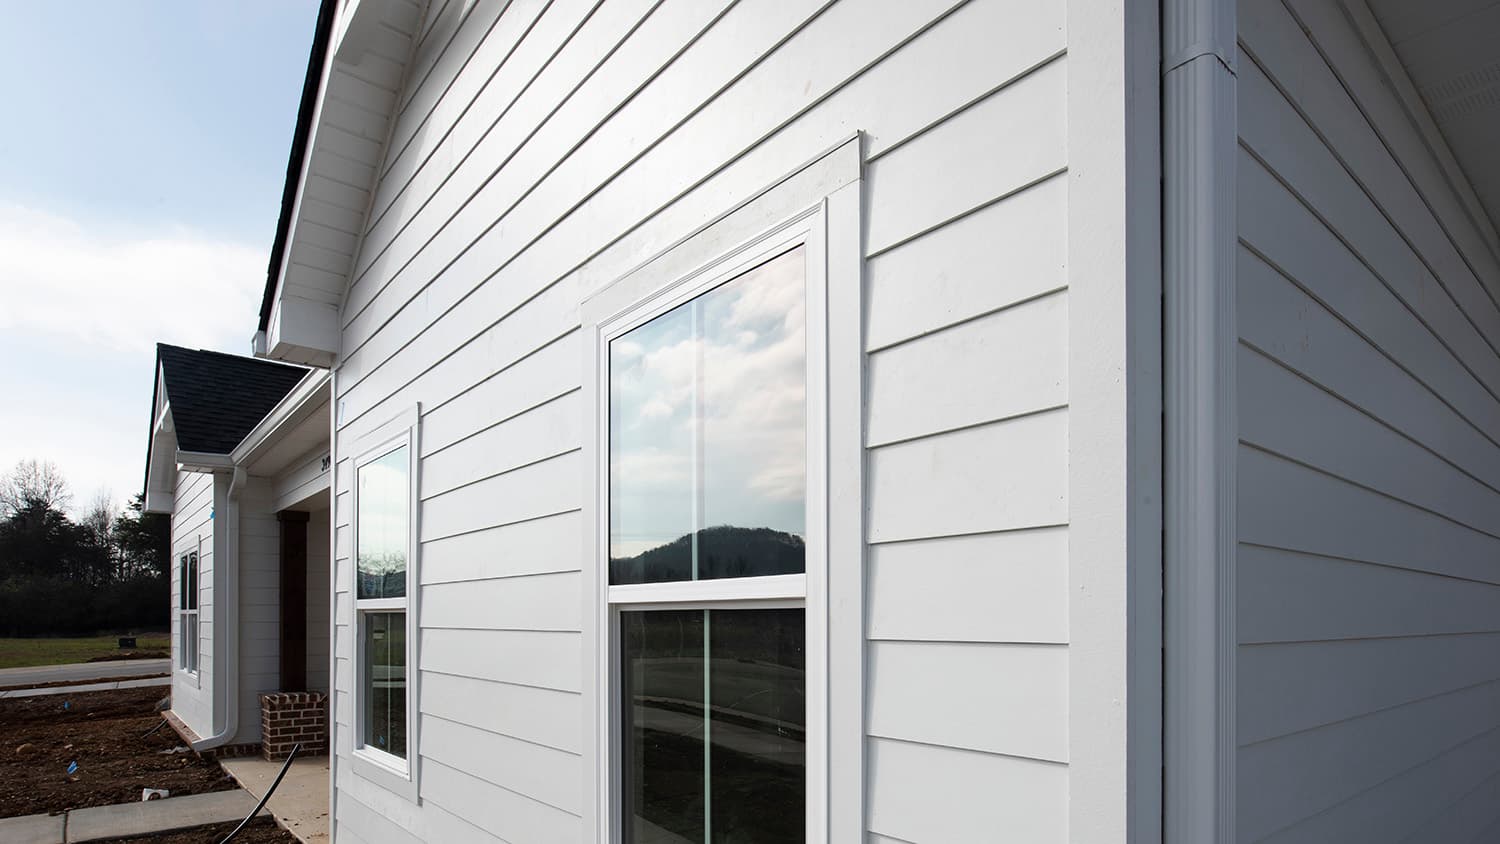
Stucco is a popular home siding material for a reason—it can last for hundreds of years. But that durability doesn’t mean you never need to repair it to keep it looking its best. If you notice cracks, holes, or fissures in your stucco siding, you should address them quickly before water seeps in and causes mold, mildew, or rot to form behind the mesh.
Not sure how to fix your stucco? Stucco repair is a fairly simple DIY project, but you can always call in a stucco professional to patch damage that’s widespread or out of reach. Stucco repairs can cost as little as $250 for a small repair and as much as $5,000 for extensive work.
Beyond being decorative, stucco acts as a shield around your home. As long as it’s intact, the cement mixture is impermeable to the outdoor elements. When mastering how to repair stucco cracks and holes in the stucco, open your home up to the outside, allowing moisture to enter behind the remaining stucco.
Trapped moisture can cause mold and mildew to grow and result in rot, which is a much more costly and challenging fix than patching broken stucco.
When preparing to fix your stucco, pick a day with relatively warm temperatures. Stucco should only be applied when the temperature is between 40 and 90 degrees Fahrenheit. Cold weather can cause stucco to run. You should also avoid patching stucco in hot, dry weather because it could cause the water in stucco to evaporate too quickly, not allowing the material time to cure.
To prepare for stucco repairs, it's helpful to gather the necessary tools and materials referenced above. Before you kick a patching project off, take a moment to clean the damaged area using the wire brush. Remove any loose debris to ensure a smooth fix. Next, make sure the surrounding stucco is moist by lightly spraying it with water. This will help the new stucco adhere properly. Lastly, ensure you have good ventilation and protect yourself by wearing gloves and goggles.
While wearing gloves and eye protection, use a masonry chisel and hammer to carefully remove loose and damaged pieces of stucco. Continue removing damaged material until you see the wire mesh lathing underneath it. Clean the mesh with a wire brush to ensure there aren’t any small pieces left.
Next, inspect the lathing for damage. If it’s damaged or has rust or corrosion, remove the section with wire cutters and replace it with new lathing.
When covering or recovering exposed lath with builder's paper, start by assessing the severity of the stucco damage. If the lath is exposed, it's crucial to protect it with builder's paper. Begin by removing any loose or damaged paper and then cut a piece of builder's paper to fit the exposed area, making sure it overlaps the intact paper around it.
Next, you’ll secure the builder's paper using construction staples or adhesive, ensuring it is taut and smooth. This will provide a barrier between the lath and stucco, preventing further damage and ensuring a solid foundation for the new stucco application.
To replace the metal mesh for stucco adhesion, start by assessing the condition of the existing mesh. If it's severely damaged or missing, replacement is necessary. Begin by removing any remnants of the old mesh. Measure the area that requires new mesh and cut a piece of galvanized metal mesh to fit. Secure it tightly against the structure using corrosion-resistant screws or staples, ensuring it is flush with the surface. Ensure proper overlap with the existing mesh if applicable. This new mesh will provide a strong foundation for the stucco to adhere to during application. If the existing mesh is mostly intact, you can skip this step.
It’s best to mix your stucco according to the manufacturer’s instructions. The color of stucco changes over time and with exposure to the elements, making it difficult to achieve a perfect match when patching. To address this, you have options for adding color to the stucco mixture.
One approach is to add pigment to the wet stucco mix before applying it. Pigments are available in various shades and can be mixed according to the manufacturer's instructions to achieve the desired color. Alternatively, if your siding is already painted, you can paint the repaired section once it's dry to match the existing color. Experimentation and testing are advised to achieve the desired color outcome.
If you don’t have the manufacturer’s instructions available to you, you can follow the specific proportions for mixing stucco outlined in the ASTM C926, which is the Standard Specification for Application of Portland Cement-Based Plaster. According to the standard, the recommended mixture ratios are as follows for the different coats (which you can enhance by using slightly different mixture ratios each time):
Scratch coats: 1 part cement to 2-1/4 to 4 parts sand.
Brown coats: 1 part cement to 3 to 5 parts sand.
Finish coats: 1 part cement to 1-1/2 to 3 parts sand.
These proportions provide guidelines for achieving the desired consistency and strength for each coat of stucco. Following these ratios is important to ensure the proper application and durability of the plaster.
With a masonry trowel, apply a thin layer of stucco, about one-fourth of an inch, to the wire mesh. Completely cover the lathing. Wait a few minutes and allow the stucco to begin to harden.
Once it looks dry, use the notched side of the trowel to score grooves over the entire surface. The scoring will provide a better surface for the next coat and result in better adherence. Cover the patch with plastic and secure it with painter’s tape, allowing it to cure and dry without being exposed to bad weather.
After at least 24 hours, remove the plastic. If the stucco is not dry, recover and wait until the patch is dry before proceeding. Once the patch is dry and has lost its wet-looking sheen, mist it with water or dab the area with a wet sponge. Be sure to moisten the edges of the existing stucco, too.
The next step is to apply the second coat of stucco. Begin working from the bottom of the patch and then move up, spreading a layer of stucco that is three-eighths of an inch thick. Allow the layer to begin to dry, and then smooth out the surface using a masonry trowel. Cover the layer with plastic and wait until the patch is dry.
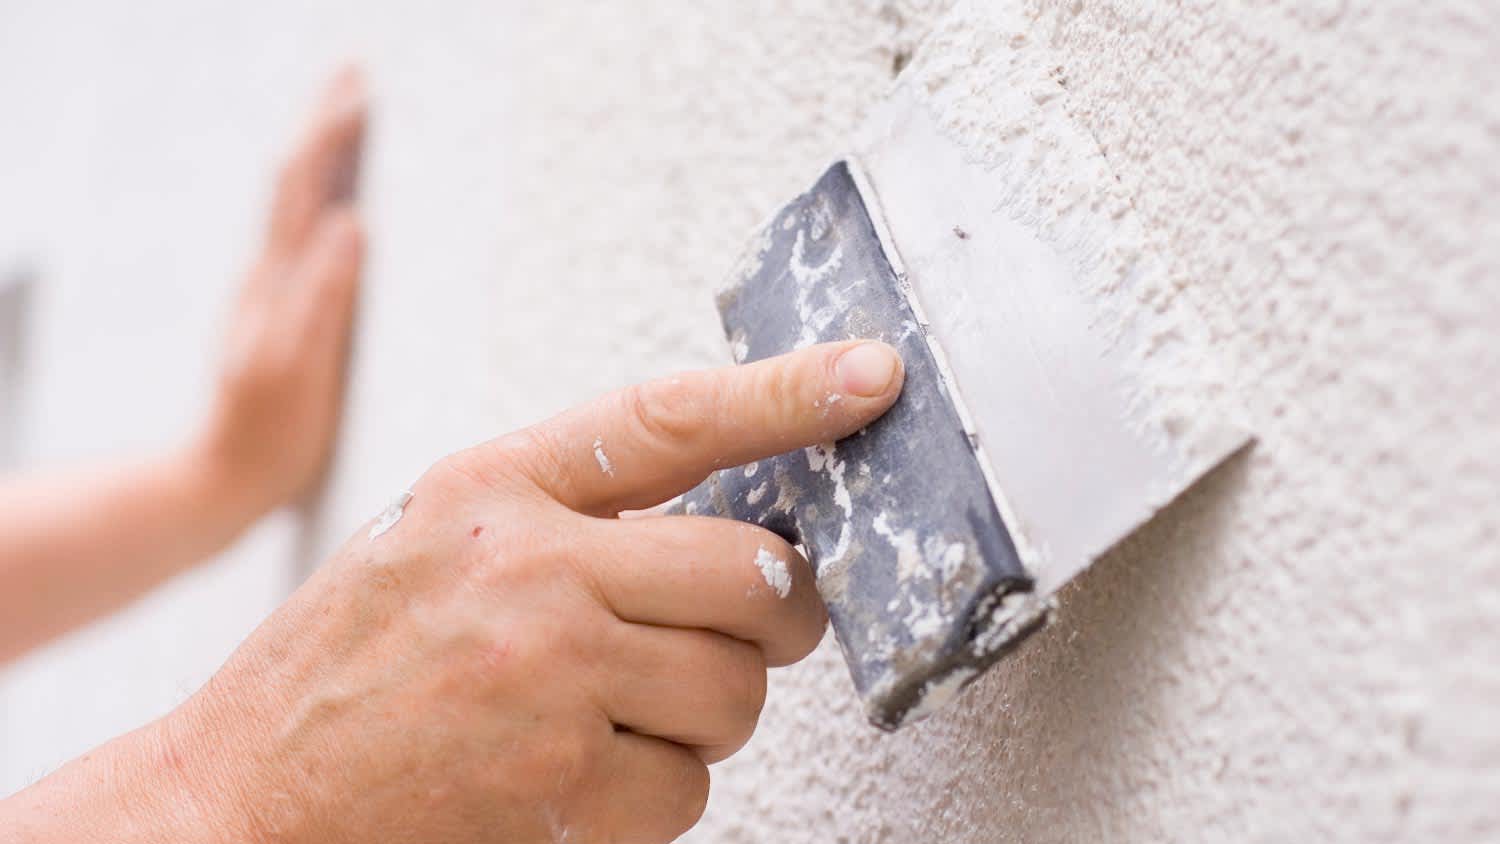
Once the patch is dry, remove the plastic. Moisten the patch and the edges of the existing stucco, and then apply a layer that is flush with the surrounding area. Use your finishing tool to add texture to the patch that matches the original.
After applying the final coat, wait several days for your patch to cure. Then, if you did not add pigment during the mixing process, paint your patch. You may have to paint the entire wall to obscure the repair area completely.
Stucco patching is a relatively straightforward DIY project, but in certain instances, it may be beneficial to know who to call for stucco repair. If the stucco damage is extensive or in a difficult-to-reach place, like near the roofline, you might consider hiring a stucco repair pro. Professional stucco repair costs around $1,600 on average.
Improperly patched stucco can also lead to even more costs down the line, such as internal damage to your home’s structure or mold growth due to trapped moisture underneath.
I would recommend this company to anyone! He showed up on time, was friendly, completed a very difficult repair on our dryer vent cover, was responsive, and pricing was extremely fair and competitive. I would have him back to do any of our repairs or cleanings without hesitation!
Supreme Brick & Chimney did a great job with a cleaning and inspection of the fireplace! He was efficient, on time, and very pleasant. The space was kept very clean, and the fireplace was spotless when he was done. He also performed a thorough inspection, and did a great job talking us...
 Supreme brick & chimney
Our exterior looks brand new thanks to Custom Paint Jobs LLC. Theyre the best in town!
Beginning with the estimate, Larry and Peyton were super helpful in getting my new condo's interior re-painted. Not only was the job well done, but also done in a super timely manner as promised.
 Five Star Painting of Plain City and Powell
Our stucco work is just finishing up today. We ended up going with Specialized Masonry Contractors LLC. The main guy we had was Jaime Quigley. He was really awesome, kept in touch a few times a day, etc. Originally we thought there was more damage than there was. They took off the old stucco...
I purchased the "Big Deal": $199.00 for exterior pressure-washing of one- or two-story home up to 2,000 square feet. They cleaned the siding only. I wasn't aware when I bought the Big Deal that they would not do any other surfaces other than the siding (i.e. sides of the gutters or stucco). I...
 Complete Home Services
Outstanding service. Dick Neff was prompt in estimating and added the chimney work overnight, even though it required use of a lift and color matching stucco. The plaster and stucco workers were courteous, careful, extremely competent in their craft, and cleaned up.
 George F Neff & Co. Plaster & Stucco
From average costs to expert advice, get all the answers you need to get your job done.
Discover the average stucco repair cost, key price factors, and ways to save. Get expert tips to budget your stucco repair project with confidence.
Learn about the average siding repair cost to expect based on siding type, repair type, and extra labor when getting estimates to fix siding from contractors.
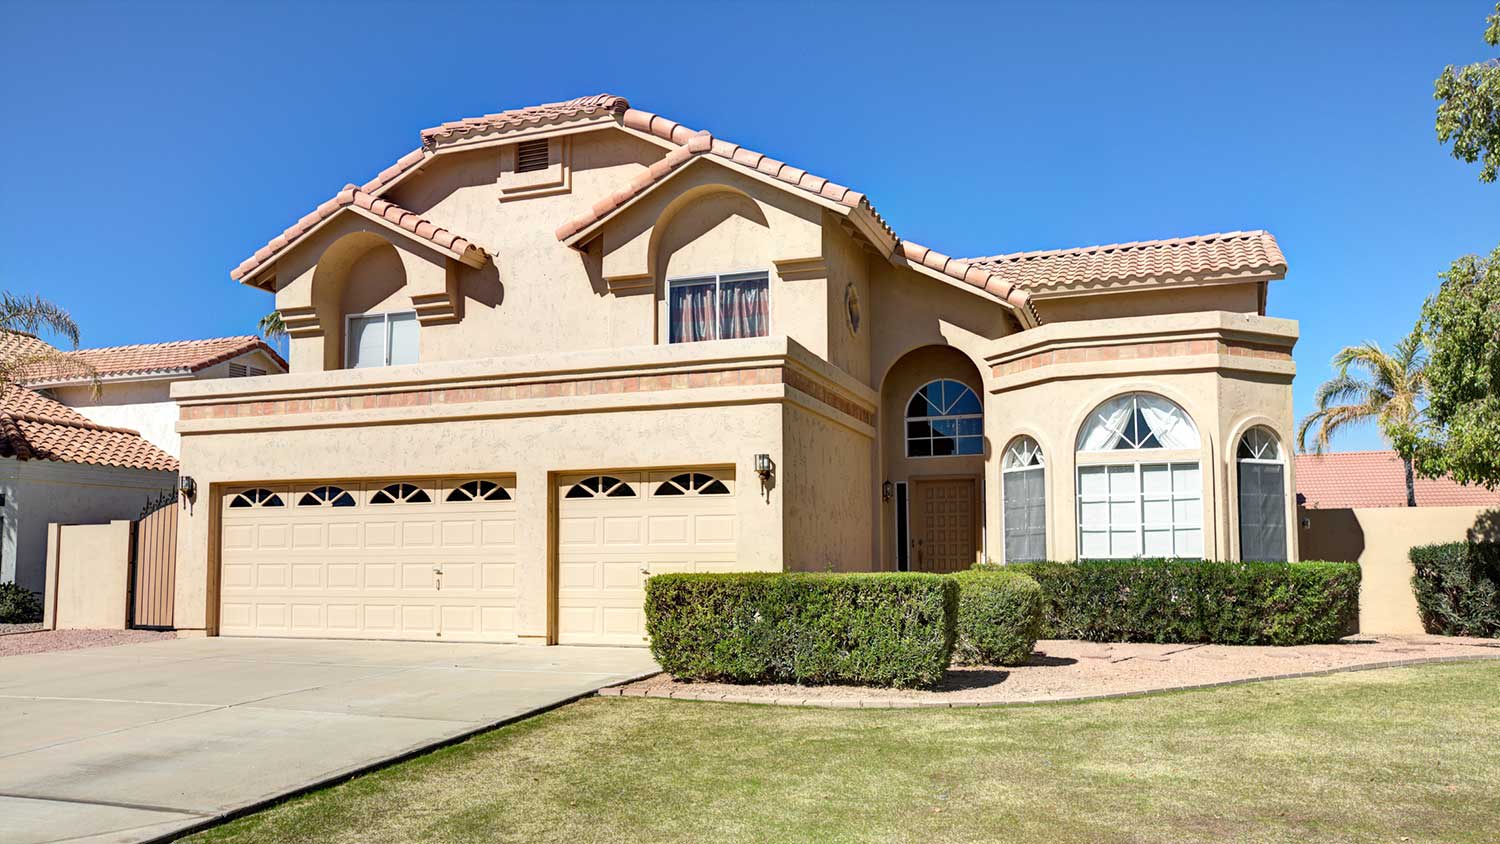
Discover the cost to stucco a house in 2026, including average prices, key factors, and tips to help you budget and plan your stucco project with confidence.
Learn how to hire a qualified stucco repair pro. Discover key questions to ask, credentials to verify, and tips for finding reputable contractors.
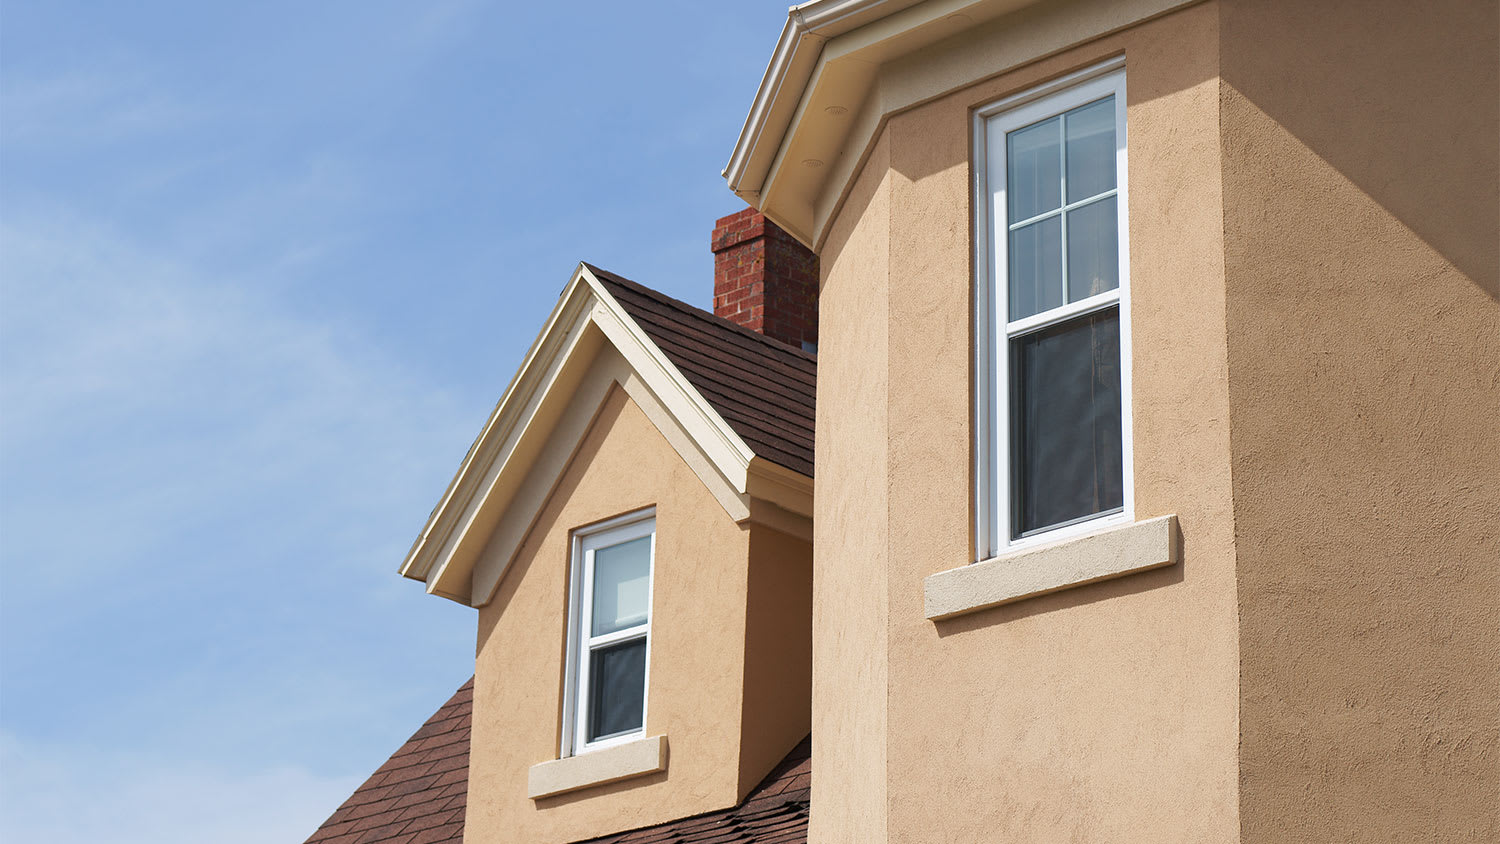
Stucco siding is a fantastic siding material that can last for 50 years. Learn tips on maintaining stucco siding to keep it looking great.
If your home's stucco is cracking or deteriorating, it's important to fix the issue right away to avoid structural damage or mold. Here's who to call for stucco repair.