•
Discover the cost to stucco a house in 2026, including average prices, key factors, and tips to help you budget and plan your stucco project with confidence.
Get a beautiful, DIY stucco finish

Installing a bathtub liner gives your existing tub a fresh look without the full replacement cost, as long as your tub has no cracks or drainage issues.
Expect to pay $500 to $2,800 for DIY materials or around $6,400 for professional installation, while tub replacement costs $2,000 to $9,400.
You'll need to clean your tub thoroughly, remove all hardware, apply primer and adhesive, then carefully fit the liner to avoid trapping moisture underneath.
Hiring a local bathtub repair professional provides reliable help with proper sealing and adhesive application, preventing water damage and mold from improper installation.
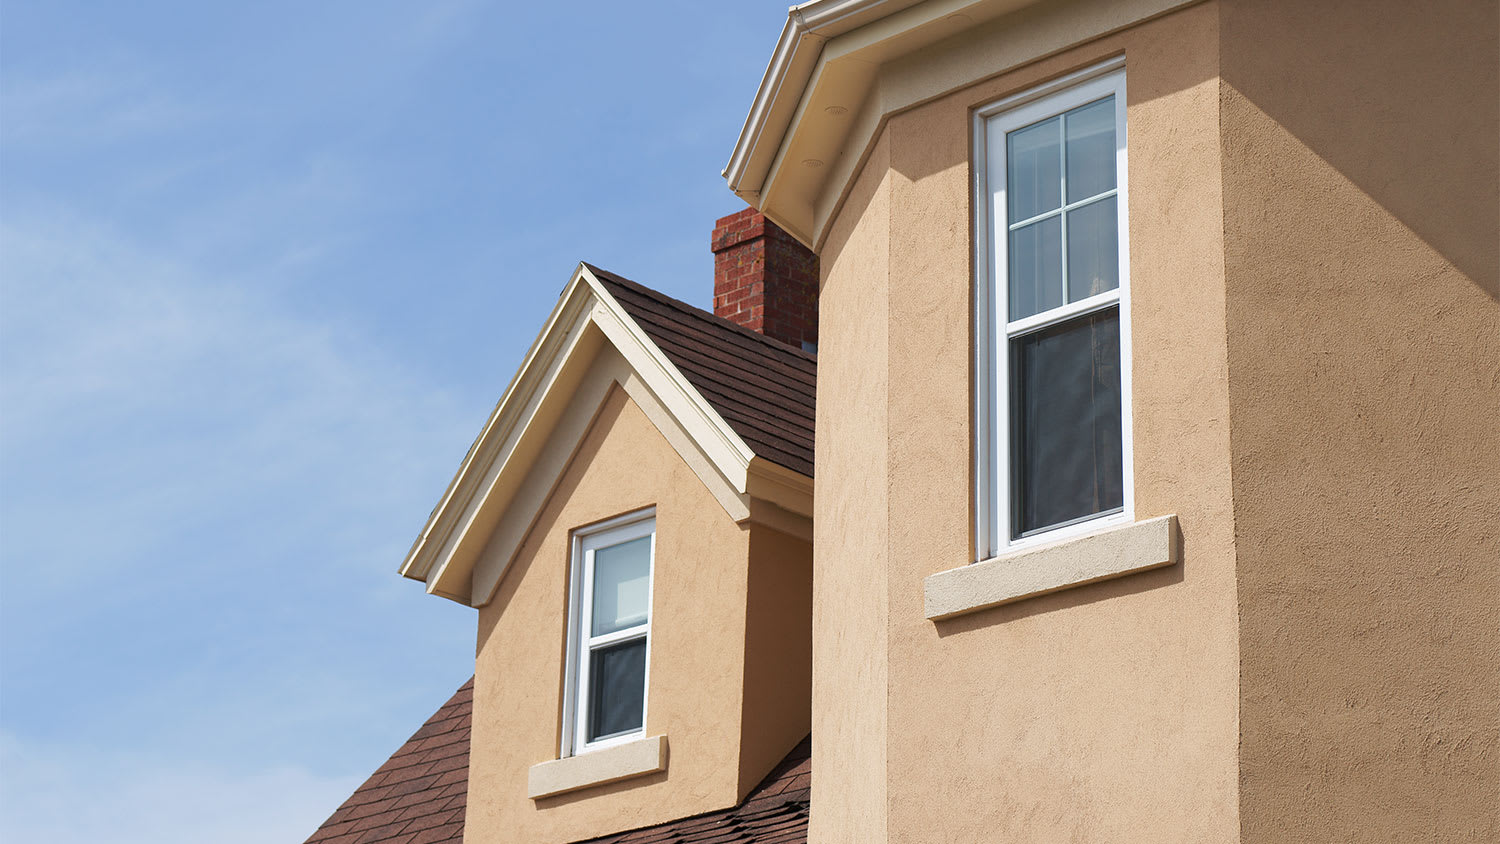
A stucco exterior offers durability, longevity, and beauty to your home. Applying is a huge undertaking and requires special tools and techniques, but knowing how to stucco a house properly can get you started off on the right foot.
Working with stucco can be a time-consuming process that requires precision. If you don't have prior experience with this type of project, consider contacting a pro to ensure the job is done well.

Before you get started installing this siding option, you need to do a bit of prep work, as the process is long and complicated.
First, look at the weather. The ideal temperature for applying stucco is when the temperature falls between 50 and 60 degrees Fahrenheit. Aim to get started when there’s no severe wind or rain expected over the following few days. Your stucco installation will take one to two weeks, depending on the type of framing, the number of coats of stucco you apply, and the size of your home, so ideally, the weather will be clear for 14 days from the time you start.
You should also review your local building codes to ensure you meet the wall assembly and moisture barrier requirements in your area. Guidelines vary based on your climate and the type of weather your region experiences.

Hang at least two layers of grade D waterproof paper or a drainage house wrap over the entire exterior. Start from the bottom and work your way up, and attach the paper with galvanized nails. Overlap the vertical seams by 6 to 12 inches and the horizontal seams by 4 to 6 inches. Wrap the corners so there’s an overlap of 16 inches on both sides. Seal the seams with the tape provided by the paper manufacturer.
If you're applying stucco over existing stucco or a concrete or brick wall, you won’t need to install waterproof paper. Instead, repair cracks with fresh mortar before starting the project, wash the wall with a power washer or a mixture of equal parts vinegar and water, and wet the wall thoroughly for better adhesion.
Next, install trim accessories, and be sure to follow your local building codes. Cut them to size with metal snips. The edges can be very sharp, so be sure to wear heavy-duty work gloves for this prep step. Below are all of the trim accessories you’ll need and a guide on how to install them.
Weep screeds: Install weep screeds along the bottom edge of all walls to help waterproof your stucco. These allow water to escape from behind the wall if it soaks into the masonry. Use galvanized nails or screws to secure the pieces.
Casing beads: Place casing beads along the edges of the wall, doorways, and window trim to create clean edges and corners with level amounts of stucco. If you’re applying a three-coat system, your casing beads should be ¾ inch thick.
Control joints: Arrange and secure control joints to create square wall panels no larger than 144 square feet. Stucco shrinks as it cures, and control joints reduce shrinkage and cracking.
Expansion joints: Install expansion joints where there are existing expansion joints and on inside corners. These joints allow for the expansion and contraction of wall panels as the temperature and moisture levels fluctuate.
Corner trim: Secure corner trim pieces to all outside edges to create clean lines and protect exposed stucco.
Install the galvanized metal lath or one-inch woven wire stucco netting over the entire wall surface, working from bottom to top. Aim for a one-inch overlap on the horizontal seams and two inches on the vertical seams. Secure your lath with galvanized nails or staples placed every six inches horizontally and vertically. Your nails or staples should enter the studs at least one inch deep.
By the end of this step, every surface that you plan on stuccoing should have two layers of waterproof paper and at least one layer of metal mesh covering it.
Start by mixing a bag of base coat stucco following the manufacturer’s instructions in a wheelbarrow or mixing trough. Use just enough water so the stucco sticks to your trowel but doesn’t sag when you hold it at a 90-degree angle. Always mix with cool water, so the stucco doesn't dry out too quickly.
If you’re applying the stucco to a concrete or masonry wall, skip the scratch coat and start with the brown coat.

Using a square trowel, press the stucco into the metal lath with firm pressure and at an angle. Start at the bottom of the wall and work your way up. Aim to create a level covering of ⅜ inch thickness over the entire area. Make sure the metal lath is completely covered with stucco. Then, with a darby or straight edge, screed the stucco into the wall using a back-and-forth motion across the surface to smooth it out.
Once the stucco becomes thumbprint hard (your thumbprint just barely appears on the stucco when you press it), create horizontal grooves across the entire area with a raking tool or notched trowel. Keep your tool perpendicular to the wall during this process, and move horizontally. The grooves should be about ⅛ inch deep, giving the next layer of stucco a strong surface to adhere to.
Be careful not to expose the metal lath in any areas. If you do, patch the area with fresh base coat stucco, wait for it to dry partially, and then repeat the scratching process. Allow the scratch coat to cure for 48 to 72 hours before applying the next layer. To reduce cracking and shrinkage, mist or fog the area with water twice a day to keep it wet, especially if you live in a dry, hot area.
Once the scratch coat is dry, mix the brown coat stucco according to the manufacturer’s directions. With a square trowel, apply the brown coat directly onto the scratch coat, holding the trowel at an angle and working from bottom to top.
Using a level or Darby, smooth out the stucco to create a layer that’s about ⅜-inches thick. If you completed a scratch coat, the two coats together should be about ¾-inches thick. Once the brown coat loses its sheen, smooth the surface with a stucco float.
Allow the brown coat to wet cure for at least 48 hours, but follow the manufacturer’s directions. Mist or fog the area with water to keep it wet for the first 24 hours. If it’s very sunny or windy, put up a sunshade or windbreak to allow the stucco to cure without interference.
Mix the finish coat based on the manufacturer’s instructions. Most finishes come in gray or white, but you can add a colorant to the finish mix if you wish.
With your trowel, apply a 1/8-inch finish coat to the wall. Start from the bottom and work toward the top. Apply a thin, even layer to achieve consistent coverage and color.
Float the surface to make it smooth or apply a decorative texture, such as a heavy lace, light lace, or dash. Consider using a stucco texture roller for an easier finish. Practice your finish on the backside of the house in a discreet area before moving to the front of the house. Look at the texture from at least 30 feet away to decide if you like the look or want to change your technique.
Use a water mist to keep the surface wet for at least three days, then let it dry cure until it’s completely dry.
Even if you know how to stucco a house, there are a lot of things that can go wrong if you’re not careful or if you fail to take the necessary steps to prepare for the project. Here are some of the easiest mistakes to make and how to avoid them.
Failing to check local building codes: Double- and triple-check local building codes before getting started. Individual municipalities may not allow stucco unless it’s an EIFS system, which is harder to install, and some have specific requirements for stucco thickness, overlapping joints of waterproof paper or lath, and more.
Mixing the stucco incorrectly: Too thin, and your stucco will sag before it cures. Too thick, and it won’t adhere properly, leading to premature cracking and flaking. Follow the manufacturer’s mixing recommendations carefully to get the proper consistency for each layer.
Rushing the curing process: Stucco is a masonry product, so it takes time to harden and cure. Rushing the curing process or failing to keep your stucco moist during wet curing will only lead to a shortened stucco lifespan.
Not checking the weather: Stucco needs specific moisture levels to cure properly, so failing to check the weather and getting caught in the rain can ruin your new siding before it even dries. Always leave yourself several days of clear weather for each coat for the application and curing process.
DIY stuccoing an entire house is a giant project that can span weeks due to the labor and cure times between coats. It also requires specialized tools and techniques for a quality finished look that can be difficult for inexperienced homeowners to achieve.
Due to the technical aspects of the job and the time involved, hiring a pro who does stucco is often the best option. The typical cost to stucco a house falls between $2,200 and $9,100, though prices can climb to $22,000 or more for oversized homes with multiple stories and complex layouts. Most of the cost goes toward labor, but it’s worth hiring a local stucco contractor to handle this tricky, time-consuming job to ensure it’s done properly and leaves you with maximum curb appeal.
I would recommend this company to anyone! He showed up on time, was friendly, completed a very difficult repair on our dryer vent cover, was responsive, and pricing was extremely fair and competitive. I would have him back to do any of our repairs or cleanings without hesitation!
Supreme Brick & Chimney did a great job with a cleaning and inspection of the fireplace! He was efficient, on time, and very pleasant. The space was kept very clean, and the fireplace was spotless when he was done. He also performed a thorough inspection, and did a great job talking us...
 Supreme brick & chimney
Our exterior looks brand new thanks to Custom Paint Jobs LLC. Theyre the best in town!
Beginning with the estimate, Larry and Peyton were super helpful in getting my new condo's interior re-painted. Not only was the job well done, but also done in a super timely manner as promised.
 Five Star Painting of Plain City and Powell
Our stucco work is just finishing up today. We ended up going with Specialized Masonry Contractors LLC. The main guy we had was Jaime Quigley. He was really awesome, kept in touch a few times a day, etc. Originally we thought there was more damage than there was. They took off the old stucco...
I purchased the "Big Deal": $199.00 for exterior pressure-washing of one- or two-story home up to 2,000 square feet. They cleaned the siding only. I wasn't aware when I bought the Big Deal that they would not do any other surfaces other than the siding (i.e. sides of the gutters or stucco). I...
 Complete Home Services
Outstanding service. Dick Neff was prompt in estimating and added the chimney work overnight, even though it required use of a lift and color matching stucco. The plaster and stucco workers were courteous, careful, extremely competent in their craft, and cleaned up.
 George F Neff & Co. Plaster & Stucco
From average costs to expert advice, get all the answers you need to get your job done.
Discover the cost to stucco a house in 2026, including average prices, key factors, and tips to help you budget and plan your stucco project with confidence.

The cost to paint a stucco house depends on its size, the type of paint used, and any required repairs. This guide will help you budget for the painting project.

Get transparent stucco inspection cost info. Learn what impacts price, how to save, and what to expect before hiring a pro for your stucco inspection.
Choose the right pro for stucco installation to get the best professional-quality results. Learn who does stucco installation and the benefits of hiring a pro.
Stucco is a type of cement-based siding that’s durable, inexpensive, and designed to withstand the elements. Find out what makes it special, how much it will cost to install, and if it’s an addition that will be right for your home.

Can you paint stucco? Unlike other types of siding, stucco requires a few considerations because of its gorgeous texture. This guide can help.