
•
Discover grab bar installation costs and learn about average prices, cost factors, and tips to save on safe, professional grab bar installation for your home.
Grab bars keep you safe while you scrub-a-dub-dub

Shower grab bar placement matters because the entry wall bar prevents slips when you step over the tub ledge, while side and front wall bars help you move safely.
Installation costs average around $340 for materials and labor, making grab bars an affordable safety upgrade for your bathroom.
Install your bars vertically on the entry wall and horizontally on side and front walls at waist height, ensuring you can reach at least two bars at once.
Hiring a local bathroom remodeling professional provides peace of mind with secure stud installation and proper placement, keeping your shower safe for everyone who uses it.
There’s nothing like a warm soak or refreshing shower after a long day. However, safety around water is essential when slip-and-fall accidents contribute to many bathroom injuries. Grab bars can help prevent accidents in the shower, but where do you install them for optimal safety while bathing? We break down everything you need to know about shower grab bar placement to make your shower more accessible.
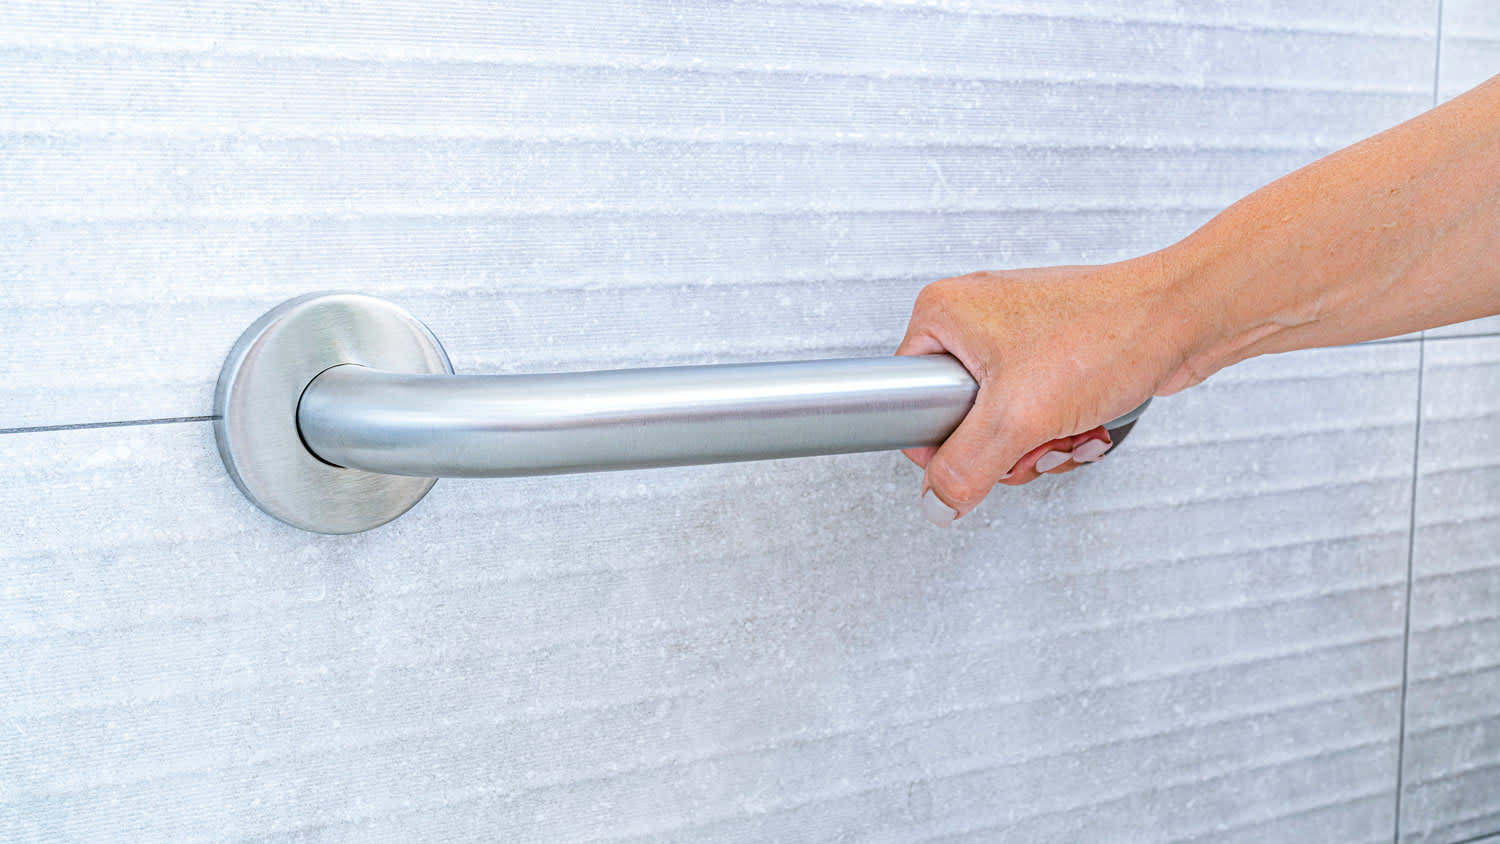
A grab bar is a safety rail you mount to a surface to hold onto for stability and can prevent falls in the shower. Manufacturers construct shower safety bars from stainless steel to prevent corrosion. For additional stability, some grab bars can include textured surfaces to give you a better grip with increased slip resistance.
Grab bars come in a variety of lengths. However, the most commonly installed bars are 18 to 36 inches long and 1½ inches in diameter. Choose a length that allows you to grab the bar in positions where you’ll need it most.
Consider whether your grab bar adheres to the Americans With Disabilities Act (ADA). While residential showers are subject to user discretion, the ADA guidelines are a vital resource to consult when installing accessible bathroom fixtures. The standards set by this act for bathroom grab bars include the following necessities:
The manufacturer constructs the bar from heavy-duty 18-gauge brushed satin stainless steel with rounded edges.
Flanges, or the section that provides the anchoring surface for attachment to your wall, meet ADA standards for maximum strength and durability.
Bar diameter shall not exceed 1½ inches for ease of use by children and seniors.
Space allowance between the bar and the wall shall be no less than 1½ inches.
The grab bar must support a minimum of 250 pounds of weight.
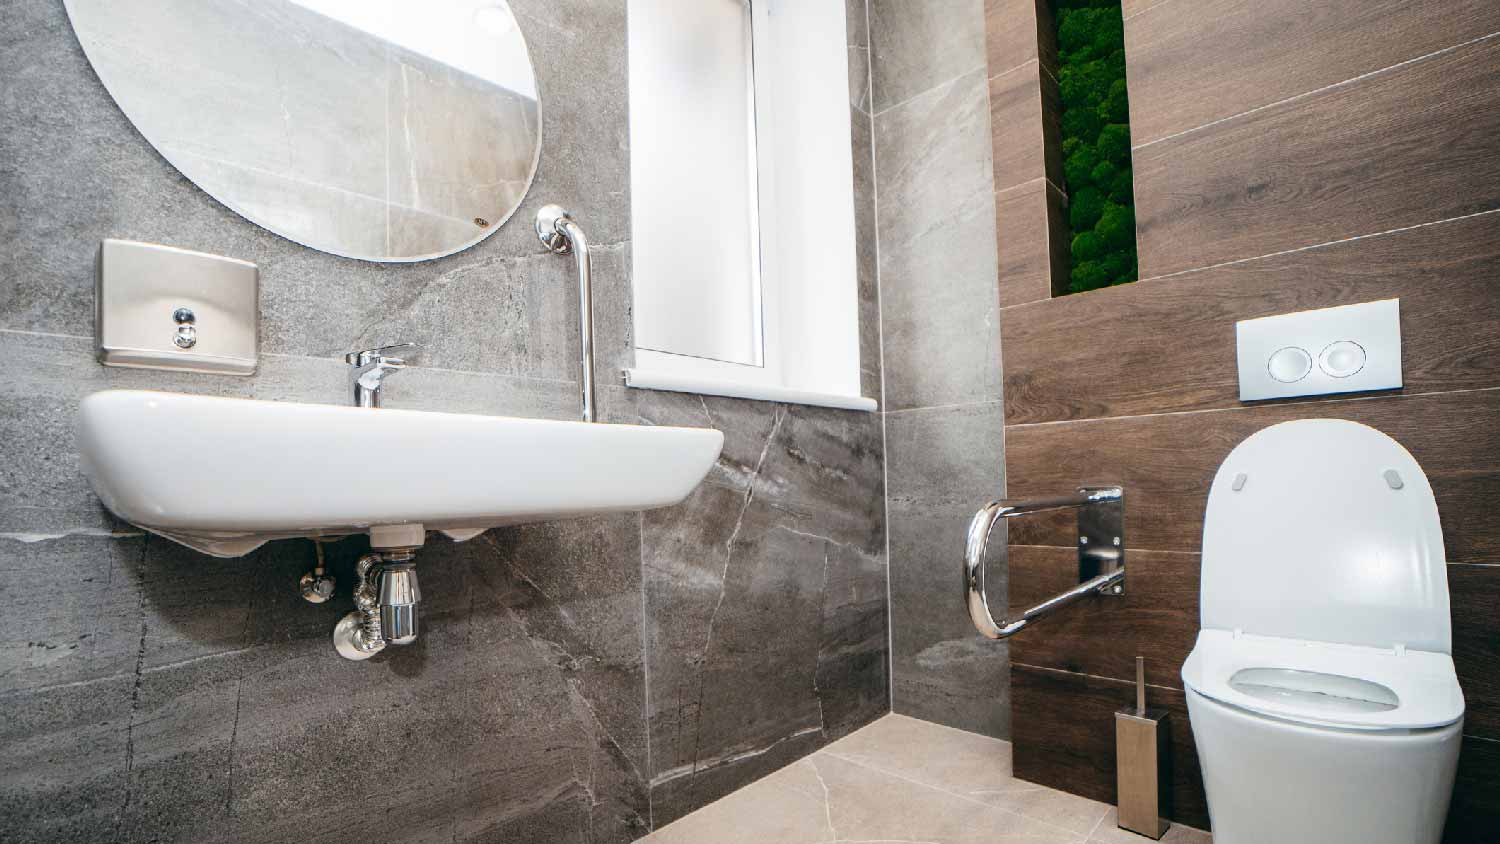
Universal design aims to make bathrooms functional and safe for all in the home. Features include grab bars, a comfort height toilet, slip-resistant flooring, a shower seat, a walk-in tub, a curbless shower, and making the bathroom wheelchair accessible.

If you’re unsure where to place your shower grab bars or how to secure them to the shower walls, consult and hire a local bathroom remodeling professional. They can help design an accessible shower with safety features for your household.

When installing grab bars, their location plays a significant part in their effectiveness at keeping you and others safe. There are two guidelines when determining how many grab bars to add to your shower:
Install two bars for basic needs, such as standing, moving around, and entering or exiting the shower.
Installing four bars will help with more complex needs, such as sitting in a seated shower or showering with mobility and balance issues.
If multiple people use your shower, you must account for their varying heights and weights. When installing four grab bars, arrange them so that you and others can reach at least two bars at a time. Below, you’ll find more details about adding grab bars to different walls of the shower.
A grab bar gives you peace of mind when you have concerns about stability in the shower, whether you’re recovering from an injury or need increased accessibility for aging in place. But where you install them in your shower matters significantly. Here are several of the best grab bar installation spots in your shower to give you an idea of where to start.

The entry wall of your shower is the most important place to install a grab bar because most slip-and-fall accidents occur when entering or exiting the shower. Most showers have a small lip or ledge to step over, and stability is at its lowest when you’re standing on one leg. This position requires extra support, especially since these areas are slippery.
Place the grab bar vertically about 4 to 6 inches inward from the door jamb or shower entrance. The most common lengths for this bar are 18 or 24 inches to ensure enough coverage.
The side wall is opposite the entrance, and a grab bar here is important for moving forward and backward in the shower. It’s essential for balance when your eyes are closed, such as after applying shampoo. A grab bar on the side wall can also be helpful when standing up after sitting on a shower seat.
Depending on the length of your shower, a bar installed on the side wall can be 24 or 36 inches. Place the bar horizontally with the top of the bar sitting around waist height. If you install a 24-inch bar, shift it closer to the wall with the faucet handles so you can grab the bar while leaning over to adjust the water.
You can also install a longer bar up to 48 inches. Place this bar diagonally at a 45-degree angle (pointing up toward the faucet and handles). Doing so will help those showering in a seated position who need extra assistance to pull themselves back up to a standing position.
Installing a grab bar on the front wall, also known as the plumbing wall, will give you stability while moving around in the shower or adjusting the water flow. This bar serves a similar purpose as the side wall bar, giving you an extra layer of protection from slipping.
Install the front wall bar horizontally so it sits around waist height. As with the side wall, the most common length for this bar is 24 or 36 inches, depending on the available space. You can also install your front wall grab bar vertically at a height you can reach while sitting and standing, about 39 to 41 inches from the floor.
A grab bar on the back wall assists with moving and turning, especially if your shower is small. This bar’s placement should be the same as the side and front walls. Note that if your shower is especially long and you don’t stand, move, or enter near the back of the shower, you can skip installing a bar on the back wall.

It’s vital that your shower grab bar can support at least 250 pounds. To ensure that you have enough support in vulnerable positions, secure your grab bar to wall studs. Tile, drywall, and other construction materials aren’t sturdy enough to withstand a person pulling on them with the weight necessary to remain stable on a wet surface.
Fortunately, installing a shower bar is not a project you’ll have to break the bank to complete. The installation cost, including the materials and tools, can average around $340. The material cost will increase if you want a grab bar with a custom finish, like brass or textured.
If you understand how to install a shower grab bar and have the necessary tools, you can take this project on yourself with minimal fuss. However, if your shower wall has features or materials that make installation more complex, you can call a bathroom remodeling pro to make your shower safer with new grab bars.
Jason has helped me with multiple household projects, with the most recent being new door installation. He has always showed up on time and organized and has done an incredible job! Jason is very professional and he's now my go-to for anything around my house that needs to be fixed or...
Cole has been handling plumbing and general contracting for our four properties over the past three years, and he’s always done a great job. Most recently, he installed a sink and countertop in our retail store where none existed before, and it turned out exactly how we needed. He’s...
 ANB Renovations LLC
1st Choice Renew is simply the best! We hired them for a complete home renovation, and they transformed our space into something truly amazing. The team attention to detail and commitment to quality were evident throughout the project. They were easy to work with, very responsive, and always...
This company went above and beyond with their work, chimney sweeps are usually pretty messy, but the clean up was spot on.!! Josh explained every thing that he was doing, and the things that he was checking to make sure the chimney was safe for me and my family. He was very professional,...
 Supreme brick & chimney
Custom Paint Jobs LLC turned our outdated bathroom into a modern masterpiece.
Excellent customer service and knowledge. I was recommend to him from my neighbour. My front door and window came in great and were installed beautifully perfectly, I m very satisfied with their excellent work, so decided to order one more big bow window for my living room. I cant wait for...
If I could give 10 stars for Kitchen Tune Up, I would. I cannot say enough good things about my experience with Kitchen Tune Up and the entire team involved in the process of my kitchen project. They went above and beyond as far as service and quality with my cabinets, paint, countertops, and...
It was wonderful working with Yordy and his team. They were very professional and are experts in what they do. They have completed the work on time, with better quality and with in fairly reasonable price. We just started with backsplash work , but liking his work, we went on to provide...
We were having 2”x 2” tile installed . There was a small installation error and the new additional replacement tile was from a different lot and the colors didn’t match. Joe assured us that he would rectify everything , which he did without hesitation. We decided to go with the 18” x 36” tile...
 CarifaTile
They work that 360 did on my kitchen cabinets is nothing short of amazing. I still cannot believe the difference from before and after. Jon and Jeff were both so incredibly professional throughout the whole process and their communications with me were constant and consistent. These guys...
 360 Painting Columbus
From average costs to expert advice, get all the answers you need to get your job done.
Discover grab bar installation costs and learn about average prices, cost factors, and tips to save on safe, professional grab bar installation for your home.
Various factors affect the total tub-to-shower conversion cost, including the size of the area, type of shower, materials, and labor fees.

Installing handrails in your shower or bathtub? This guide covers the best tub grab bar placement to prevent slips and falls in the bathroom.
The chances of slipping and falling in the shower increase with age and limited mobility. Here are the types of shower grab bars and safety rails that can keep you safe.
Want to learn how to install shower grab bars to create the safer, more accessible shower you need? Get the step-by-step guide here.
In a private home, toilet grab bar height depends on personal preference, but looking at ADA requirements is still a good idea. This guide can help you get started.