•
Discover grab bar installation costs and learn about average prices, cost factors, and tips to save on safe, professional grab bar installation for your home.
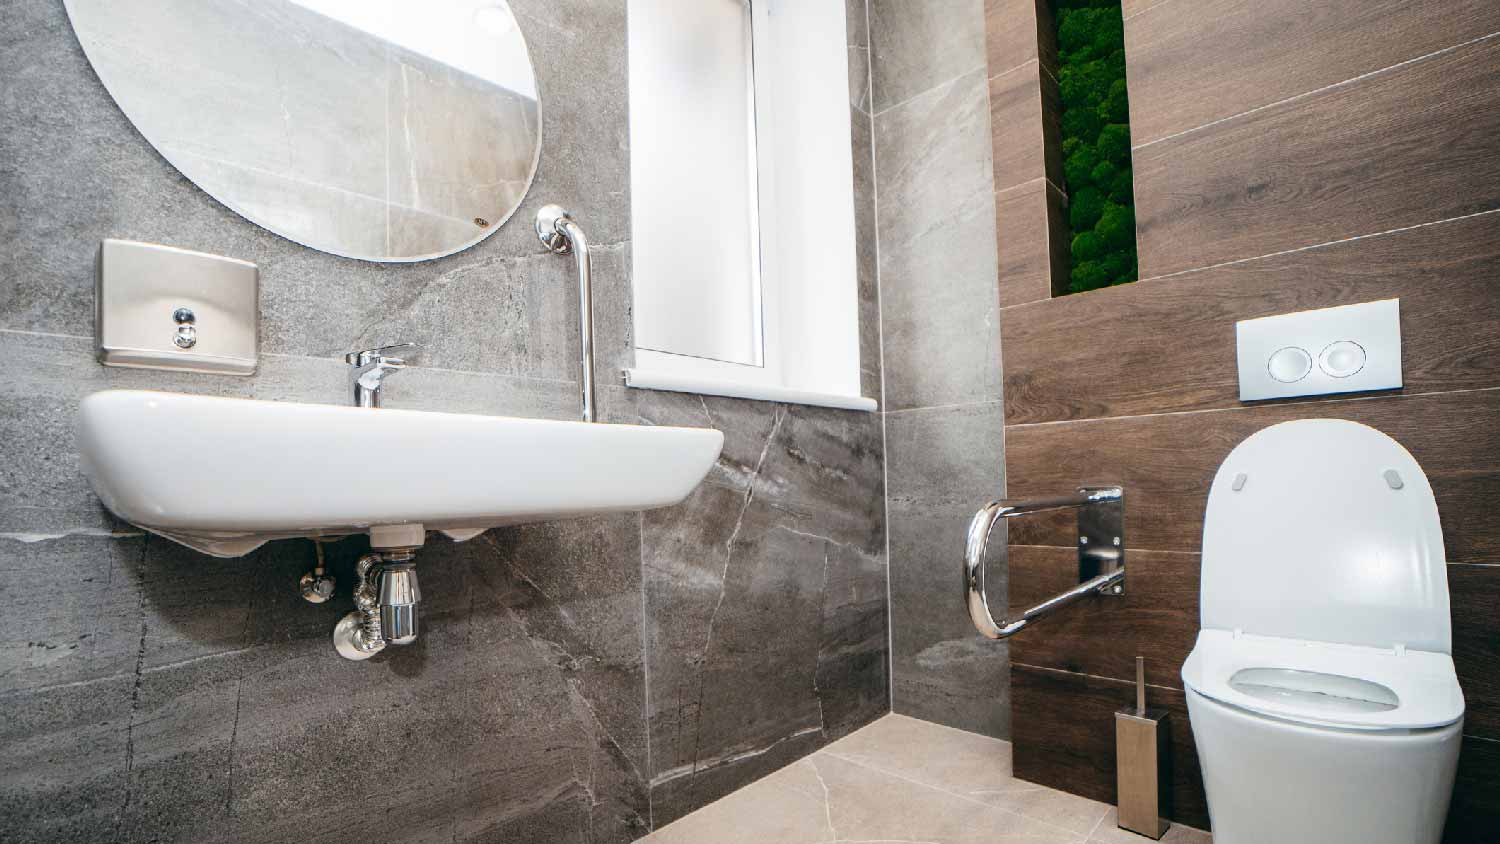
Create the safe showering space you need at home with these steps

When you need to create a safer showering experience for you or your loved ones, most homeowners consider installing grab bars. They’re a great way to make showers more accessible while maintaining an aesthetically-pleasing bathroom. This guide will help you learn how to install shower grab bars and when to hire a pro.


Once you’ve gathered all your tools and supplies, you’ll need to clean your bathroom to allow for caulk to stick. Caulk needs a dirt-, dust-, and oil-free surface to adhere to for maximum performance. Dish soap and warm water should cut through those layers of dirt and grime. Give your shower a few hours to completely dry before starting your project.
You’ll want to make sure that your shower has the necessary space to install grab bars.
According to the Americans with Disabilities Act (ADA), the width of the gripping distance should be 1 ¼ to 1 ½ inches wide, and the space between the wall and the grab bar should be 1 1/2 inches. You should also ensure that any walls next to your grab bar are free of sharp or abrasive edges. The edges’ minimum radius should be 1/8 of an inch.
The size of the grab bars and the placement depend on the wall of the shower:
Entry Wall: Place a 18- or 24-inch grab bar vertically and about 4–6 inches inward from the door jamb or shower entrance. Aim for about 39–41 inches from the floor.
Side Wall: Place a 24- or 36-inch grab bar horizontally and at waist height. Aim for 33–36 inches from the floor. You can install a 48-inch grab bar diagonally at a 45-degree angle for those showering in a seated position.
Front Wall (Plumbing Wall): Place a 24- or 36-inch grab bar vertically so it sits at waist height and about 39–41 inches from the floor. Alternatively, install the bar vertically where you can reach it while sitting or standing.
After double-checking that your spacing meets the ADA’s requirements, you need to decide where to place it. The general rule of thumb is to install your grab bar around waist level. You’ll need to get in your shower and see where that is for you and your family.
Once you have a general sense of where you want to install your grab bar, you need to find the studs in that area. Use a stud finder and mark off your stud's left and right edges with painter’s tape and repeat this process for both ends of your grab bar. Then use a pencil to mark its center lightly. It’s important that you know where your stud is and its distance so you can avoid drilling into any electrical wires or plumbing lines.
If you have tile walls or walls thicker than drywall, it’s harder for a dielectric constant (DC) stud finder to pick up your stud’s location. One option is to use a deep scan stud finder, slowly move it horizontally, and mark everywhere with a positive reading. In an area that has multiple marks, that’s likely where your stud is located.
Another option is to go into the room that shares a wall with your shower and find the studs there. Then measure the distance of where those studs are and take those measurements to see where your shower studs should be.
Once you’ve found your studs, place your grab bar where you want it to go, then use a pencil to mark your screw placement. Use a leveler to make sure your bar is, well, level.
Now, use your drill to make pilot holes. If you're installing your grab bar on drywall, use a drill bit slightly smaller than your mounting screw. If drilling through tile, use a glass-and-tile bit roughly half the size of your mounting bit and drill until you’ve reached the end of your tile. Then drill one-eighth of an inch hole into the stud using a wood bit. Check your manufacturer’s guide for specific instructions; they’ll tell you the exact size and type of bits you need.
If you can’t find the studs on your tiled wall, you’ll need to use appropriate-sized wall anchors to secure your grab bars, following the instructions provided.
Now you’ll need to position your grab bar back on the wall, over your pre-drilled holes, then fasten the screws that came with it into the wall.
After your grab bar is in place, put your caulk inside your caulk gun and apply it around the seams to prevent water from getting into your walls through your drilled holes. Then slide the metal cover plates back onto their respective ends once you’re finished caulking.
Pull on your grab bar once the caulk has dried to ensure it’s secure and safe.
Shower grab bar installation is a fairly simple DIY that most homeowners could tackle, especially if you have experience finding studs.
However, shower grab bars are designed to help prevent shower falls; improper installation can be a major safety hazard. Plus, if you're not careful, you can accidentally crack your tiles. If you only need a grab bar installed, hire a handyperson or local shower installer to take care of the project the same day.
A handyperson costs $50 to $150 per hour on average. If you’re confident you can safely DIY the project, you’ll need a few additional tools and supplies, which should cost you less than $100 for the entire project.
Jason has helped me with multiple household projects, with the most recent being new door installation. He has always showed up on time and organized and has done an incredible job! Jason is very professional and he's now my go-to for anything around my house that needs to be fixed or...
Cole has been handling plumbing and general contracting for our four properties over the past three years, and he’s always done a great job. Most recently, he installed a sink and countertop in our retail store where none existed before, and it turned out exactly how we needed. He’s...
 ANB Renovations LLC
1st Choice Renew is simply the best! We hired them for a complete home renovation, and they transformed our space into something truly amazing. The team attention to detail and commitment to quality were evident throughout the project. They were easy to work with, very responsive, and always...
This company went above and beyond with their work, chimney sweeps are usually pretty messy, but the clean up was spot on.!! Josh explained every thing that he was doing, and the things that he was checking to make sure the chimney was safe for me and my family. He was very professional,...
 Supreme brick & chimney
Custom Paint Jobs LLC transformed our outdated kitchen into a modern masterpiece.
Excellent customer service and knowledge. I was recommend to him from my neighbour. My front door and window came in great and were installed beautifully perfectly, I m very satisfied with their excellent work, so decided to order one more big bow window for my living room. I cant wait for...
If I could give 10 stars for Kitchen Tune Up, I would. I cannot say enough good things about my experience with Kitchen Tune Up and the entire team involved in the process of my kitchen project. They went above and beyond as far as service and quality with my cabinets, paint, countertops, and...
It was wonderful working with Yordy and his team. They were very professional and are experts in what they do. They have completed the work on time, with better quality and with in fairly reasonable price. We just started with backsplash work , but liking his work, we went on to provide...
We were having 2”x 2” tile installed . There was a small installation error and the new additional replacement tile was from a different lot and the colors didn’t match. Joe assured us that he would rectify everything , which he did without hesitation. We decided to go with the 18” x 36” tile...
 CarifaTile
They work that 360 did on my kitchen cabinets is nothing short of amazing. I still cannot believe the difference from before and after. Jon and Jeff were both so incredibly professional throughout the whole process and their communications with me were constant and consistent. These guys...
 360 Painting Columbus
From average costs to expert advice, get all the answers you need to get your job done.
Discover grab bar installation costs and learn about average prices, cost factors, and tips to save on safe, professional grab bar installation for your home.

From warding off intruders to protecting from falls, bars on windows can make a home much more secure. Here’s how much it costs to install bars on windows.
Various factors affect the total tub-to-shower conversion cost, including the size of the area, type of shower, materials, and labor fees.

Grab bars help keep you safe while bathing. But where should you install them? Here’s what you need to know about proper shower grab bar placement.

Installing handrails in your shower or bathtub? This guide covers the best tub grab bar placement to prevent slips and falls in the bathroom.
The chances of slipping and falling in the shower increase with age and limited mobility. Here are the types of shower grab bars and safety rails that can keep you safe.