

•
Find out average roof shingle repair costs, factors affecting pricing, such as material and labor, and how to save on your next roof repair project.
Protect yourself and your home at the same time


Installing a bathtub liner gives your existing tub a fresh look without the full replacement cost, as long as your tub has no cracks or drainage issues.
Expect to pay $500 to $2,800 for DIY materials or around $6,400 for professional installation, while tub replacement costs $2,000 to $9,400.
You'll need to clean your tub thoroughly, remove all hardware, apply primer and adhesive, then carefully fit the liner to avoid trapping moisture underneath.
Hiring a local bathtub repair professional provides reliable help with proper sealing and adhesive application, preventing water damage and mold from improper installation.
Installing shingles on a roof isn't a job for most homeowners. Most people hire professional roofers for roof replacements. However, understanding how to shingle a roof can help you during the estimating and accepting bid portions of the project, and it’s a good place to get started if you do plan on DIYing. Here are the basic steps for how to shingle a roof so you can know what's going on up there.
The first thing to know about working on a roof is that it’s dangerous. While being on your roof for any reason carries the risk of falling off, performing a complex task such as installing roof shingles while on your roof divides your attention between accuracy and safety and increases the danger.
We highly recommend hiring a professional roofer for this project. However, if you choose to take on the job, exercise extreme caution during all steps.
There are a few things you can do to keep yourself safe during a DIY roofing project.
Know, understand, and follow all ladder safety guidelines.
Know, understand, and follow all compressor and nail gun safety guidelines.
Be aware of electrical hazards, including power lines and connections on your roof.
Work in mild temperatures with no precipitation and stay hydrated. Take breaks often.
Wear properly fitted and secured fall protection harnesses and ropes.
Be sure to secure and maintain fall protection ropes at all times.
Stop immediately if a task feels unsafe, and reconsider your plan before proceeding.

Start by measuring each roof section in square feet and add all the areas together to obtain the total square feet. The result represents how much shingle and underlayment material your project requires. Most types of shingles are available in “bundles,” which cover 33.3 square feet. Your supplier will likely ask for the number of “squares” your roof covers. A square of shingles covers 100 square feet, so each square equals three bundles.
You'll also need linear feet measurements for the ridge shingles that cover the roof's apex, starter shingles for the first row of material, and the drip edge that encircles the roof's perimeter. If necessary, add step and chimney flashing needs and flashing or boots for roof penetrations like intersecting walls, plumbing penetrations, or air vents.
Organizing your roofing project in detail will save time and frustration later in the process.
Make a plan to locate the dumpster near the site but not directly under the roof.
Roofing materials are heavy and can be awkward to handle. Plan on having at least one other person on site and working with you to help carry and install materials. The extra person can also hold ladders and assist with tool organization.
Ensure you have enough air compressor hose to reach all roof areas.
Move patio furniture and other items from around the home.
Place several tarps below the work area to catch demolition debris and waste materials.
Clear a convenient outdoor location to place new materials.

Use your measurements and plan to order the materials and supplies listed above. Add about 10% to 20% extra roofing materials to your order. Explain the precise drop-off locations to the dumpster provider and materials delivery supplier.
Most municipalities require you or your roofing company to obtain a building permit for roof replacements. Additionally, many locations require a special permit to place a dumpster in the street if that's your only option. Apply for and obtain the necessary permits for your project well before starting work.

Part of knowing how to install shingles is becoming familiar with the building codes related to roofing. Depending on the building code in your location, you may be able to leave one layer of shingles under a new one. However, in most cases, removing the existing shingles and replacing the underlayment is best when shingling a roof.
Use a shingle stripper shovel tool to remove the majority of existing shingles and underlayment, starting at the ridge and prying them off as you work toward the eaves. Take extra care not to step on loose materials. Use a claw hammer to remove any nails left behind.
Remove the drip edge flashing around the perimeter, as it will get damaged in the shingle removal process. Also, remove any other flashing that suffers damage during the step. It's best to plan to replace all the roof flashing every time you replace your roof shingles.
Install the drip edge flashing by cutting it to the appropriate length with tin snips. Leave an additional inch of room, then cut the seam and fold back the side and top of the drip edge to create a cleaner look on your flashing. Secure the drip edge with roofing nails through its top flange and into the roof deck. Allow a 1/2-inch space between the lower drip edge flange and the existing fascia.
Install other roof flashings as appropriate for your roof, including penetration boots, chimney and skylight flashing, kick-outs, and valley protection flashing. Install step flashing as necessary, depending on your roof's specific needs.

Underlayment needs vary by climate, location, and the building code in your area. The most common type of underlayment for an asphalt shingle roof is roofing felt, which you can secure to the deck using plastic cap nails and a hammer. You can also opt for a more expensive ice and water shield, which has adhesive on the back and sticks directly to the roof deck. Extend the underlayment over your drip edge flashing on all sides of the roof. Always start at the bottom of a roof slope and work your way up.
Install the shingle starter strips at the roof's lowest edge using coil nails and an appropriate nail gun. Follow the manufacturer’s directions for the right nailing pattern, and extend the edge of the strips 1/2 inch past the drip edges on all sides of the slope. Continue along all the eaves to meet the building code and up each rake if you wish to provide additional weather protection.

Snap a chalk line representing the top edge of the first row of shingles across the roof. Consult the manufacturer's nailing pattern requirements and your local building code for the correct number of nails per shingle in your location. Lay the first shingle in place on the chalk line and use your roofing nailer to secure it to the roof deck.
Install the next and subsequent shingles directly next to the first one before installing them all the way across the roof.
Snap another chalk line representing the top edge of the next row of shingles.
Install the second and remaining rows, staggering the shingle edges by six inches from one row to the next. Use a utility knife to cut off excess shingles to line each row up.
Continue to the roof's ridge. Overlap the roof apex with the top of the last row of shingles. Cut away material to accommodate the ridge vent if your home has that feature.
Center and bend ridge shingles over the top of each roof ridge. Nail them in place roughly one inch from the edge, depending on the shingle manufacturer's requirements, until you reach the end of the ridge. Cover any exposed roofing nails in the cap shingles with spots of roofing cement.
Installing a shingle roof is a complicated home improvement project, and many common mistakes can lead to disaster down the road. Be sure to avoid the following when installing your shingles.
Not working from the bottom of the slope to the top: You should always install roofing materials starting from the bottom of the slope and moving upward so that any water will run on top of the materials rather than seeping between them.
Not leaving the proper overhang: Asphalt shingles should overhang your drip edge by 1/2-inch to 3/4-inch. Longer overhangs can increase the risk of uplift during strong winds, and shorter overhangs can increase the risk of water dripping back toward your fascia boards, which can cause water damage and rot over time.
Failing to layer parts of the roof properly: Your roof should have several redundancies to reduce the risk of leaks. Always install flashing first, then overlayment over the flashing, and then roofing material over the overlayment. Finally, seal exposed nail holes with roofing cement.
Not staggering each row of shingles: If you start each row of shingles at the edge of your roof deck, you’ll end up with a roof that doesn’t sit flat and looks bumpy across the surface. Stagger each row 6 inches from the previous one for the best curb appeal.
You should install shingles when there’s no precipitation in the forecast for at least a week, as DIYing your roof installation will take 3 to 5 days, and rain during the process can damage your roof deck and cause water damage inside your home. The best time to install a roof is during the spring or fall when the temperature isn’t too hot or cold. Not only will you be more comfortable, but you’ll spend less on heating and cooling while the insulative roofing material is off of your home.
Replacing your roof yourself will save you an average of $5,300, as that’s the standard labor cost for an asphalt shingle roof. While this makes DIY roofing appealing, remember that putting a new roof on a home is a challenging project that requires a high level of safety awareness, along with a solid knowledge of roofing materials and how to install them.
Most homeowners choose to hire a local roofing company to perform the work, and doing so will lead to the best results, the lowest risk of leaks, and a faster installation. Hiring a professional keeps you safe, frees up a lot of your time, and ensures correct installation. Securing a reputable roofer also means you'll have a labor warranty for the work should something go wrong.
Mitchell and the crew were top tier i am so happy with my new roof
 Home Genius Exteriors
D1 Roofing delivers outstanding service from beginning to end, backed by a strong warranty and expert teams. I highly recommend them for their excellence in meeting and surpassing expectations with unmatched communication. Choosing D1 Roofing was flawless decision
 Division 1 Roofing LLC
This place took $25,000 for a flat roof job with a five-year warranty and never returned to fix the leaks that were caused by their work. These people are not professionals and should not be doing this type of work. They incorrectly changed the pitch of the roof, and caused more damage than...
The technician was very professional and friendly. He answered all my questions and was very thorough. He left the fireplace area very clean . He inspected from the roof and advised me as to other work that might need to be done. There was no pressure there. I was very satisfied with the...
 Supreme brick & chimney
I am really impressed with their timeliness and turnaround. Mitchell came out, and we decided to move forward with their pricing. Our roof was on within a week, and we could not be happier with their team! Amazing company, great prices and honest, dependable craftsmanship. I highly recommend...
 Window Depot USA of Central Ohio
Manuel Calvillo is the best option in the area for roofing and you won't be disappointed.
They damaged multiple items on my property, including a marble slab used as a table top, tried to hide it, and refused to pay or replace. Arrived day one without a ladder to access roof & delayed a day. Left a mess in back yard; didn't wear face masks; no show by owner to property to see damages
 Grants Tree Service
I've hired Gary/Cherokee Roofing for two different homes, work quality, responsiveness, and completion have been great both times. And the prices quoted were very competitive. I would definitely hire again.
Lyle did a great job removing asbestos shingles from our front porch roof. They worked together with our roofer to make sure that the new roof was able to be installed on the same day that Lyle removed the asbestos shingles.
 Lyle Environmental
Bradley Builders did a good job replacing the roof on our front porch. They color-matched the existing shingles on the rest of the house and installed a metal ridge roll since we live in a historical neighborhood. They did the job while we were out of town. When we got back, everything was...
 Bradley Builders, Inc.
From average costs to expert advice, get all the answers you need to get your job done.
Find out average roof shingle repair costs, factors affecting pricing, such as material and labor, and how to save on your next roof repair project.
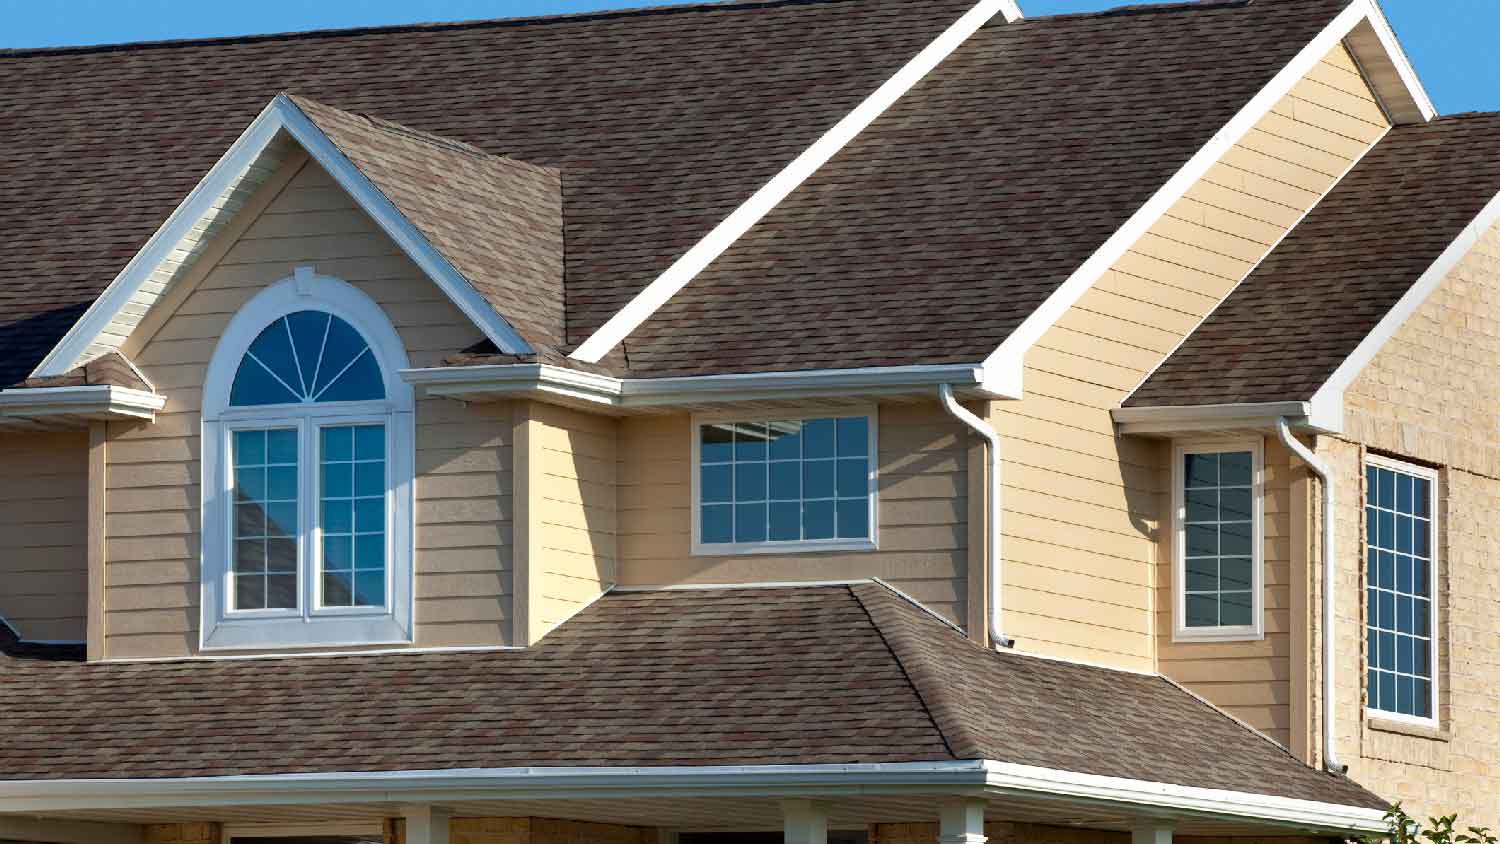
Architectural shingles cost is determined by project size, material quality, and roof condition. Find out how much they'll cost for your home.
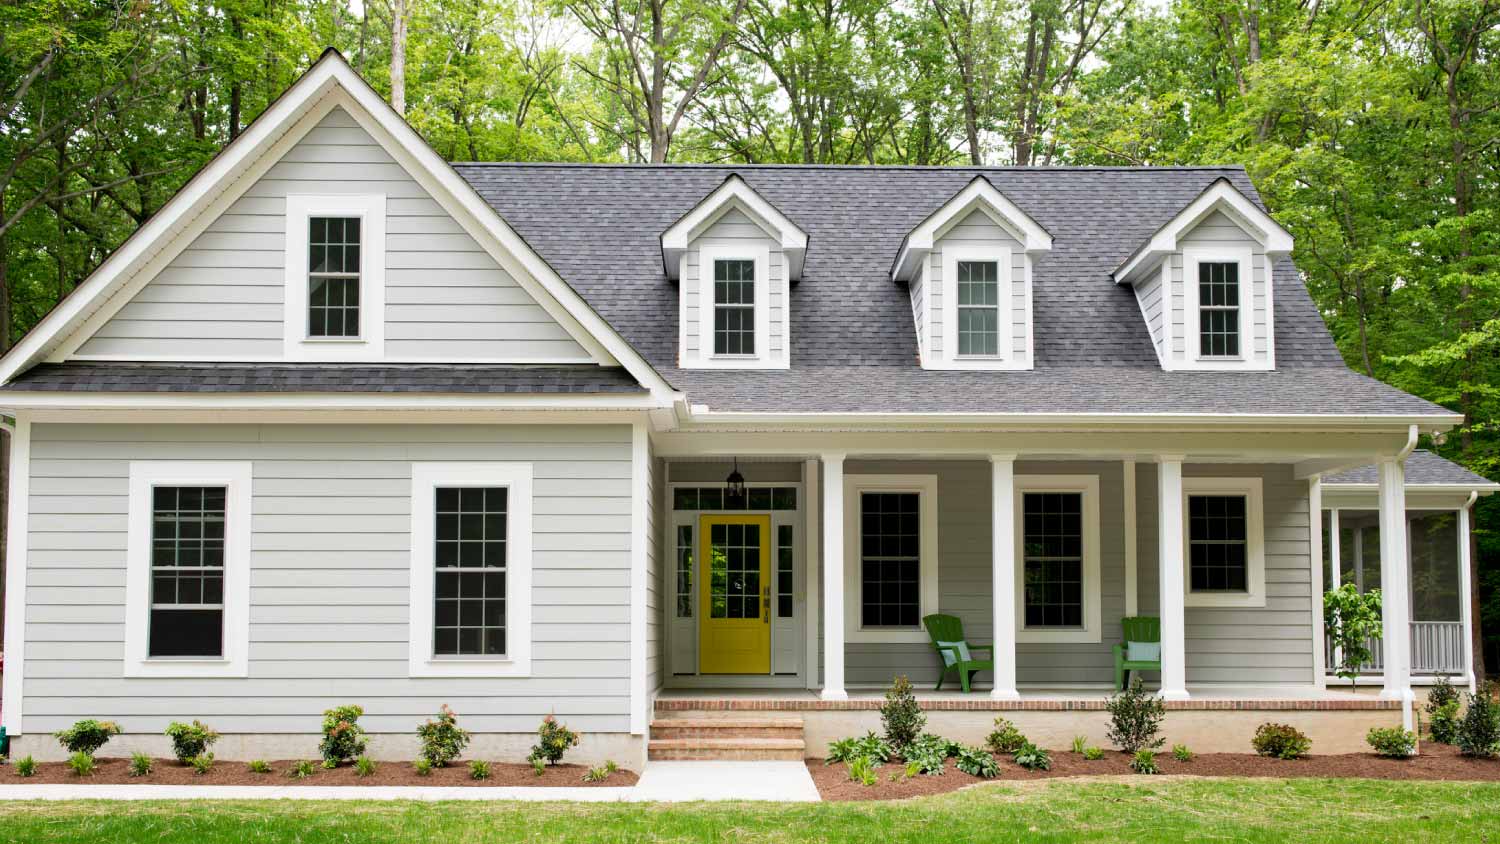
The cost of 3-tab shingles varies widely, depending on the size, condition, and steepness of your home's roof. Discover how much they'll cost for yours.
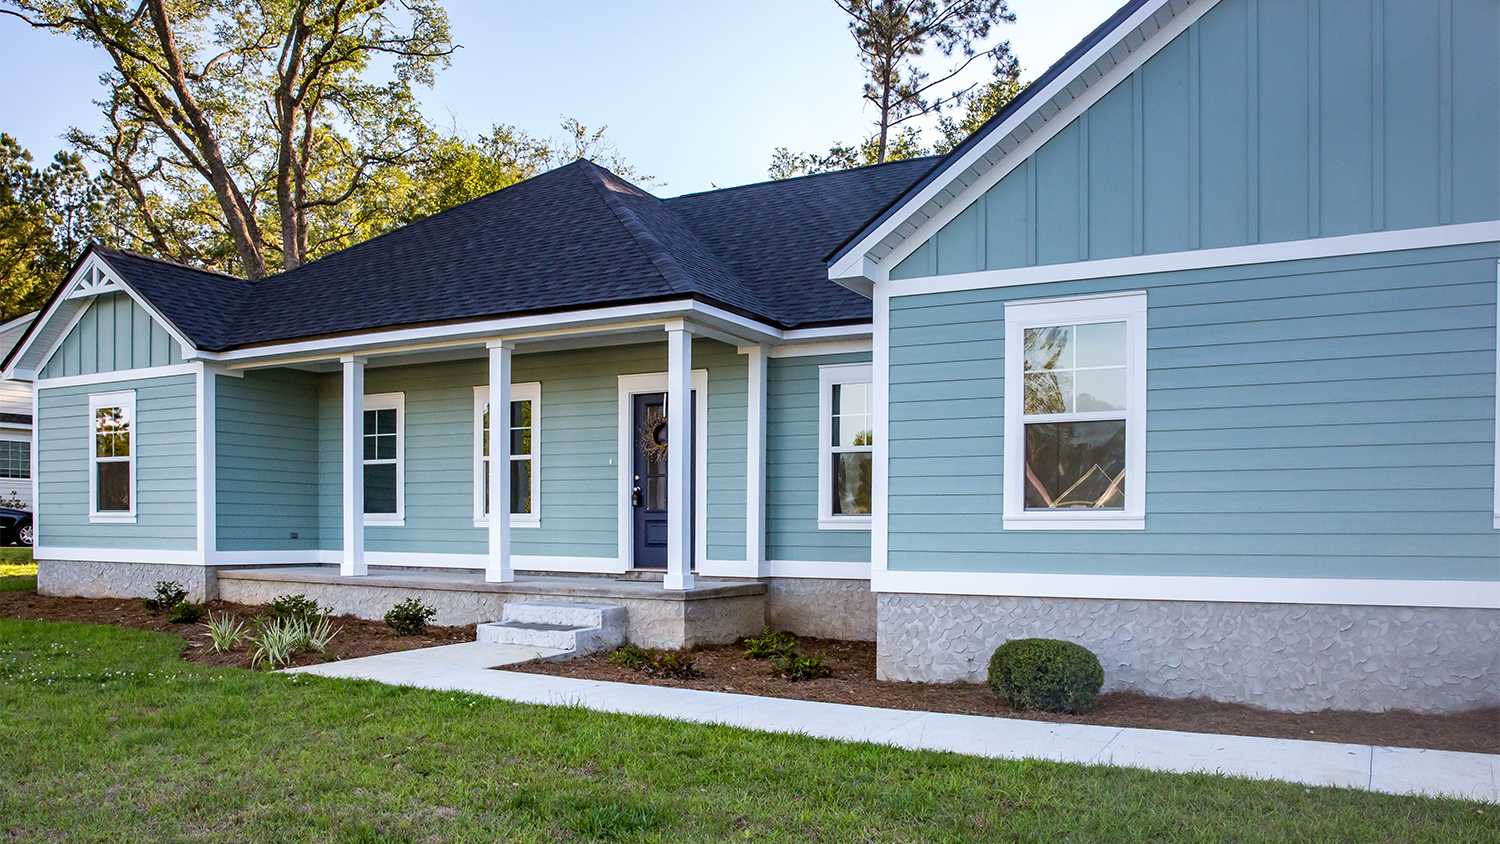
Wondering about the pros and cons of asphalt shingles? Read on to learn why you should (or should not) consider shingles for your new roof.
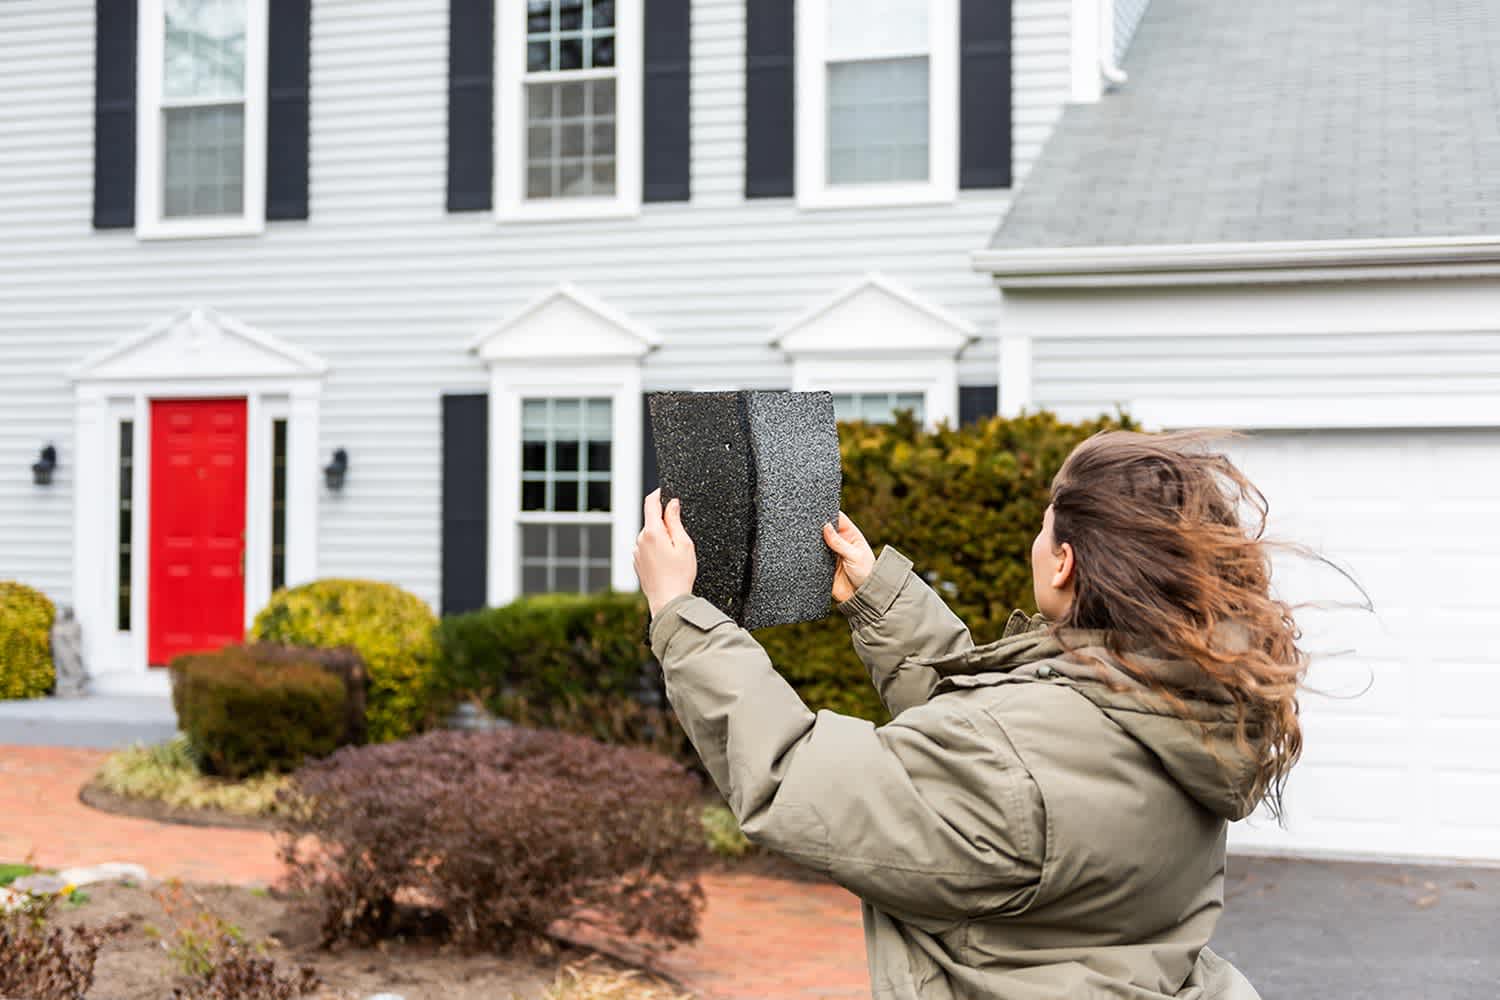
Know the different pros and cons of different types of asphalt shingles, including three-tab, architectural, and luxury shingles.
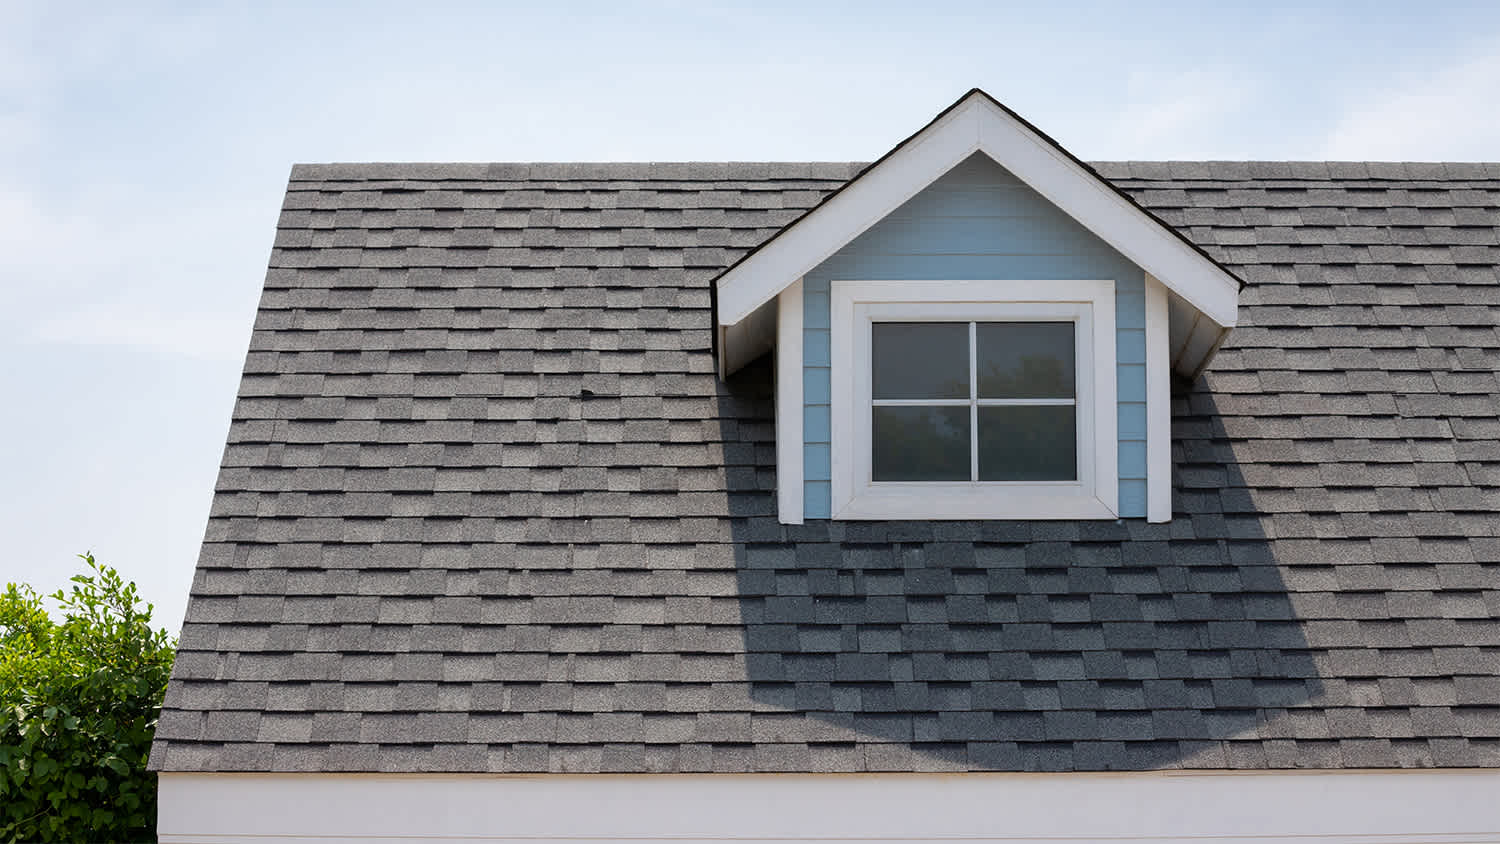
Your contractor might ask a few of these common roof replacement questions before installing or replacing asphalt shingle roofing at your home.