

Subflooring makes your floors sturdy and level. Learn more about the cost to install plywood subflooring and factors that affect the price.
Stop the squeak at the source with these subflooring installation tips

Squeaky subfloors from fixing a squeaky subfloor happen when your flooring separates from the subfloor over time, creating movement and noise with every step.
Subfloor replacement costs range from $1 to $7 per square foot, plus $25 to $30 per hour for labor, so proper installation saves money.
Use construction adhesive carefully on clean, dry joists and reinforce with screws between nails to prevent loosening and squeaks as your floors settle.
Hiring a local general contractor provides reliable support with proper material selection and installation techniques, helping you avoid costly squeaky floor repairs down the road.
Have you ever tried to sneak into the kitchen for a late-night snack, only to have squeaky floors tell on you? The result can be noisy when the subfloor is subpar—whether that’s because of installation errors or the wrong materials are used. Avoid future costs to fix or replace subflooring that’s been poorly installed with these six tips for how to prevent squeaky floors.
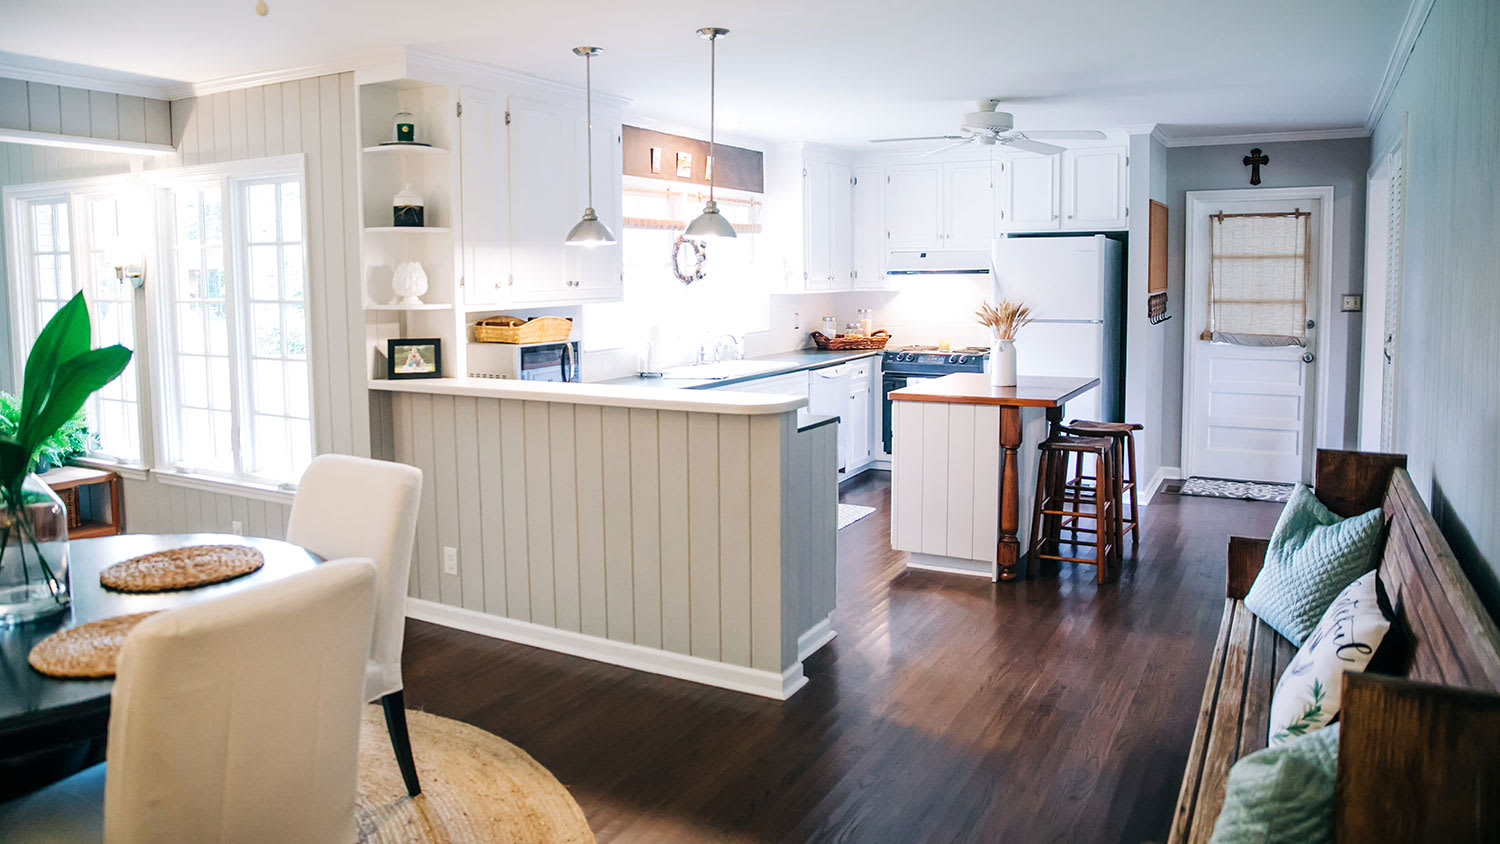
Your subflooring is the foundation for an attractive, sturdy, high-quality floor, whether you’re installing linoleum, laminate, or hardwood flooring. In fact, subfloors are usually the cause of squeaky sounds, which occur when the subfloor becomes separated from the flooring over time.
Once you install the flooring, it’s more challenging to fix a squeaky floor. On average, the cost to replace a subfloor ranges from $1 to $7 per square foot, depending on the material you use, plus an additional $25 to $30 per hour for labor costs. It pays to get it right the first time with a proper subfloor installation.
The material you choose for your subfloor creates the base that you will walk on every day. And once it’s installed, it’s hard to access again for repairs or replacement, which is why choosing the right subfloor material is a critical step in the process of preventing squeaky floors. There are different types of subfloor, so let’s take a look at the two main types.
Plywood is a popular subfloor material that holds up well in high-traffic areas and provides appropriate support for a range of flooring materials, including hardwood, laminate, and even tile if you use a cement backer board. Plywood subfloor comes in tongue-and-groove, so it’s easy to install. Because of its thickness and strength, it holds nails and screws well, which can keep it from becoming loose down the road.
Oriented strand board, or OSB, is a popular subfloor material since it is similar to plywood, though it’s a little less durable, which makes it a little less expensive. Because it’s not as rigid as plywood, the edges of OSB subfloor boards can swell if they get wet. And OSB isn’t as thick as plywood, but it is typically more consistent, without knots or imperfections that may end up in plywood.
Subfloor panels should carry a 1/8-inch buffer gap around all four edges. This helps prevent buckling by allowing the panels to expand naturally. If you’re using some higher-end brands engineered with tongue-and-groove edges, they may create that gap on their own after installation, so check with the manufacturer to be sure. Don’t hammer tongue-and-groove joints together or you can damage the wood fibers, eventually causing movement and noise.

Follow the manufacturer’s instructions when you’re applying glue to secure your joists. However, before applying the adhesive, take a good look at your joists to ensure they’re dry, clean, and dirt-free. Otherwise, the glue can weaken its hold at that location, leading to movement and the dreaded squeak.
Finally, only work with one or two panels at a time when you’re gluing. Ensure the panels are tightly fastened and aligned before allowing the glue to set and harden. The glue manufacturer can provide specifications for how long it takes the glue to set, but note that certain weather conditions can alter those times. For example, if you’re working in a hot environment, the glue may set more quickly than you anticipate.
Moisture infiltration is another common cause of subfloor squeaks. When water seeps into the subflooring elements, it can cause the glue to break down and nails to rust, ultimately leading to movement and squeaks. To avoid this, ensure you or your local general contractor keep the materials for your subfloor covered and dry at all times.
If you’re using oriented strand boards and they’ve been exposed to the elements during construction, ensure they’re completely dry before installation of your expensive upper flooring. Allow the subfloor panels to acclimate for about 48 hours before installing the flooring above them.
One of the top culprits behind a squeaky subfloor is loosening fasteners that occur with use over time. To help increase the length of time before this happens, ensure your subflooring is securely fixed by inserting screws into the subfloor in between nails. Once the entire subfloor is screwed down and acclimated to the environment, you can add the flooring on top.
Another frequent problem behind squeaky subfloors is unwanted nail movement or misalignment. To reduce the risk of nail movement, use ring or screw shank nails placed down the centerline of the panel and spaced according to construction drawings.
Once your subflooring system has been fully installed and acclimated, take a moment to fully inspect the work before you move on to placing your flooring on top of it. Walk around the area and check for squeaks, movement, or visual problems, such as a misplaced nail. It’s less expensive to fix a problem before the floor installation than after it.
Preventing squeaks during installation can make the life of the floor much more pleasant for those who have to walk on it every day. But what happens if the floor squeaks after installation? Here are some tips on how to prevent squeaky floors during and even after installation:
Use a variety of methods to attach the subfloor to the joists. Instead of simply nailing (or screwing) or gluing the subfloor to the joists, do both.
Be gentle. Hammering the edges of tongue-and-groove subfloor to fit them together can damage the wood fibers on the boards, leading to squeaky floors down the road. Instead, use a block of wood between the floor and hammer and use the wood to move the panels into place.
Walk around. After you install the subfloor, walk around on the floor. This will help you identify any squeaky spots before you install the actual flooring.
Let the flooring acclimate. Before you install new flooring, let it acclimate by leaving it in the room where it will be installed for at least 48 hours before removing it from the packaging.
Clean any spills and liquids quickly. Clean up any moisture as soon as possible. Moisture left on the floor can seep into the subfloor and cause the boards to swell and warp, which will lead to squeaking.
Shield your floors from the sun. UV light can cause gaps to form in between the floorboards, leaving the subfloor vulnerable to moisture and the issues that come with it. While it’s possible to repair sun damage to the surface by paying for the cost to refinish hardwood floors, for instance, it may not be as easy to repair the subfloor.
Protect it from traffic. The more people walk on the floors, the faster they can wear out and start to squeak. Putting down rugs and leaving outside shoes at the door can offer some much needed protection and help prevent squeaks.
Clean your floors the right way. Wood floors should be dry mopped daily with a more thorough going-over weekly. Once a month, use a floor cleaner designed for your flooring and an appropriate cloth to mop it and remove any spills or grime that build up over time. Keeping up with routine maintenance can help keep dirt from getting into the cracks and scratching the finish.
Contact a floor repair company. If you have squeaky floors, a local floor repair company can take a look and determine how or if the problem can be fixed, whether the subfloor is under laminate flooring, hardwood flooring, or even in a mobile home.
Annie Sisk contributed to this piece.
Joseph did a great job with the staircase and trim. Timely and efficient, clear communication about the work, very fair pricing. For the stairs in particular, done very skillfully in an old house (1893) in a tight spiral, and very creative with how to do the handrail. Did a nice job with...
This company does it right. Firstly, I want to say that Landan was a joy to work with. He was so kind, transparent, and had everything under control. His entire team showed up ready to work and they were all very respectful of the fact that we were in an office space. A little backstory – we...
Finished Basements Plus was wonderful from beginning to end! First, they came out quickly for an estimate. I had 4 estimates and theirs was by far the best. (2 of the estimates were more than $20K higher than for the exact same work). Beyond their fair pricing, the work was excellent. They...
 Finished Basements Plus Inc.
Very professional, knowledgeable and helpful! Completed the install on time and as expected.
Cole has been handling plumbing and general contracting for our four properties over the past three years, and he’s always done a great job. Most recently, he installed a sink and countertop in our retail store where none existed before, and it turned out exactly how we needed. He’s...
 ANB Renovations LLC
Excellent, Prompt, Courteous Service!!! They were super friendly and quite personable. I felt very comfortable with the gentlemen that did the installation. They installed it exactly where I asked them to and they did an excellent job!! I loved their service so much.
Window Depot did an amazing job installing the windows in my basement! The process from start to finish was by far more than what I expected. I would highly recommend Window Depot if you want professionalism from the the consultation to the installation. Dont settle for mediocre when you can...
AFS was excellent from start to finish. Jess, the sales associate, was fantastic...very knowledgeable and very professional. The installation crew was excellent. I couldn't be more pleased with the process. Best of all, my new floor looks fantastic!
 America's Floor Source
We were having 2”x 2” tile installed . There was a small installation error and the new additional replacement tile was from a different lot and the colors didn’t match. Joe assured us that he would rectify everything , which he did without hesitation. We decided to go with the 18” x 36” tile...
 CarifaTile
Did an amazing job transforming my yard. Also installed sod in places, would recommend to everyone.
From average costs to expert advice, get all the answers you need to get your job done.
Subflooring makes your floors sturdy and level. Learn more about the cost to install plywood subflooring and factors that affect the price.
If your subfloor is damaged and needs replacing, expect the project to require a professional assessment and the proper materials.

Updated flooring can make any room in your home feel brand new. Find out flooring installation costs, from materials to labor costs.

A squeaky floor may just be an annoyance, or it may signal a structural problem. Learn when to be concerned about a squeaky floor.

New or old, no house is immune to problems with squeaky floors. If you wake up whenever someone stands on a floorboard or loose subfloor, you can take steps to eliminate the problem. Follow these tips to learn how to silence a squeaking floor.

When wondering who to hire to fix squeaky floors, a floor repair professional should give you the best results, starting with diagnosing the problem accurately.