

What you’ll pay in Columbus, OH, for furnace repairs depends on many factors. Here’s a breakdown of what can go wrong and the cost to fix those issues.
Optimize the air quality with a carbon filter in your circulation system

 - Derek Rose.png?impolicy=thumbnail)
Installing a carbon filter requires cutting into your walls and ducts, calculating the filter size you need, and checking for leaks.
Incorrect installation can damage your ducts, which can cost $200 to $2,100 to repair.
A professional duct pro costs about $80 per hour and will ensure this project is stress-free.
When growing plants in an enclosed space, it’s important to maintain good air quality to keep odors to a minimum and ensure that your plants are clear of mold and other pathogens. Whether you decide to DIY or hire a local pro for help, learning how to use a carbon filter in your duct fan can improve the air quality in your home.
If you grow a lot of plants indoors, a carbon filter can help eliminate pollen odors and reduce mold spores. Plants tend to be healthier overall in a space with good air quality, and you can expect higher yields from healthier plants.
Carbon filters can benefit homeowners without a green thumb, too. Adding a carbon filter to your air system helps remove household odors, pet dander, allergens, and pollutants.
In most cases, installing a carbon filter for a duct fan will cost between $120 and $200, depending on the size of your fan. Replacing an existing filter costs between $10 and $50.
Improving air quality and minimizing odors in an indoor hydroponic or tented grow space can be tough. Here’s how to use a carbon filter in line with a duct fan to circulate and clean the air.
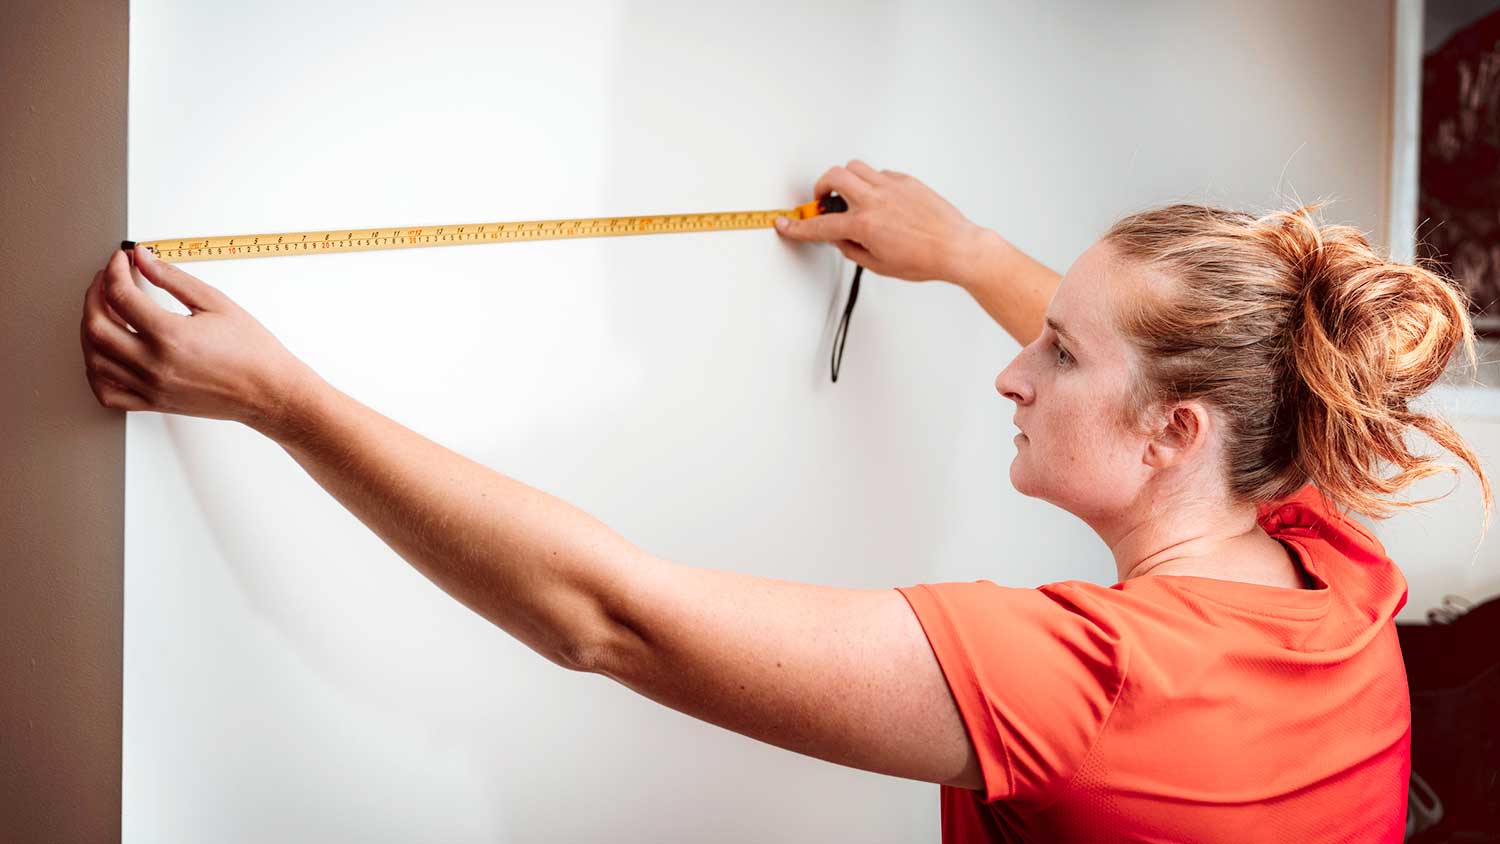
The first step in installing a carbon filter is deciding what size filter you need. Filter size is measured in cubic feet per minute (CFM). While we recommend consulting an HVAC technician for their recommendation, it’s easy to figure out the right CFM yourself with a little math.
Calculate the cubic footage of the room by multiplying its length, width, and height. For example, a room that measures 10 x 12 x 8 has 960 cubic feet.
Divide the room’s cubic footage by the frequency (in minutes) that you want the air to be exchanged. The recommended air turnover rate is every 1 to 3 minutes, with 3 minutes being the most common. This means you would divide 960 cubic feet by three, which equals 320.
Purchase a carbon filter with a corresponding CFM. In the example we used, you would purchase a filter with a CFM of 320.
Below, we’ve laid out several CFM recommendations based on different room sizes.
| Area in Cubic Feet | CFM Required |
|---|---|
| 640 (8 x 10 x 8 feet) | 213 CFM |
| 960 (10 x 12 x 8 feet) | 320 CFM |
| 1,728 (12 x 18 x 8 feet) | 576 CFM |
| 3,200 (16 x 20 x 10 feet) | 1,067 CFM |
Place your carbon filter as close to the source of any odors as possible. Positioning the filter at the top-center of your plant growing space will allow it to collect particles before they can spread throughout your space.
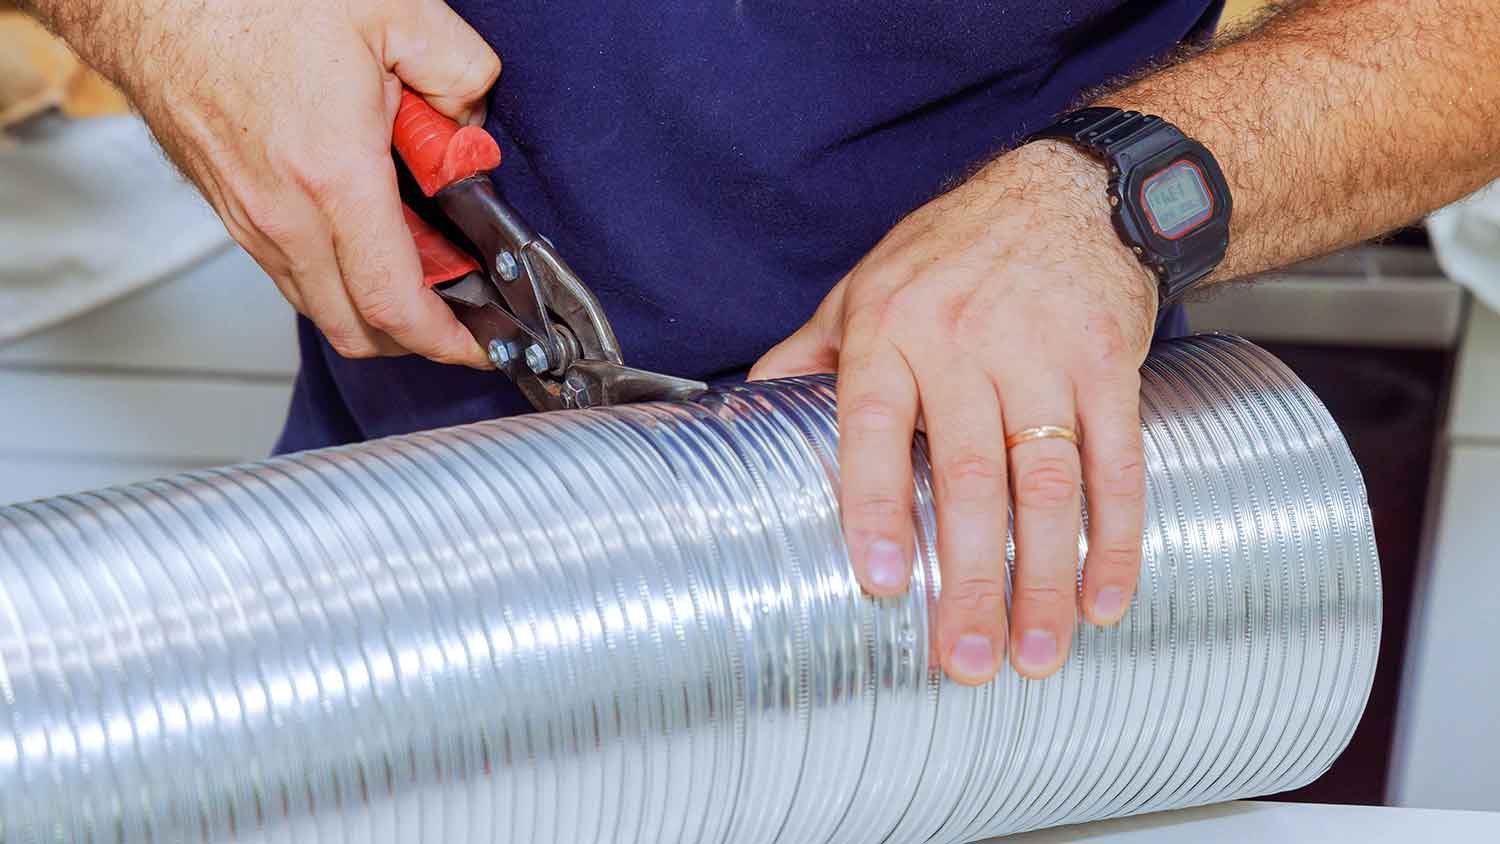
Your carbon filter must be ducted to ensure proper ventilation and air purification. This can be done a couple of different ways, and it varies widely in complexity.
Most often, a carbon filter is connected to an exposed exhaust fan and set up in a grow tent. This is the easiest option because all parts are accessible by hand. To install, simply connect the carbon filter to a fan and run ductwork from the fan through a vent in the tent. Just make sure the carbon filter and the fan have the same diameter ahead of time; that way you know the ductwork fits both parts.
If you plan to connect a carbon filter to an inline duct fan, the process is more complicated. For this, we recommend hiring a professional because it requires cutting ductwork by hand and running it directly to your HVAC system.
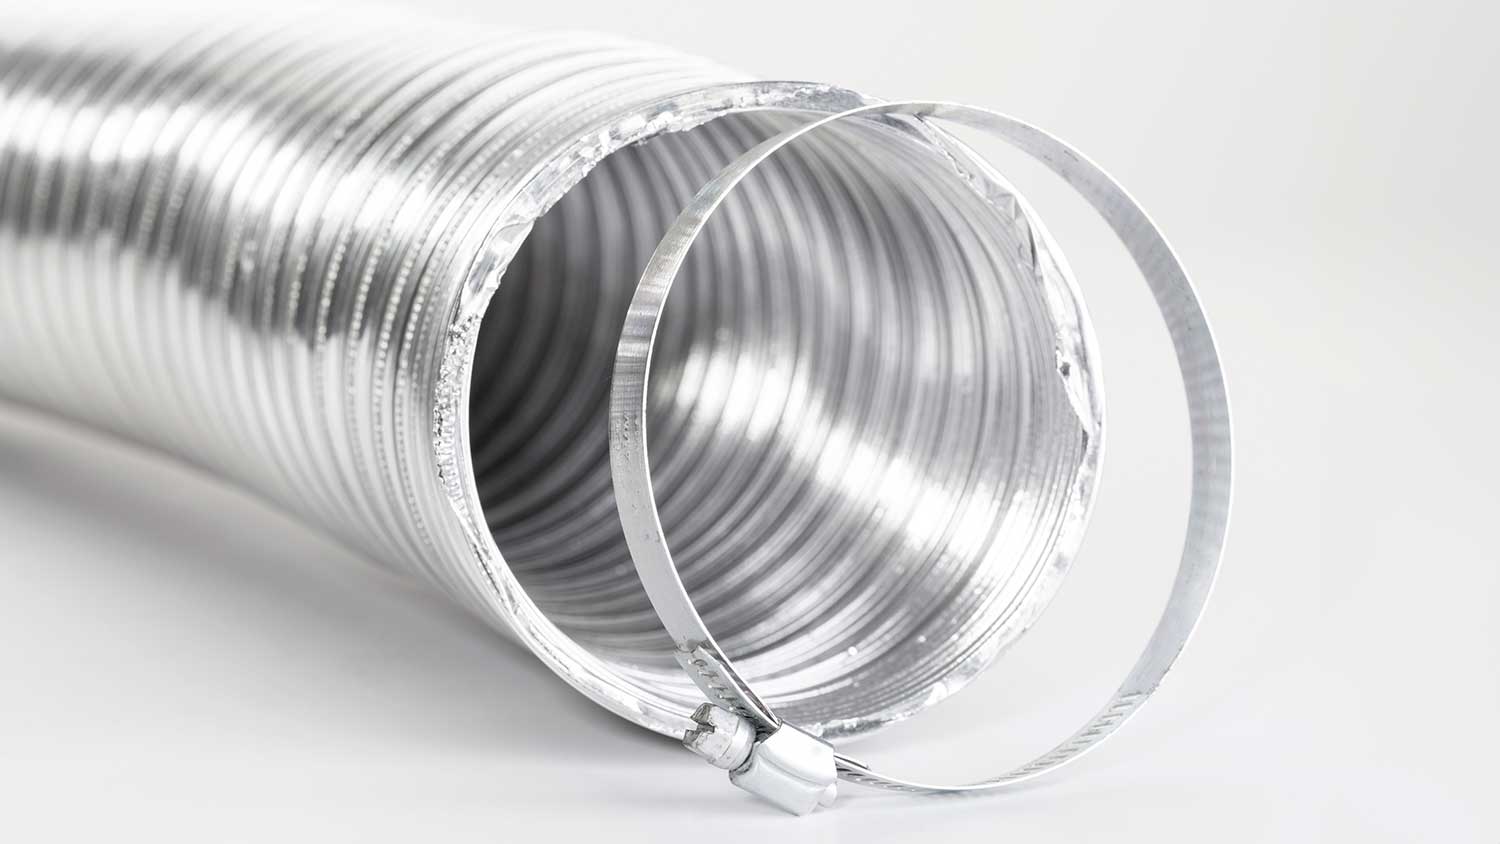
Ensure your filter is properly sealed to the ductwork, or you won’t see any benefits. To achieve a tight seal, consider two attachment methods.
Join your carbon filter with your duct using metal foil ducting tape. Wrap the tape continuously around the joint and overlap the ends by at least one inch to ensure an airtight seal.
Measure your duct fan opening and select a clamp with the same diameter. Tighten the hose clamp with a flathead screwdriver to prevent air leaks.
Once installed, turn on the fan. If you notice any air moving around the joints, you may need to redo your tape or tighten your hose clamps to seal up the system and keep the air moving through the filter.
Here are a few tips for maintaining your carbon filter duct fan to ensure peak performance.
Keep the humidity down: Although some plants thrive in a humid environment, a carbon filter loses effectiveness above 80% humidity. Monitor the moisture in the air to keep your carbon filter working well.
Replace filter annually: Although filters can last up to 18 months, if you use the fan regularly, replace your filter annually.
Clear vent covers: Ensure the opening is clear of leaves and check intake vents to ensure that they aren’t sucking in larger debris.
Clean your fan: Switch off, unplug, and wipe down your fan blades every time you change the filter or more often if you notice a build-up of dust or dirt.
Check the filter regularly: If you notice more odor than usual or see any damage to the filter or the seal around it, it’s likely time for a replacement.
Installing a carbon filter can be a simple DIY that saves you $50 to $300 in labor. The DIY costs are low since this project only requires a screwdriver and some tape. However, if there is any damage to your ductwork, like cracks, holes, or water leaks, hire a local duct installer. They can conduct a full inspection and resolve any issues before they become a larger problem.
From average costs to expert advice, get all the answers you need to get your job done.
What you’ll pay in Columbus, OH, for furnace repairs depends on many factors. Here’s a breakdown of what can go wrong and the cost to fix those issues.

When your heat goes out, it can cause a bit of a panic. But knowledge is power, so let's go over radiator repair costs before that happens.

Furnace cleaning is an essential annual chore to keep your home safe. Find out common furnace cleaning costs by type and size of furnace with this guide.

If you’re thinking about an alternative to a traditional HVAC system, you may want to consider a heat pump. Read on for more about heat pump systems.

For your furnace to run, the pilot light needs to be on—so what do you do when it goes out? Learn how to relight the pilot light on a furnace in this guide.

Thinking about installing a heat pump in your home? Learn about the different types of heat pumps and the options you can choose from in this guide.