
Looking to add some texture to your walls for a unique finish? Use this guide to estimate skip trowel texture cost to see if it’s the right option for you.
Liven up your overhead surfaces like a pro


Adding textured ceilings to a room can really bring them to life and help new wall paint pop. So if you’ve been looking for a DIY project that can take any room in your home to a new, stylish level, this is it.
Learn how to texture a ceiling by hand using simple tools in this five-step how-to guide.
“If your ceiling is imperfect, with small cracks or poorly done patches, a textured finish will make it look new,” says Bob Tschudi, Angi Expert Review Board member and general contractor in Raleigh, NC.
There is more than one way to add texture to a ceiling, so choosing your technique is the first decision you'll need to make.
Here are the four designs or patterns homeowners can choose from:
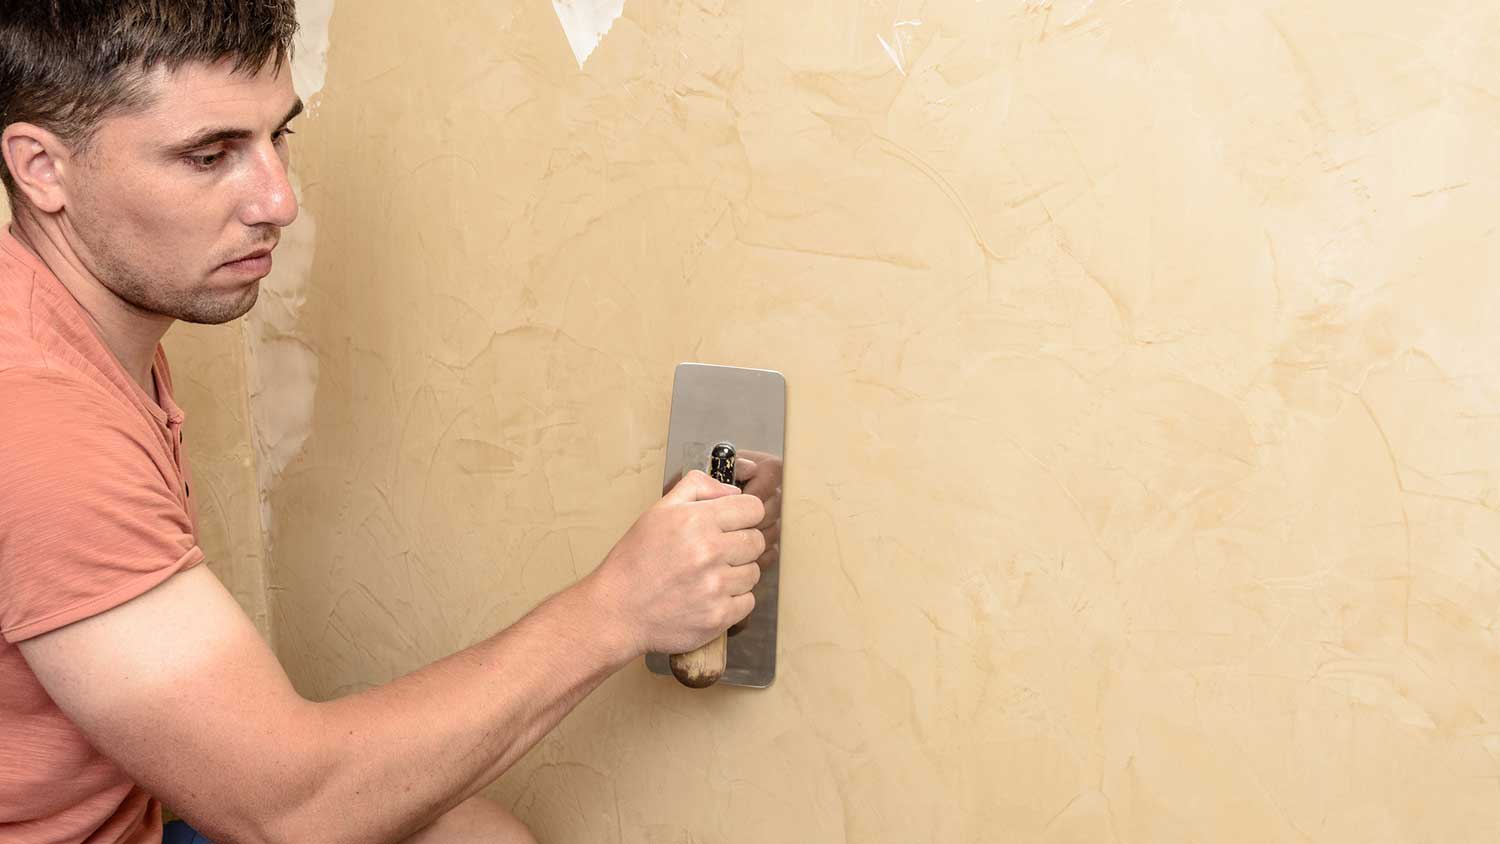
Stucco finish
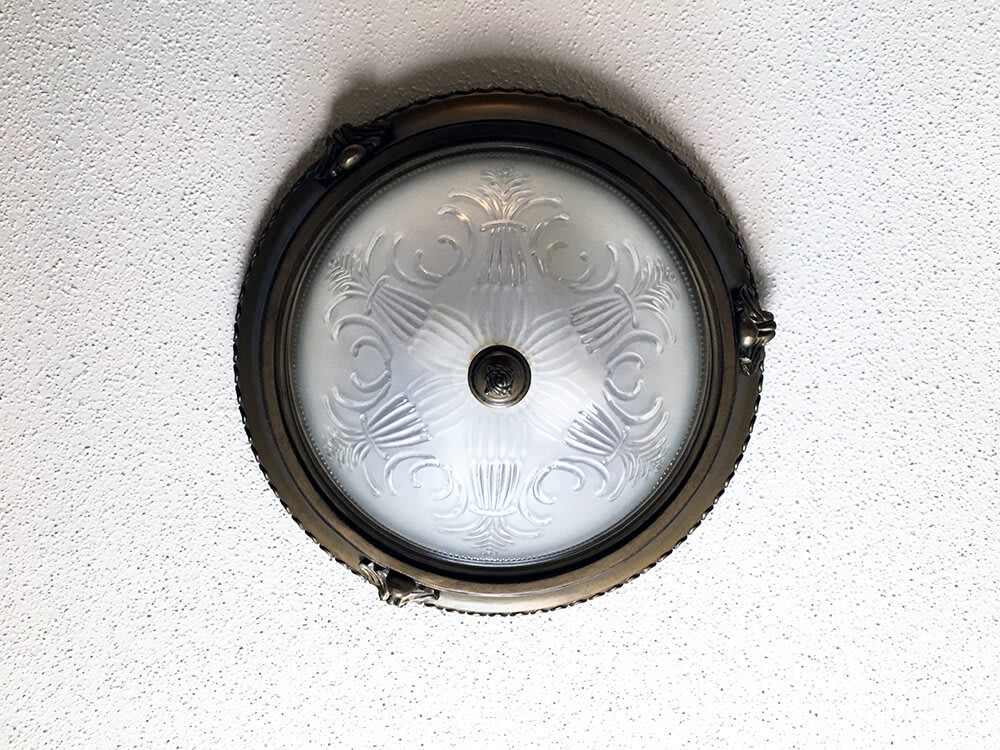
Popcorn finish
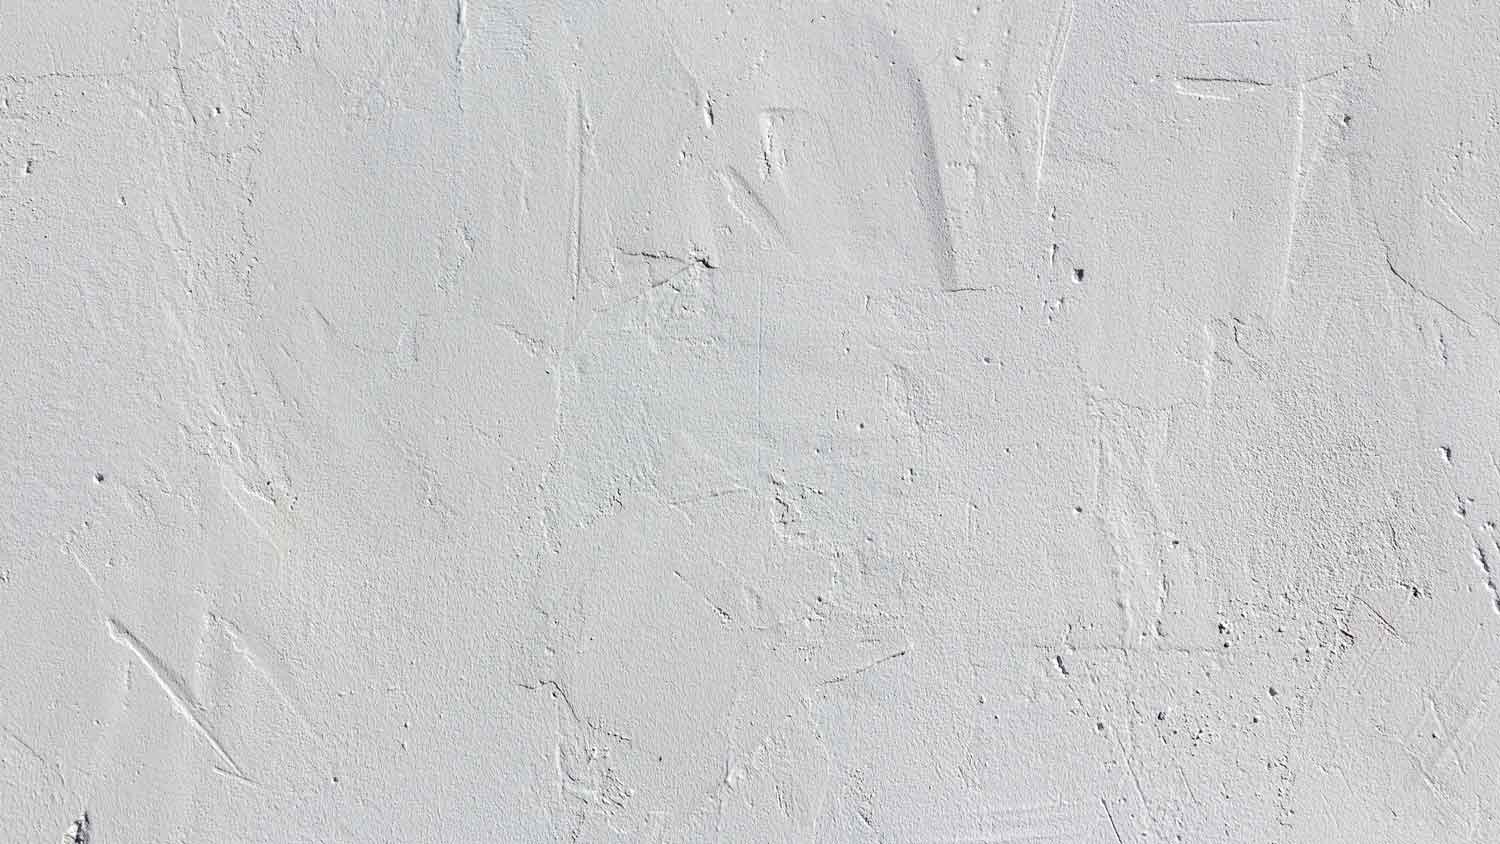
Subtle texture
Artistic finish (Best to hire a pro)
You can DIY the first three. If your walls are overly dirty, it might be worth considering hiring a professional ceiling or wall cleaner. The cost to have walls cleaned is usually between $170 and $480.
Before you begin, place protective coverings (a clear plastic tarp is recommended) over anything below the ceilings you're texturing.
There is a nearly guaranteed chance that at least one drip, drop, or splash will find its way onto the areas below where you're working. It's a matter of gravity—so you might simply want to cover the entire floor if you're texturing a large area. Tape off any areas of the ceiling you don't want to add texture to using painter’s tape.
The steps below will outline how to add subtle textures to your ceiling using a crowfoot ceiling brush and mixable joint compound. The end result will be a subtle textured finish.

You'll use joint compound twice for this project—once to hide or seal off any cracks, and again to add texture to the ceiling. The first step needs to dry, so only mix a small portion or what's needed to give your ceiling a smooth surface to work on first. Read labels and mix the appropriate amount of water so your joint compound doesn't get runny if it's powdered.
When it comes time to texture the ceiling by hand, put your compound in a roll-on paint tray or just on top of some old cardboard. Joint compound won't run off like paint, but you want it on a flat surface so you can easily dip and re-dip your crowfoot brush as you work.
This step depends on if your ceilings are painted already or not. If it's a new room, you may need to cover gaps or cracks in the drywall. If it's an old ceiling that's already painted, this is your chance to refinish an old ceiling.
Since you'll be painting the ceiling either way after you texture it, use a dropdown knife to smooth the compound over any edges or finish any sections that need it.
Let dry for 12 to 24 hours, per instructions.
Dip your crowfoot brush in your joint compound. Press the brush firmly into the ceiling, working in 2-by-4 or 4-by-6-foot sections to add texture.
Again, let it dry for 24 hours.
On a new ceiling, the texture may not appear as apparent if you're adding it to drywall. Do a run through the entire ceiling first, let dry, then decide if you need more. Too much joint compound will make it difficult to paint.
“With joint compound, it’s easier to add more than to remove excess,” says Tschudi. “Also, the thinner the coating, the more quickly it will dry.”

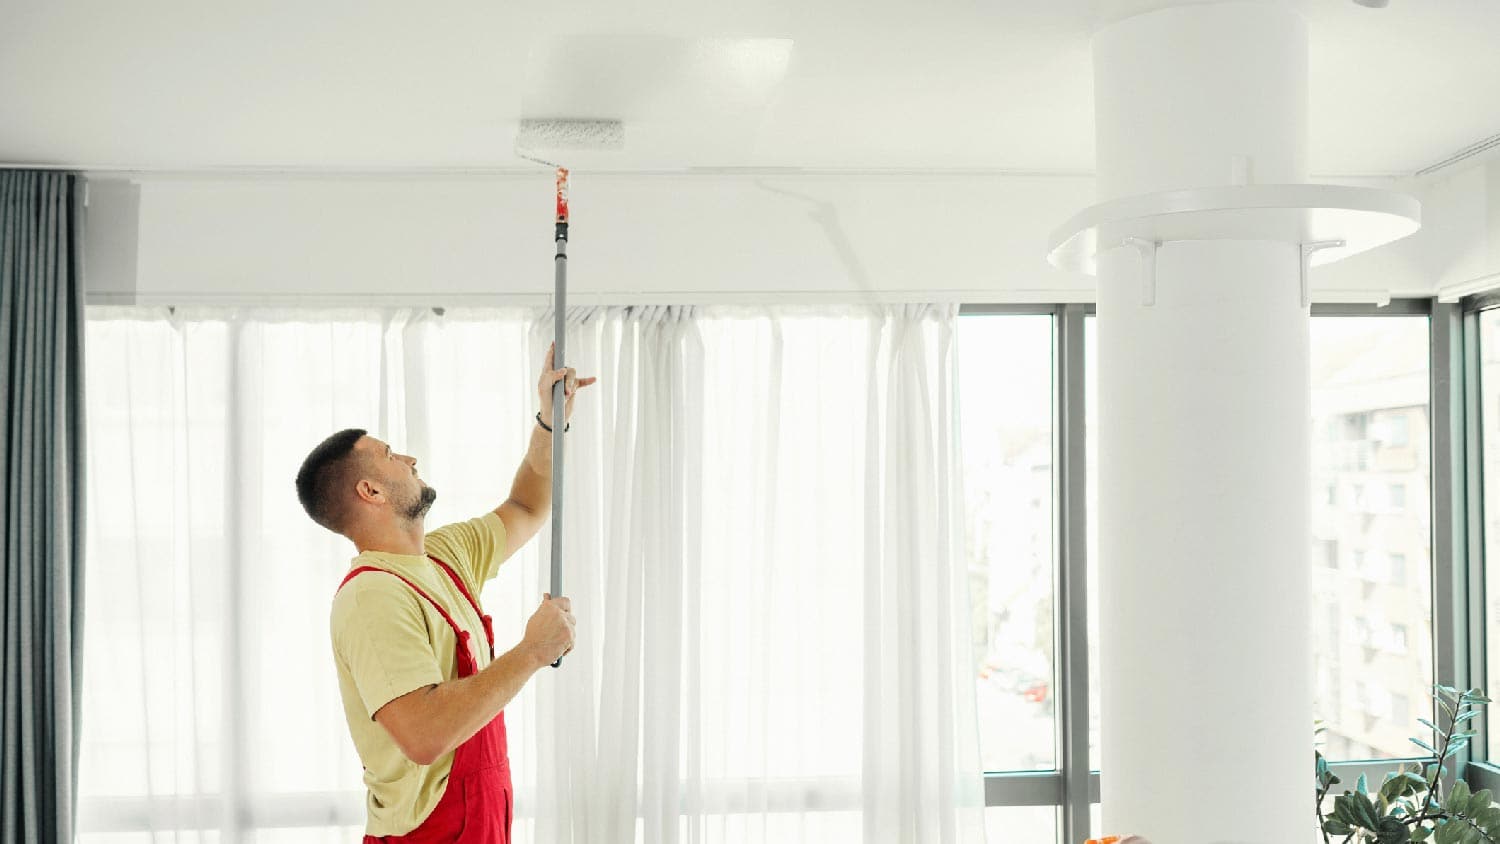
Using a paint roller, work your way from the inside out to paint your new textured ceilings by hand. Use a brush on the edges. Let dry, then touch up any areas as needed.
Adding a bit of texture to your ceiling can be a fun DIY if you’ve got the time, patience, and skill for the job. Fancier texturing, such as carving images (flowers and other natural patterns are popular) into your ceiling can also be done to really liven up your space, but you may want to consult a local ceiling painter or professional plaster contractor for such a job. While doing the labor yourself can save you money, your first priority should be your safety, as getting up on a ladder for long hours of work can be dangerous if you’re inexperienced.
Texturizing drywall costs an average of $140 to $260, but the price can go up if you have a particularly high ceiling or vaulted ceilings with corners that are harder to get to. The type of texture can also affect the price, with spray-on bumpy textures costing between $1 and $2 per square foot and faux finishes like Venetian plaster costing $3 or more.
Cleaning your ceiling before texturizing and painting afterward can increase your total costs. Hiring a professional interior painter near you to paint your ceiling costs an average of $250 or up to $5 per square foot, depending on the surface type.
Ben Kissam contributed to this article.
Custom Paint Jobs LLC is the go-to choice for all your painting needs. They painted both the interior and exterior of my house flawlessly. Their work speaks for itself!
Beginning with the estimate, Larry and Peyton were super helpful in getting my new condo's interior re-painted. Not only was the job well done, but also done in a super timely manner as promised.
 Five Star Painting of Plain City and Powell
From average costs to expert advice, get all the answers you need to get your job done.
Looking to add some texture to your walls for a unique finish? Use this guide to estimate skip trowel texture cost to see if it’s the right option for you.
Drywall texture can create an attractive finish and add dimension to your home’s walls. This guide breaks down the factors that influence the cost to texture drywall.
Popcorn ceiling removal costs depend on the size of your ceiling and any additional services like asbestos removal and resurfacing. Learn all the costs here.
Not sure which type of ceiling texture to choose? Discover 15 ceiling textures to elevate your home’s look, hide imperfections, and add character to a room.

Choosing a smooth ceiling versus a textured ceiling comes down to the home’s style, the amount of maintenance you want to do, and the ceiling’s condition
Ready to add a bit more visual appeal to your home? Compare popcorn ceilings versus textured ceilings to suit your home's unique style.