A dryer vent cleaning cost averages about $140 when done by a professional. Read our tips to understand the key cost factors involved in dryer vent cleaning.
Shorter hoses, (possibly) longer life span


Your clothes dryer may be working too hard. A vent hose that’s longer than needed requires extra effort to dry your clothing and expel the humid exhaust. In some cases, an extra-long dryer hose can pose a safety risk. Follow these steps to cut your dryer’s vent hose. (Doing this could possibly extend its lifespan, save energy, and reduce lint build-up in the system.)
Complex, high-risk projects demand more than typical DIY projects. They require time, specialized tools, and trained expertise to make sure the job is done safely and correctly. We made it easy for you to find a local pro—with our skilled network, you'll get the job done without the stress of doing it yourself or significant safety risks.
Before making any cuts, you’ll need to access the ends of the connecting duct.
Examine the vent system and note how it’s assembled prior to any tinkering. Take reference pictures if you like.
Pull the dryer away from the wall enough to allow you to work comfortably.
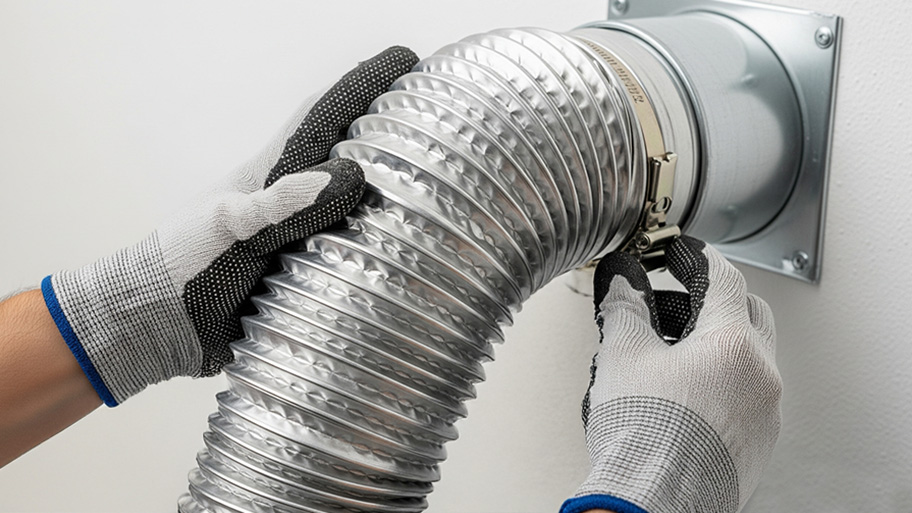
At each end of the flexible duct, cut the foil tape or loosen the vent hose clamps by turning the fastener screw counterclockwise with a screwdriver.
Detach the connecting vent duct at both ends.
When you’re shortening your dryer’s flexible duct, remember to leave enough extra hose so you can reattach it before sliding the dryer back into place.
Measure the length of connecting duct that you need and add a few inches for the overlapping connections and to make re-installation easier.
Grab your painter's tape and mark a cut line by centering and wrapping the tape around the duct. This will act as your guide and keep sharp metal burrs to a minimum.
Next, it’s time to shorten your dryer vent hose.
Poke a hole into the duct with the tin snips and cut around the piece. Discard the excess length.
Alternately, you can drill a pilot hole with a drill as a starting point for your tin snips.
Remove the painter’s tape after finishing the cut.
Let’s pause for a moment. Now is an excellent time to inspect your dryer and dryer duct. It’s also an ideal time to clean your dryer vent or hire a local dryer vent cleaning professional.

Now that your vent hose is cleaned out and cut to the proper length, it’s time to put everything back together. Use only vent hose clamps or approved foil tape on dryer ductwork.
Slide one vent hose clamp over the end of the rigid duct leading to the exhaust vent.
Slip one end of the flexible duct over the rigid duct end.
Twist the fastening screw on the hose clamp clockwise with a screwdriver until firmly attached. (You can use foil tape to connect to the rigid duct.)
Move the dryer back to its original spot in your home, but not exactly to its final destination. You’ll still need to leave enough room to complete the final steps.
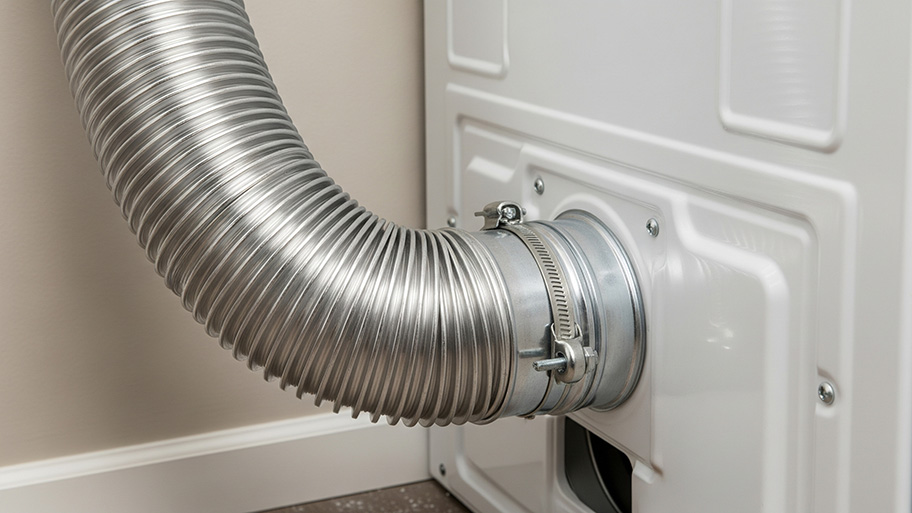
Attach the other end of the connecting duct to the dryer’s exhaust port using a vent hose clamp the same way as previously described.
Settle the dryer back into its home while taking care not to kink the flexible hose.
Shortening your dryer vent hose is a simple project that can yield significant benefits. If you already have tin snips, the cost can be as little as $5 to $10 for a roll of foil tape and a pair of vent hose clamps. Although this is a simple project, you may consider hiring an HVAC repair pro near you if pushing around large appliances isn’t your ideal way to spend a Saturday afternoon.
For repair, replacement, or installation of all or part of your dryer vent system, your local HVAC service company can provide these services for around $30 to $50 per hour.
From average costs to expert advice, get all the answers you need to get your job done.

A dryer vent cleaning cost averages about $140 when done by a professional. Read our tips to understand the key cost factors involved in dryer vent cleaning.

Are you concerned that your dryer vent has accumulated too much lint and debris? Learn who cleans dryer vents so you can hire the best professional for the job.

Don’t let a dirty dryer vent cause problems in your home. Not sure how often to clean a dryer vent? Keep reading to learn best practices.

Knowing what questions to ask a dryer cleaning pro can help prepare you for the job. Check out these dryer vent questions before cleaning your dryer vents.

You might not think much of lint, but it’s actually a major fire hazard. Running your own dryer and dryer vent inspection can help you spot dangerous buildup.

If you need to move your dryer, or you’re buying a home without proper ductwork, you’ll want to make sure the right pro installs your dryer vent. Read on to find out who installs dryer vents to get the job done quickly and easily.