
Sealing your roof can help preserve its life span—you just have to choose the right coating. This guide will help you budget for your total roof coating cost.
Give your roof an extra layer of protection

Roof seals protect your roof from water damage, UV rays, and harsh weather by creating a durable barrier that extends lifespan and boosts energy efficiency.
Professional roof sealing costs $450 to $2,100, with hourly rates from $35 to $90, so sealing your roof early helps you avoid pricier repairs.
You should clean your roof thoroughly with TSP solution, patch any leaks or holes, and apply primer before spreading sealant evenly with a soft brush.
Hiring a local roof sealing professional keeps you safely off the roof and ensures proper sealant selection, application technique, and coverage for lasting protection.
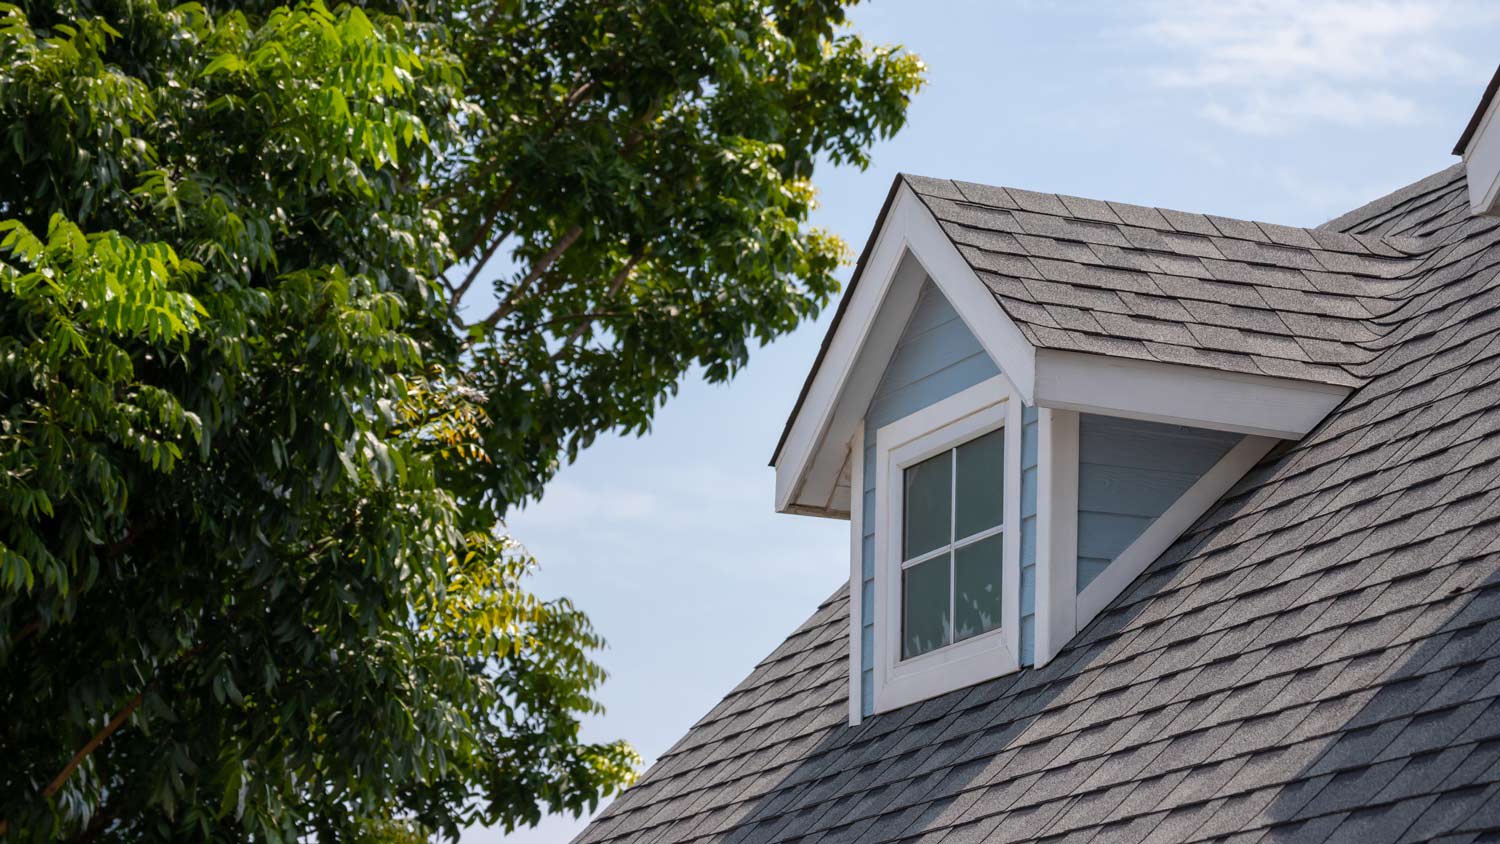
Repairing or replacing a roof can be a complex, time-consuming, and costly process, particularly if you are living in the home while work is being done. Applying a seal coat is a great way to extend the lifespan of your roof, whether it is brand new or you want to squeeze a few more years out of it.
Seal coats are an absolute must for flat roofs to prevent water from building up and leading to moisture damage later on. Applying a dedicated sealant is also important for sloped roofs, as the coating shields the surface from UV damage and improves your home’s energy efficiency. Better yet, this is a DIY-friendly job, though it is not without its hurdles. Read on for step-by-step guidance on how to seal a roof on your own.
Sealing your roof means that you install a coat of sealant. This sealant helps increase the lifespan and durability of your roof against harsh weather and UV rays. Sealants can also increase the waterproofing, fire resistance, and mold resistance of your roof.
These are the most common roof sealant types available on the market:
Polyurethane
Silicone
Acrylic
Liquid rubber
Sealant tape
These products are either water-based or solvent-based. Water-based sealants are thinner and more budget-friendly, although they require more frequent reapplication. Solvent-based sealants cost more but are best for protecting your roof against severe weather.
Additionally, here are the sealant types to consider for different goals:
Increased waterproofing: rubber, silicone, polyurethane
Increased UV ray resistance: rubber, silicone, polyurethane, acrylic
Easier to install: water-based rubber, acrylic
For rainy and snowy areas: polyurethane
Small repairs: sealant tape
Roof coating costs $0.65 to $5 per square foot, depending on the type of sealant you choose.
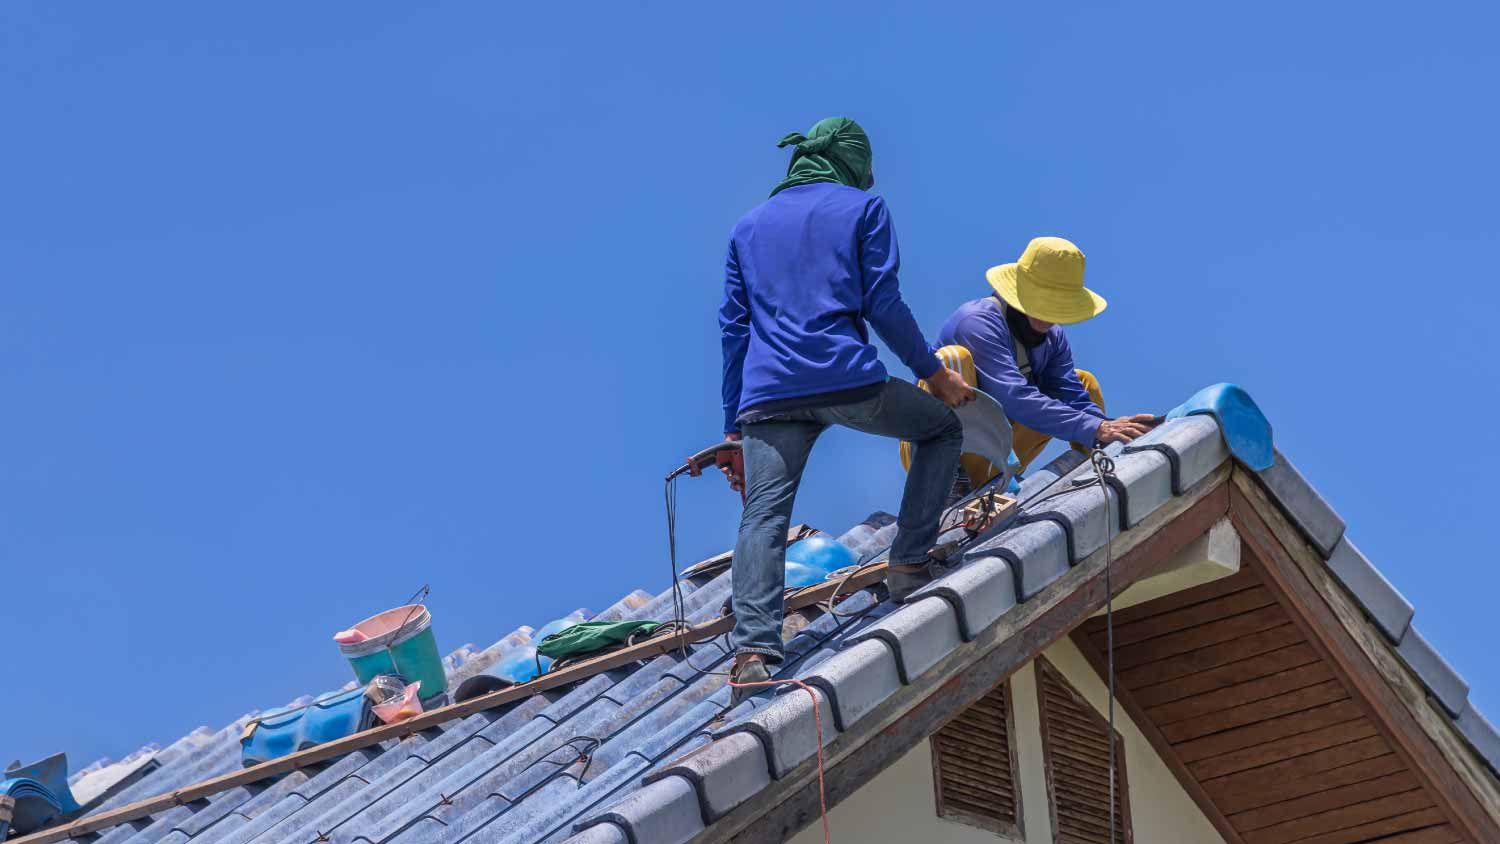
Most homeowners are looking into sealing their roofs to repair leaks, prevent water damage, and maintain their roofs. Hiring a pro helps avoid further damage to the roof and home and ensures the project is completed correctly.
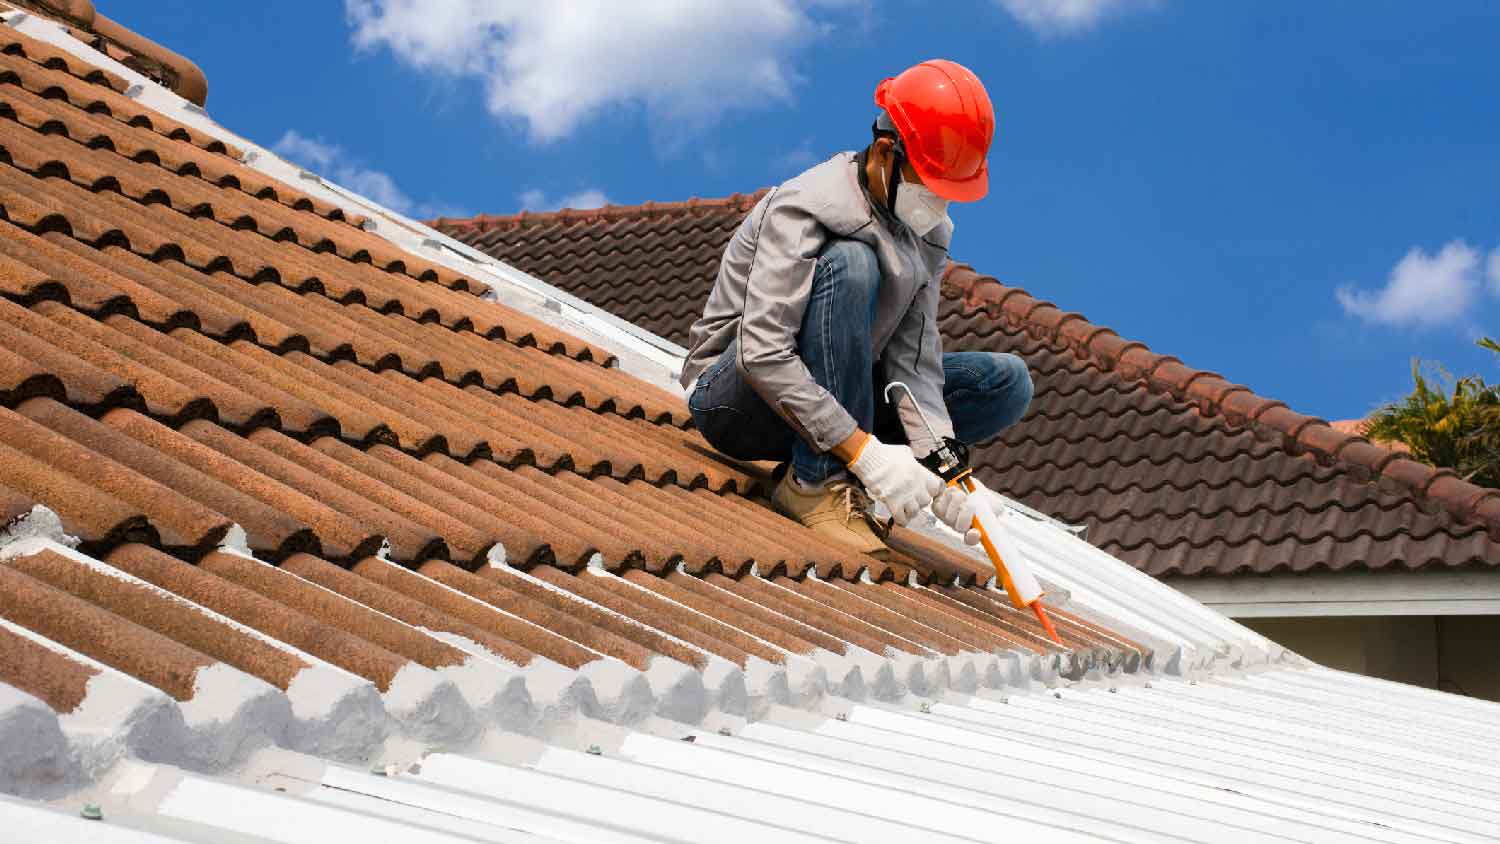
First of all, this process is conducted primarily on the roof, which is not the safest place to be, especially if you are inexperienced working at heights. If you decide to seal a roof yourself, be sure to wear protective gear, use a sturdy ladder, and have a friend or family member on hand to help. Also, gather up all of your supplies and tools so you do not have to go reaching for anything later on. And make sure to purchase the right sealant type for your roof.
The last preparatory step is to climb the ladder and check out the state of your preexisting seal coat. Clear away any flaking or loose sealant with a stiff brush and brush off any rust if you are working on a metal roof. You should also remove any chunks of debris or anything else out of the ordinary, like old bird’s nests and the like.
After you finish the preparatory work, move on to these six steps to seal your roof properly.

You already removed debris, residual seal coat, and rust, but now it is time to give the roof a proper cleaning so the new sealant applies evenly. The best cleaning solution for the job is an etching cleaner such as trisodium phosphate, otherwise called TSP. Start by mixing around half a cup of TSP into two gallons of hot water. If you noticed some mildew on the roof during your initial inspection, add a quart of bleach to the solution and cut down the water by a quart.
Always wear protective eyewear when working with TSP. Once you are properly protected, apply the solution to the roof with a stiff brush or a sprayer of some kind. Allow the compound to sit for a while (check the TSP’s instructions for specific time details) and finish it off with a thorough rinsing with water.
If you notice any leaks, holes, or other types of damage to the roof or specific parts of the roof, like the flashing, now is the time to make the necessary repairs. Give the roof another inspection now that it is clean to look for any damage that eluded you earlier. Grab your caulking gun and caulk seams throughout the roof. Patch up any holes or leaks with a simple roof patching kit. These kits differ in many regards, but the process typically involves applying a layer of the patching compound, adding a layer of a reinforcing grid mesh, and finishing with another layer of patch. Reinforcing grid mesh ships with roof patch kits and is a flexible mesh coating that bonds with the patch.

This step is potentially optional, as some sealant compounds already feature a primer as one of the primary ingredients. In other words, read the instructions that accompany your sealant. If it says to add primer ahead of time, use a roller or soft roof brush to apply a layer of primer to the entire roof surface. Allow it to dry before moving on to the next step.
Before you actually apply a coat of sealant, check the instructions and find out if there are any temperature or weather restrictions, as some compounds require specific temperature ranges and humidity levels to bind properly to the roof materials. If the weather does not comply with the sealant’s demands, put these final steps of the project on hold until the perfect day presents itself. Some sealants are not picky regarding outdoor conditions. If this is the case, move on to the application process.
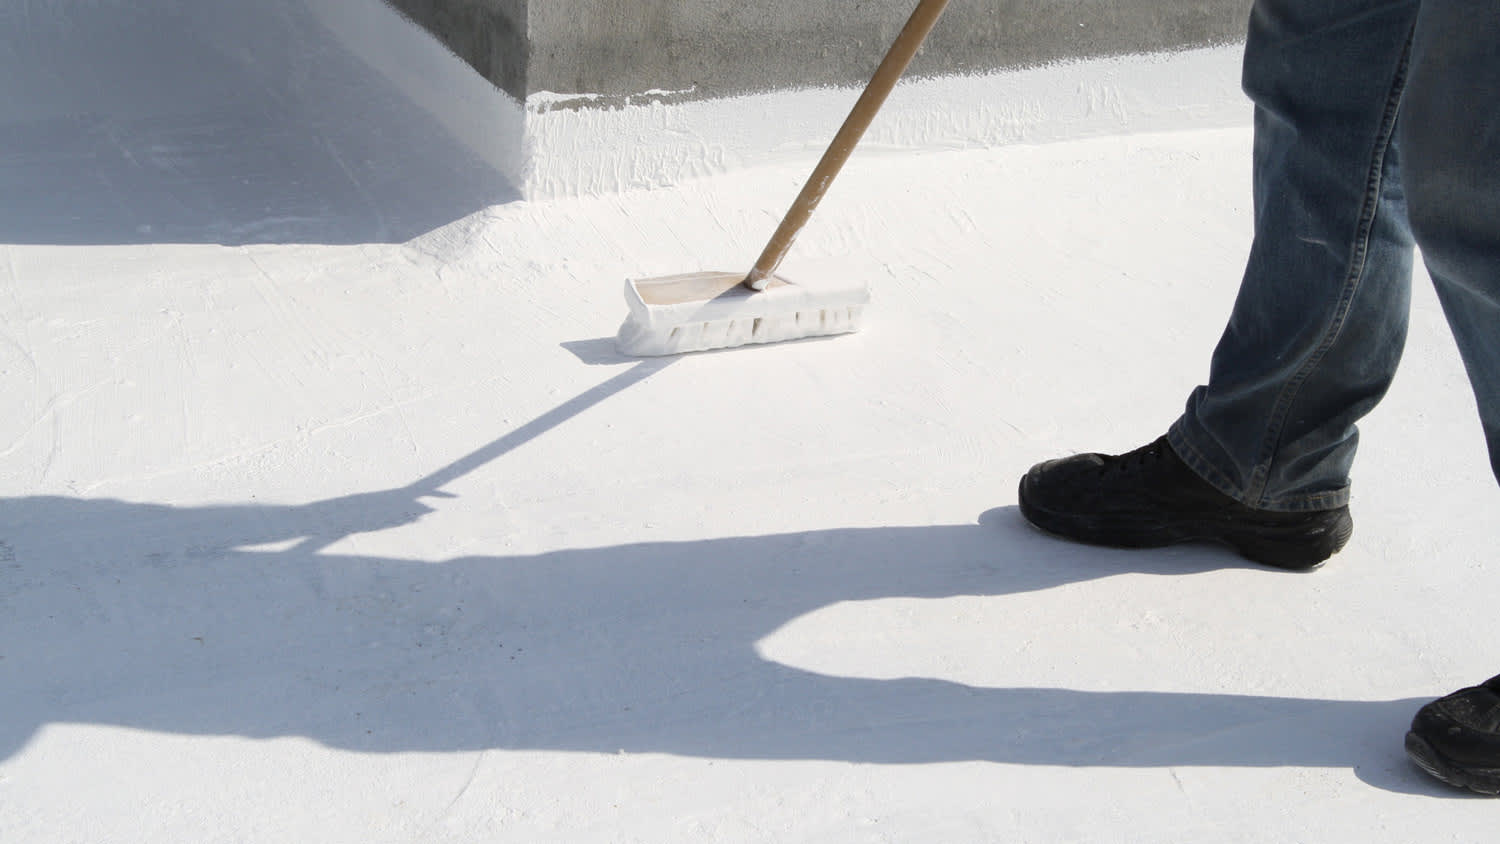
Now it is time to apply the roof sealant. Start by pouring a small amount of the seal coat onto the roof and using a soft roof brush to spread it into a thin and even coat. Work slowly and carefully in small sections until you have covered the whole surface of the roof with a coat of sealant.
Some people stop here, but many roofs benefit from a second coat, though only you know the specific needs of your roof. Wait four to six hours for the first coat to dry before starting on the second. When applying the second and final coat, make brush strokes that are perpendicular to the strokes you made when applying the first coat. This helps create strong and stable layers.
Allow the sealant to dry for at least six hours, though overnight is the best choice here. Once fully dried, climb the ladder for the last time to inspect your work, carrying the sealant with you. Inspect the dried coat thoroughly, looking for any areas you accidentally missed during the initial application. Touch up these spots with the sealant until you are satisfied with the results. Allow these spots to dry and, voilà, you have a newly sealed roof.
To seal your roof properly, you should first make sure you are using the right sealant type for your goals and type of roofing material. Roofing products usually specify which materials they work best on, so check the details before purchasing.
Make sure to take your time during the cleaning process, because any leftover dirt, moss, or other debris will prevent you from installing the sealant evenly on your roof.
And before you start working with the sealant, take time to cover any important landscaping or outdoor furniture around your home. That way, you will not have to worry about accidentally spilling sealant and causing damage.
This is a time-consuming and potentially dangerous job, as the lion’s share of work is conducted at great heights on top of your roof. The potential danger involved in this process is why many homeowners contact a local roof sealing company, as these contractors are experienced and insured for the work. However, the work itself is not terribly difficult and is appropriate for DIYers with experience in laying down paint, primer, and related materials. Additionally, a good chunk of the time commitment involves waiting for coats to dry.
If you are dead set on doing it yourself, make sure to have helpers available to stabilize the ladder and deliver important materials and tools while you are on the roof. You could save up to $1,000 by doing it yourself, as most contractors charge between $35 and $90 per hour for this type of work.
Mitchell and the crew were top tier i am so happy with my new roof
D1 Roofing delivers outstanding service from beginning to end, backed by a strong warranty and expert teams. I highly recommend them for their excellence in meeting and surpassing expectations with unmatched communication. Choosing D1 Roofing was flawless decision
This place took $25,000 for a flat roof job with a five-year warranty and never returned to fix the leaks that were caused by their work. These people are not professionals and should not be doing this type of work. They incorrectly changed the pitch of the roof, and caused more damage than...
The technician was very professional and friendly. He answered all my questions and was very thorough. He left the fireplace area very clean . He inspected from the roof and advised me as to other work that might need to be done. There was no pressure there. I was very satisfied with the...
 Supreme brick & chimney
I am really impressed with their timeliness and turnaround. Mitchell came out, and we decided to move forward with their pricing. Our roof was on within a week, and we could not be happier with their team! Amazing company, great prices and honest, dependable craftsmanship. I highly recommend...
Manuel Calvillo is the best option in the area for roofing and you won't be disappointed.
They damaged multiple items on my property, including a marble slab used as a table top, tried to hide it, and refused to pay or replace. Arrived day one without a ladder to access roof & delayed a day. Left a mess in back yard; didn't wear face masks; no show by owner to property to see damages
I've hired Gary/Cherokee Roofing for two different homes, work quality, responsiveness, and completion have been great both times. And the prices quoted were very competitive. I would definitely hire again.
Lyle did a great job removing asbestos shingles from our front porch roof. They worked together with our roofer to make sure that the new roof was able to be installed on the same day that Lyle removed the asbestos shingles.
 Lyle Environmental
Bradley Builders did a good job replacing the roof on our front porch. They color-matched the existing shingles on the rest of the house and installed a metal ridge roll since we live in a historical neighborhood. They did the job while we were out of town. When we got back, everything was...
 Bradley Builders, Inc.
From average costs to expert advice, get all the answers you need to get your job done.
Sealing your roof can help preserve its life span—you just have to choose the right coating. This guide will help you budget for your total roof coating cost.
You may wonder, how much does a leaky roof cost to fix? Learn why waiting to fix even a small leak can considerably increase the final cost.
Learn how to hire a qualified roof coating pro. Find tips on vetting contractors, questions to ask, and what to expect from this specialized service.
Homeowners can fill a gap between their roof and wall with sealant or wire mesh. Here are three steps to help you get the project done safely.
Before you hire a roofer for your project, make sure you can answer these common roof sealant questions to get the most out of your service call.
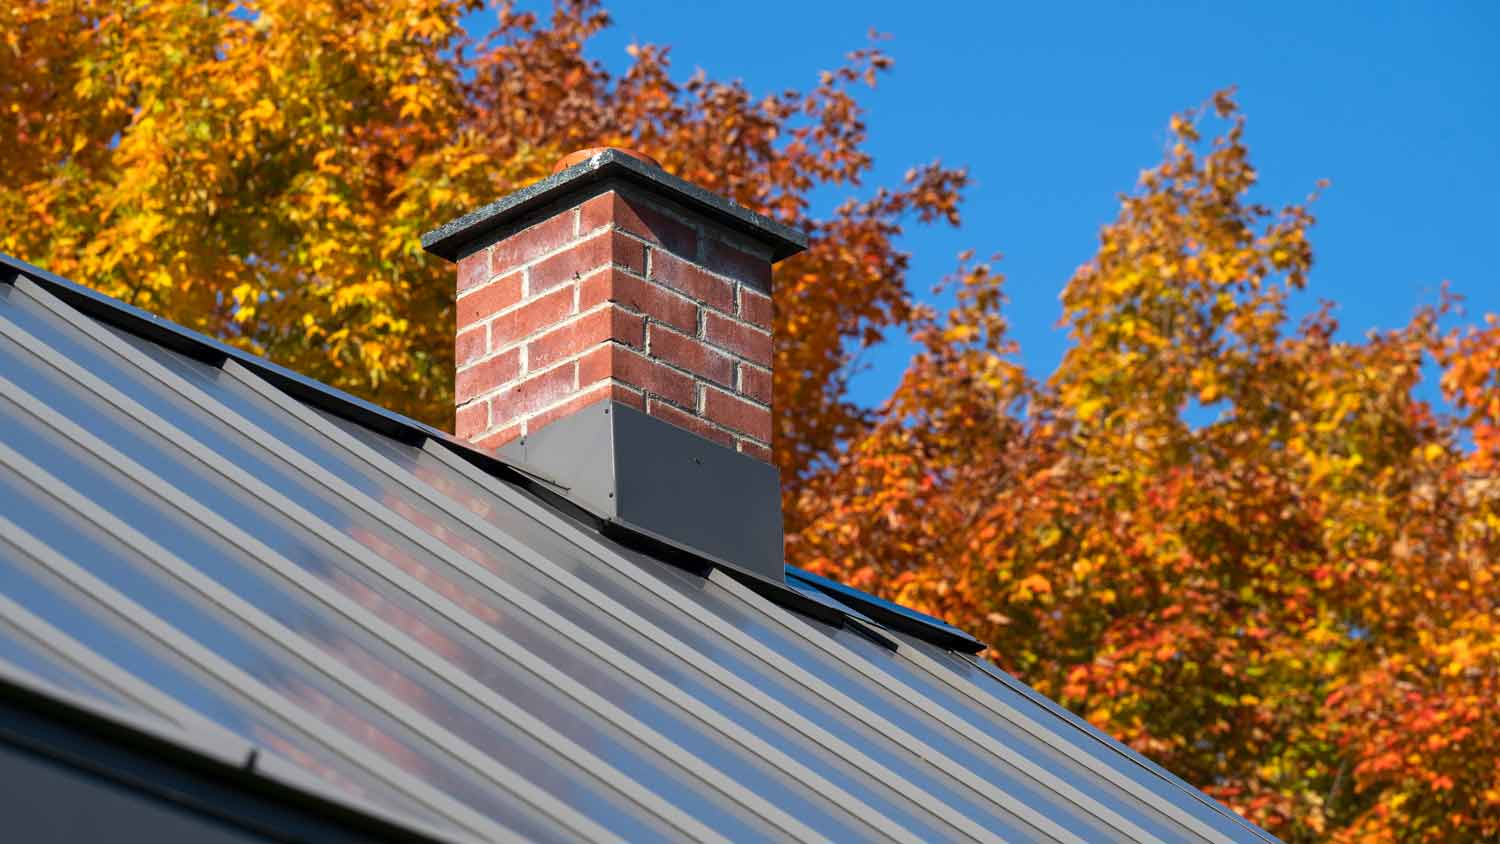
Gaps and other faults in your chimney flashing sealant can leave your home vulnerable to leaks. Learn how to seal chimney flashing with this guide.