
•
Discover the professional Christmas light installation cost, including average prices, cost factors, and tips to save on your holiday lighting project.
Add a twinkle to your holiday cheer with this easy DIY

Twinkling Christmas lights are one of the simple joys of the winter season. We all love blinking lights, whether they’re woven throughout the branches of our Christmas trees or professionally hung outside our homes. Getting blinkers for Christmas lights is easier than you might think. Also, adding blinking bulbs to a strand of lights is a quick, easy fix if you’re looking for ways to save time and money on Christmas lights. Read on for everything you need to know about how to make Christmas lights blink and twinkle.
There are several holiday lighting do’s and don’ts, but your safety should always come first. You can wear rubber-insulated gloves for an added layer of protection since you’ll be working with electrical outlets and wiring. Unplug the strand of lights you’ll work with to reduce your risk of shock. Before figuring out how to make Christmas lights flash, make sure the strand of lights is in good condition. Not only will this keep your home merry, bright, and safe, but you will save time and effort down the line.
Christmas lights usually come with “flasher bulbs” or “blinking, bulbs”—those are what you’ll need to make your lights twinkle. You can easily spot blinking bulbs by their red or silver tips. One of these bulbs makes the other bulbs in this circuit blink, too. If you didn’t hang on to the extra bulbs that came with the initial box, you can buy blinking and non-blinking replacement bulbs at most hardware stores.
You’ll want to have enough bulbs on hand to troubleshoot. But having a few extra blinking and non-blinking bulbs nearby is also helpful in case you break or lose any in the bulb-replacement process.
Now that you’ve got all your supplies in place, it’s time to make those little lights twinkle. Here’s how.

Unplug your Christmas lights and carefully untangle them, laying them flat on a hard, dry surface, such as a kitchen floor or table. If you're working with several strings of non-blinking lights, simply place them side by side in horizontal rows. You may want to wait five to 10 minutes to allow the lights to cool, depending on the type of lights and how long they’ve been plugged in. Most lights come with features to keep them from getting too hot, but it depends on the age of the light strand.
Once the bulbs are cool to your touch, slowly move your hands down the strand, bulb-by-bulb, checking for loose or cracked bulbs or frayed wiring. Loose bulbs may be easier to diagnose (and fix) than frayed wiring. For wiring, look for bare, or exposed, wires in the strand’s plastic coating. Closely examine the strand to see if wires are torn or damaged. If the plastic coating is the only part that’s torn, wrap electrical tape around this section. But, if you find frayed, torn wiring, it’s best to retire the strand and start with a new one. Replace any loose or broken bulbs before moving on.
Look for the bulb at the very end of the string of lights; this will be the bulb closest to the light string’s plug. Gently but securely pinch the bulb using your thumb and index finger. This will help the bulb and base come out of the light strand—not just the glass bulb. Set the bulb aside in a safe space away from children and pets.
Next, place your “blinking bulb” into the new opening on the light strand. To replace the non-blinking bulb, hold the red- or silver-tipped blinking bulb between your thumb and index finger. Be sure to follow light safety guidelines. You will see small, thin copper wires along the bulb’s base. Place the bulb into the light strand base first.

Once the blinking bulb is secured, plug in the string of Christmas lights to the nearest electrical outlet. You should see blinking lights a few seconds after plugging in the strand. If only half of the light strand is blinking, don’t worry. This likely means that your strand of Christmas lights has two circuits. If you want the entire strand to blink, locate the bulb next to the last blinking light. Make a note of this bulb’s placement, and unplug the light strand. Gently grip the bulb and replace it with a blinking bulb with a red or silver tip.
Bright, twinkling Christmas lights are the focal point of the holiday season. Installing blinking holiday lights is something a professional Christmas light installer can handle if you don't want to do it yourself. But this project is easy and affordable to complete, so you’re better off taking a DIY approach to make Christmas lights blink.
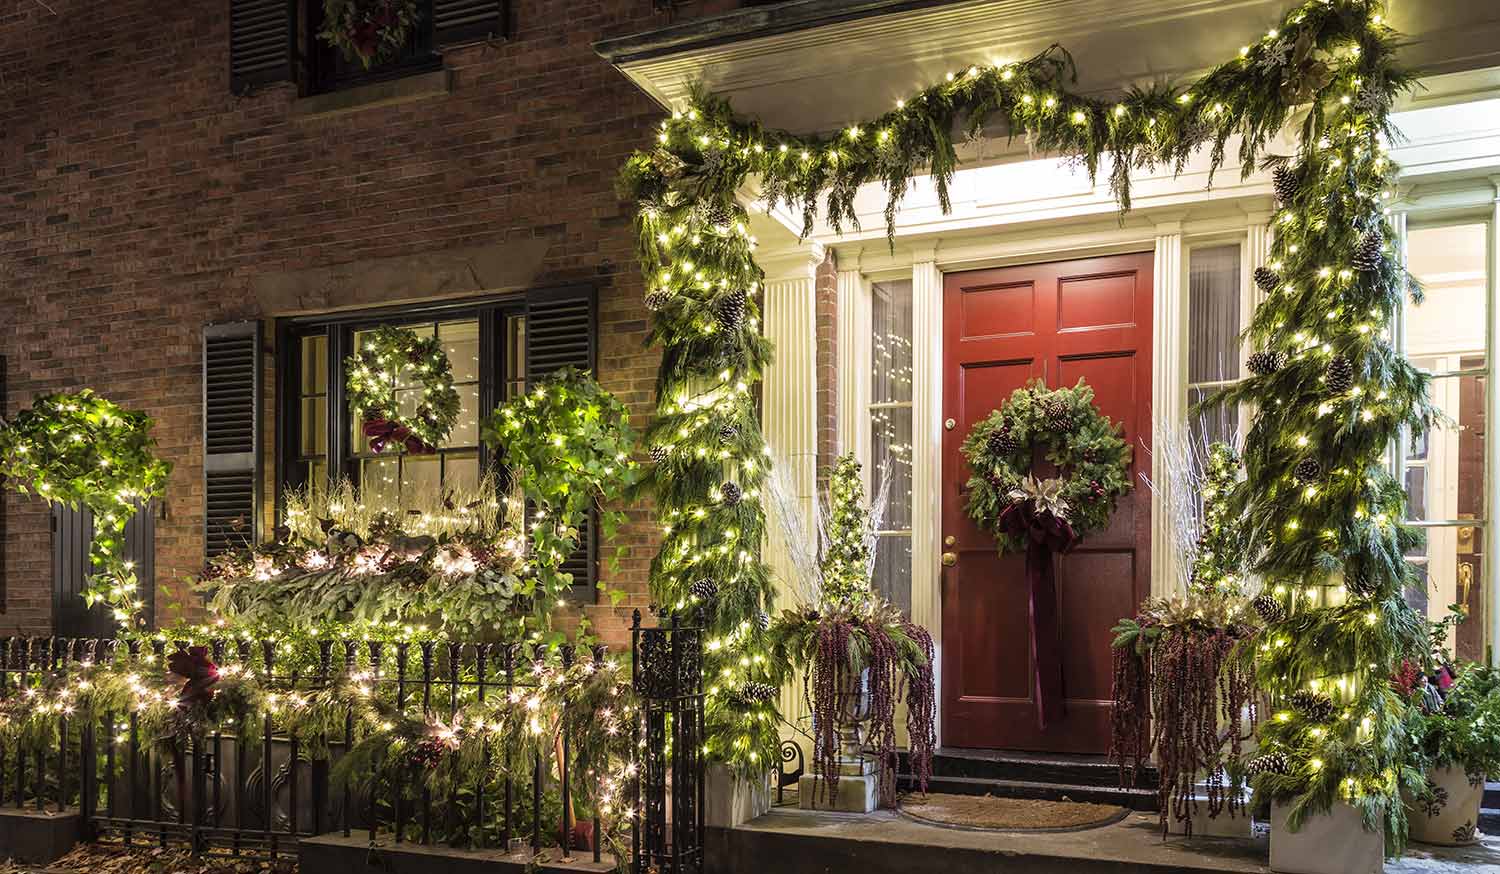
If you’re looking to expand your holiday cheer to larger, more advanced light installations, consider hiring a holiday decoration service. The cost to hire a Christmas light installer runs between $220 and $650 for an entire house. Pros can drape your entire home’s exterior with holiday cheer while you sip hot chocolate by the fireplace.
Excellent work, punctual, polite. Strongly recommended.
Custom Paint Jobs LLC made our home feel warm and inviting. Their expertise is evident.
Visited my home for estimate same day that I called. Painted on Saturday. Great job. Good price!
Window Depot did an amazing job on my deck. I wasnt sure what I wanted to do, but their composite decking was affordable and will last a long time. I am excited to have family over, and I am no longer embarrassed by my backyard. Jeff and the ground crew were polite, respectful, and caring for...
Excellent experience! Left my place looking great. Friendly customer service too. Would recommend!
Awesome company. Had a jacuzzi tub taken out and replaced with huge walk in shower with partial glass enclosure. Onyx to the ceiling with a decorative border, moved plumbing and installed hand held shower, new ceiling, flooring, and paint. Replaced window with glass block. Everything was done...
 Columbus Bath Design
Danny was extremely pleasant and professional and graciously scheduled an appointment for an estimate on a holiday. Communication leading up to the appointment was very good. his representative was timely and polite. Although we did not end up purchasing painting, I had a very positive...
 Danny's Pro Painters LLC
There isn't much I can add that hasn't already been said about Rhino Painting. Outstanding service and communication from the first phone call through the end of the project, we could not be happier with this company. They painted our kitchen, living room, ceiling, starirwell and wood work,...
 Rhino Painting & Color Consulting LLC
This company is amazing! My garage door broke this afternoon and was stuck in the open position. I couldn't leave with the door open so I called Sanford and Sons because the company was recommended by the manufacture of my garage door motor. Nancy answered the company phone and problem...
Bob arrived within an hour of my calling and was very professional and helpful. He was willing to take a look right away even though it was late in the afternoon (and in the middle of holidays). Fixed the problem. I will definitely use their service in the future. <br />
 My Home Solutions LLC
From average costs to expert advice, get all the answers you need to get your job done.
Discover the professional Christmas light installation cost, including average prices, cost factors, and tips to save on your holiday lighting project.

Learn how to test Christmas lights quickly and easily, no matter what kind of light strands you have to keep the Holidays bright and cheery.

Having your Christmas lights up and running is a cheery way to brighten up the darker months of winter. Here’s how to set Christmas light timer to have lights that will turn on automatically, even when you’re away from home.
Want to learn how to hang Christmas lights on brick without damaging your home’s exterior? Here are the easiest ways to attach holiday lights on brick.

There’s more than one right way to put lights on a Christmas tree and the best options might surprise you.
Getting your Christmas lights out of their boxes only to discover that half a strand is out is frustrating. Here’s how to fix Christmas lights and replace light bulbs.