
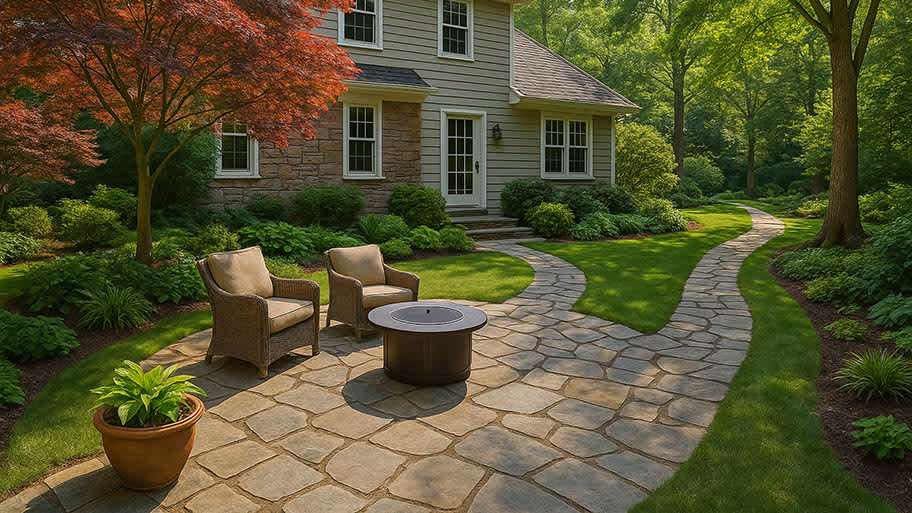
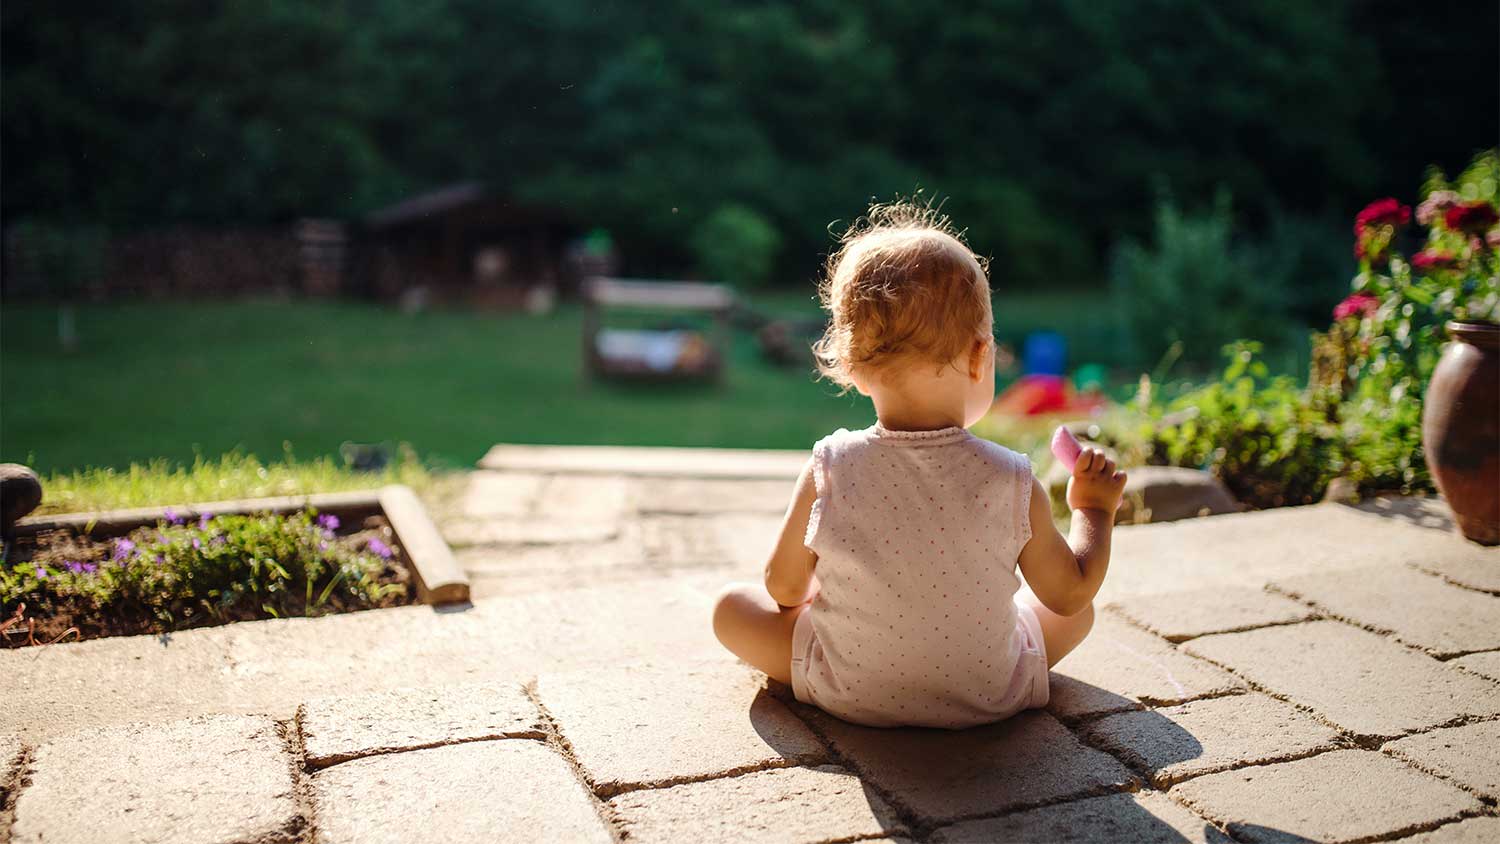
Bluestone patios can transform yards, increase home values, and extend your usable space. Learn about average bluestone patio costs to budget for the project.
Don’t forget the patio lounge set

Building a DIY bluestone patio requires creating a proper drainage slope away from your home to prevent water damage to your basement and foundation.
Expect to pay $25 to $32 per square foot for materials, including bluestone pavers at $5 to $12 per square foot plus gravel and leveling sand.
Your patio base needs a gravel layer for drainage and support, topped with leveling sand to help the bluestone settle and stay securely in place.
Hiring a local paver installation professional takes the guesswork out of excavation and grading, ensuring your patio drains properly and lasts for years.
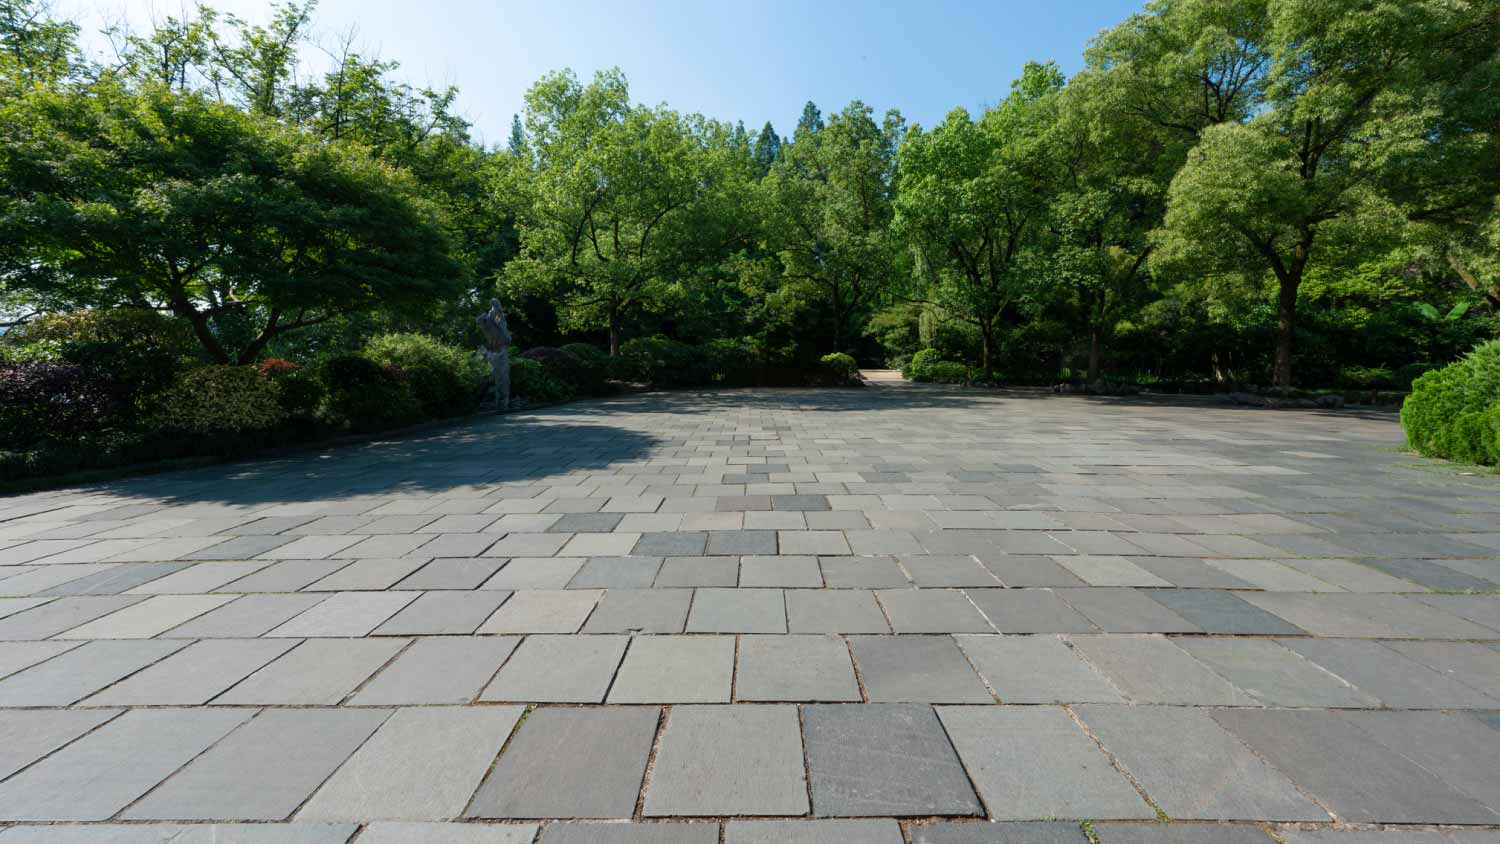
Bluestone is one of the most popular paver types for building a patio. Learn how to lay a bluestone patio by following this step-by-step guide.
Difficulty: Challenging (4/5)
Laying your own bluestone patio can be a physically taxing job. This DIY also requires precise excavating skills to create a drainage slope. Any mistakes made here can cause damage to your home’s basement and/or foundation.
Total Project Time: 2 days
This job can likely be done in a day if you have people to help. However, this DIY can take at least two days when installing on your own.
Cost: $25–$32 per square foot
The cost of this project will depend on the patio size. Natural bluestone pavers range from $5–$12 per square foot. Gravel and leveling sand will add an additional $20 per square foot. The total project cost will increase if you need to buy or rent any of the necessary tools.
Bluestone slabs or pavers
Gravel
Leveling sand
Moss
Measuring tape
Flags, stakes, or spray paint
Chalk
Phone/camera
Ladder
Level
1-inch wood block
Tape
Spade shovel
Garden hose
Rubber mallet
Bluestone is a type of sedimentary stone commonly used in landscaping and construction. Known for its sleek look and durability, bluestone comes in a variety of natural or customized shapes and sizes.

Follow this step-by-step guide to build a beautiful bluestone patio in your yard.
First things first—determine whether you’ll be using broken bluestone pieces for a natural look or evenly cut bluestone tiles for a clean look.
Measure and mark—Measure out the patio area and outline it with flags, stakes, or spray paint. Purchase enough bluestone according to the patio space available.
Practice the pattern—If you’re opting for a natural look, practice laying out each piece of bluestone first to figure out the best pattern for the space. Leave at least 1.5 inches between each stone if you plan to fill in the space between with moss.
Number the pieces—Once you have a pattern you like, use chalk to number each stone. Take a picture that you can use as a guide later. You may have to use a stepping ladder to get everything in the picture. Skip this step entirely if you’re creating a clean look with pre-cut pavers.
All patios need to have a slight slope for proper drainage. As a general rule of thumb, the base layer of a patio should always slope away from the house to prevent excess water build-up around the basement and foundation.
Grade the slope—The patio base layer should slope about an inch every four to six feet. There are many ways you can do this, but the simplest way is to tape a one-inch block of wood to one end of a four to six-foot-long level. Continuously check the slope as you dig.
Excavation—Use a spade shovel to dig up the sod and topsoil. Dig deep enough so that the bluestone pavers sit slightly above or at ground level, accounting for the gravel base, leveling sand, and width of the bluestone. It’s important to keep digging about six inches outside of the outlined patio perimeter to account for paver edging.
Gravel base—A layer of gravel base provides additional drainage and overall patio support. Pour a layer of gravel and wet it down with a garden hose. You may have to use a rake to evenly distribute the layer while keeping the angle of the slope. Then, use a plate compactor or a hand tamper to flatten out the area.
Pour the leveling sand—Pour a layer of leveling sand about an inch thick over the area. This layer helps the stone settle and stay in place. Spray the sand lightly with a garden hose to dampen it. This will help keep dust from kicking up as you smooth it out. Then, use a garden rake to even the sand out over the area while still keeping the graded slope in mind.
Use your reference picture to lay the numbered bluestone pieces back in the pattern you created at the beginning of this project. Check the level as you go to make sure the stones are relatively level to each other and the grade is still holding up.
If you opted for natural bluestone pieces vs even pavers, it may leave you with space between each stone. Finish the look of your patio by filling in the spaces between the stone with moss.
Remove the dirt—Use a gardening spade to remove an inch of dirt between the stones.
Plant the moss—You’ll need a bucket of water for this step. Take the moss and gently dip it into the bucket of water to soften it. Press the moss into the gaps, using a utility knife to remove excess edges.
Bluestone is one of the most popular patio materials for a good reason. Some benefits of bluestone include:
Slip resistance
Durability (can withstand strong weather)
While the pros outweigh the cons, the cost of bluestone is a big downside that can keep homeowners from moving forward with the project.
Adding a bluestone patio to your yard can be a big undertaking. Here are a few quick answers to the most common bluestone questions.
There are two main types of bluestone—Pennsylvania bluestone and New York bluestone.
There are four main types of bluestone finishes—natural cleft, honed, flamed, and brushed.
Some neighborhoods require permission before building anything on your property, even a patio. Avoid fines and charges by inquiring with your HOA or local zoning office first.
Joseph did a great job with the staircase and trim. Timely and efficient, clear communication about the work, very fair pricing. For the stairs in particular, done very skillfully in an old house (1893) in a tight spiral, and very creative with how to do the handrail. Did a nice job with...
This company does it right. Firstly, I want to say that Landan was a joy to work with. He was so kind, transparent, and had everything under control. His entire team showed up ready to work and they were all very respectful of the fact that we were in an office space. A little backstory – we...
Professional Team, smooth to communication chain and schedule flexibility. Follows proper construction procedure and completes task on time.
Very professional, knowledgeable and helpful! Completed the install on time and as expected.
Cole has been handling plumbing and general contracting for our four properties over the past three years, and he’s always done a great job. Most recently, he installed a sink and countertop in our retail store where none existed before, and it turned out exactly how we needed. He’s...
 ANB Renovations LLC
Excellent, Prompt, Courteous Service!!! They were super friendly and quite personable. I felt very comfortable with the gentlemen that did the installation. They installed it exactly where I asked them to and they did an excellent job!! I loved their service so much.
I hired windows depot USA of central to install new windows in house in Oshawa. Ilya was very professional from the start, not only did he offered a great price, he also made sure the installation was on time. I am very satisfied with final outcome. The windows look great and the overall...
The guys did an outstanding job and we had a great experience with CarifaTile. I appreciated that Joe reviewed the quotes with me and set expectations prior to the install. The crews showed up as scheduled and always left the areas clean upon leaving the house. We will definitely use...
 CarifaTile
Did an amazing job transforming my yard. Also installed sod in places, would recommend to everyone.
Always been satisfied with the service work and how they have taken care of my pool.
From average costs to expert advice, get all the answers you need to get your job done.
Bluestone patios can transform yards, increase home values, and extend your usable space. Learn about average bluestone patio costs to budget for the project.
Flagstone patio costs vary by the size, material type, labor, and more. Stay tuned to see how much your flagstone patio could cost.
Looking to build an outdoor entertainment space? Use this patio cost guide to get an idea of how much your exterior project will come out to.
What is bluestone made from? Learn why people prefer bluestone for patios, stairs, fireplaces, and other projects as you discover the pros and cons of this popular natural stone.

This article explains the key differences between flagstone and bluestone and helps you determine which is the better option for your home.
Learn how to build a patio in one weekend, which patio materials are best for your home, and the cost for this DIY patio project.