

Discover the factors influencing air duct replacement costs in Chicago, IL. Learn how to save money and make an informed decision for your home's comfort.
Eliminate the issues caused by too much humidity in your home


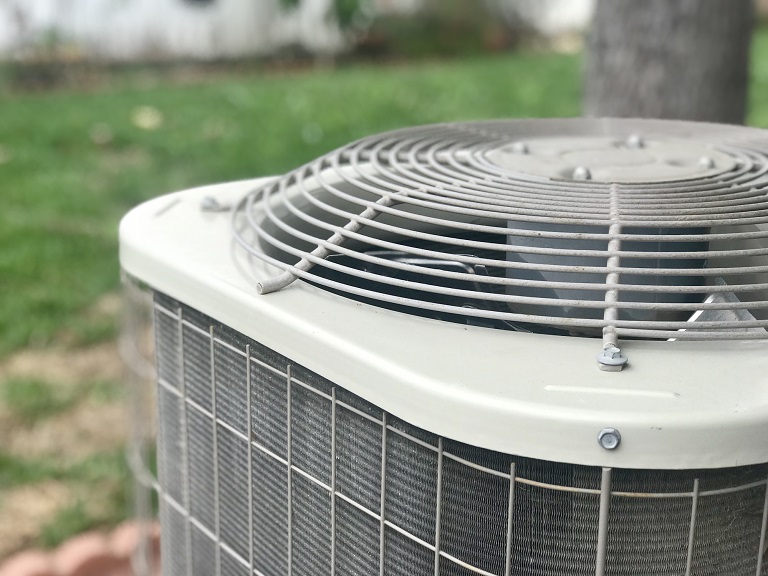
Whole-house dehumidifiers play a significant role in making a home comfortable and safe. Not only does a dehumidifier help with mold prevention, but it helps you achieve the ideal indoor humidity level of between 30% to 50%. Learn how to install a whole-house dehumidifier, as well as a few considerations to keep in mind before starting this project.
There are a few considerations to keep in mind with this project. Before installing a whole-house dehumidifier, you should assess your home’s humidity levels. This important step will help you choose the right dehumidifier model for your home. You’ll also want to take time to gather necessary materials, and read manufacturer instructions.
Assessing the humidity levels throughout your home will help you determine the type, size, and capacity of the whole-house dehumidifier you need. Using a hygrometer device is one of the easiest and most common ways to measure humidity levels in your home. The basic models, which can be found at most local hardware stores, cost between $15 and $25. Place the hygrometer throughout your home–in the basement, bedrooms, and living room–for an accurate reading of humidity levels..
There are a few important aspects to consider when choosing the right whole-house dehumidifier for your home.
Energy Efficiency: Look for units with Energy Star certification to save on future utility bills.
Capacity: The size of your home and its location will inform the type and size of dehumidifier you need. For example, you may need a high-capacity dehumidifier if you have a large, multi-story home or live in a high-humidity location.
Noise Level: Check the model decibel ratings to ensure you’re getting a unit that will run on the quiet side.
Features: Some higher-end units may have programmable settings, digital displays, and automatic shut-off.
If you’re stumped over which model to go with, a local HVAC professional can walk you through the pros and cons of each type, as well as assess what might work best for your home.
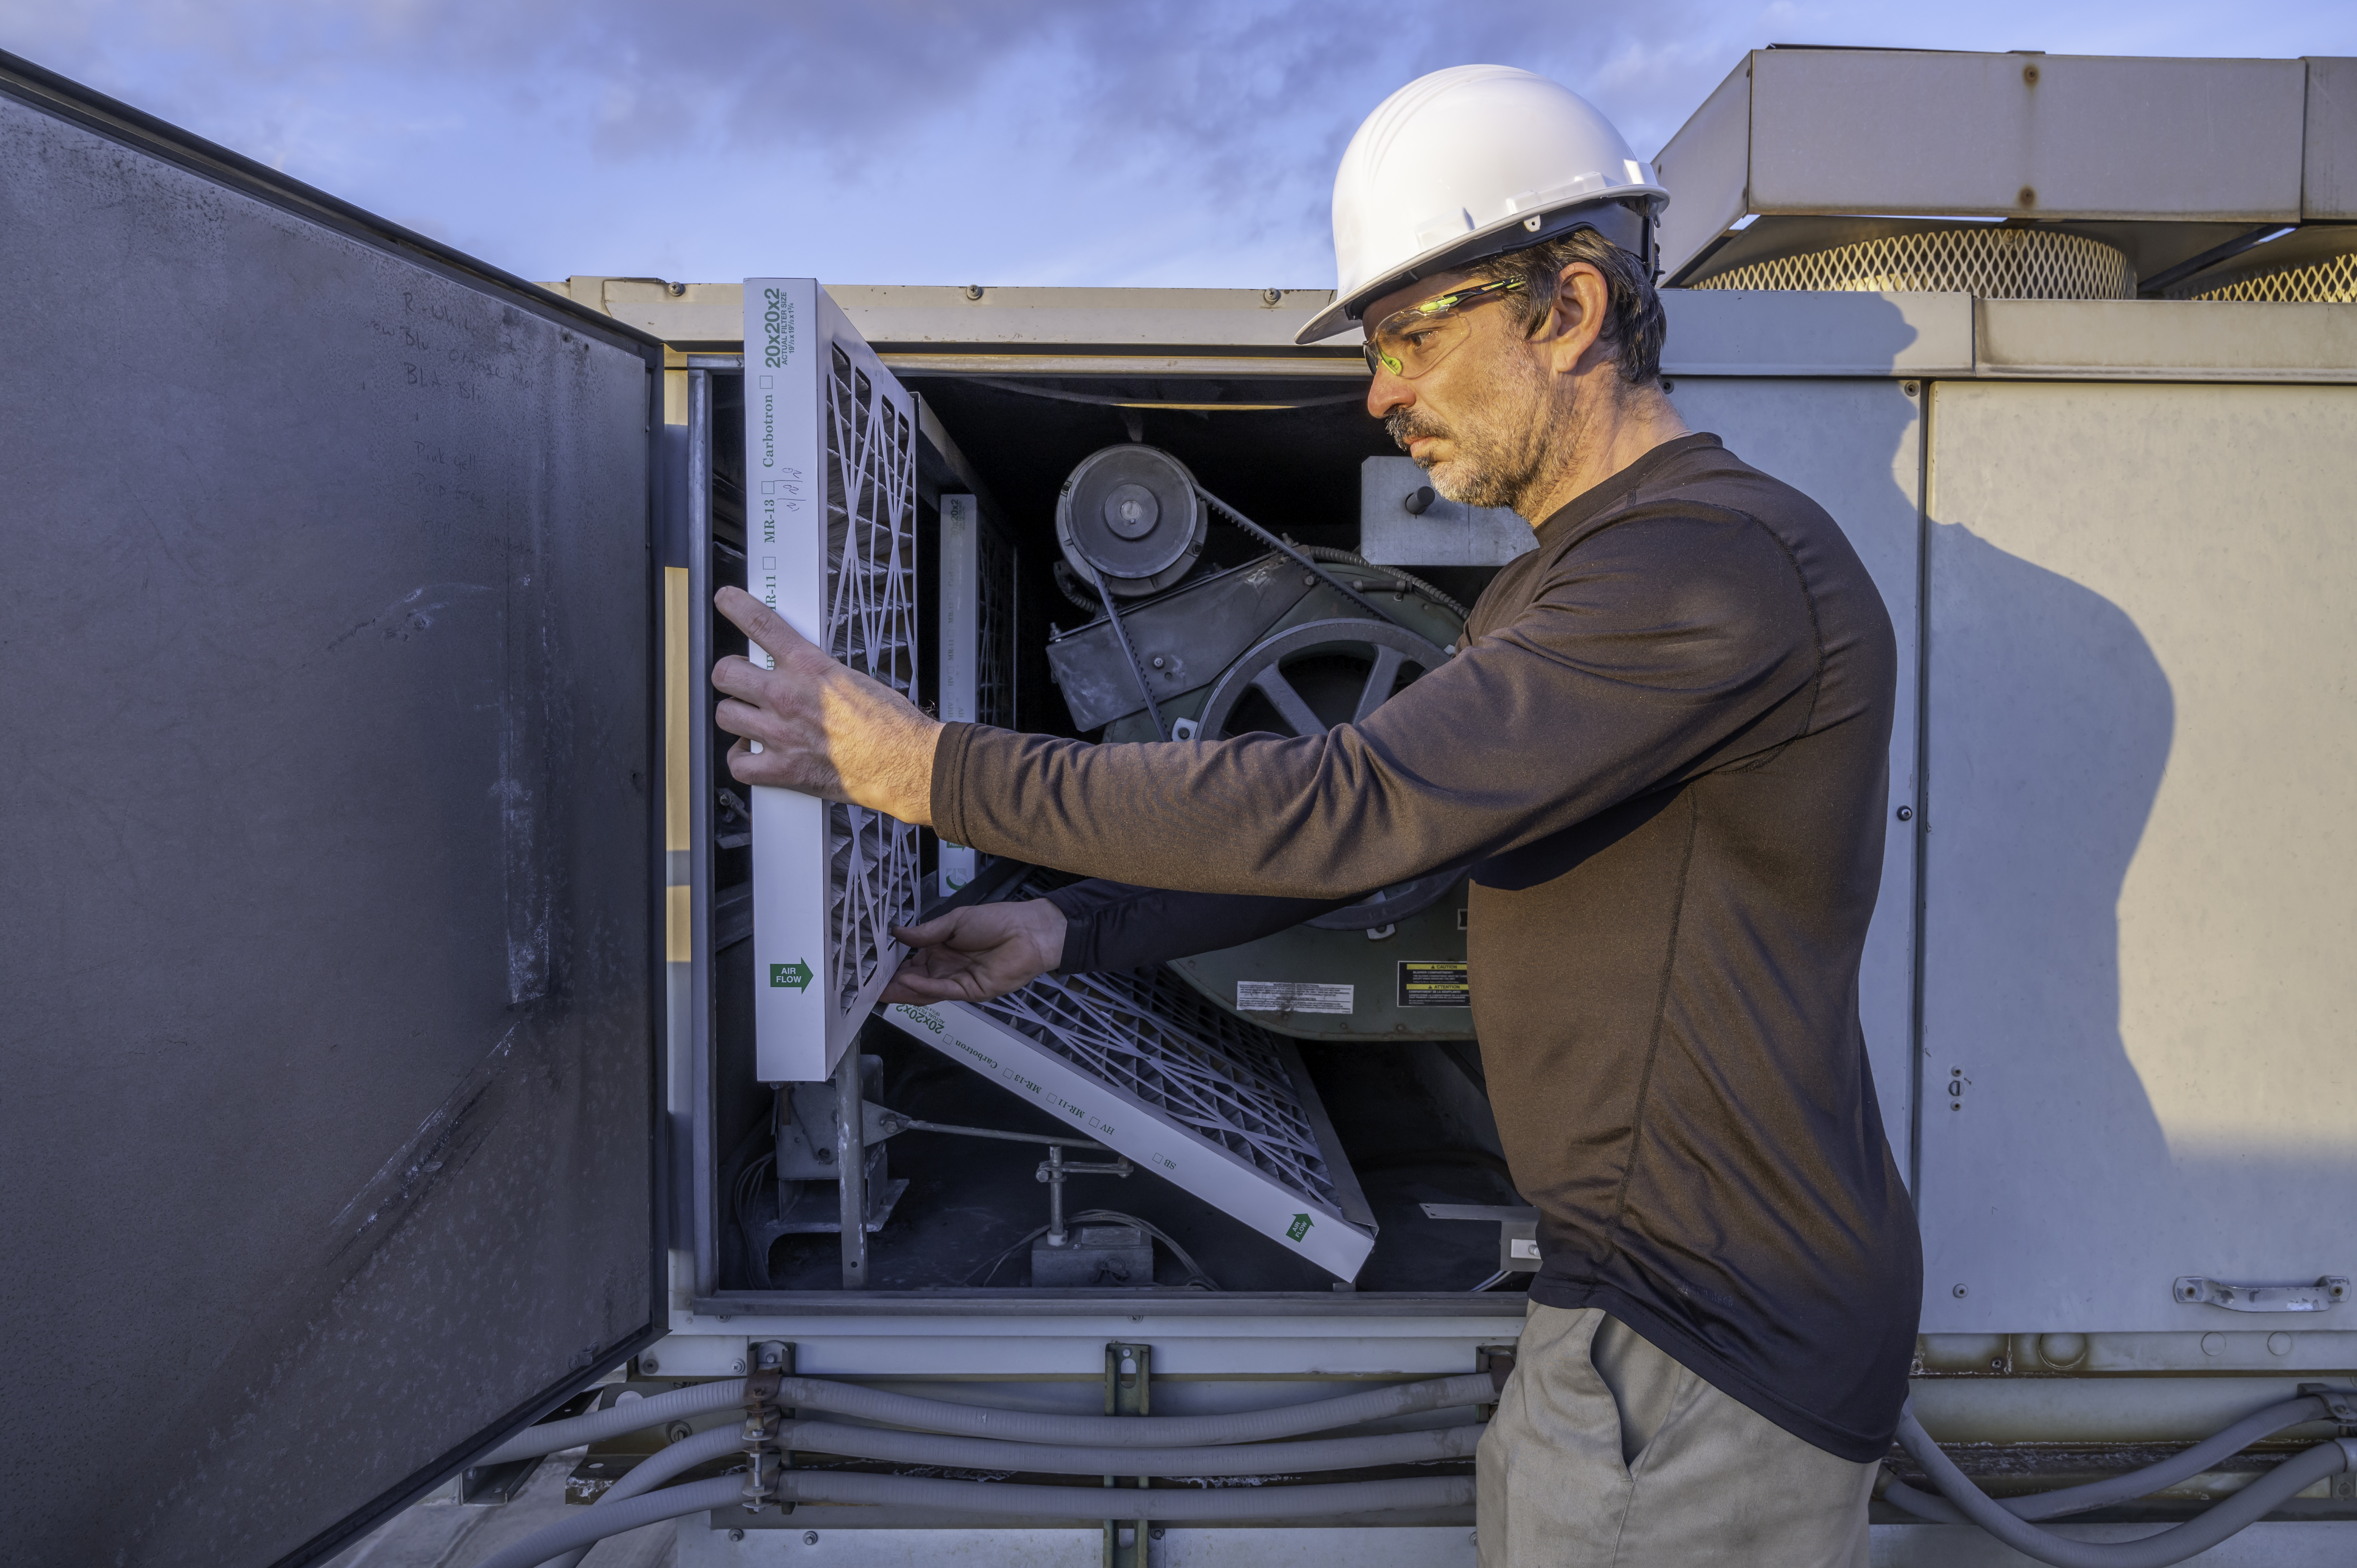
Typically, whatever whole-house dehumidifier you purchase, it will come with installation directions and the needed parts. Depending on what’s included with your unit, you may need to purchase additional materials, such as PVC pipes. What’s included and what you’ll need can vary between manufacturers and humidifier types. Consult the manufacturer’s installation instructions for specific information.
To ensure your safety, shut off the power supply before installing a whole-house dehumidifier. This project will require work with electrical wires, so taking this precaution is crucial to overall safety. After locating the circuit breaker panel and identifying the correct circuit, switch off the circuit breaker. Double-check to ensure that the power is off before continuing.
There are different types of whole-house dehumidifiers, but this how-to guide will focus on installation steps for a bypass whole-house furnace dehumidifier, which are the least expensive to install out of the available options.
When choosing a location for the dehumidifier, look for an area in the ductwork that’s close to a power source, water source, and drain. Clean off the area and use a pen or marker to trace your humidifier template onto the duct. There should be a template for this included with your dehumidifier. Drill into the corners of the marked area, and carefully cut a hole using your aviation snips.
Once the hole is cut, hold the unit up to the hole to ensure it matches. Consider adding foam backing around the cut opening before mounting the unit to keep it airtight. Use your pocket knife to remove extra foam. Use a level to make sure the placement is even and balanced. (This way, water will trickle into the drain instead of out the sides.) Secure the unit with a drill.

Your whole-house dehumidifier will come with a humidistat, which gives you control over the humidity setting. Refer to the manufacturer’s directions to determine where to place the humidistat. Repeat the tracing and cutting method used to mount the humidifier. Secure the humidistat into the new hole using the screws included in the installation kit. Connect the humidistat to the furnace control based on the manufacturer’s instructions.
This next part of the process can be tricky, as it involves wiring the whole-house dehumidifier to electricity. Wiring can vary from model to model. If you are unfamiliar with electrical work, you may want to call a local electrician for this part of the installation process. If you decide to proceed, ensure that the power supply is off, and follow the manufacturer’s wiring directions.
The bottom of the whole-house dehumidifier will have a drain; the installation kit may have a plastic tube included for the drain. If this is not included in the kit, you’ll need 3/4-inch PVC pipes and fittings to create this. Extend the tube or pipe to the floor drain. If using PVC pipes and fittings, consider using PVC cement to seal the fixtures in place.
The dehumidifier’s installation kit will include a water supply line. Insert that line into the dehumidifier’s compression fitting. Tighten it with an adjustable wrench. Using the manufacturer’s directions as a guide, extend the water supply line to a water pipe in close proximity, and connect it to the saddle valve’s fitting. Check local building codes to see if saddle fittings are allowed. If they aren’t, install a tee fitting in the supply line.
The dehumidifier’s vent should stretch from the supply or return duct. Using a marker, trace the vent’s bypass collar onto the duct that sits opposite the dehumidifier. Cut a hole, and secure the collar with the installation kit’s screws. Then, attach the flexible duct to the collar and then to the dehumidifier.

Look back over your work to ensure that the unit and bypass vent are secure. Then, turn the water and power supplies back on, and open the saddle valve. Check for any leaks in the saddle valve. If there are no leaks, install the filter material (which should come with the installation kit) in the dehumidifier, and close the cover.
Knowing how to install a whole-house dehumidifier can save you money–if you have the know-how and an extra set of capable hands. However, if you don’t have professional experience in HVAC and electrical work, it is best to hire a pro who installs whole-house dehumidifiers. This is a complex project, and an improper installation can lead to costly damages and repairs down the line. Also, a pro will help ensure that the whole house dehumidifier functions properly and meets local compliance codes.
Typically, hiring a pro to install a whole-house dehumidifier costs between $1,300 and $2,800. If you decide to take the DIY route, you’ll save on labor costs, as you’ll only pay for the whole house dehumidifier and any tools needed for the installation.
From average costs to expert advice, get all the answers you need to get your job done.
Discover the factors influencing air duct replacement costs in Chicago, IL. Learn how to save money and make an informed decision for your home's comfort.

What you’ll pay in Chicago, IL, for furnace repairs depends on many factors. Here’s a breakdown of what can go wrong and the cost to fix those issues.

Ductless heating and cooling system costs vary depending on size, type, and energy efficiency. Their installation is likely to lower your energy bills.
Discover the average air handler replacement cost, including labor and materials, plus expert tips to help you budget and save on your HVAC upgrade.

Baseboard heater covers can endure a lot of wear and tear, but eventually you’ll want to replace them. Here’s the best way to switch out baseboard heater covers.
Wondering who to hire for swamp cooler installation? Learn when to call an HVAC contractor, electrician, or handyperson, and what to expect.