
Installing new baseboards can totally refresh the look of your walls. Learn about the cost to install baseboards in your home.
Lay down your new knowledge when you talk to a flooring pro

This project can take a long time to complete if you’re doing it in your off-time. Hiring a pro ensures a job done well and a quicker turnaround—plus you get your weekends back.
Installing a vinyl baseboard is an excellent, low-cost way to spruce up a room. The material is one of, if not the best, for rooms that frequently see a lot of water use, such as kitchens and bathrooms. However, you may be wondering how exactly to install vinyl baseboard on your own. Learn how to tackle this mid-level project in one day or less.

Before you can even purchase supplies, you need to measure the length of the wall where you'll be applying the baseboard. You need to be exact since you’ll be cutting the vinyl, so any wrong cuts can forfeit the entire piece. Write down your measurements to make sure you don't lose track of them.
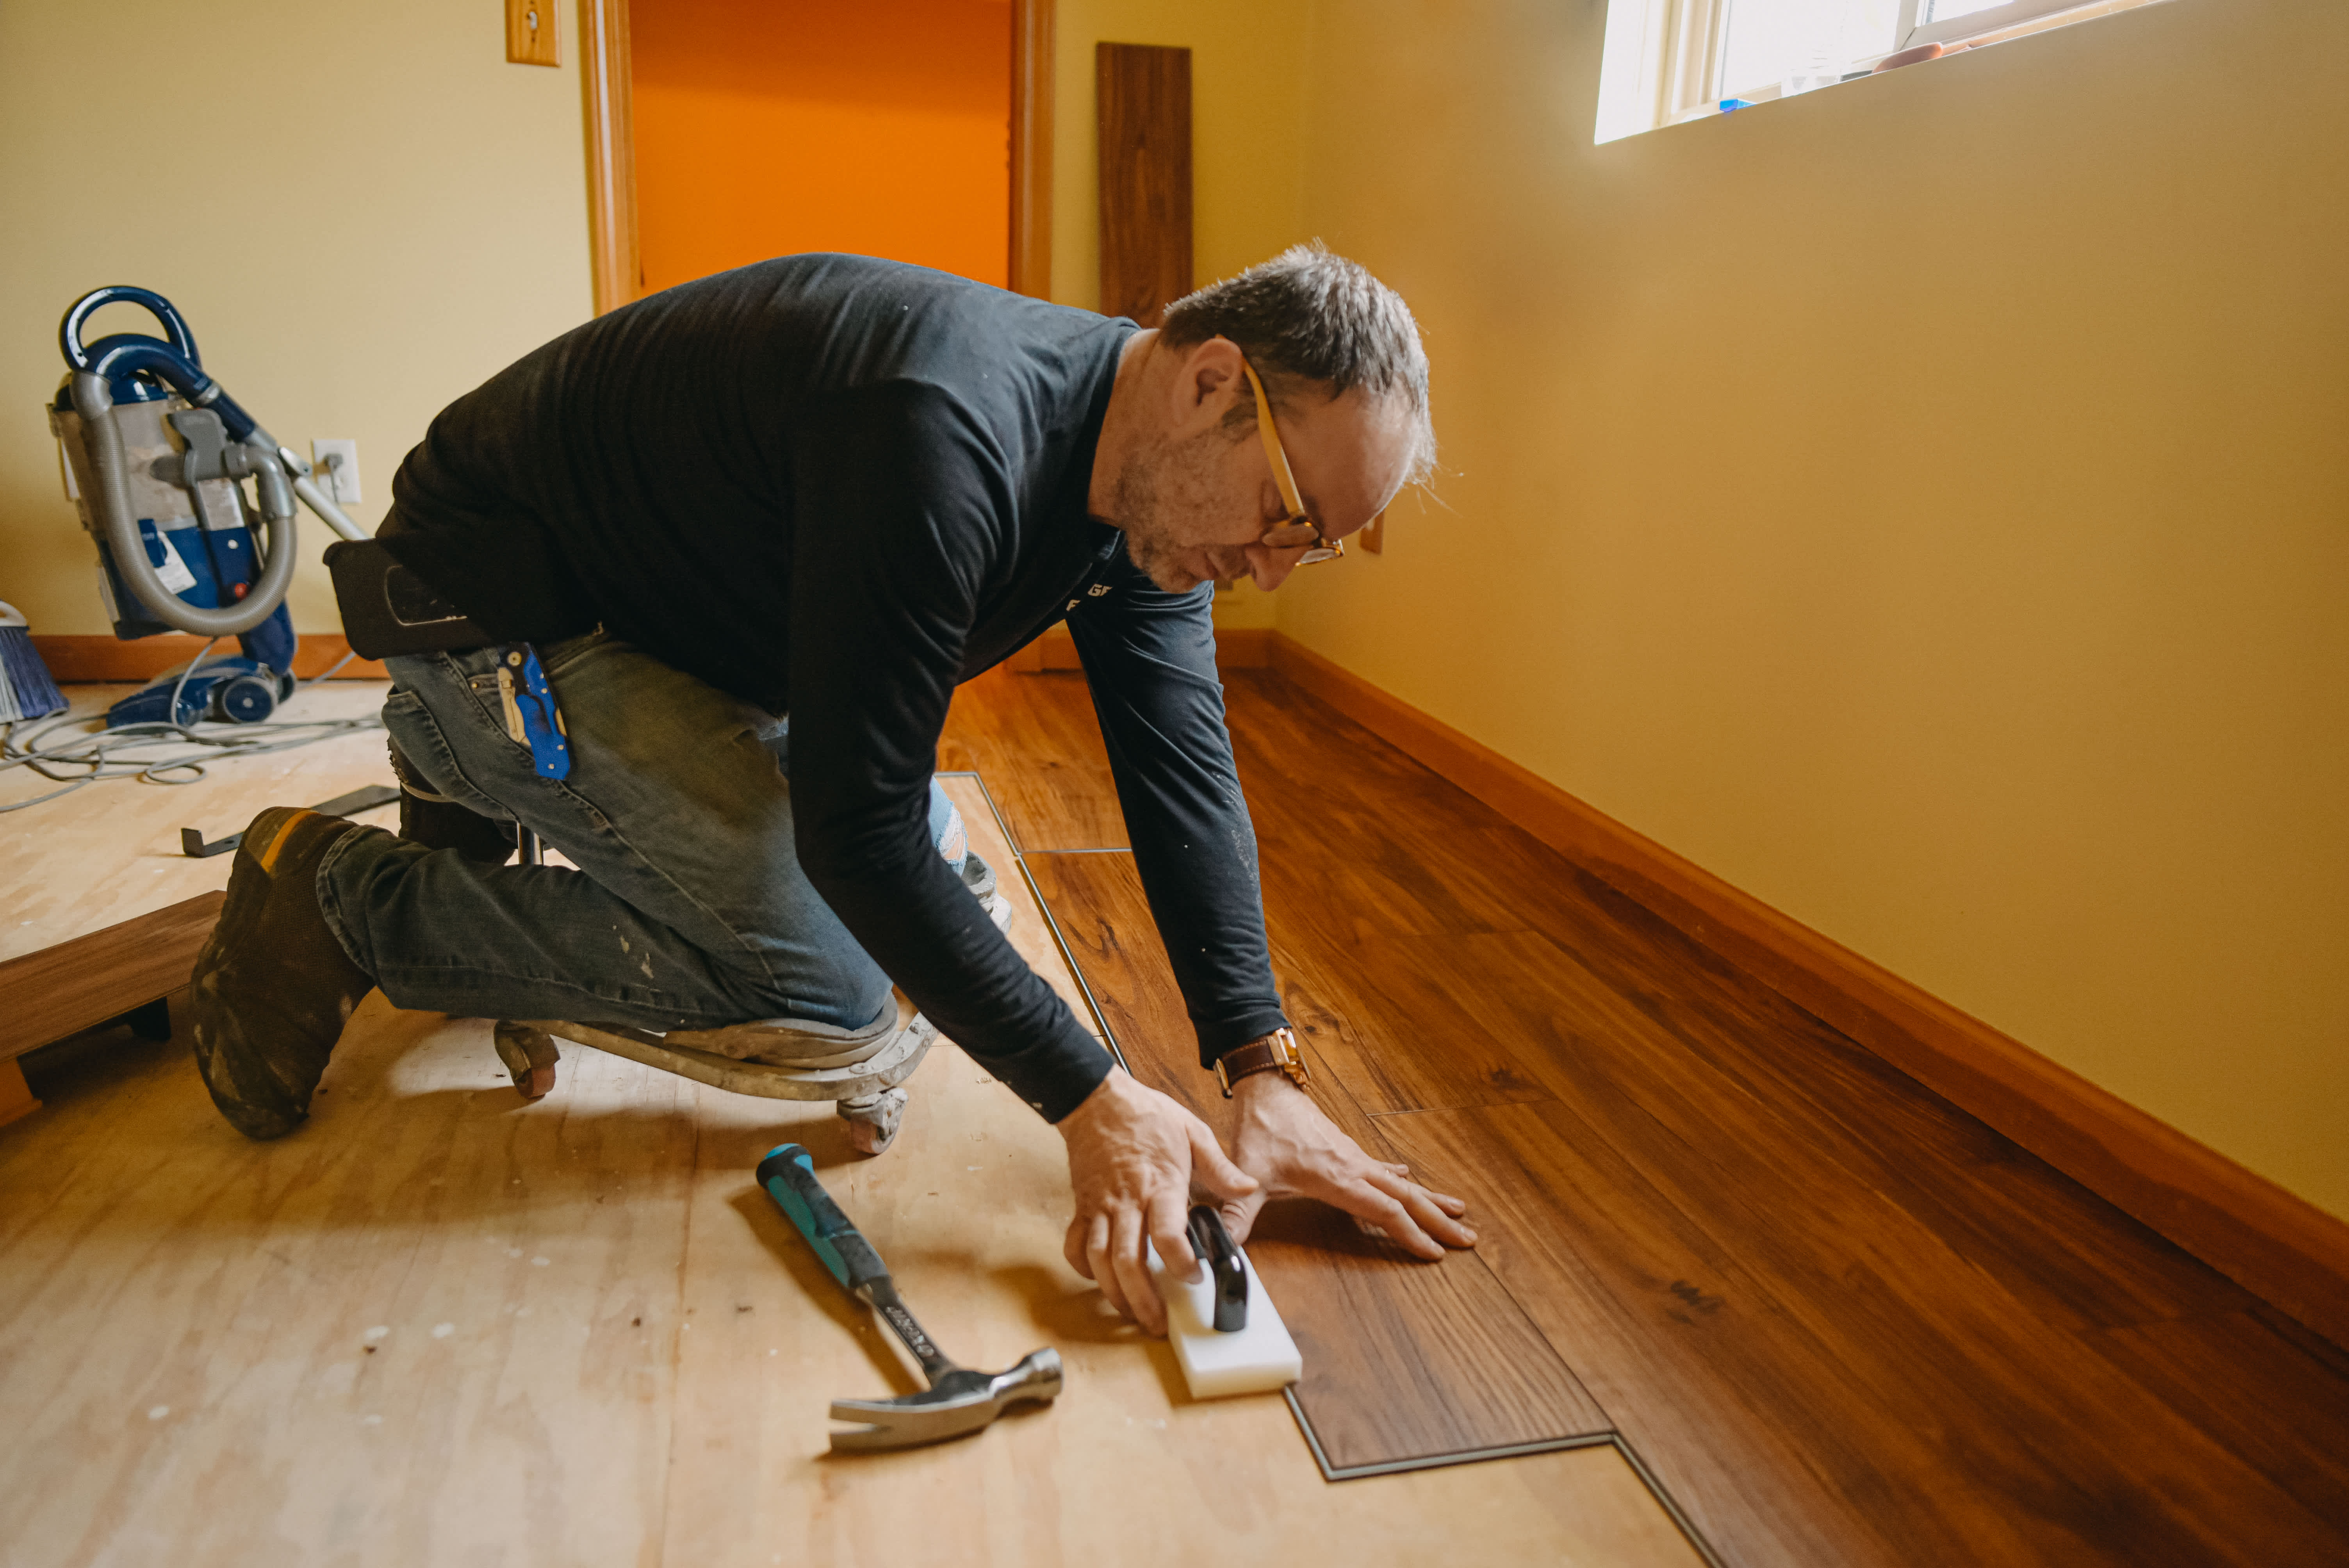
Get everything you need in one place. Your cutting tools will be the measuring tape, utility knife, speed square, and a piece of wood to cut the vinyl on. Your tools used to stick the baseboard to the wall will be your caulking gun, trowel, and heat gun or hair dryer. Use an old carpet square, rolled-up towel, or kneepads to protect your knees since you’ll be primarily working on the ground.
You don't need to use chemicals unless there's residue on the wall—wiping with a wet towel is usually enough. Make sure you sweep the floor and clean it as well, just so you have a surface free of dirt or dust that could affect the adhesive. The wall needs to be clean; otherwise, the baseboard might not stick.

Measure the baseboard and wall at least twice. If there's someone else in the house, have them measure independently. What you're trying to do is eliminate errors, so the more information you can gather, the better.
A good tip is to measure from both sides, or backwards. This negates any error you may have made measuring from just one side
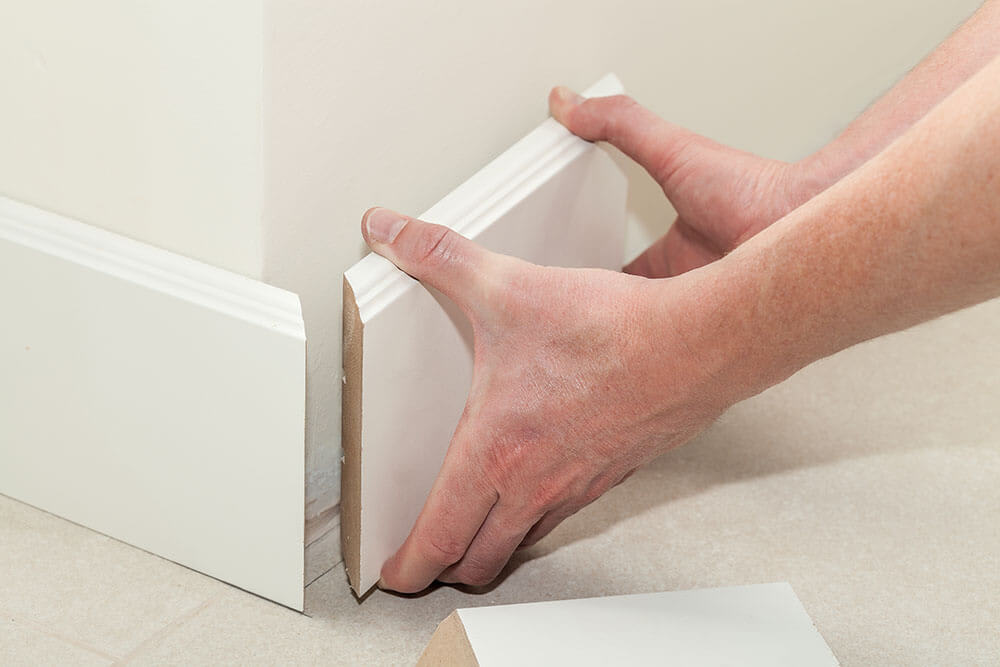
Test each section by holding it against the wall before applying adhesive. This is just another way to check your cuts and make sure you measured the wall correctly. We recommend doing this piece by piece—if you cut all the pieces first and make a mistake, it could have a domino effect, requiring you to cut more than just one section.
Before giving instructions, make sure your vinyl baseboard doesn’t have pre-applied adhesive. If any plastic sheeting is attached to the wall side, peel a corner and see if it’s sticky. If so, you won’t need to add any additional adhesive.
If not, use the separate adhesive as instructed. These often come with a spreading nozzle that applies the adhesive in shallow grooves. If not, and you only have a nozzle, you’ll need to apply the adhesive and use a trowel to spread it. If the adhesive is too thick when you press the vinyl to the wall, it may not stick, can bubble over time, damage the wall, and be a mess to clean.
Firmly press the baseboard against the wall. Vinyl baseboards are rarely nailed or stapled in place, so make sure you hold the piece long enough for the adhesive to set. Don’t be tempted to press furniture against the baseboard—you don’t want to glue twice.

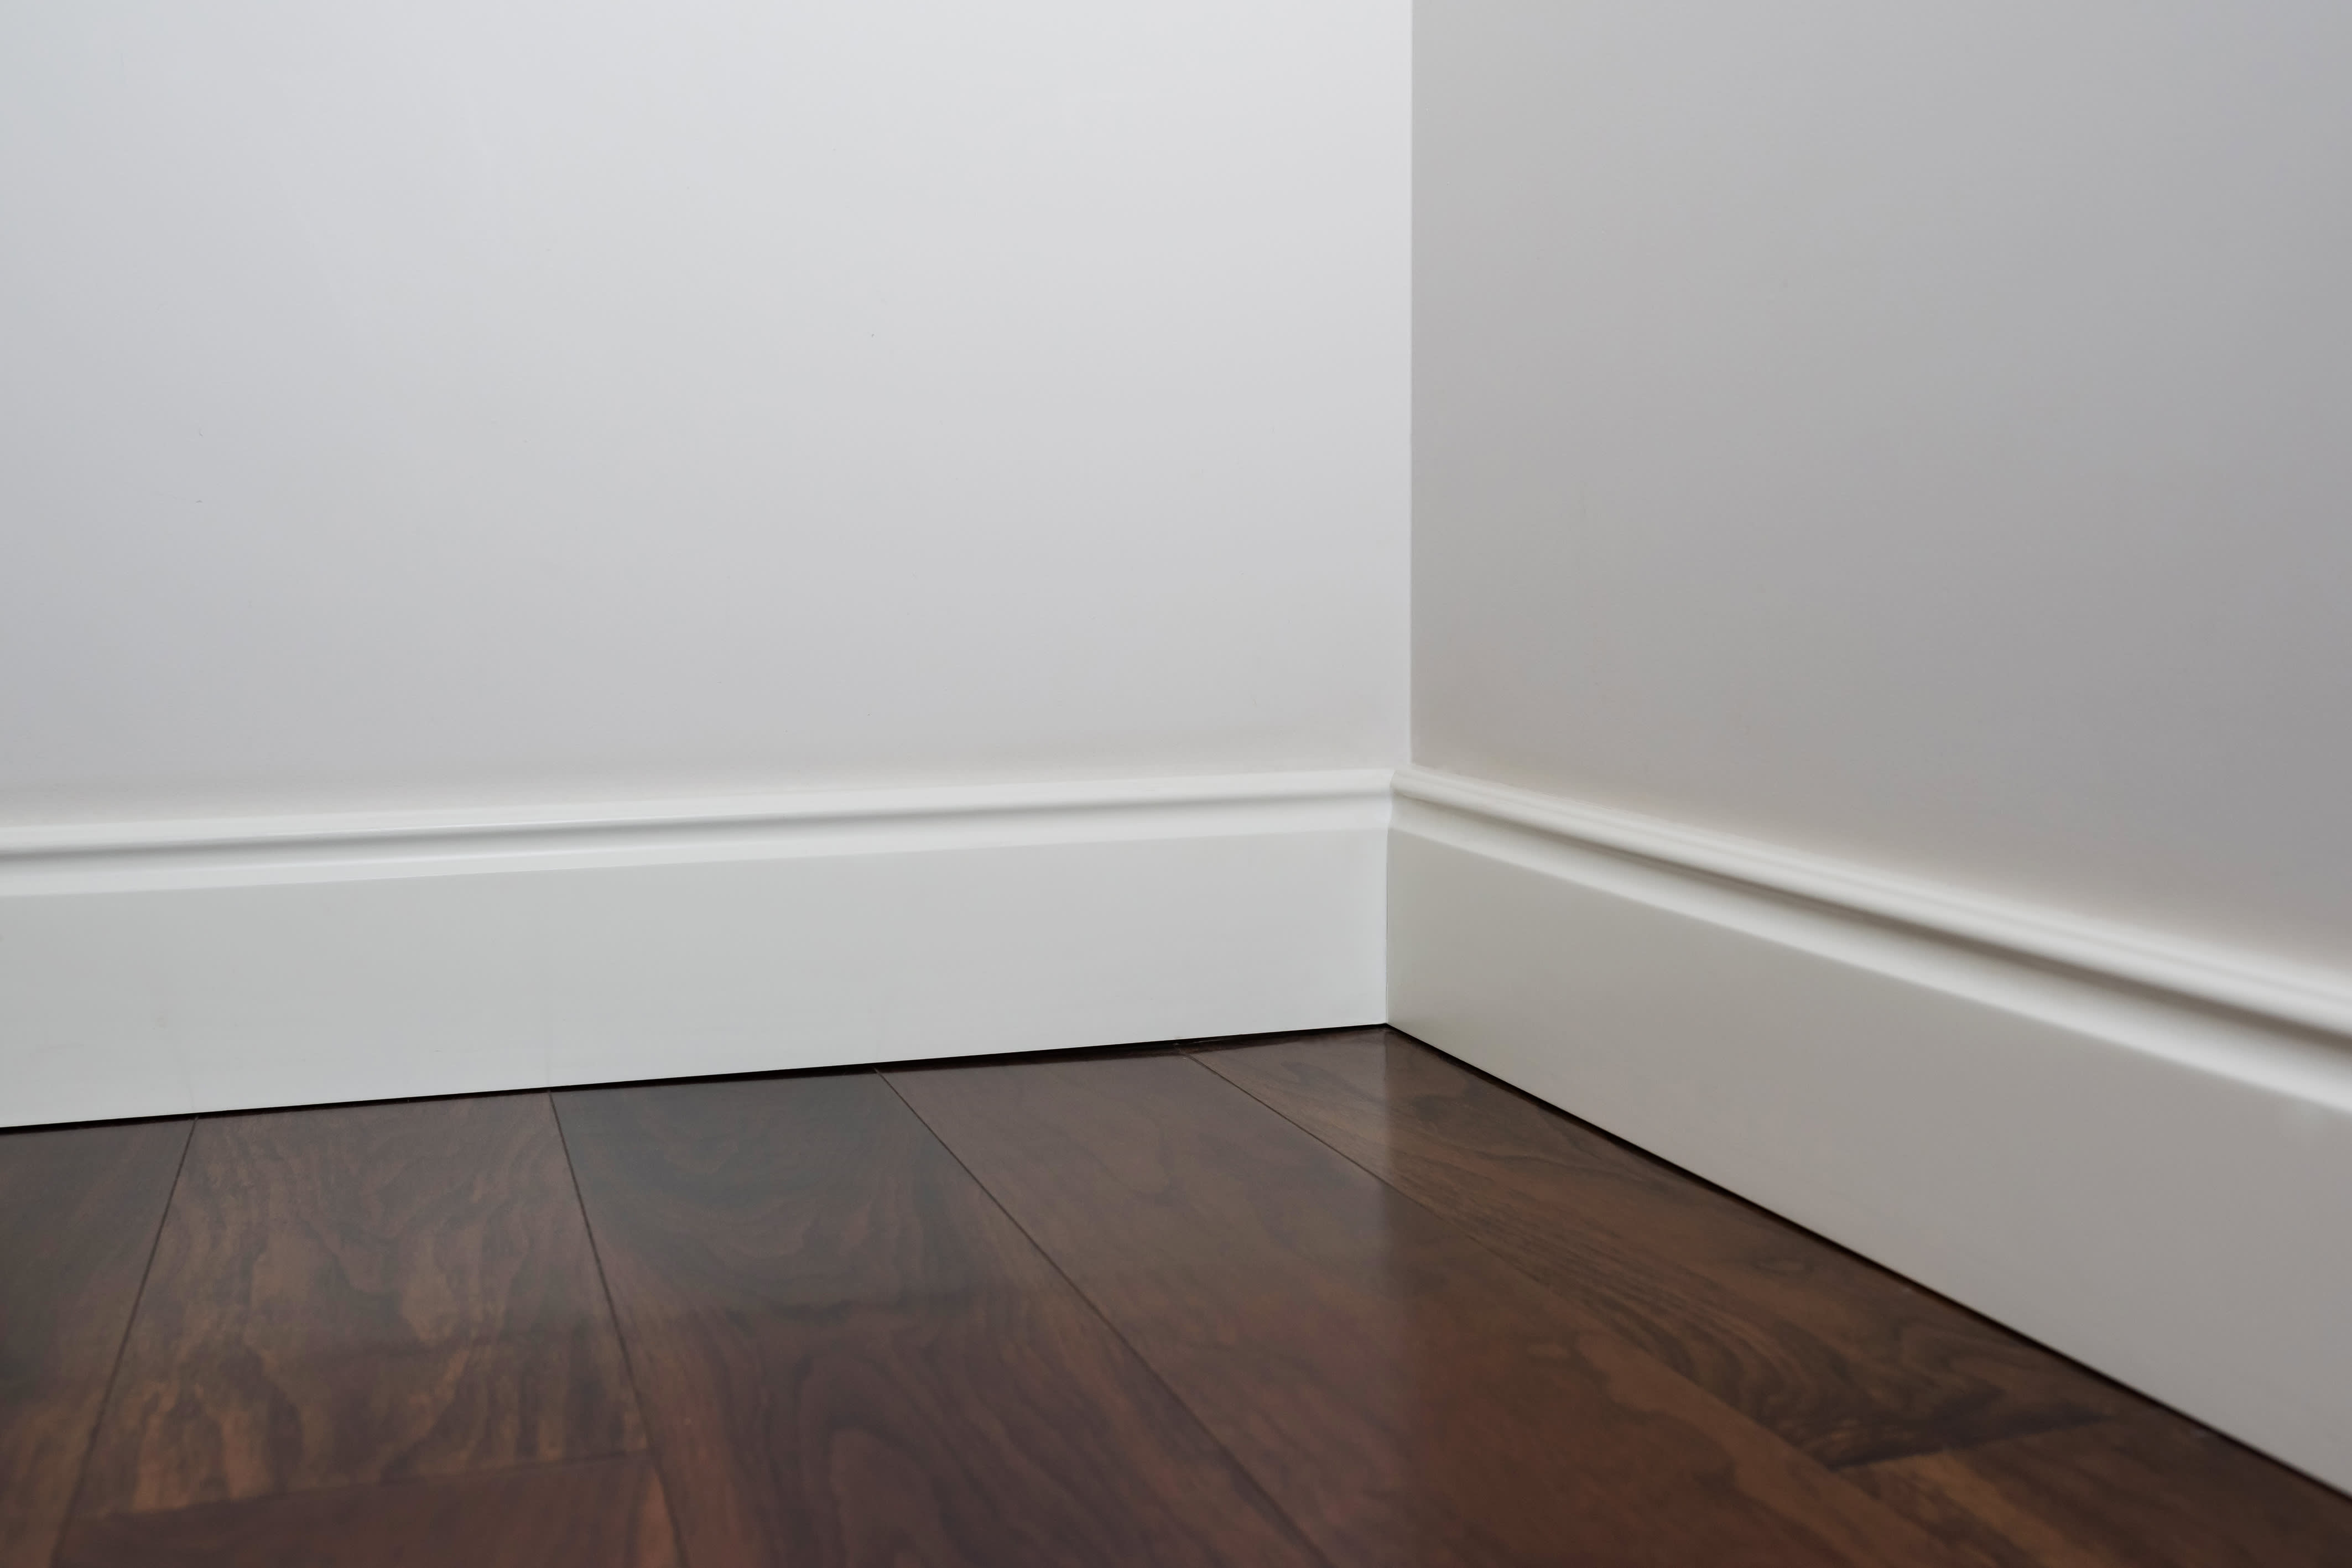
If you want the baseboard completely flush against the wall, you need to pipe caulking into the gap between the baseboard and the wall. However, for vinyl baseboards, this isn't that common, as the adhesive does most of the heavy lifting in terms of closing that gap.
Use a smart edge, sometimes called a smart cutter, and a utility tool to make 45-degree angle cuts for inside angles. While you can line up baseboards and overlap them, it won’t look as professional or clean.
For outside corners where you need to wrap the baseboard around an edge, use a heat gun or hair dryer to heat up the vinyl so it's easier to bend. Make sure it's not too hot, otherwise you could melt the adhesive or the baseboard itself.
If you follow the steps above, your work should go smoothly. That being said, all homes are different, so make sure you avoid the following common mistakes:
Not cutting corners (literally): Matching corners is simple, but some people skip this step. Try not to.
Applying too much or not enough adhesive: Make sure you use the adhesive as directed by the manufacturer. Otherwise, use baseboard with pre-applied adhesive.
Cutting too early: Measure the wall and the piece twice before cutting.
Bending the baseboard: To make the vinyl flush with the corners, use a heat gun or hair dryer to make the material more pliable.
Not applying consistent pressure: When adhering, use a roller or a 2x4 to ensure the same pressure along the entire baseboard.
The cost of baseboard installation by a pro runs around $1,100 on average, but DIYing it is a great, low-consequence project. If you choose to go it alone, you can expect to pay around 30% of the cost of a pro install..
That being said, you may want to reconsider applying baseboards to your entire home simply due to the time sink involved. While a room or two can take a day, an entire home can take a weekend or more. Consider if this is the best use of your time—if not, talk to a baseboard installation pro near you to discuss pricing.
Incredible workers! Very skilled with the machinery, climbing, cutting, roping, and removal. Handled everything. Professionals!
 Hoffman Expert Tree Services
I m so impressed with Custom Paint Jobs LLC s craftsmanship. They truly care about quality.
Window Depot did an amazing job on my deck. I wasnt sure what I wanted to do, but their composite decking was affordable and will last a long time. I am excited to have family over, and I am no longer embarrassed by my backyard. Jeff and the ground crew were polite, respectful, and caring for...
Storms Mobile Welding was great to work with. They were prompt, professional and did an overall excellent job on the project. I highly recommend.
Great job...edging and pre clean up went well with a great job with seal coat. Friendly, efficient and professional.
 All Star Paving and Sealing
Great tree company, very professional and honest. Glad we found them, they had the best pricing
It was wonderful working with Yordy and his team. They were very professional and are experts in what they do. They have completed the work on time, with better quality and with in fairly reasonable price. We just started with backsplash work , but liking his work, we went on to provide...
We hired Jim to replace our hardwood floors with new hardwood. He and his helper Jerry did a fantastic job. Their work ethic is impeccable!! We would highly recommend McColl Floors!
The job went extremely well. Work was done as promised and the job came out better than expected due to Mr. Moyer's commitment to excellence and personal pride in providing the best work possible. He is one of those professionals who is not satisfied until the customer is completely happy...
 Pro Flooring
We needed to have a wall cabinet resized so that we could fit a larger refrigerator underneath. I removed the cabinet from the wall myself and brought it in, where Wally was able to resize it for me in his shop. The results were perfect: it's exactly the size that I asked for, and...
 Pioneer Woodworks
From average costs to expert advice, get all the answers you need to get your job done.
Installing new baseboards can totally refresh the look of your walls. Learn about the cost to install baseboards in your home.

Discover vinyl flooring installation costs, including average prices, key cost factors, and tips to save on your new floors.
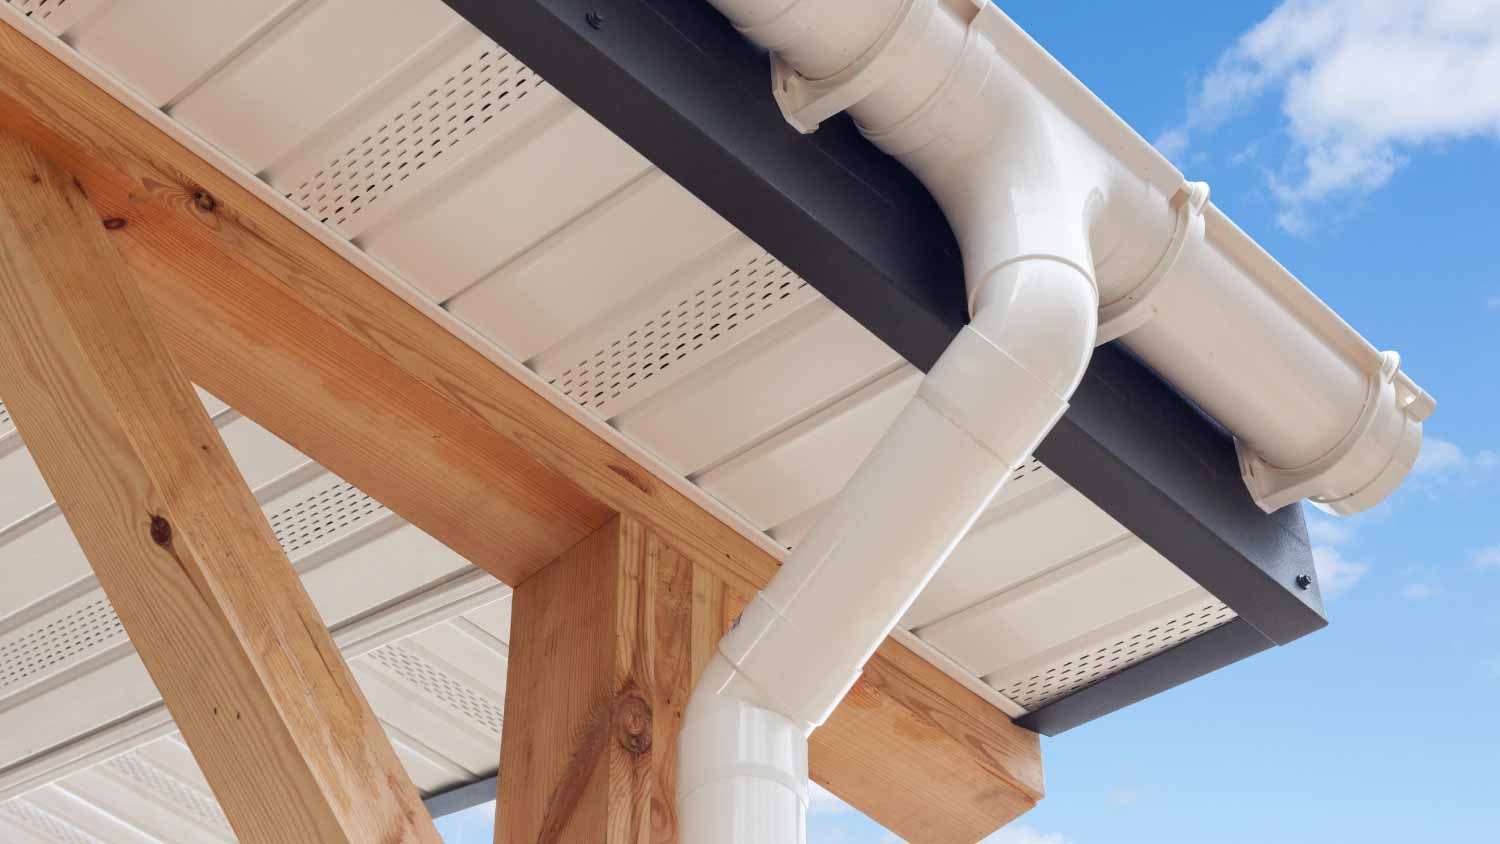
The cost to install vinyl soffit on your home depends on several factors, including the soffit length, condition, and the working height.

Vinyl flooring is affordable and DIY-friendly, whether you make a template or cut it in place. Learn how to install sheet vinyl flooring with this guide.
Find and hire the best baseboard installer for your home. Learn what to ask, qualifications to check, and how to ensure quality work.
You can avoid buckling, gapping, and regret. Discover the most common vinyl plank flooring installation mistakes and how to dodge them like a pro.