
•
Discover wallpaper installation cost. Learn about material, labor, and project factors to estimate your budget and make informed choices for your home.
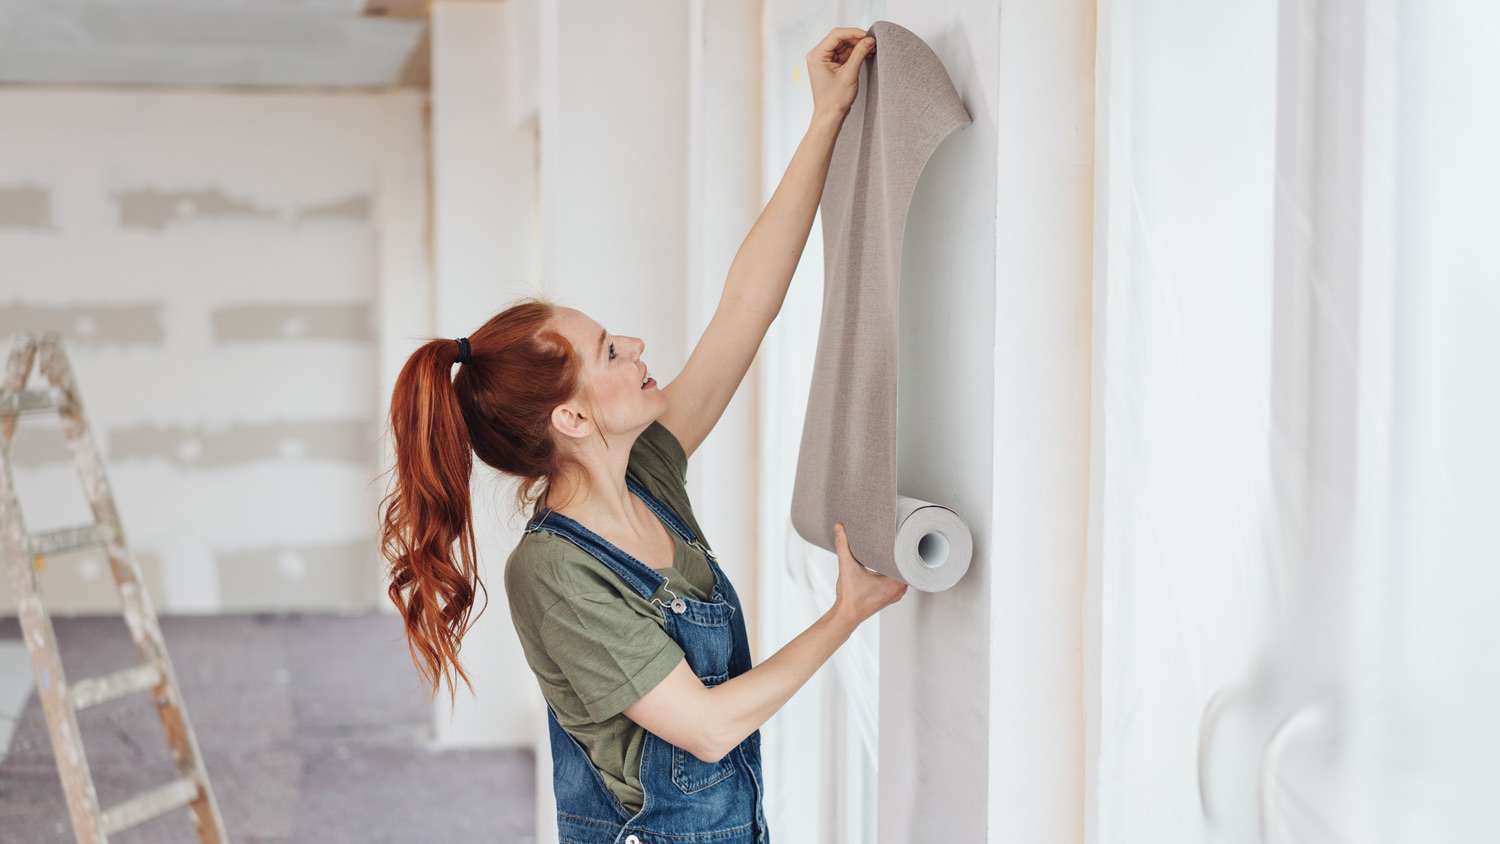
Avoid the goo and glue by using peel-and-stick wallpaper

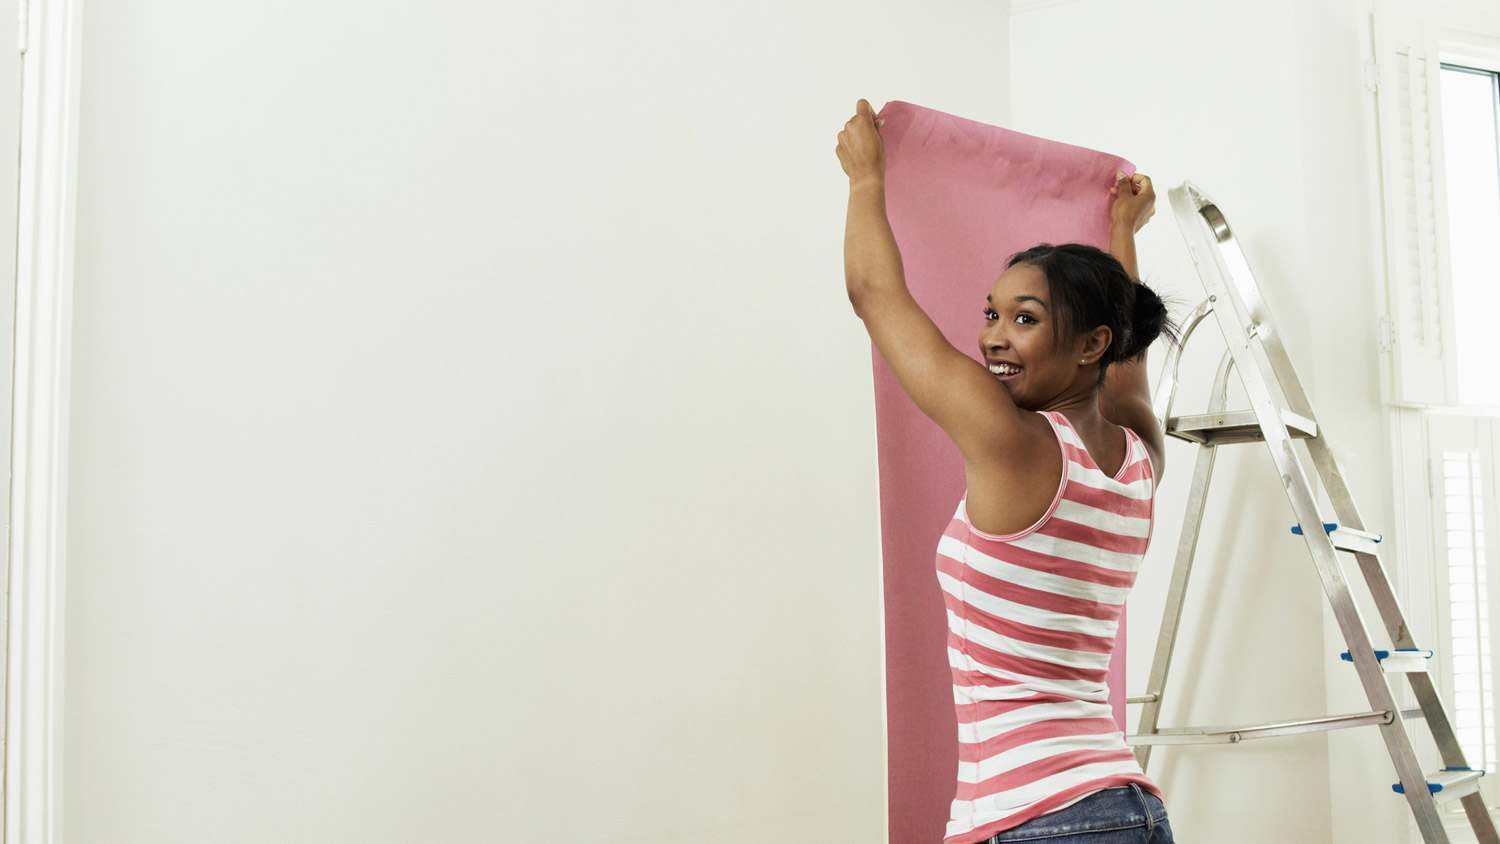
Rather than messing with glue or wallpaper adhesive, hanging peel-and-stick wallpaper is a great DIY choice. Learning how to install peel-and-stick wallpaper is easier, takes less time, and is more forgiving of mistakes than traditional wallpaper. This is a nice option—no-fuss, no-muss is always appealing—and most people can do this job themselves. If you want to save a lot of time, though, hiring a pro is another good option.

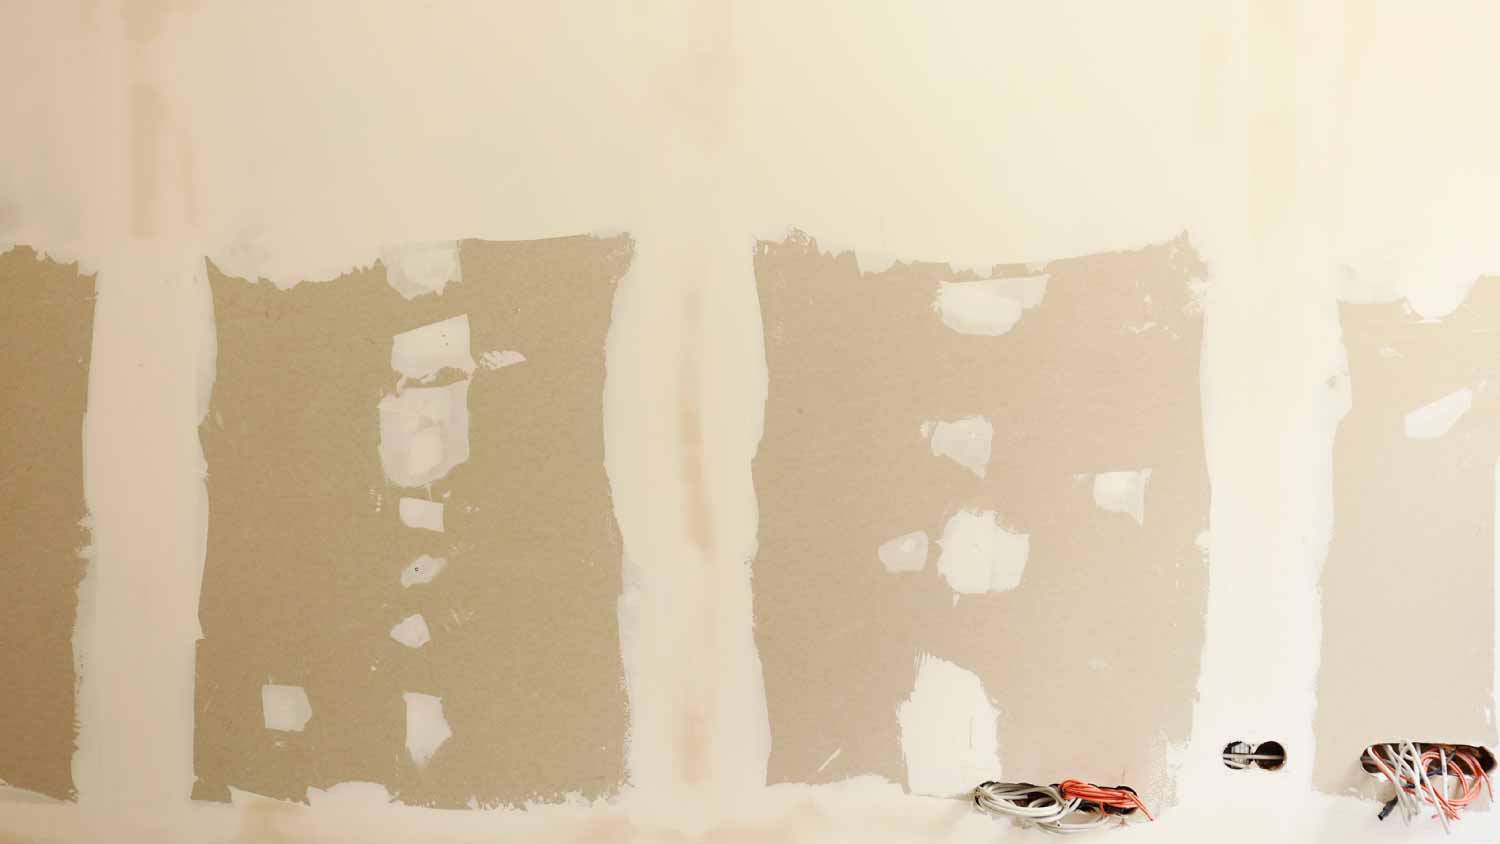
To prepare the wall surface for installing peel-and-stick wallpaper, take down any pictures, remove nails, unscrew outlet covers, and use a slightly damp sponge to clean any dust or grime off the wall. Repair any major holes or cracks that could show through the wallpaper. Allow the wall to dry thoroughly before hanging the wallpaper.
Use your straightedge, level, and measuring tape to draw a vertical line that serves as a guide for the edge of the sheet of wallpaper. Ceilings, baseboards, and wall corners aren’t always straight, even in new houses, so don’t rely on them.
Measure the width of the wallpaper roll and subtract about 1/2 of an inch to allow for overhang on the corner. Then draw a straight line on the wall that same distance from the corner of the wall. Using overhang lets you trim the sheet to match a corner that may not be perfectly straight.

Cut your first sheet of wallpaper to length. Leave 1 to 2 inches of overlap at the top and bottom beyond where the wall meets the ceiling and baseboard.
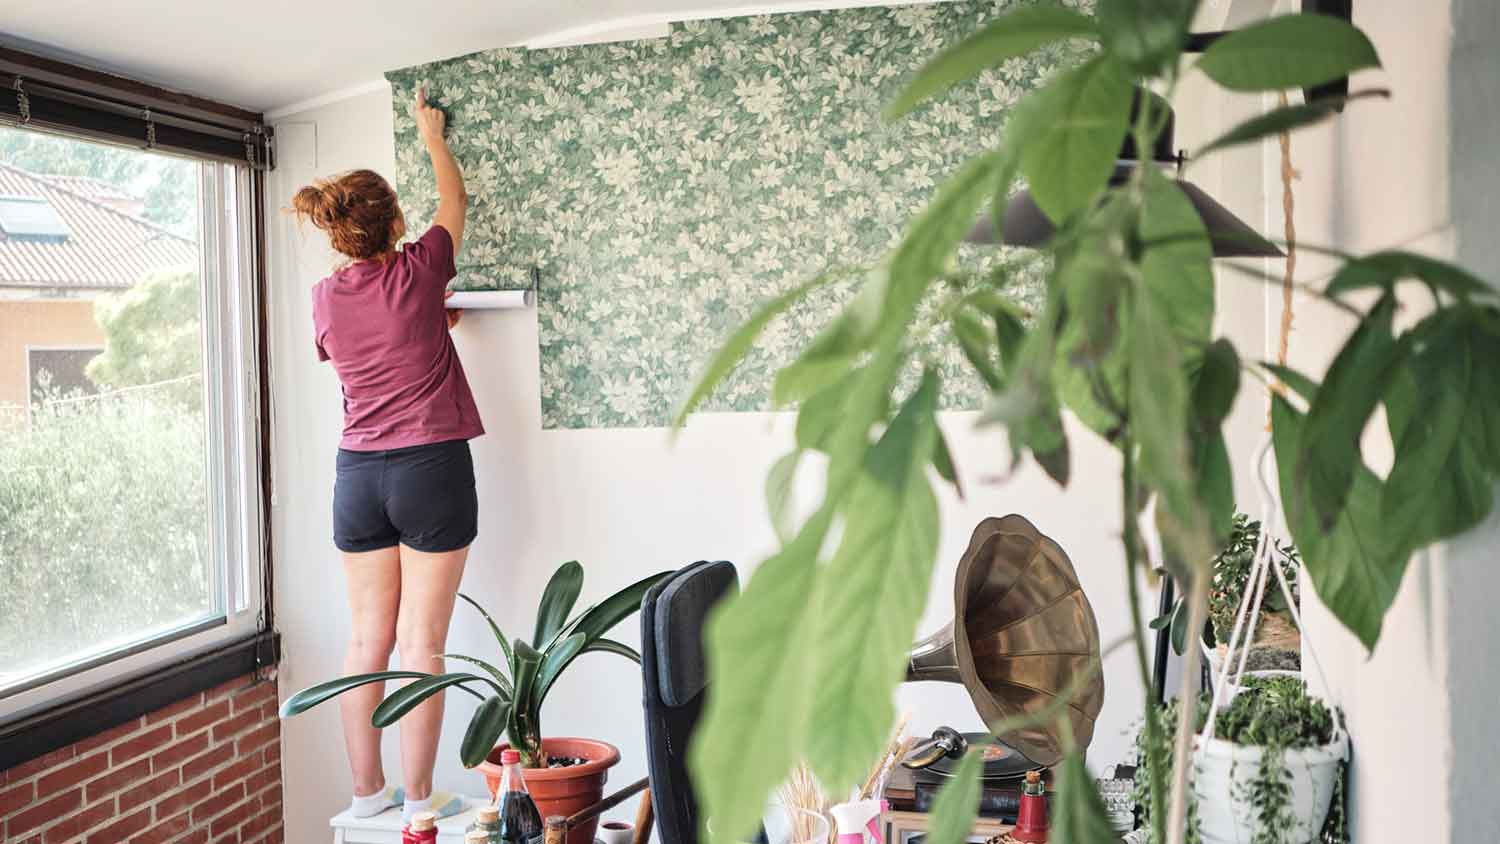
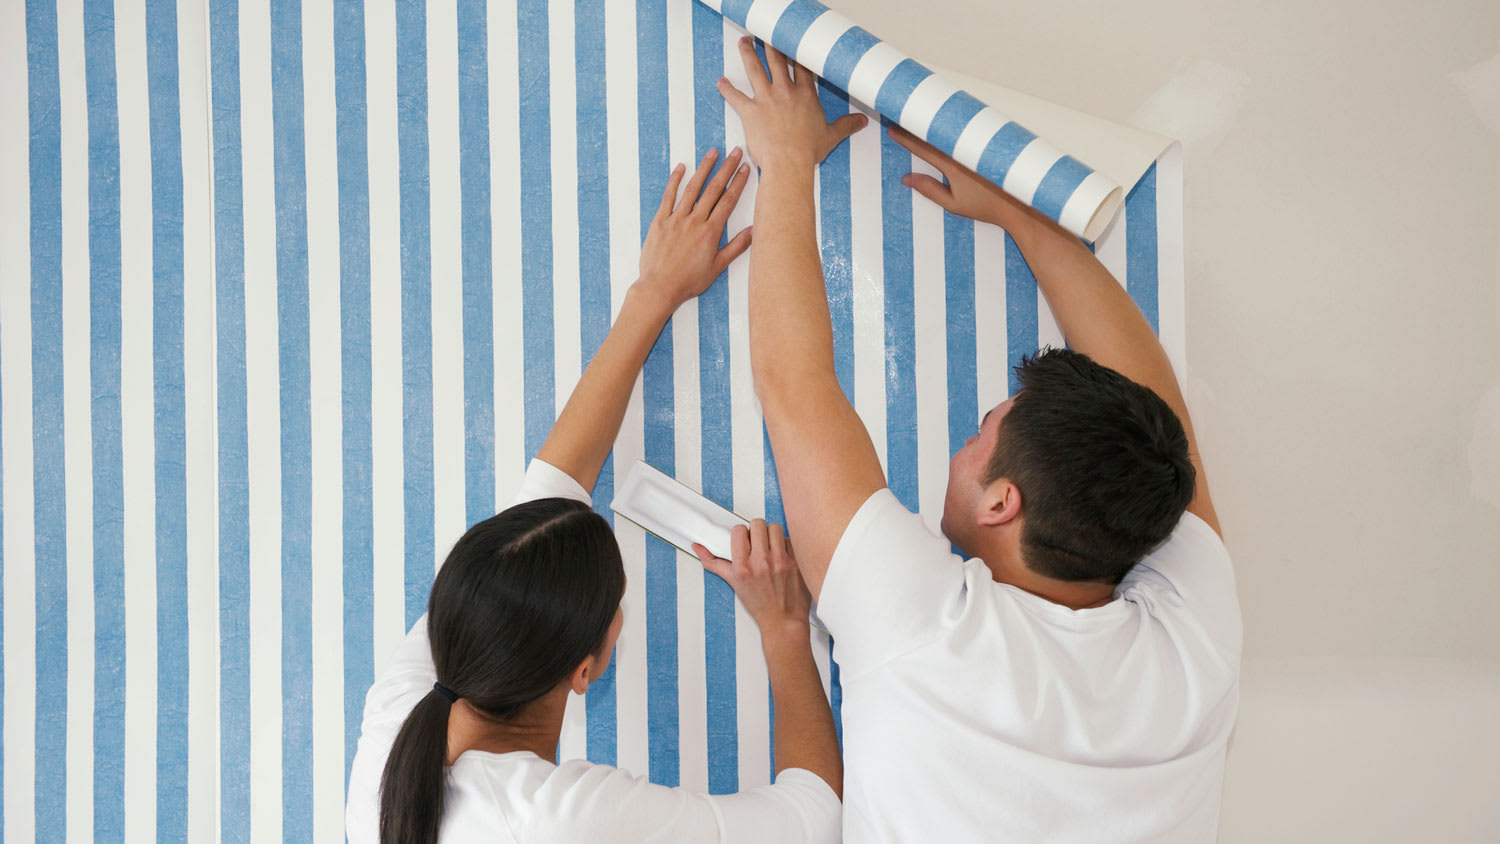
As you’re hanging the sheet, follow the guide line you drew. Peel about 12 inches of the backing away from the sheet at a time, starting at the top and working downward. Carefully place the sticky portion on the wall. Use the plastic smoothing tool to remove any bubbles as you work.
Continue working down the wall, peeling about 12 inches of the backing at a time. If you end up with an air bubble that is too large to smooth with the tool, use a stick pin to puncture the paper and let the air escape.
Once the entire sheet is in place, you can trim the overhang at the ceiling, baseboard, and corner. Use your straightedge and a utility knife. Use light pressure to cut through the wallpaper. Using too much force could damage the wall.
You should run the smoothing tool over the edges after trimming to make sure they remain tight.
If you have a distinctive pattern on the wallpaper, hold the roll up to the top of the installed sheet. Figure out how you can match the pattern while slightly overlapping the existing sheet by between 1/4 and 1/2 inch. You may need a little extra overlap at the top of the sheet to match the pattern.
Draw a new guide line for the next sheet, taking the slight overlap into account. Cut the sheet lengthwise, being mindful of how much overhang you need at the top and bottom. Once you cut the sheet to fit properly, you can follow the information in the third step for gradually peeling the backing and sticking the sheet to the wall. Once it’s in place, trim the excess overlap.

Continue the process in the fifth step, moving along the wall until you’ve hung all the sheets. Once everything is in place, you can rehang your pictures and reattach outlet covers.
For installing wallpaper that requires adhesive, we’d be listing a seventh step—cleaning up the gross, gooey mess. That’s where learning how to install peel-and-stick wallpaper has its greatest advantage—it’s a no-fuss, no-muss option with minimal cleanup required.
If you want to hang peel-and-stick wallpaper yourself successfully, avoid these common mistakes.
Don’t rush and fail to wipe down the wall or fix nail holes. Skipping preparation work could ruin the final result.
Don’t buy the exact amount of wallpaper you think you’ll need. You should buy between 10% and 20% more wallpaper than the measurements show you need to allow for overlaps and matching the pattern from sheet to sheet.
Never stretch the sheet as you attach it. Just place it on the wall and work downward.
Don’t cut the next sheet lengthwise until you are sure where the pattern will line up; otherwise, you risk cutting it short.
Don’t discount the weather. When hanging wallpaper with a peel-and-stick backing, don’t put it in places where temperatures will fluctuate significantly during or immediately after installation. It likely won’t remain adhered in this situation.
Although most people select peel-and-stick wallpaper because they want to have a DIY option for hanging it, you can hire a local wallpaper installation professional for this work.
The professional will give you a hassle-free installation that looks great afterward. Beginners may struggle to remove bubbles and hang the sheets straight, but professionals will not have these issues.
Another significant advantage of hiring a pro is speed. An average DIYer needs roughly four hours to hang peel-and-stick wallpaper on one wall. A pro can do the job in half the time or less.
Pros will have the ladders to do the job properly. If you struggle to physically climb a ladder or need to rent this equipment, hiring a pro is a better choice.
The cost to hire a professional to install wallpaper ranges from $1 to $7 per square foot for labor. Because peel-and-stick wallpaper is quick and easy to hang, you’ll likely pay toward the lower end of this range to hire a professional.
Terrible experience. Walls/trim/floors/cabinets/doors all have drip marks, overspray, etc. Tiling at the fireplace had to be redone by another vendor due to incorrect and shoddy install by Profect. Contractor had his children in our house while he was on site without prior authorization or...
 Profect painting & exteriors
The Cisco team did an exceptionally good job of painting (very detailed), and they were professional, courteous, helpful and just pleasant to have in our home for a week. I have already recommended Cisco to some neighbors.
 Cisco Finishes
I couldnt be happier with Custom Paint Jobs LLC! Their attention to detail transformed my home.
Would hire again. Wall looks great. Happy with job.
 Central Paving
The task proved more difficult than anticipated. When they arrived the first day, they had no tools with them at all, and had to make a run to purchase appropriate tools. It was quickly determined that the paper had to be steamed off, and neither the workers, nor the company itself, had...
 ABS Interiors of Mid-Ohio LLC
We needed them to do extra work to remove existing wallpaper, and provide full primer and painting/trim work around existing furniture etc, during a move-in period. They did everything top-notch with minimal mess. They were always extremely on time, and very professional. They also cleaned...
WALLS IN OLD VICTORIAN WERE GOUGED AND CRACKED AFTER REMOVAL OF WALLPAPER. VERY CAREFUL WORK. GOOD ATTENTION TO DETAIL. CLEAN-UP WAS A LITTLE MESSY.
From average costs to expert advice, get all the answers you need to get your job done.
Discover wallpaper installation cost. Learn about material, labor, and project factors to estimate your budget and make informed choices for your home.
Is peel-and-stick wallpaper removable? Find out how to remove temporary wallpaper without causing damage to your walls.
How long does peel-and-stick wallpaper last? Learn more about the factors that influence the lifespan of removable wallpaper, including quality and material.
Love the look of wallpaper, but not sure which type is best? Learn the differences between peel-and-stick versus traditional wallpaper in this guide.

Ready to refresh your home? Learn how to apply peel-and-stick wallpaper for a temporary update to any room in your house.
Ready to remake your bedroom or home office? Avoid a sticky situation with these nine tried-and-true tips for peel-and-stick wallpaper.