•
Discover wallpaper installation cost. Learn about material, labor, and project factors to estimate your budget and make informed choices for your home.
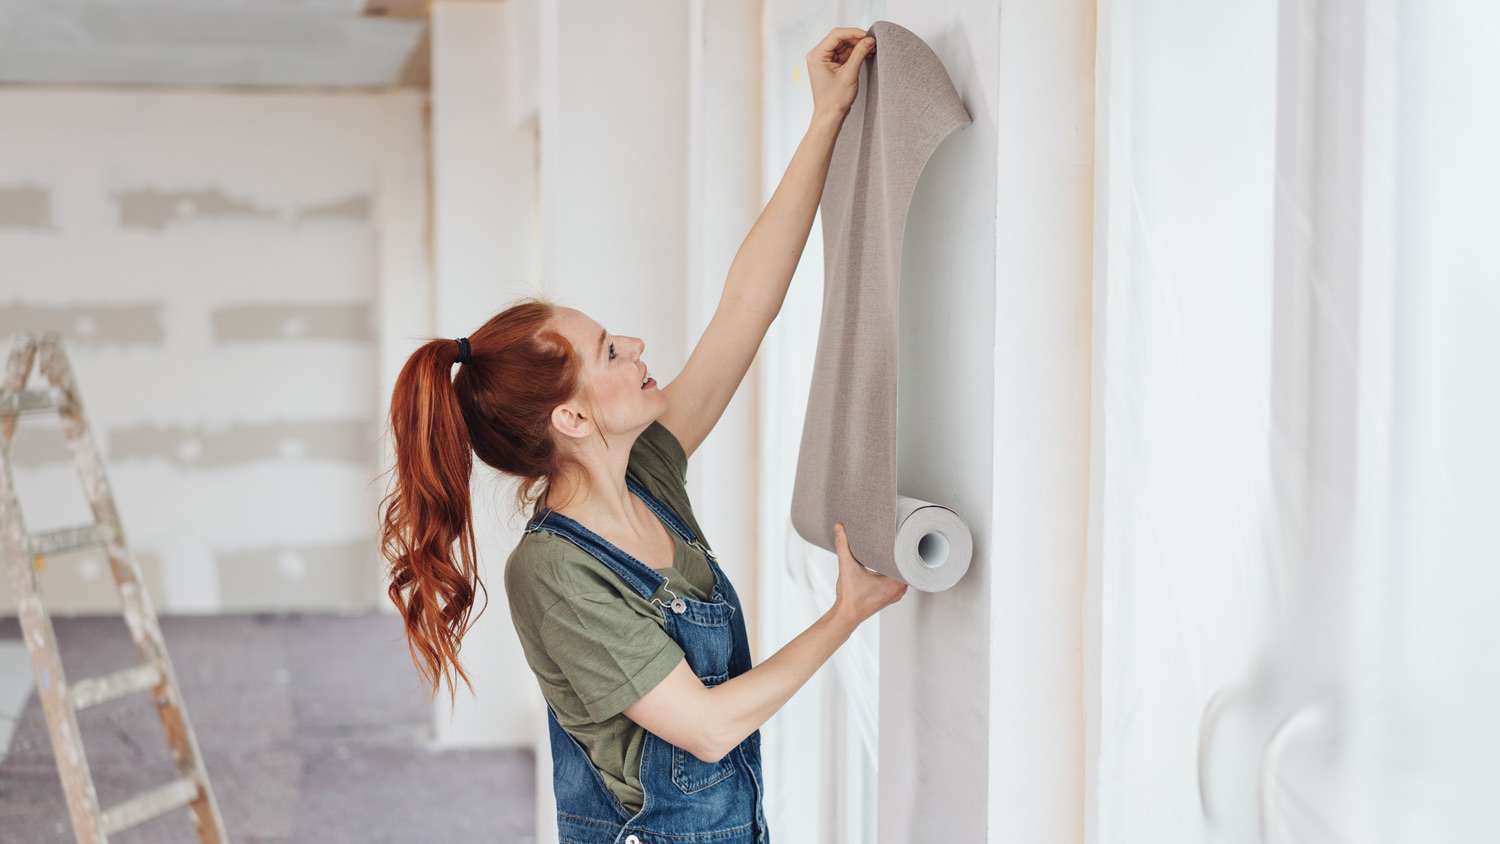
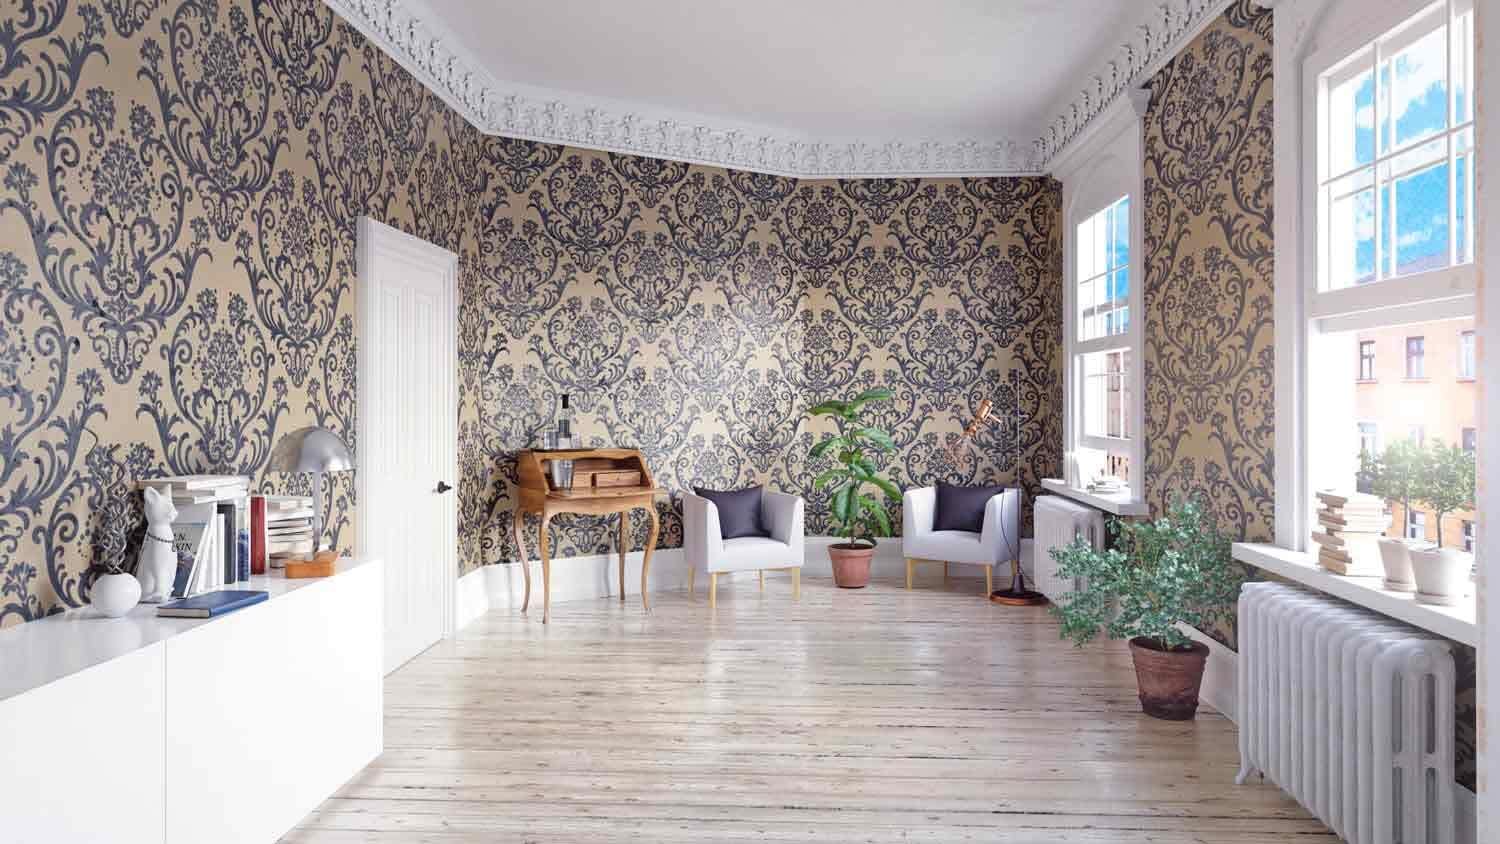
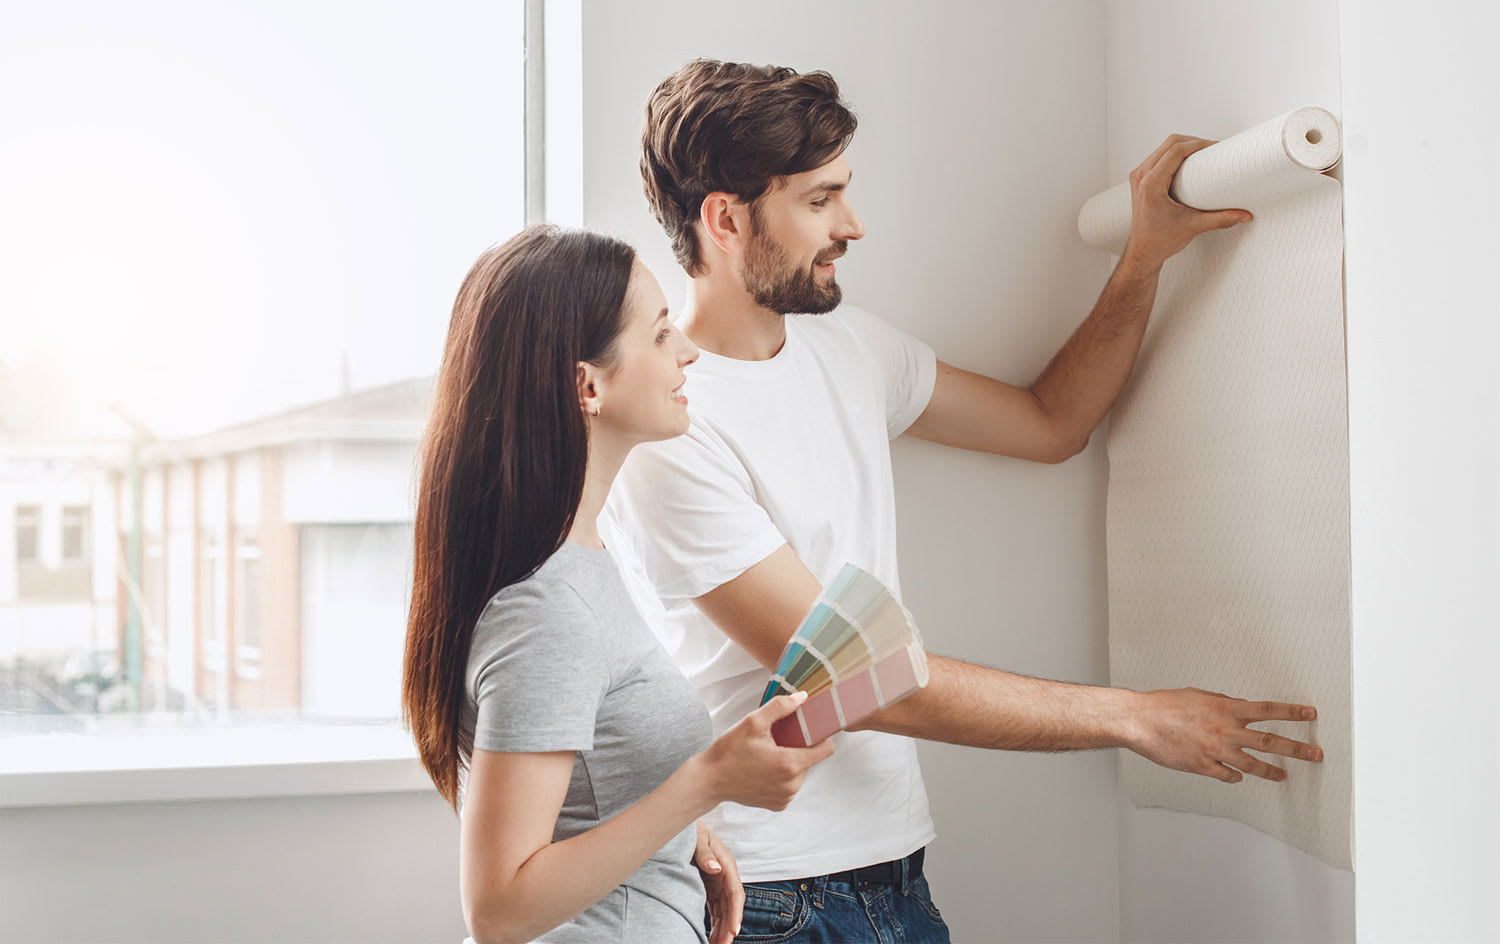
Hanging wallpaper like a pro requires a bit of patience

The trick of knowing how to hang wallpaper like a pro lies in preparation and carefully choosing where to start. From there, it’s just a matter of repetition. Wallpaper has the power to transform any room from bland to grand. However, like applying any major appearance change, patience and a smooth workflow pay huge dividends. Here are the steps to install wallpaper to beautify any space in your home.
There are almost as many wallpaper price points as there are styles and patterns available. Additionally, several types of wallpapers are available that differ in materials and how they stick to the wall. This guide covers the installation of a vinyl wallpaper without its own adhesive. However, pre-pasted, paste-the-wall, and peel-and-stick versions also exist. You can install them in much the same way, with the only significant difference being the adhesive method.
Start your wallpaper project by removing as many obstacles from the room as possible. Remove furniture to allow plenty of space to move around. Remove outlet covers in your work area, plan for adequate lighting, and place drop cloths on the floor for protection. Most importantly, set up a large workspace table or flat area.

Identifying your starting point is essential, and where that is depends on the room layout and the pattern in your chosen wallpaper. If you have a wallpaper with a central feature, mark the location of the feature on the wall. For papers with a repeating pattern, choose a starting point over a door or in another inconspicuous place in the room. Wallpapering the bathroom or other small rooms? Choose a spot away from any focal points.
Use a tape measure to determine the width of your wallpaper. Mark your precise starting point and measure from there to the nearest place on the wall that extends all the way from the floor to the ceiling. Mark that spot and use a 4-foot level and pencil to draw a plumb line that extends the entire wall height. This is where the first wallpaper piece will hang.
The trick to a perfect wallpaper installation is lining up the pattern between each strip, or "drop." Prep the first piece by cutting a length of paper two or three inches longer than the wall is high. Line up the next drop piece next to it according to the pattern, mark it, and cut it to length.
For pasting, turn the first wallpaper piece face down. Use your paint roller to evenly apply the paste adhesive to the back of the piece. Now, carefully fold the ends of the piece until they meet in the middle. This is called "booking" and is necessary to activate the adhesive. Let the piece sit for three to five minutes.

To hang the first piece of wallpaper, unfold the top half of your "book" and line the top edge of the paper up with the top edge of the wall, allowing about an inch of overhang. At the same time, align one edge of the paper with your plumb line on the wall. Use a wallpaper smoothing tool to work out any air bubbles and gently press the paper to the wall.
Now unfold the bottom half of the piece and repeat the procedure until you reach the floor. Cut off the excess paper at the floor and ceiling by pressing a drywall knife into the corner and following the crease with a sharp utility knife. Wipe off any excess adhesive with a damp sponge.
The location of the next piece you hang will depend on where your first piece is hanging and your room's starting point. If necessary, work backward to your planned starting point or continue in the same direction. The trick is to make the starting point as unnoticeable as possible, as it can be challenging to perfectly line up the pattern after going around the whole room.
Before pasting, booking, and hanging the second piece, lay out your third piece, mark, and cut it according to the matching pattern.
Now, repeat the procedure for hanging the first piece, being sure to line up the pattern on the wall.
To go around an inside or outside corner, measure from the last drop's edge and cut the next piece lengthwise so it will overlap the corner by about a quarter-inch. The cut edge will be the edge that goes into or around the corner.
To finish the corner, hang the next piece so that it overlaps the first by no more than a quarter-inch, remembering to line up the pattern. For outside corners, the second piece should start just shy of the actual corner but still overlap with the first piece.
There are no completely featureless rooms, and cutting wallpaper around windows and doors requires patience. For the best results, begin hanging the piece. As you reach the obstacle, make diagonal cuts from the paper's edge that allow you to fold the paper back and lay it flat against the wall. Now, use your utility knife to finish the cut.
Hanging wallpaper, especially for the first time, can be a lesson in trial and error. To minimize frustrations, consider the following common mistakes and try to avoid them.
Moving pieces too much: While you can slightly move each sheet of paper as you install it to help line up the pattern, it's easy to move it too much and cause wrinkles or damage to the piece. Work slowly and carefully when hanging each piece to minimize the need to alter its placement.
Pushing instead of pulling: When smoothing out each drop with your wallpaper smoothing tool, pull the tool as much as possible rather than push it. This will minimize the chances of damaging or stretching the paper.
Cutting the drywall tape: When trimming the paper drop, it's easy to cut through the drywall tape at the top of the wall. To reduce the chances of damage, cut the paper at a sharp angle to the wall and as perpendicular to the ceiling plane as possible.
Not planning ahead: More measuring and planning means fewer mistakes when hanging wallpaper. Plan ahead for your starting and stopping points and measure carefully when preparing each drop.

While hanging your own wallpaper can save hundreds of dollars in labor costs, many homeowners choose to hire a professional wallpaper installer to save time and frustration.
Hanging wallpaper is pretty straightforward. However, it's not an easy task to master completely. If your project only includes a room or two of wallpaper, it may not be worth the effort to learn the skill. For this reason, most hire a local wallpaper installation company. Doing so promises a perfect installation while keeping your sanity intact.
Terrible experience. Walls/trim/floors/cabinets/doors all have drip marks, overspray, etc. Tiling at the fireplace had to be redone by another vendor due to incorrect and shoddy install by Profect. Contractor had his children in our house while he was on site without prior authorization or...
 Profect painting & exteriors
The Cisco team did an exceptionally good job of painting (very detailed), and they were professional, courteous, helpful and just pleasant to have in our home for a week. I have already recommended Cisco to some neighbors.
 Cisco Finishes
I couldnt be happier with Custom Paint Jobs LLC! Their attention to detail transformed my home.
Would hire again. Wall looks great. Happy with job.
 Central Paving
The task proved more difficult than anticipated. When they arrived the first day, they had no tools with them at all, and had to make a run to purchase appropriate tools. It was quickly determined that the paper had to be steamed off, and neither the workers, nor the company itself, had...
 ABS Interiors of Mid-Ohio LLC
We needed them to do extra work to remove existing wallpaper, and provide full primer and painting/trim work around existing furniture etc, during a move-in period. They did everything top-notch with minimal mess. They were always extremely on time, and very professional. They also cleaned...
WALLS IN OLD VICTORIAN WERE GOUGED AND CRACKED AFTER REMOVAL OF WALLPAPER. VERY CAREFUL WORK. GOOD ATTENTION TO DETAIL. CLEAN-UP WAS A LITTLE MESSY.
From average costs to expert advice, get all the answers you need to get your job done.
Discover wallpaper installation cost. Learn about material, labor, and project factors to estimate your budget and make informed choices for your home.
Figuring out the best temperature to hang wallpaper is tricky and depends on factors like humidity and air circulation. Learn when to hang up yours.
Wallpaper can be eye-catching and unique, but installing it is tricky. Use this guide to know who to hire to install wallpaper in your home.
Wallpaper can quickly refresh a room. Wondering "how much wallpaper do I need?" This wallpaper calculator will help you figure it out.
Learn how to paint paintable wallpaper to add texture and color while hiding imperfections on your walls with this handy step-by-step guide.

Learning how to install peel-and-stick wallpaper doesn’t have to be a hassle. Figure out which steps you need to take to have a successful DIY installation.