
Cedar siding is expensive, but it’s beautiful, timeless, and adds insulation to your home. Use this cedar siding cost guide to see what your project will total.
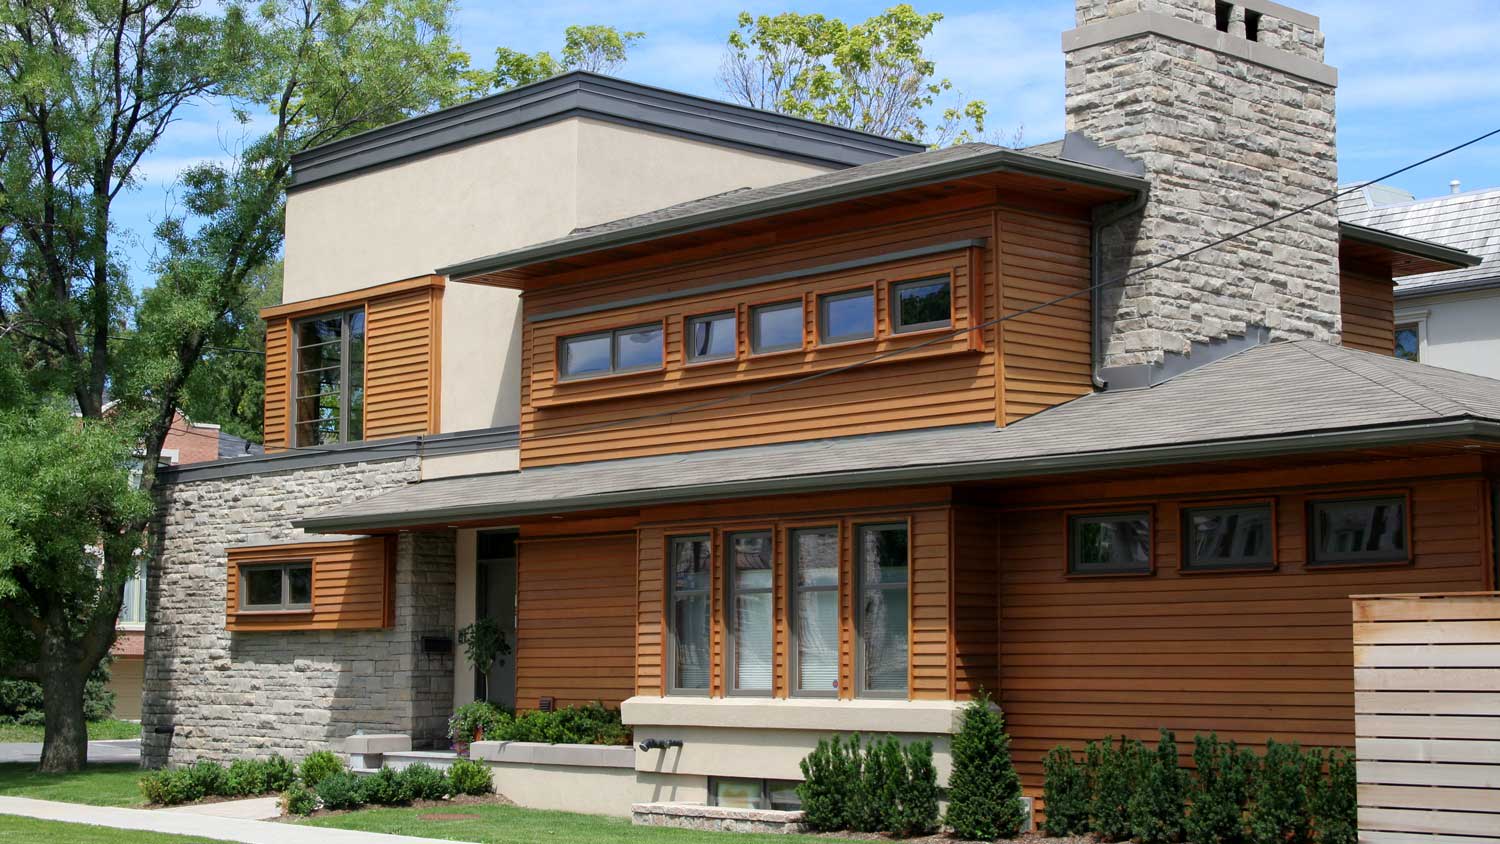
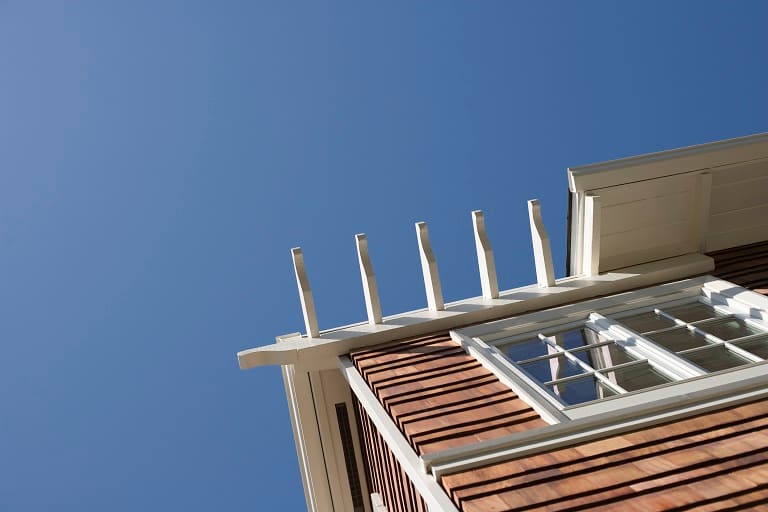
The finished look of cedar shake siding is worth the work

Cedar shake siding conjures images of cozy coastal homes overlooking the sea, but just about any home can be clad in cedar shakes—not just houses dotting the coastline. In fact, cedar shake siding is one of the most popular types of wood siding across the country, thanks to its aesthetic charm, ease of maintenance, moderate cost, and longevity.
Most homeowners hire local siding contractors to handle the installation, especially if the cedar shakes will cover the whole house. Why? Installing cedar shakes is a time-consuming and difficult task—with the help of a few friends, you can still expect several full-day weeks of work.
But that doesn’t mean installing cedar shakes without professional help is impossible. If you’ve got the time, skills, and tools, here’s how to install cedar shake siding on your own.

The first step to installing cedar shake siding is figuring out how much you actually need. Calculate the total wall area you’ll be covering in cedar shakes in square feet. Most suppliers sell their wood shakes by the square (equal to 100 square feet of coverage).
When installing cedar shakes, you actually overlap the wood, much like roof shingles. Only about a third of each shake will be exposed. For instance, if you get 16-inch shakes, only about 5 inches of that will be visible when the project’s completed—so you essentially need triple the coverage.
We also recommend purchasing 10% to 20% more than your calculation to allow for mistakes and wasted pieces. This drives up your overall cedar siding cost but ensures you don’t have to put in a second order mid-project when you run out of materials.

Before you can start installing the individual wood shakes, you need to cover the entire exterior wall with a waterproof building wrap. You can use roof tacks or staples to fix this sheathing into place. The material is easy to cut through so you can work around vents, spigots, windows, and doors.
Apply self-adhesive flashing tape around windows, doors, and wall corners as additional protection.
Some homeowners prefer to install matching cedar trim around the windows, doors, and all outside wall corners (where two walls meet and project outward). This isn’t necessary but can add a nice look to your home—and eliminates the need to weave corners (step 8) when installing your cedar shakes.
To ensure the bottom row (course) of shakes is even, nail a straight 1x8 wood board roughly 1 to 2 inches below where the wall sheathing meets the foundation. As you work on your first course, you’ll use this as a shelf to line up the shakes.

You should already know how much of each course you want to expose (this is called the reveal). Remember, it should only be around a third of the total shake length. With this reveal length in mind, create a story pole.
Take a 1x8 wood board and use a measuring tape to indicate each reveal interval on the board. For instance, if you want a 5-inch reveal, you’ll mark a line with a pencil every five inches along this board.
Then hold the story pole vertical against the wall, the bottom flush with the straight board below the wall sheathing. Analyze how the intervals match up with the bottoms and tops of any windows along the wall. You’ll want the bottom of a course to line up with the bottom of the window, and up higher, you’ll want the bottom of a course to line up with the top of the window.
Because of this, your desired reveals (5 inches, in our example) may not work perfectly. You can cheat certain courses by a quarter of an inch or so to ensure the shakes will line up where they should when you get to the window. Slight variations in reveal sizes on each course won’t be visible to the naked eye.
Alternatively, you can rethink the size of your reveals. For instance, adjusting a 5-inch reveal to a 5 ⅛-inch reveal at each interval might ensure the shakes will line up with the windows.
Make sure the alterations to the reveals are reflected on your story pole. You’ll use this later.
Line your first shake so that it slightly overhangs an outside corner of the wall, with the bottom of the shake hitting the straight board. Hammer two nails into the shake, about 1 inch in from each side and roughly 3 inches up from the bottom of the wall sheathing.
Hammer gently; the shakes can split easily if you apply too much force. Continue installing along this course, using the straight board below and a level above to ensure each shake is horizontally aligned.
If you reach another outside corner, it’s OK if the final shake overhangs the edge of the wall. If it’s an inside corner on the other side of the wall, use a measuring tape to determine the right size of the final shake and cut it down with a utility knife or table saw.
Take a moment to appreciate the first course you’ve just installed—because you’ll never see it again. To prevent water penetration, you should always install a second layer on top of the first course of wood shakes.
Offset the second layer by at least 1 ½-inch left or right so that each shake on the second layer lays over a joint (where two shakes meet) of the first layer.
Before continuing up the wall with the next row of shakes, build up the outside corner where you began. To start, install a shake on the other wall (let’s call this Wall 2) that shares the corner with your starting wall (Wall 1), again using a straight board to line up the bottom of the shake.
Butt this shake on Wall 2 against the overhanging shake on Wall 1. Use your utility knife to cut off the excess on that overhanging shake that you initially installed. Use a block plane to smooth out the corner.
A friend can continue installing shakes along the first row on Wall 2 (installing two layers) while you focus on the corner. Start working up the outsider corner by installing a shake on one wall, butting up a shake to it on the other wall, shaving off the excess, and smoothing out the corner. You can alternate which wall you start with for each row to create a “weaving” effect.
Note: If you installed corner trim, you won’t have to worry about this corner process. Simply butt shakes up against the trim when you reach the corner, cutting them to size with a utility knife or table saw as needed.

To start your second course on Wall 1, use your story pole to measure the next interval from the bottom of the first course. Snap a chalk line here to serve as your base for the second course. This course should be offset from the course below it—that is, the spot where two shakes meet in the row below should be at least 1 ½ inches offset from the edge of the corresponding shake above it.
Continue up the wall in this fashion. Cut custom pieces as needed to work around windows, doors, spigots, and vents. You’ll likely need a ladder or scaffolding as you move upward.
As you near the top, you can cut the shakes into custom shapes for a more unique look. This, however, adds significant time and complexity—and if done poorly, it can look sloppy.
You may be ready for a hard-won celebration after installing the final shake of your project, but the work isn’t done yet. You’ll need to caulk any gaps where the shakes butt up against the trim. If you intend to paint the shakes, you’ll also need to apply a coat or two of sealer with a brush and roller.
We’ve thoroughly covered how to install staggered cedar shake siding—and from the precise measurements to the weeks of work involved, you’ve likely realized how serious an undertaking this is. That doesn’t mean it’s impossible! It just means you’ve got to have patience, precision, a good handle of tools, an understanding of how siding works, and no fear of heights, to boot.
If this project is too much to handle—or you simply don’t have weeks to spare and willing friends to help with the task—get quotes from roofing and siding companies near you. A good contractor can help you figure out the right amount of shakes to order, can finish the job significantly faster, and may be able to do a more custom design on portions of your wall to increase the curb appeal of your home.
The guys at PaveWay are top notch. From the estimate to the job being completed,all was done in a timely and professional manner. I myself was a DOT Engineer Inspector(know what to look for) and got to talking with Cameron and he himself was a Contract inspector for a few years,same job as...
 All Star Paving and Sealing
I highly recommend KTM construction! I will look no where else for anything that needs to be done, in or out side of our property. The level of craftsmanship is 5 star service across the board! The level of detail, knowledge and professionalism is 5 star service across the board! Ken is a...
I purchased the "Big Deal": $199.00 for exterior pressure-washing of one- or two-story home up to 2,000 square feet. They cleaned the siding only. I wasn't aware when I bought the Big Deal that they would not do any other surfaces other than the siding (i.e. sides of the gutters or stucco). I...
 Complete Home Services
This brownstone is historical and the carpentry work is very detailed. I was very happy to secure a company in NY and living in OH to complete the request. Wood work on this brownstone has been existing since approximately 1888 and West side did a GREAT JOB. I will not be able to...
 Westside Home Improvement
Nice group of workers, very friendly. Day 1 covered everything before starting, seemed very organized. Things seemed to be going great. Day 2 they didn't show up until around 10:00a.m. and work crew was cut in half, was told they had another job. Day 3 they didn't show up until around...
 CertaPro Painters of Columbus
The work went great! Couldn't ask for better. Joel set a work start date. About the time of the storms that may have been associated with Sandy. He was half a day late. They set up on a Thursday. On Friday they had a full crew at work. By Monday they were finishing up. Now, the best...
 NJW Construction
A few months ago, a tree branch fell across my car, leaving a series of dents across the hood and driver's side fender. I took it to Rife's after reading the Angie's List reviews. Rife's did a great job! My car looks like new. And they made the process as easy as possible. When I came in...
 Rife's Autobody Inc
I received an email from Angie's List offering Car Detailing 4 U's services for $99. Coming from Angie's List, I expected this to be a highly dependable and qualified company that was known for doing exceptional work. I set the appointment for them to come to my home. They were arrive at...
We first had Mark fix the back patio and liked his work so much we had him make a brick patio on the side of the house. When we decided to change our concrete walkway to brick, we wanted Mark to do the job because his prices were fair and he did such good work on t he other two projects.
 Mark Monnette Masonry
I was very pleased with the cost and end result. I truly expected this job to cost me 50% more than it did. When you factor quality and cost, I would highly recommend Mark's services and plan to use him in the future. The best part was, I asked Mark to match the paint color in one section...
 Fresh Touch Custom Painting Inc.
From average costs to expert advice, get all the answers you need to get your job done.
Cedar siding is expensive, but it’s beautiful, timeless, and adds insulation to your home. Use this cedar siding cost guide to see what your project will total.
Cedar shake roofs are a unique roofing option that can maximize curb appeal. Learn about the factors that affect cedar shake roof costs.
Synthetic cedar shake roofing is a sustainable alternative to the popular wood. Learn what influences synthetic cedar shake roofing costs for your home.
Keeping your cedar siding in good shape helps it last for decades. Learn what cedar siding maintenance steps to take and when to take them.
Wood roofs add tons of charm and curb appeal to your home, but be sure to use these cedar shake roof maintenance tips to keep your roof in good condition.
Learning how to install a cedar shake roof can help you save money on your roof replacement. Just make sure you have the right skills to do it safely.