
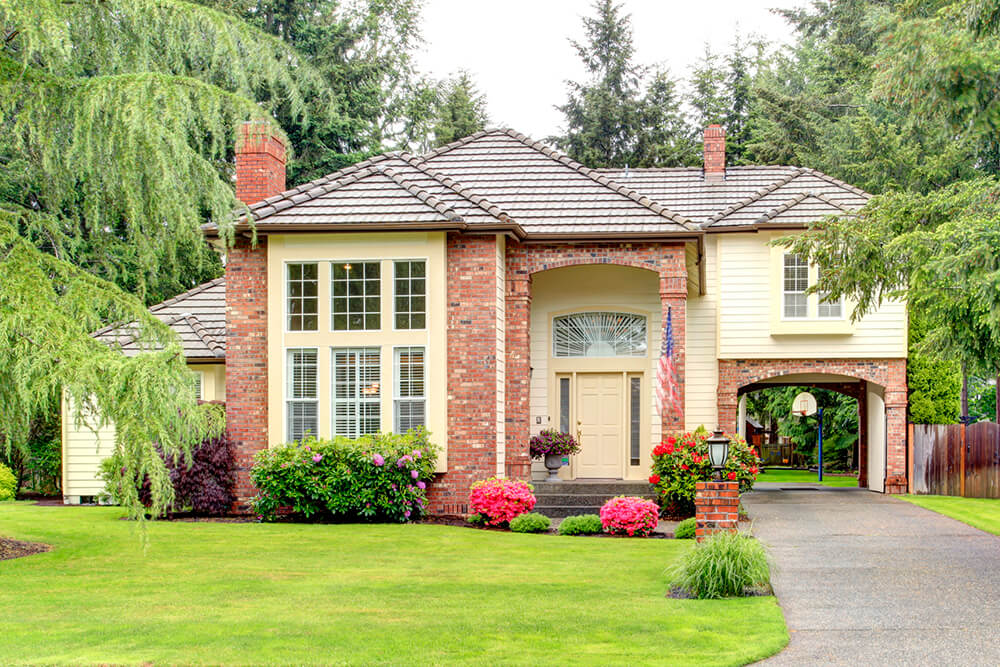
Brick veneer is a popular siding material that can boost your curb appeal. Learn all about how much this siding material costs based on factors like location and type.
Brick veneer adds a luxurious aesthetic to your home—but installing it yourself is tough

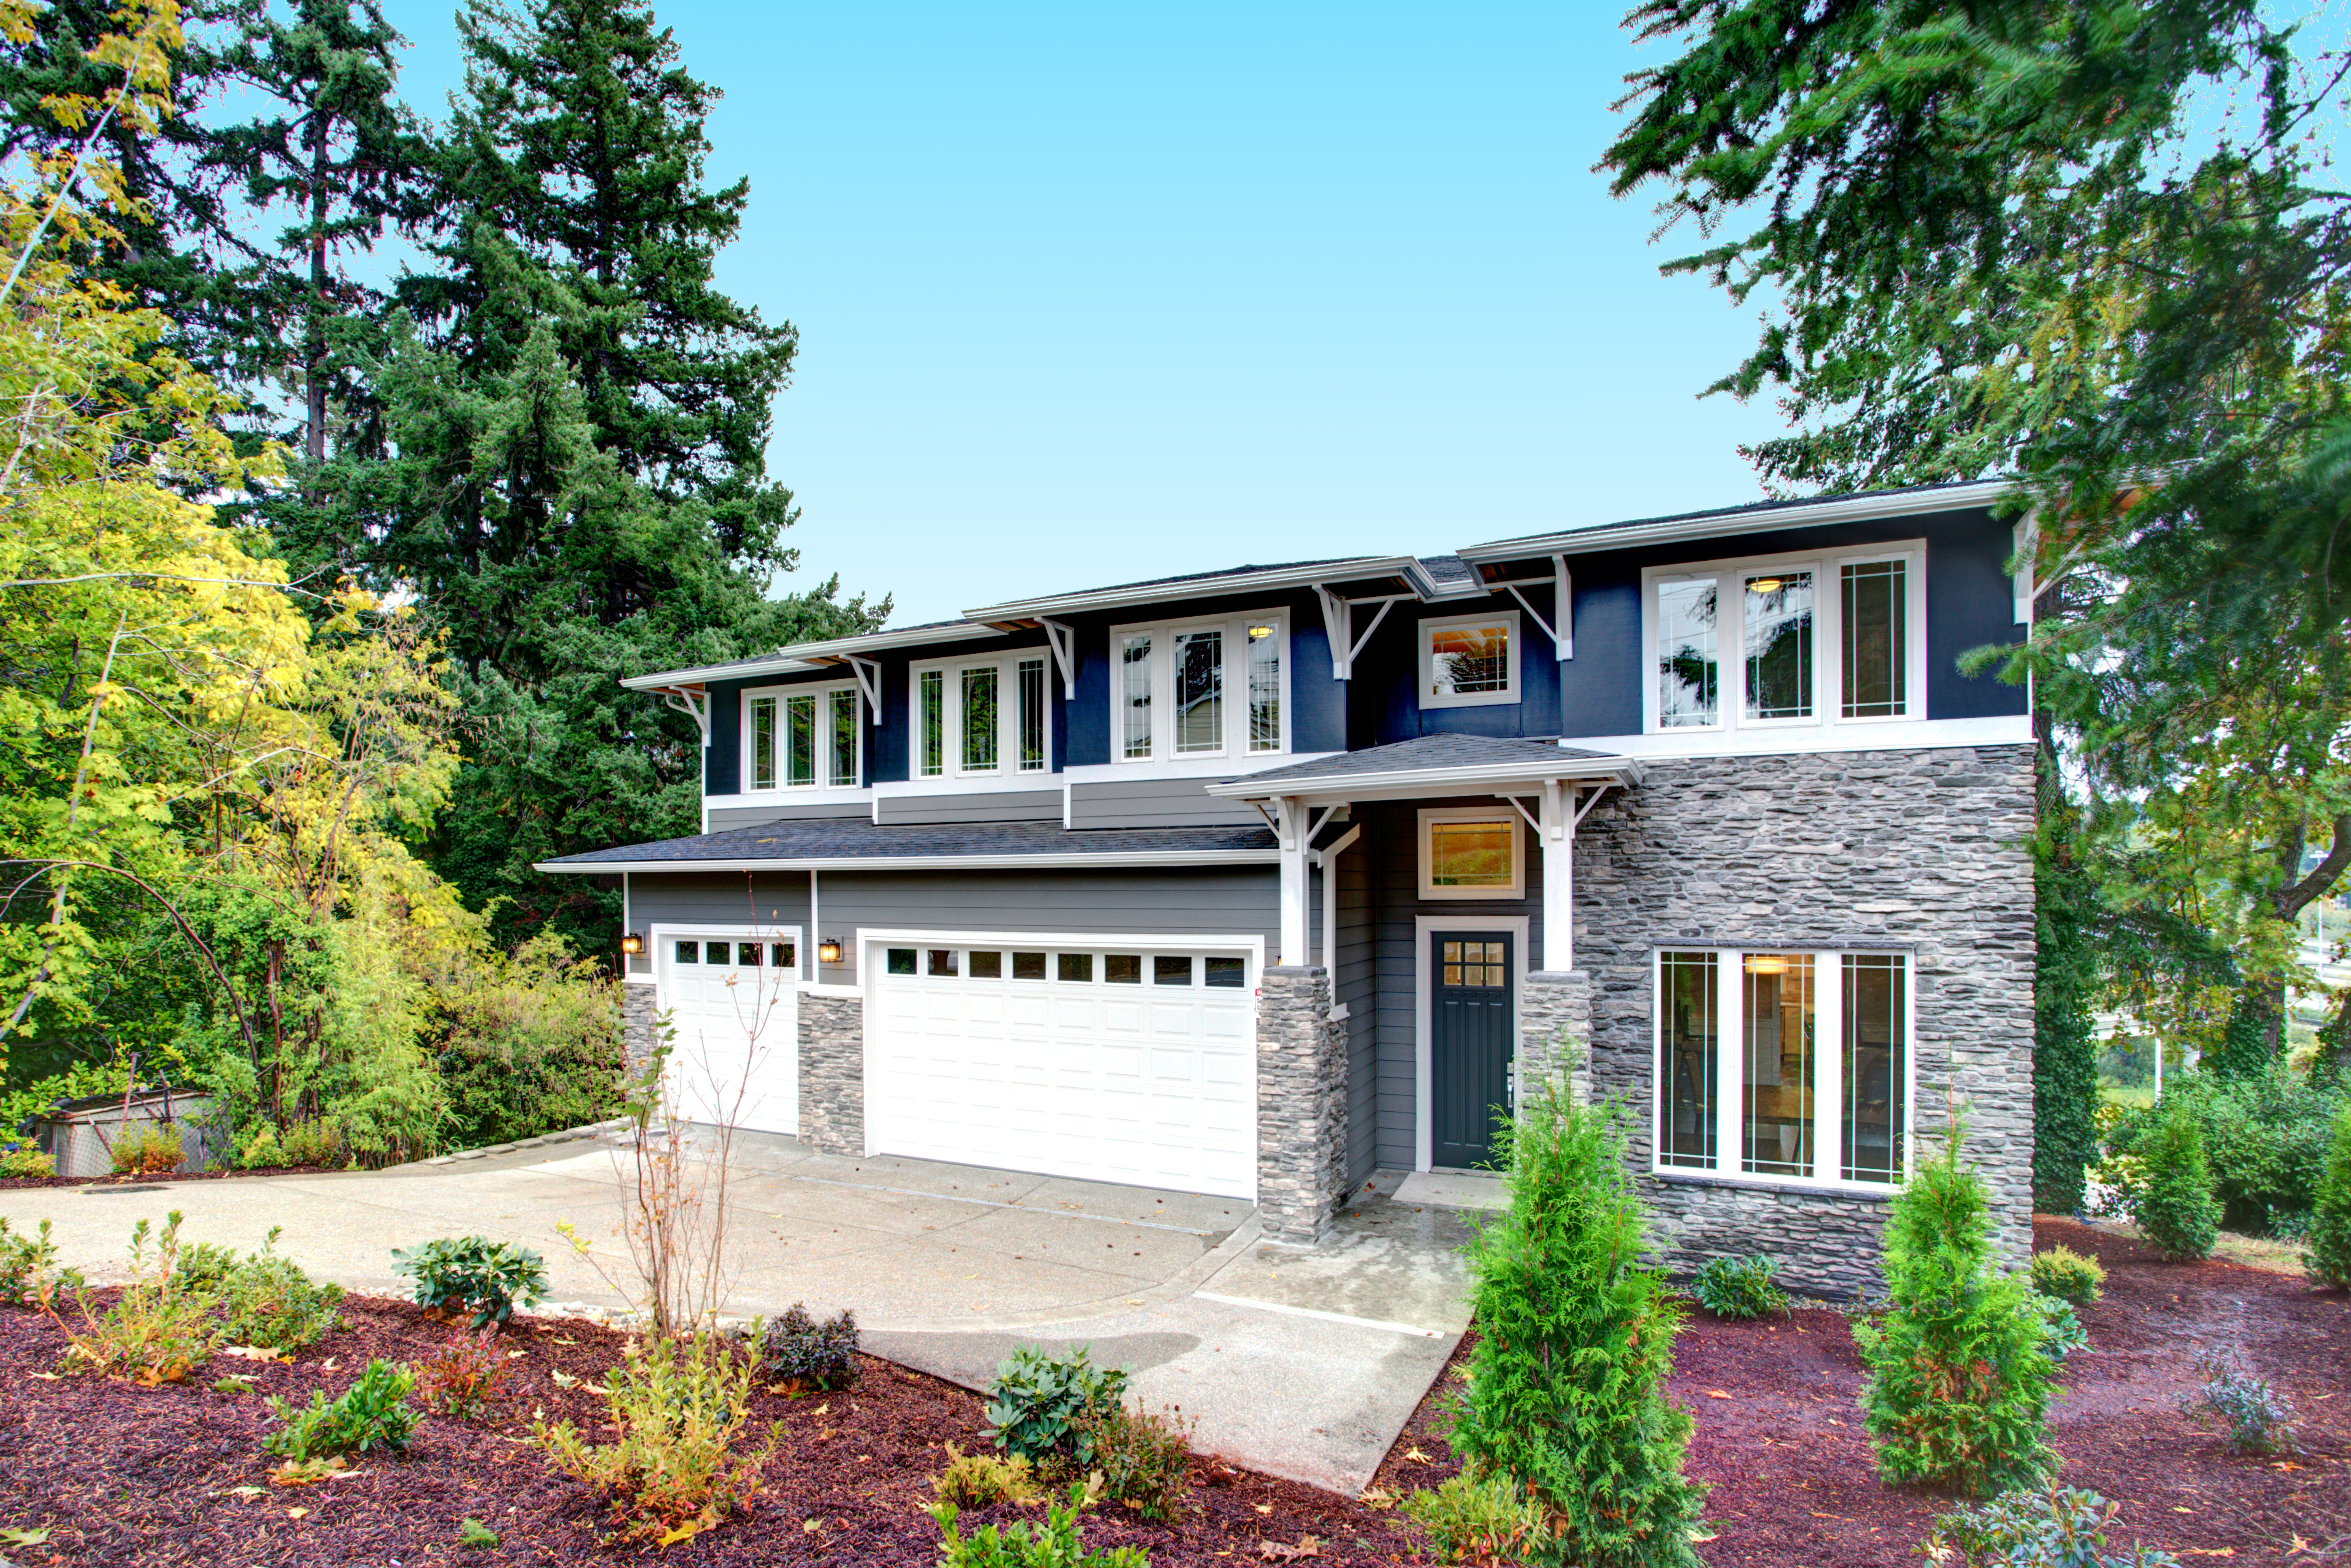
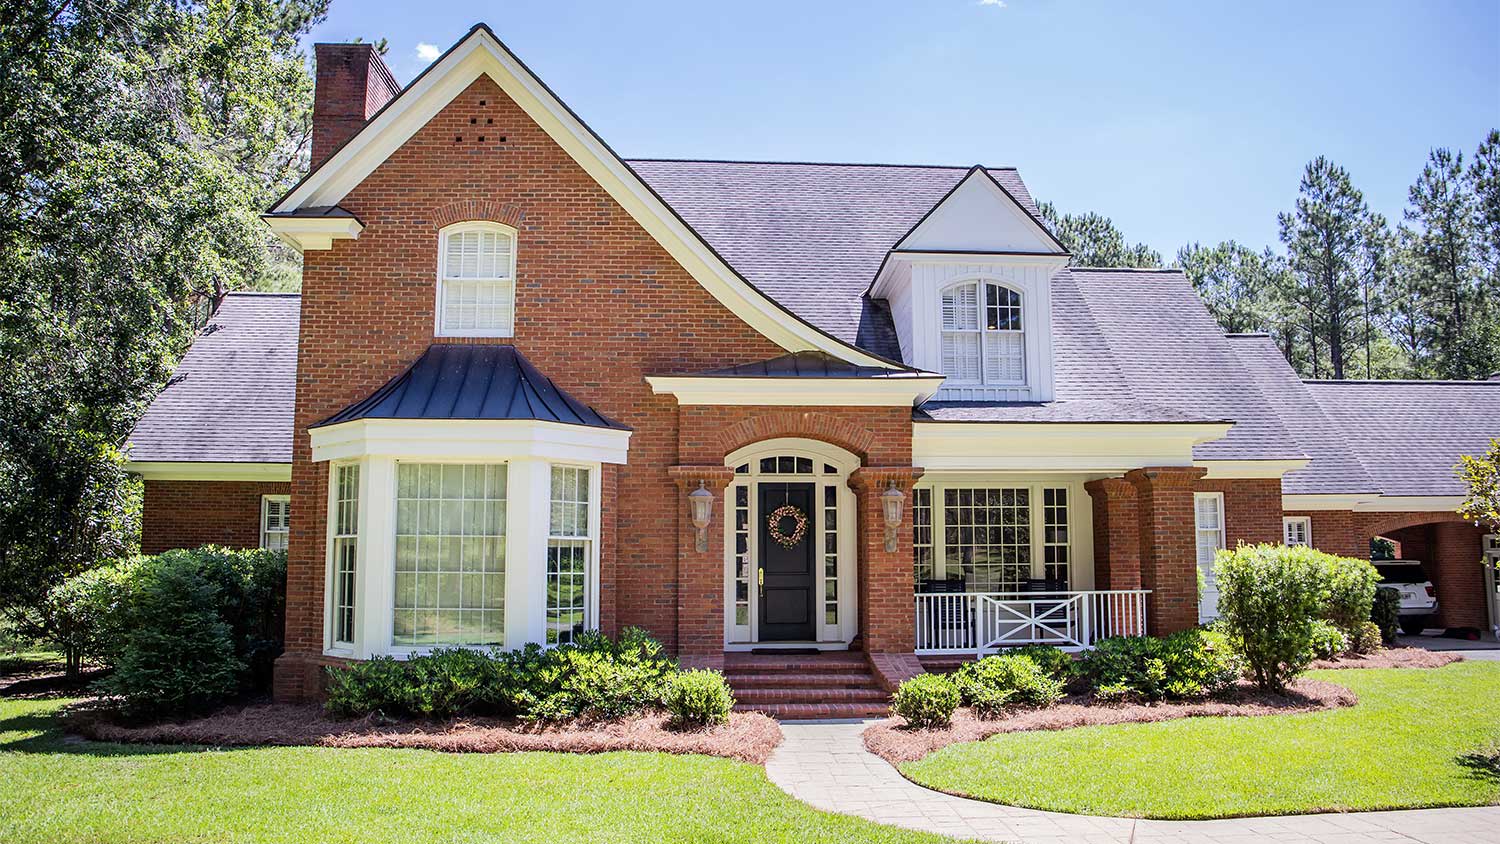
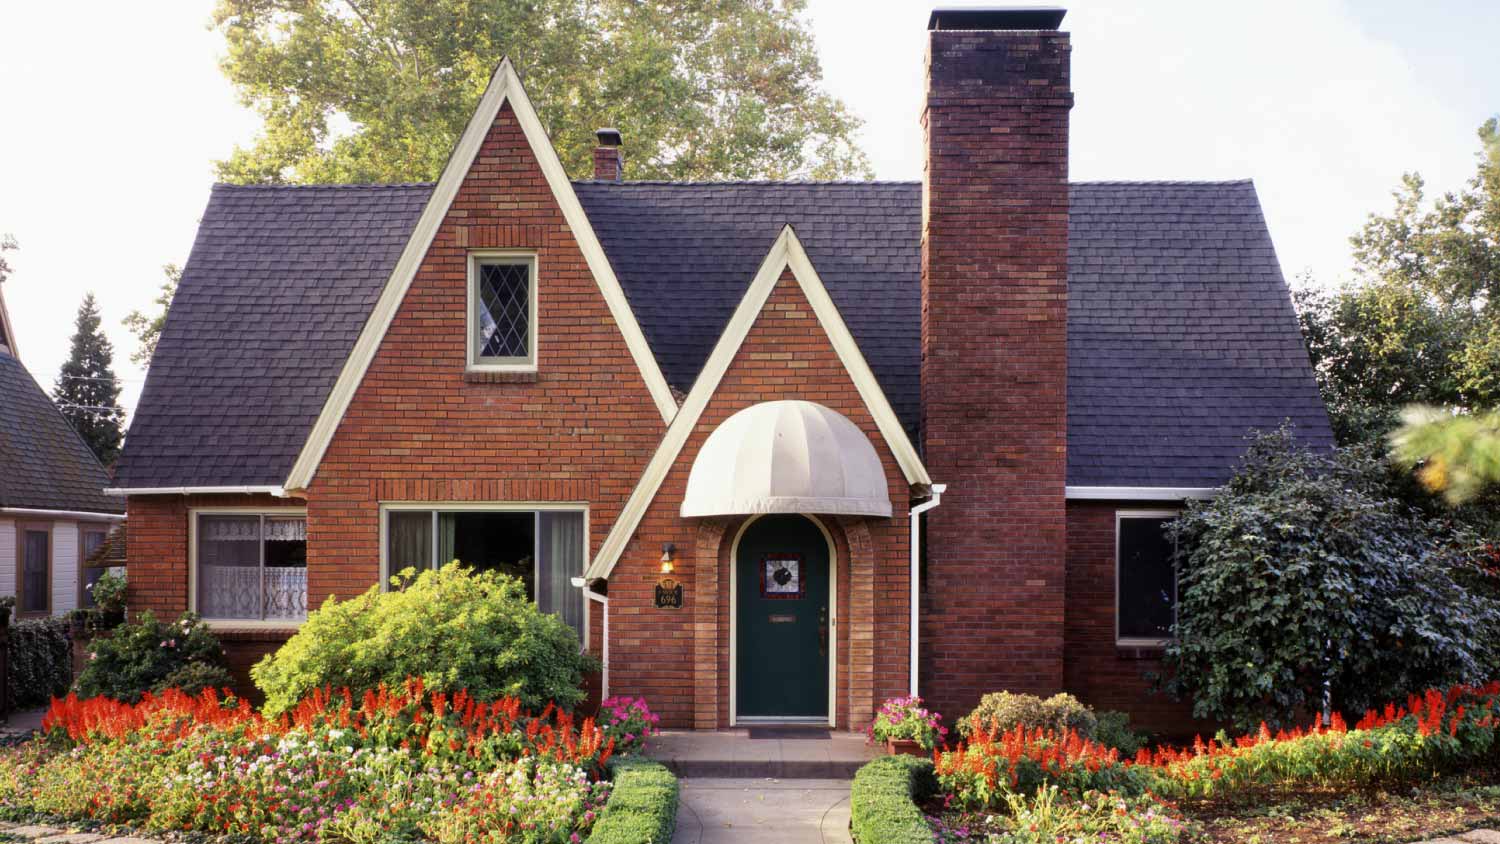
Brick veneer siding can enhance the curb appeal of your home—it mimics brick walls but is only one layer thick, saving on overall costs. Brick veneer offers numerous advantages beyond just the aesthetics, however; homeowners choose brick veneer because it’s water-resistant, a good insulator, efficient, and affordable.
Wondering how to install brick veneer siding? It’s certainly more doable than constructing a complete, multi-layer brick wall on your own—but it’s still highly complicated for even the most DIY-savvy homeowners. We recommend working with a stone veneer contractor near you for a correctly installed brick veneer wall. Contractors can ensure a better final product: one that’s more aesthetically pleasing and more likely to prevent water damage, especially around windows.
If you’re handy around the house and have some experience laying brick, you can try to take on the installation on your own. Prepare yourself for a complicated project that, if covering your entire house, could take you weeks to finish. Still up for the challenge? Here’s how to install exterior brick veneer on your home in 13 steps.
Before you can install brick veneer siding on exterior walls, you’ll need to remove the existing siding, which is a project in and of itself. Old siding removal doesn’t add anything to the siding replacement cost if you’re DIYing the whole project, but you can always hire a local siding contractor to handle this part of the project if you’re short on time.
You’ll also need to remove moldings from around your doors and windows. Once the siding and molding are off, you’re ready to roll up your sleeves and get to work.

To prevent water from getting into your home, install a moisture barrier—a 15-pound felt wrap—to the existing sheathing on the wall. Use staples to fasten it into place, and cut openings for windows, doors, and air vents.
Use a story pole to indicate the tops and bottoms of window and door openings. You’ll need to ensure proper spacing to install rowlocks or stone sills around these openings. You’ll also want to use your story pole to indicate every fifth row of bricks; you’ll need to pay attention to these rows when it’s time to install corrugated brick ties.
If you don’t have a story pole, you can create one using a spare piece of lumber, measuring tape, and a pencil.

To form your base row (called a “course”) of brick veneer, you’ll need to attach an angle iron along the foundation. This will support the first layer of bricks.
Snap a chalk line along the foundation wall to ensure a straight installation. Measure the length of the wall and cut your angle iron to size with a chop saw. Drill holes into the iron at 1-foot intervals. Then, using a measuring tape, drill matching holes along the chalk line on the foundation and insert lag shields.
Prop up the angle iron against the foundation wall, and fasten it into place using lag screws.
Lay a 1-inch-thick bed of mortar along one end of the angle iron, roughly two to three bricks wide. Drag the trowel along the center of the mortar to form a depression (called “furrowing”).
Starting at the edge of the wall, install your first brick. Leave precisely ½ inch of air space between the foundation and the edge of the brick. Press the brick firmly into the mortar, leaving a mortar bed that is ⅜ inches thick.
Use your trowel to trim off the excess mortar. You can mix this back into the mortar bucket or apply it a little farther down the angle iron for future bricks.

Continue along this first course, laying several more bricks. Be sure to apply mortar between the bricks (called “buttering”), also at ⅜-inch thickness. At four-brick intervals, use your level to ensure you’re installing in a straight line (this ensures your mortar bed is consistently ⅜ inches thick).
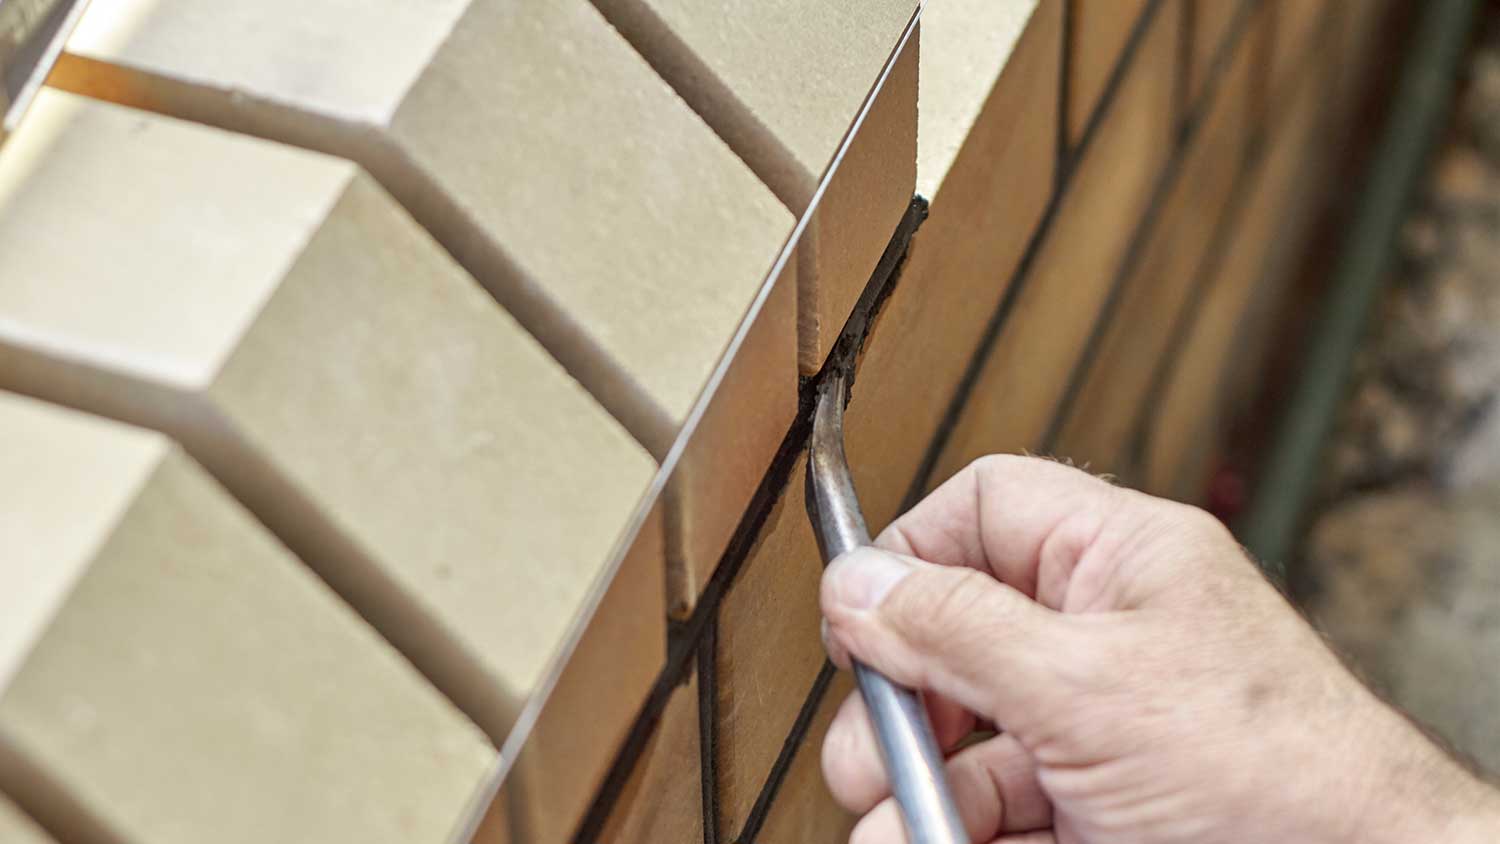
As you move along, check your mortar under and between laid bricks to see if it’s ready for striking. The mortar needs to be set part-way but not completely dry. At that point, strike it with your concave jointer.
Let more time pass so the mortar can completely set up, then return to it to remove the excess with a brush. Use a wet rag to wipe off any smears on the bricks themselves.
As you continue down the course, you’ll need to create weep holes. These allow water to drain out from behind the brick, which prevents water damage, mold, and mildew.
You can create weep holes by placing a cord (¼-inch thickness) in the mortar between two bricks. Do this about every 2 feet along the course (and subsequent courses). As the mortar starts to set, tug the cord out, and you’ll have a small weep hole for water to drain.

Before you completely finish the first course, you’ll want to return to the ends of the wall to start building up multiple courses (called “building the leads”). Start every other course with a half brick, which ensures each row is offset from the row above and below it.
After you’ve built the leads, you can finish your first course and work your way up. Use a masonry line block to ensure your rows remain level as you move up the wall. You can also use your level to ensure you’re on the right track.
When installing the final brick of any course, butter both ends with mortar. If you’ve measured ahead and kept your mortar thickness consistent, it should slot right in, but you can always trim your brick with a masonry saw as needed.
For extra stabilization, you’ll need to install corrugated brick ties at every fifth course. Use a stud finder to locate each stud along the wall and install the brick tie at each stud interval.
Brick ties are L-shaped. You’ll place the bottom of the L along the brick below it, with the top of the L butted up against the moisture barrier with the stud behind it. To install, nail the brick tie into the stud, then mortar over the bottom of the brick tie and install your next brick on top of it.
Depending on the height of the walls, you may need a ladder or scaffolding.
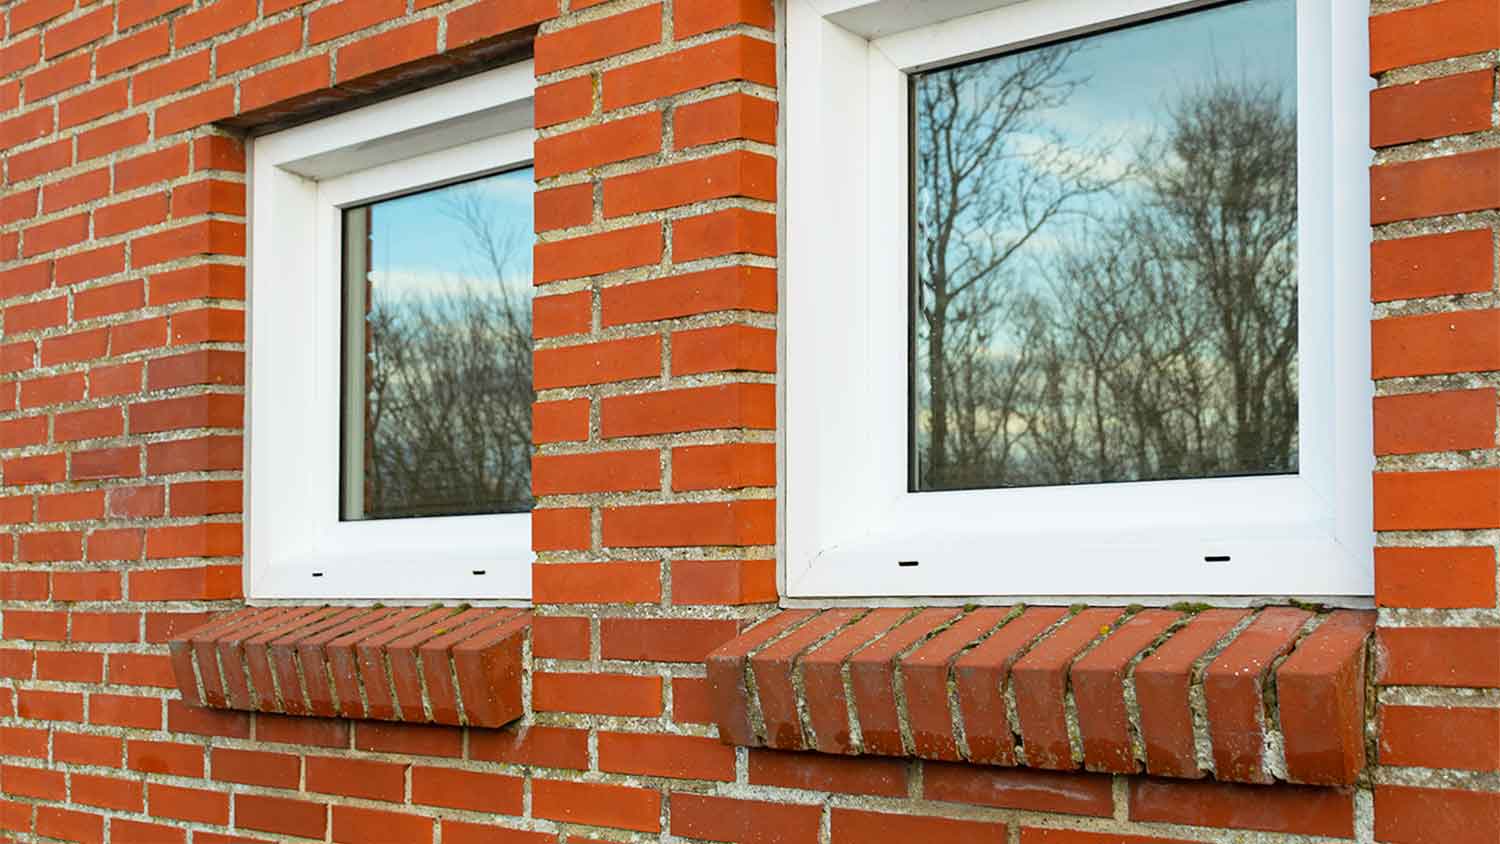
If you’re installing brick veneer around windows, you’ll likely create a rowlock beneath the window. (Alternatively, you can purchase and install stone sills.)
To get the right angle of the rowlock, use a T-bevel to measure the angle of the window sill. Transfer it to your bricks and cut them at that angle.
Install these cut bricks beneath the window. Ensure they’re angled slightly down so that water runs away from the window.
Above windows and doors, you’ll need to install another angle iron. Cut it roughly 4 inches longer on either side than the length of the opening. Attach it above the window, install metal flashing, and then create a rowlock course on top of the flashing.
Installing a brick veneer wall is not a task to be taken lightly. Unless you have prior experience working with masonry and exterior walls, we highly advise working with a professional. Professional siding installation pros will work faster and more accurately, leaving you with a more aesthetically pleasing wall—and one less likely to create water damage.
If you’re hoping to do the installation yourself, you might want to consider another type of siding—one that is easier to install on your own. See how brick and brick veneer stack up against other common siding options:
The guys at PaveWay are top notch. From the estimate to the job being completed,all was done in a timely and professional manner. I myself was a DOT Engineer Inspector(know what to look for) and got to talking with Cameron and he himself was a Contract inspector for a few years,same job as...
 All Star Paving and Sealing
I highly recommend KTM construction! I will look no where else for anything that needs to be done, in or out side of our property. The level of craftsmanship is 5 star service across the board! The level of detail, knowledge and professionalism is 5 star service across the board! Ken is a...
I purchased the "Big Deal": $199.00 for exterior pressure-washing of one- or two-story home up to 2,000 square feet. They cleaned the siding only. I wasn't aware when I bought the Big Deal that they would not do any other surfaces other than the siding (i.e. sides of the gutters or stucco). I...
 Complete Home Services
This brownstone is historical and the carpentry work is very detailed. I was very happy to secure a company in NY and living in OH to complete the request. Wood work on this brownstone has been existing since approximately 1888 and West side did a GREAT JOB. I will not be able to...
 Westside Home Improvement
Nice group of workers, very friendly. Day 1 covered everything before starting, seemed very organized. Things seemed to be going great. Day 2 they didn't show up until around 10:00a.m. and work crew was cut in half, was told they had another job. Day 3 they didn't show up until around...
 CertaPro Painters of Columbus
The work went great! Couldn't ask for better. Joel set a work start date. About the time of the storms that may have been associated with Sandy. He was half a day late. They set up on a Thursday. On Friday they had a full crew at work. By Monday they were finishing up. Now, the best...
 NJW Construction
A few months ago, a tree branch fell across my car, leaving a series of dents across the hood and driver's side fender. I took it to Rife's after reading the Angie's List reviews. Rife's did a great job! My car looks like new. And they made the process as easy as possible. When I came in...
 Rife's Autobody Inc
I received an email from Angie's List offering Car Detailing 4 U's services for $99. Coming from Angie's List, I expected this to be a highly dependable and qualified company that was known for doing exceptional work. I set the appointment for them to come to my home. They were arrive at...
We first had Mark fix the back patio and liked his work so much we had him make a brick patio on the side of the house. When we decided to change our concrete walkway to brick, we wanted Mark to do the job because his prices were fair and he did such good work on t he other two projects.
 Mark Monnette Masonry
I was very pleased with the cost and end result. I truly expected this job to cost me 50% more than it did. When you factor quality and cost, I would highly recommend Mark's services and plan to use him in the future. The best part was, I asked Mark to match the paint color in one section...
 Fresh Touch Custom Painting Inc.
From average costs to expert advice, get all the answers you need to get your job done.
Brick veneer is a popular siding material that can boost your curb appeal. Learn all about how much this siding material costs based on factors like location and type.

Brick walls can add character and elegance to interior and exterior spaces. Use this brick wall cost guide to see the price range for adding one to your home.
The stone veneer siding cost you’ll pay depends significantly on materials and local labor costs. Learn more about factors that affect the project’s cost.
Trying to decide between brick veneer vs brick for your new home build? Keep reading to learn the differences between these two materials.
What is brick veneer siding, and how can it transform your home’s exterior into the perfect curb appeal? Keep reading to find out what you need to know.
Problems in your brick veneer can range from minor, cosmetic cracks to extensive, structural issues. Find out who to call to repair brick.