

•
Discover the cost to install a ceiling fan, including labor, materials, and tips to save. Learn what impacts your price and how to budget for your project.
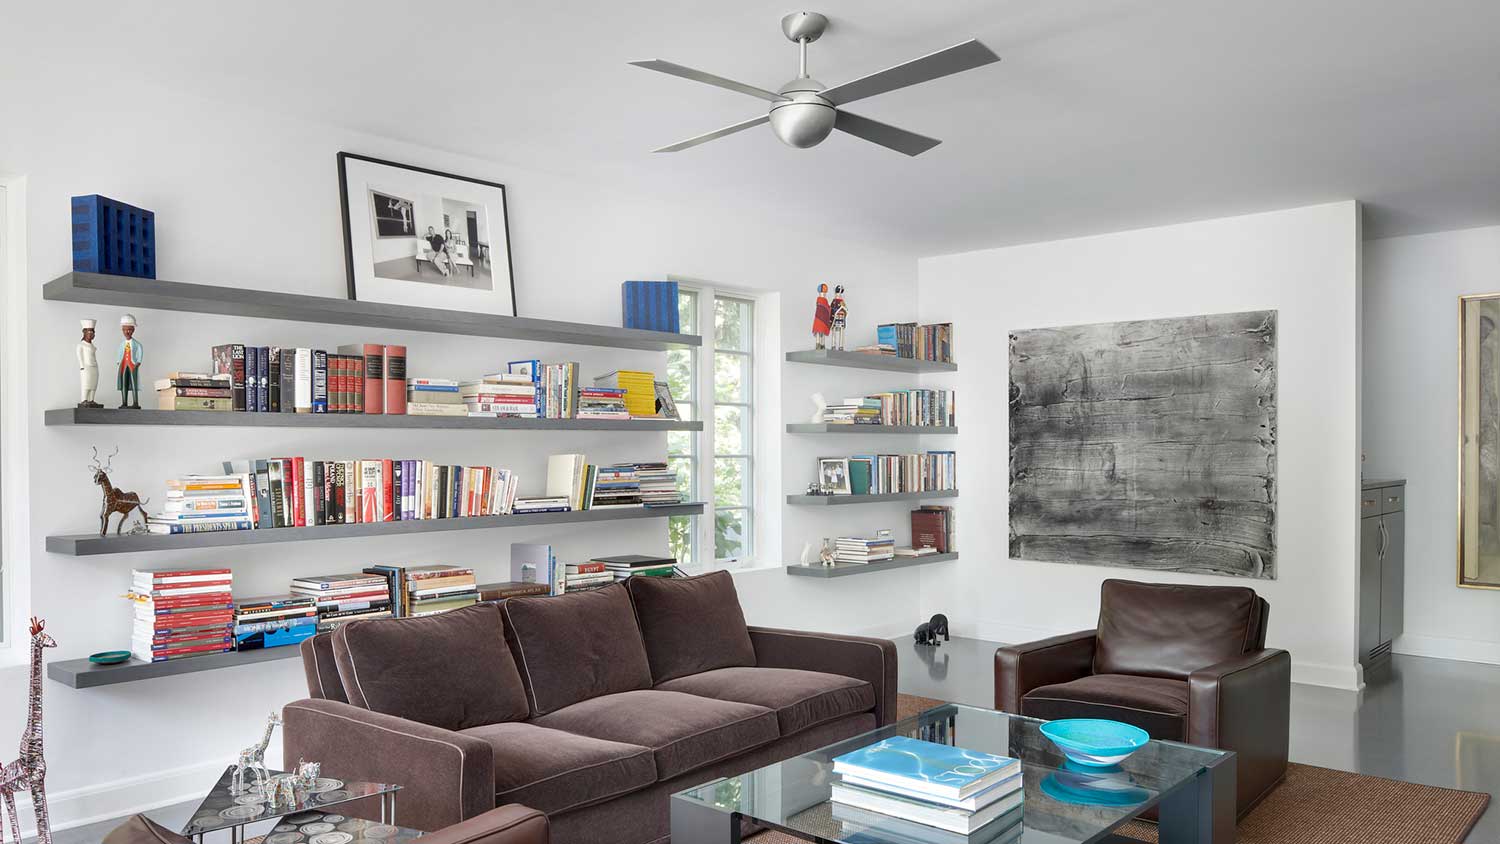
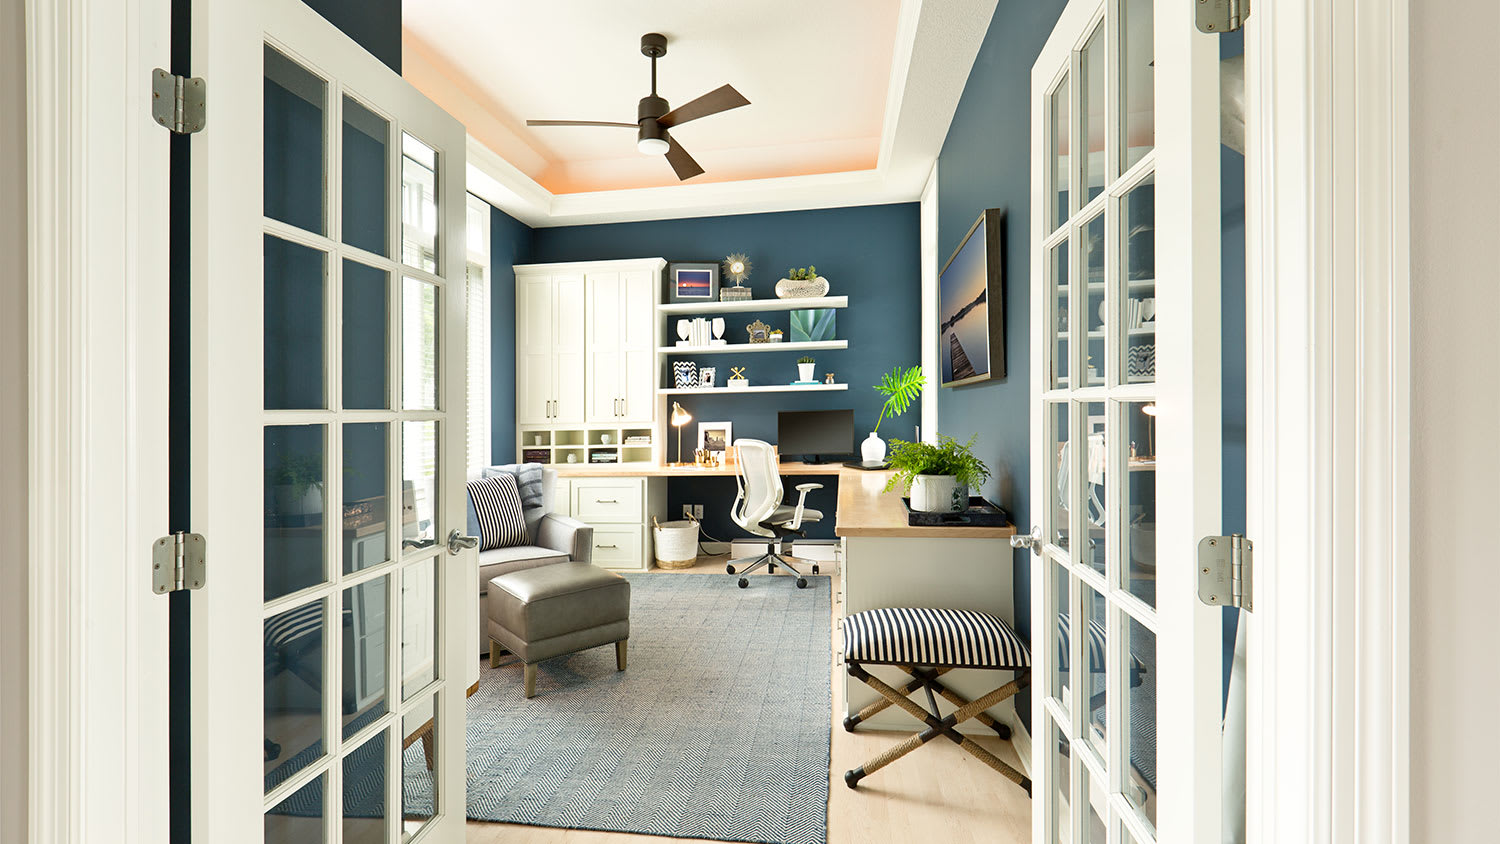
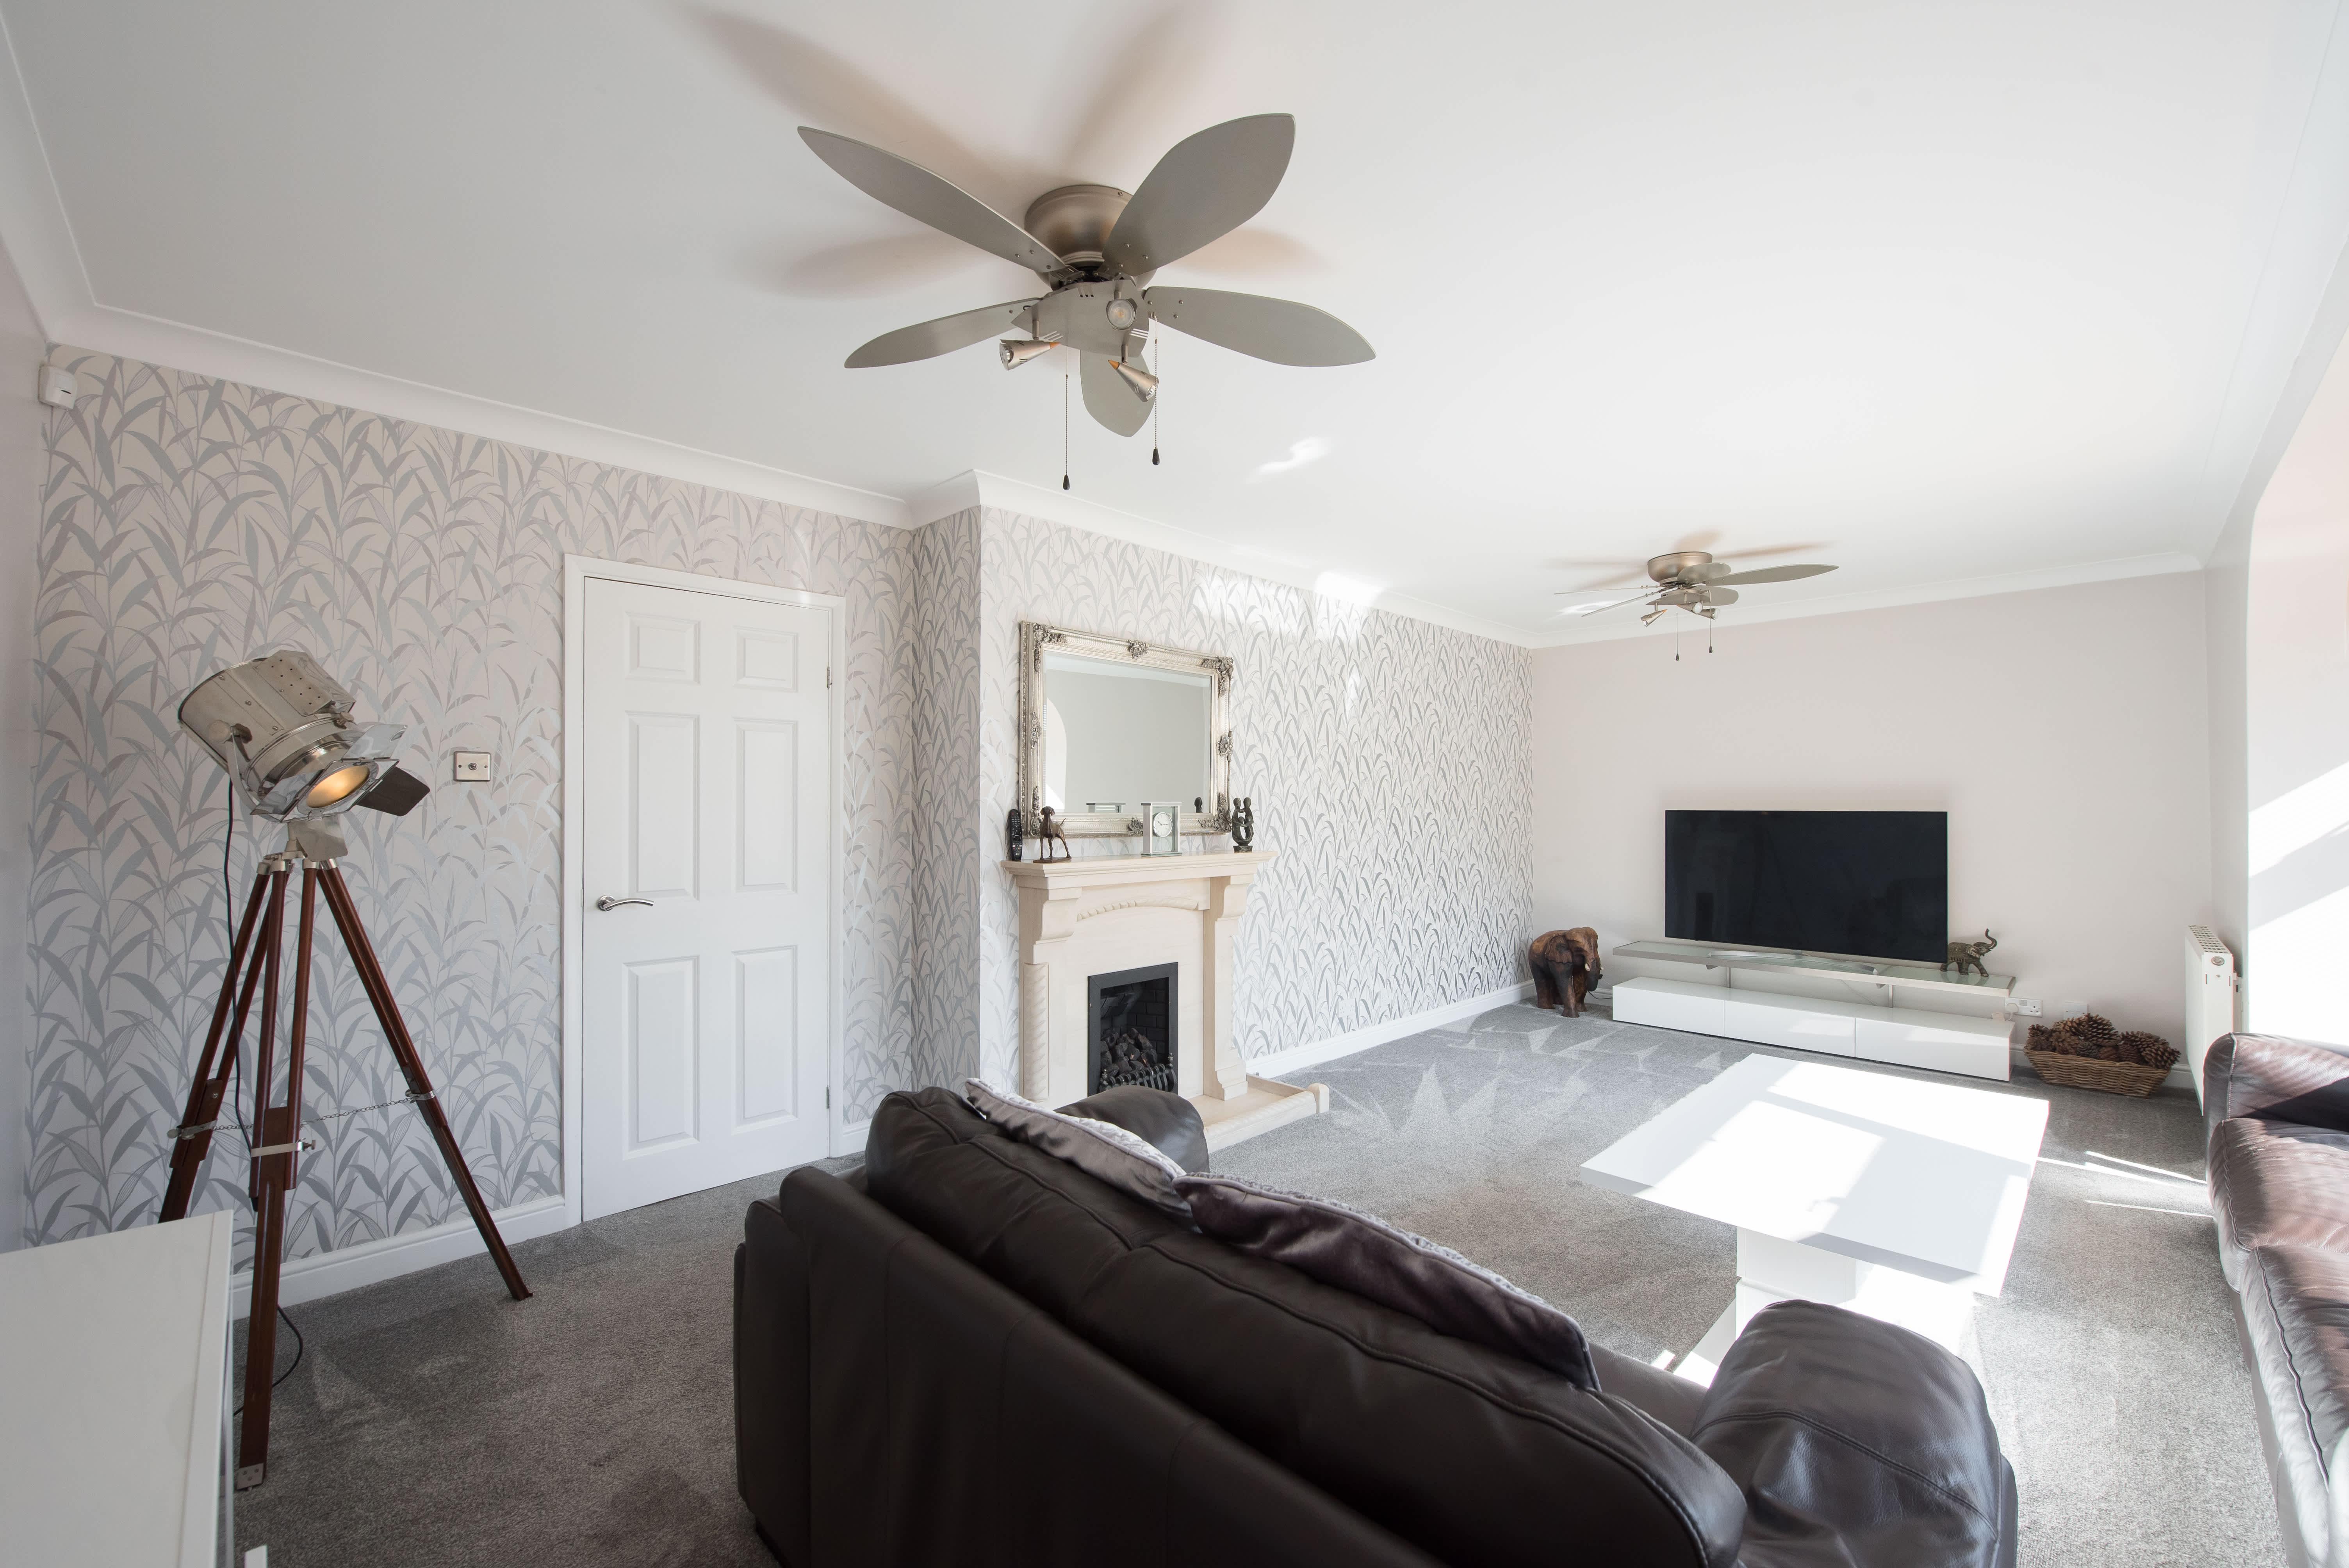
Add some airflow to your home

You don’t have to be a super fan of electrical systems to install your own ceiling fans. Whether in your living area, bedroom, or other space, ceiling fans let you enjoy breezier air circulation and add an aesthetic upgrade—especially when they feature lighting. Use this step-by-step guide to learn how to swap a lighting fixture for any type of ceiling fan on your own in just a few hours.

Beyond choosing the style, it’s also necessary to determine the right place and sizing of the ceiling fan. Before selecting your fan, measure the room it’s meant for with this formula:
Square footage of the room divided by 4 = ideal blade span in inches
There are a few variables to this formula—for example, rooms with high ceilings may need wider blade spans to circulate air efficiently, and the opposite is true for rooms with low ceilings. For optimal efficiency, the fan should fit approximately into these parameters:
At least 8 inches from the ceiling
7–10 feet from the floor
At least 1.5 feet from walls or sloped ceilings
Before removing any lighting fixture or installing a new one, make sure to disconnect power from the appropriate circuit breaker at the electricity panel. To prevent someone from accidentally switching the power back on while you’re mid-installation, tape the panel off. You can double-check that the power to the fixture is completely disconnected by using a voltage meter.
To remove the existing light fixture, stand on a ladder and unscrew any nuts and screws keeping it attached to the ceiling. Remove the fixture entirely, then disconnect the wires by twisting off the plastic connectors at the ends. If the old fixture is large or awkward, have another person hold it while you finish the removal.
With the old lighting fixture out of the way, check that the electrical junction box in place is fan-rated. Inspect the junction box to ensure that it’s rated for a ceiling fan and can support extra wiring and weight—it should have a label indicating this on the outside. If it isn’t, you’ll have to swap it for a ceiling fan junction box that comes with the proper bracing components to provide adequate stability between the ceiling joists.
Before proceeding, make sure to check that the existing electrical wiring is in good condition and not frayed. Ensure that the ceiling hole from the old lighting fixture is also the proper size for your new fan—if not, you may have to cut a larger hole.
Install the fan mounting bracket to the junction box according to the manufacturer’s instructions. This usually involves threading the main wires through the center of the bracket and, depending on the type of bracket, doing one of these two things:
Sliding the bracket on and tightening the mounting screws
Placing the bracket over the mounting bolts and fastening it with the included nuts
Depending on the height of your ceiling, you’ll either install a fan with a downrod or flush mount feature. A flush mount is best for rooms with low ceilings, and a downrod is typically more efficient for higher ceilings.
If your ceiling fan requires a downrod, verify your measurements to make sure it’s the right length. From a flat surface, attach the canopy to the downrod and thread the wires through. Secure it by locking it into place with the cotter pin and tightening the surrounding screws and nuts. Slide the hanger ball into the mounting bracket on the ceiling.
For a flush mount installation, attach the housing, trim ring, and canopy to the fan motor assembly. Check the manufacturer’s instructions for any other required adjustments. If your mounting bracket has a hook, hang the housing from it to set it up for the wiring step.

Before connecting your wires, make sure they’re not overly long. You can use wire cutters to trim the wires down to a proper length, so they won’t vibrate while the fan is running.
Next, match up the wires: Black goes with black, green with green, and white with white. If your fan has a lighting component, it may have additional wires that need to be connected—check the manufacturer’s instructions for extra details. Connect the wires by using the caps that come with the ceiling fan installation kit. Push them up into the junction box, and screw the canopy onto the mounting bracket.
Keep in mind that your wiring may look a little different depending on how you plan to operate the ceiling fan. If the fan and light are meant to turn on and off together or the fan has a separate pull chain, the above wiring will work fine. However, you may be looking at slightly different wiring or setup for the following options:
Remotely-operated ceiling fans
Fans with separate light and fan switches
Fans with dimmer switch lights
Ceiling fan components vary depending on the fan and, if applicable, the lighting type. Your fan will likely have one of the three following types of blades:
Standard: Most fan blades need to be screwed onto the blade arms with the face-side positioned downward from the ceiling.
Quick install: Some fan blades have keyhole slots to make installation quick and easy. Simply slide the blade on until it clicks into place.
Accu-arm blade: These brackets have blade screws attached and an alignment post on the bracket. Fasten the blade to the motor with the screws.
Finally, you can install the lighting assembly if your fan includes it. The type of lightbulb housing included with your fan varies, but most feature a shade that fits on like any other light fixture does. When you’re finished, you can restore power from the circuit breaker and test your fan.
If you have confidence with basic electrical work, installing a ceiling fan is a relatively easy DIY project that you can tackle in a few hours. In addition to completing the installation on your own time, you can also save on ceiling fan installation costs.
Hiring a local electrician, however, does offer a few advantages. With additional knowledge and experience, electricians are skilled at installing ceiling fans quickly while managing various hazards, such as lifting heavy objects, standing on ladders, and performing electrical work. It’s also better to hire a qualified professional to install a brand-new ceiling fan without existing wiring work. Depending on your area and the electrician’s level of expertise, you can expect to pay anywhere from $50 to $150 per hour or $70 to $400 for total labor.
Great company! Price was competitive, technician showed up on time and completed the job (exterior electric Radon fan replacement) quickly. Would hire them again.
Best decision was going with PatchMaster. Greg was wonderful / responsive & Dave did wonderful work. Got me on the schedule quick, matched my popcorn ceiling perfectly, finished the job quick, and was so kind & reasonably priced. Will absolutely be hiring again
Jeff was a consummate professional. Responsive, courteous, and focused on meeting our needs. I had a small project of installing and replacing two ceiling light fixtures. He responded to my Home Advisory inquiry within 24 hours and in a span of two weeks our light fixtures were installed. ...
Involved an extensive bathroom remodel, including removing tub & installing walk in shower, new drywall, custome tile work to ceiling, plumbing, etc. Overall, job was done on time and on budget. Nick & his team were very professional and had high attention to detail. Quality was great. Highly...
 Stamos Flooring and Remodeling LLC
We have had a great experience with Rising Height for the past five years on a number of miscellaneous renovation projects. They laid flooring for us and had a very good sub do the finish. Installed drywall for a vaulted ceiling, finished an attic/loft with new subfloor, framing and drywall,...
 Rising Height Unlimited
Awesome company. Had a jacuzzi tub taken out and replaced with huge walk in shower with partial glass enclosure. Onyx to the ceiling with a decorative border, moved plumbing and installed hand held shower, new ceiling, flooring, and paint. Replaced window with glass block. Everything was done...
 Columbus Bath Design
There isn't much I can add that hasn't already been said about Rhino Painting. Outstanding service and communication from the first phone call through the end of the project, we could not be happier with this company. They painted our kitchen, living room, ceiling, starirwell and wood work,...
 Rhino Painting & Color Consulting LLC
Charlie recommended a separate fan with new lighting to clear steam from the room better. Several weeks ago I contacted Charlie via email to ask about pricing and scheduling, after one follow up he did reply with cost and said it would be about two weeks before he could do the work. I replied...
 Settle Muter Electric
Scott was awesome! This job was not an easy one, especially the relocation of the cable in the Great Room. I had called several other companies on Angie's list only to be turned away due to the tight timeline I was under or the anticipated difficulty of the work. <br /> Scott was realistic...
 SIGNAL DIRECT SYSTEMS
Jim was great from start to finish. I was thrilled that he was able to make the service call the same day, and that he could then actually make the repair the very same day as well. I dealt with Jim the whole time, so there was no answering service that just wanted to schedule me for later. I...
 Appliance Pro LLC
From average costs to expert advice, get all the answers you need to get your job done.
Discover the cost to install a ceiling fan, including labor, materials, and tips to save. Learn what impacts your price and how to budget for your project.
If your ceiling fan stops working due to a bad motor or broken pull chain, here’s what you can expect to pay to get it fixed.
The cost to install a bathroom fan will vary based on multiple factors, including the bathroom size, how many fans you need, the type of fan, and more.
Looking to cool down a room or get some more air flowing throughout the house? Learn how to install a ceiling fan without existing wiring.

Ceiling fans cool down your home while stylishly accenting your space. With a variety of types of ceiling fan on the market to choose from, you can’t go wrong.
Although the risk is low, there are a few telltale signs that a ceiling fan will fall off your ceiling. This guide explains when to worry (and when not to).