Discover floating deck cost estimates, including average prices, installation factors, and ways to save. Learn what impacts your floating deck cost.
Add a functional design element to your entryway with this easy DIY

Making a floating bench for your entryway transforms unused wall space into a functional seating area while adding a modern design element to your home.
DIY materials for a floating bench and storage shelf cost $125 to $200, making this an affordable project that adds both function and style.
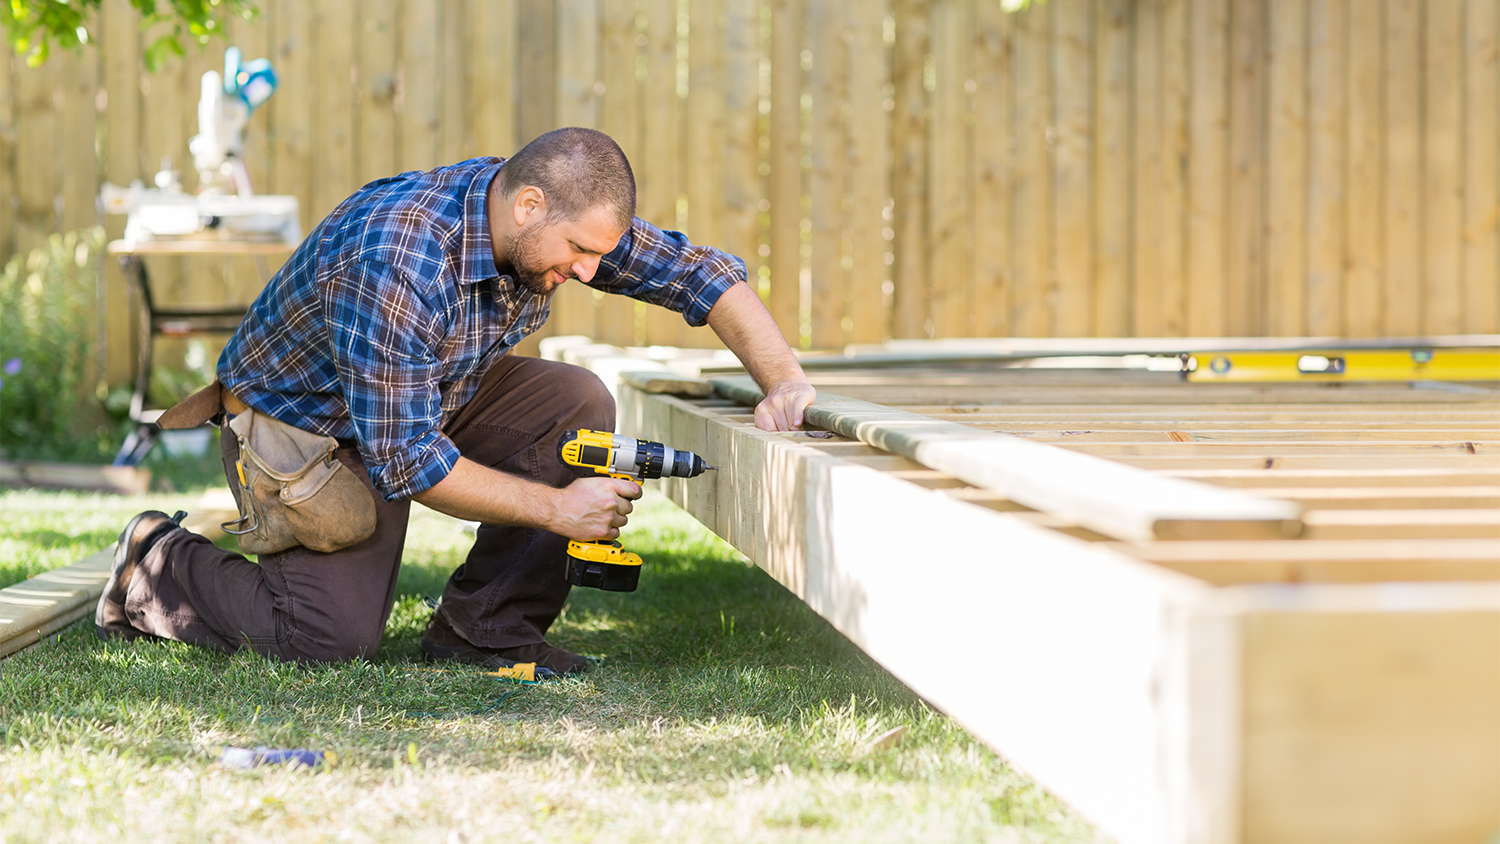
Your floating bench construction needs 2-by-4 boards for the frame, 3/4-inch plywood for the top and shoe shelf, and lag bolts to secure everything to wall studs.
Hiring a local furniture reupholstery professional helps you create a custom cushioned look for your finished bench, adding comfort and a polished feel to your entryway.
Is your entryway or mudroom in need of more functional organization? If so, a floating bench serves as a valuable space with a convenient shelf below to house shoes and boots—transforming from a catch-all area into a modern design element.
With a few feet of floor space and some creativity, you can build a budget-friendly custom DIY floating bench and storage shelf—no heavy bracket hardware necessary. Read on for how to build a floating bench in seven easy steps that you can paint, stain, or even upholster if you wish.

The following steps are for building a bench and shoe shelf. You’ll need to prepare the space before starting this project. Patch any holes in the walls or mudroom flooring beforehand.
Design your floating shelf for comfort and function. Keep the bench’s depth between 17 and 24 inches. The shoe shelf depth will be a few inches shorter.
Use a stud finder to find the wall framing members along your bench's back edge and sides. Mark each stud location with a piece of painter’s tape.
Decide how tall you want your bench to stand. 16 to 20 inches high is standard, but a little more or less is perfectly fine.
Mark two spots on the back wall 3/4-inches below the top of the final bench height.
Decide the height of the shoe shelf below the bench. Allow several inches of clearance depending on the size of the footwear you’ll place there.
Make two marks for the shoe shelf at 3/4-inches below its finished height.

First, build and install the shoe shelf to make the rest of this project as easy as possible.
Measure the length of the back support wall and cut a 1-by-2 board to that length.
Install the board with the top edge, even with your pencil marks on the wall. Check to ensure its level and attach it to the studs with 3-inch screws.
Decide the shoe shelf’s depth. Two or three inches shorter than the benchtop looks good in most cases.
Cut two 1-by-2 side-support pieces at 1.5-inches shorter than the final shelf depth.
Install the side pieces so they are level and even with the back 1-by-2 with 3-inch screws. If possible, drive the screws into a stud or use toggle bolts into drywall.
Fill the screw head holes with wood putty if desired.
Cut the shelf from the 3/4-plywood.
As an option, you can add a 1-by-2 trim piece to the front of the plywood to hide its edge. Reduce the plywood depth measurement by 3/4-inches if you choose this option.
Dry-fit the shelf to ensure a proper fit.
Apply wood glue to 1-by-2 supports and place the shelf on top. If needed, you can place a moderately heavy item in each corner to hold it in place for an hour before proceeding.
If you’re adding a trim piece, secure it in place with wood glue and trim nails through the front edge.
The bench’s frame provides solid support.
Measure the back wall length and cut a 2-by-4 board to fit.
Hold it in place with temporary 3-inch screws adjusting for level as you go. Line up the board’s top edge with the previously made height marks.
At each stud location, pre-drill pilot holes and fasten the board to the wall with lag screws.
Cut four 2-by-4s 2 1/4 inches shorter than the final depth dimension.
Set aside two of the four boards.
Install side-support boards level and even with the back wall support board. Use at least one lag screw into a stud on each side.
Measure the distance between the side walls at the front of the bench and cut a 2-by-4 board to fit.
With 3-inch screws, fasten it in place by screwing through the board’s face and into the ends of the side supports.
Evenly space and install both middle support boards with two 3-inch screws each through the face of the front support board. Pre-drill and toe-fasten them to the rear support using two screws each.
For now, you’ll only cut and fit the benchtop. The final installation comes later.
Cut a 3/4-piece of plywood to the exact dimensions of the frame.
Dry-fit the top and then remove it from the frame.
For ease, you’ll install the front trim piece of your bench before the top goes on.
From the leftover plywood, cut two small scrap pieces for use as an installation guide.
Cut the 1-by-6 board to cover the front of the frame and dry-fit the piece.
If desired, you can use a table saw to adjust the board’s width.
Pre-drill two pilot holes through the frame’s front 2-by-4 placed about six inches from each wall.
Apply a generous amount of wood glue to the face of the front support board.
Use wood clamps to secure the 1-by-6 to the 2-by-4.
Using the two scrap pieces, adjust the board’s height so the benchtop will fall into place perfectly flush with the trim piece.
From the inside of the frame, install two 2-inch screws through the 2-by-4 and into the back of the 1-by-6.
Leave the wood clamps on for at least an hour until the glue starts to set. The screws will hold it in place after that.
Installing the final piece is the exciting part.
Apply wood glue to the top edge of the entire 2-by-4 frame.
Place the bench’s top plywood piece on the frame and behind the front trim.
Strategically place a heavy object, or a few, on the bench and allow the glue to set for at least an hour.
Soften the front edge by rounding it off with a sander if you desire.
Finish your bench and your entryway’s look. Here are some ideas for completing the look:
Paint: Fill in any imperfections with wood putty, then sand and paint the bench.
Sand: Sand and finish the bench with wood stain and polyurethane.
Upholster: You can even upholster the bench or hire a furniture upholsterer near you to create a plush look and feel.
Finish: Install coat hooks or a shelf above it for a finished look.
Accessorize: Add accessories, such as baskets under the bench, or pillows on top, as you see fit. Or you can add some key hooks or a mail bucket to the space.
A floating bench and corresponding shoe shelf is an inexpensive undertaking at under $200 for the materials. However, preparing your entryway may cost quite a bit more than that in terms of money and time.
If a floating bench and storage shelf sounds like a good idea for your entryway—but only if someone else builds it—a local handyperson will likely charge between $60 and $120 per hour plus materials to create a system designed specifically for your home.
Jason has helped me with multiple household projects, with the most recent being new door installation. He has always showed up on time and organized and has done an incredible job! Jason is very professional and he's now my go-to for anything around my house that needs to be fixed or...
Cole has been handling plumbing and general contracting for our four properties over the past three years, and he’s always done a great job. Most recently, he installed a sink and countertop in our retail store where none existed before, and it turned out exactly how we needed. He’s...
 ANB Renovations LLC
1st Choice Renew is simply the best! We hired them for a complete home renovation, and they transformed our space into something truly amazing. The team attention to detail and commitment to quality were evident throughout the project. They were easy to work with, very responsive, and always...
This company went above and beyond with their work, chimney sweeps are usually pretty messy, but the clean up was spot on.!! Josh explained every thing that he was doing, and the things that he was checking to make sure the chimney was safe for me and my family. He was very professional,...
 Supreme brick & chimney
Custom Paint Jobs LLC turned our outdated bathroom into a modern masterpiece.
Excellent customer service and knowledge. I was recommend to him from my neighbour. My front door and window came in great and were installed beautifully perfectly, I m very satisfied with their excellent work, so decided to order one more big bow window for my living room. I cant wait for...
If I could give 10 stars for Kitchen Tune Up, I would. I cannot say enough good things about my experience with Kitchen Tune Up and the entire team involved in the process of my kitchen project. They went above and beyond as far as service and quality with my cabinets, paint, countertops, and...
It was wonderful working with Yordy and his team. They were very professional and are experts in what they do. They have completed the work on time, with better quality and with in fairly reasonable price. We just started with backsplash work , but liking his work, we went on to provide...
We were having 2”x 2” tile installed . There was a small installation error and the new additional replacement tile was from a different lot and the colors didn’t match. Joe assured us that he would rectify everything , which he did without hesitation. We decided to go with the 18” x 36” tile...
 CarifaTile
They work that 360 did on my kitchen cabinets is nothing short of amazing. I still cannot believe the difference from before and after. Jon and Jeff were both so incredibly professional throughout the whole process and their communications with me were constant and consistent. These guys...
 360 Painting Columbus
From average costs to expert advice, get all the answers you need to get your job done.
Discover floating deck cost estimates, including average prices, installation factors, and ways to save. Learn what impacts your floating deck cost.
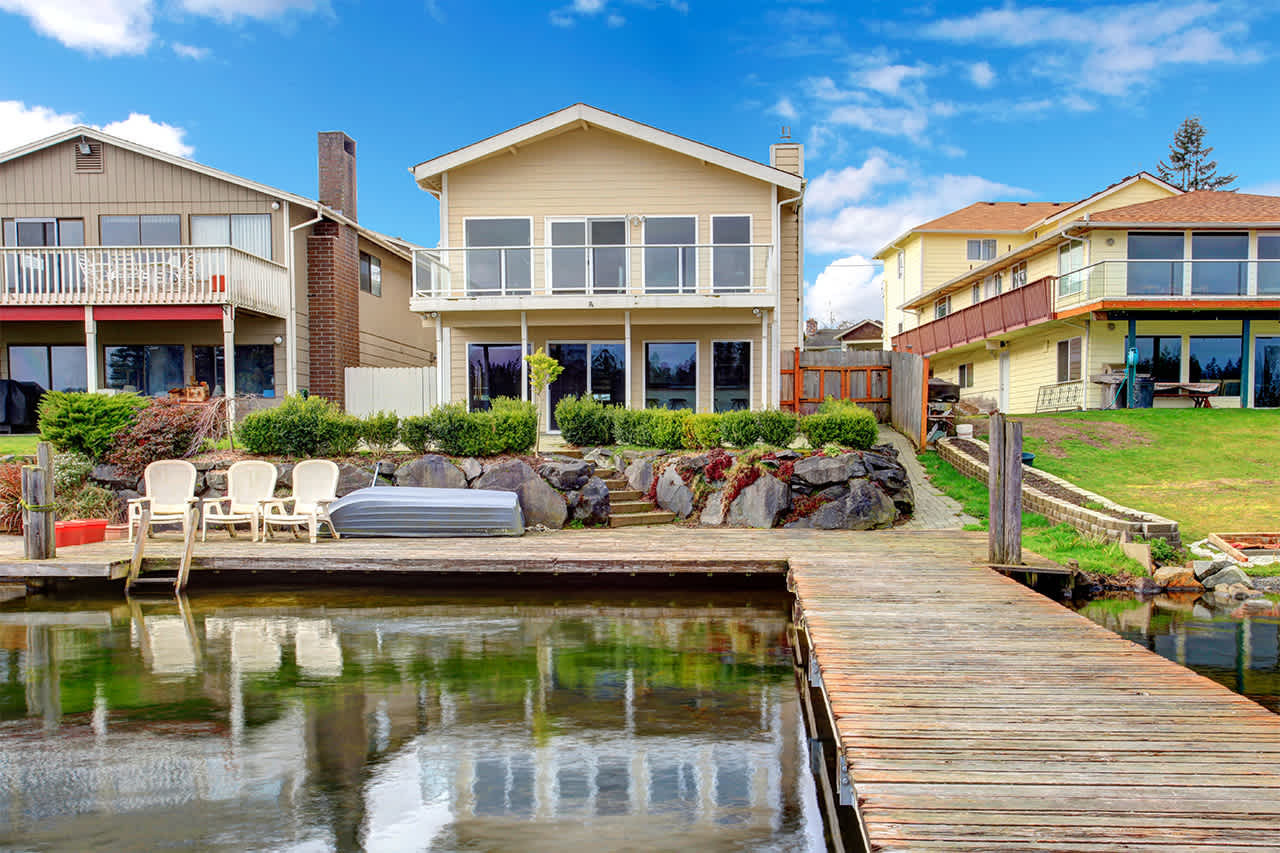
How much does it cost to build a dock? Get a detailed price breakdown, key cost factors, and money-saving tips for your dock project.

Want a little slice of peace in the middle of your garden? Learn how to build your own garden bench on almost any budget with this step-by-step guide.
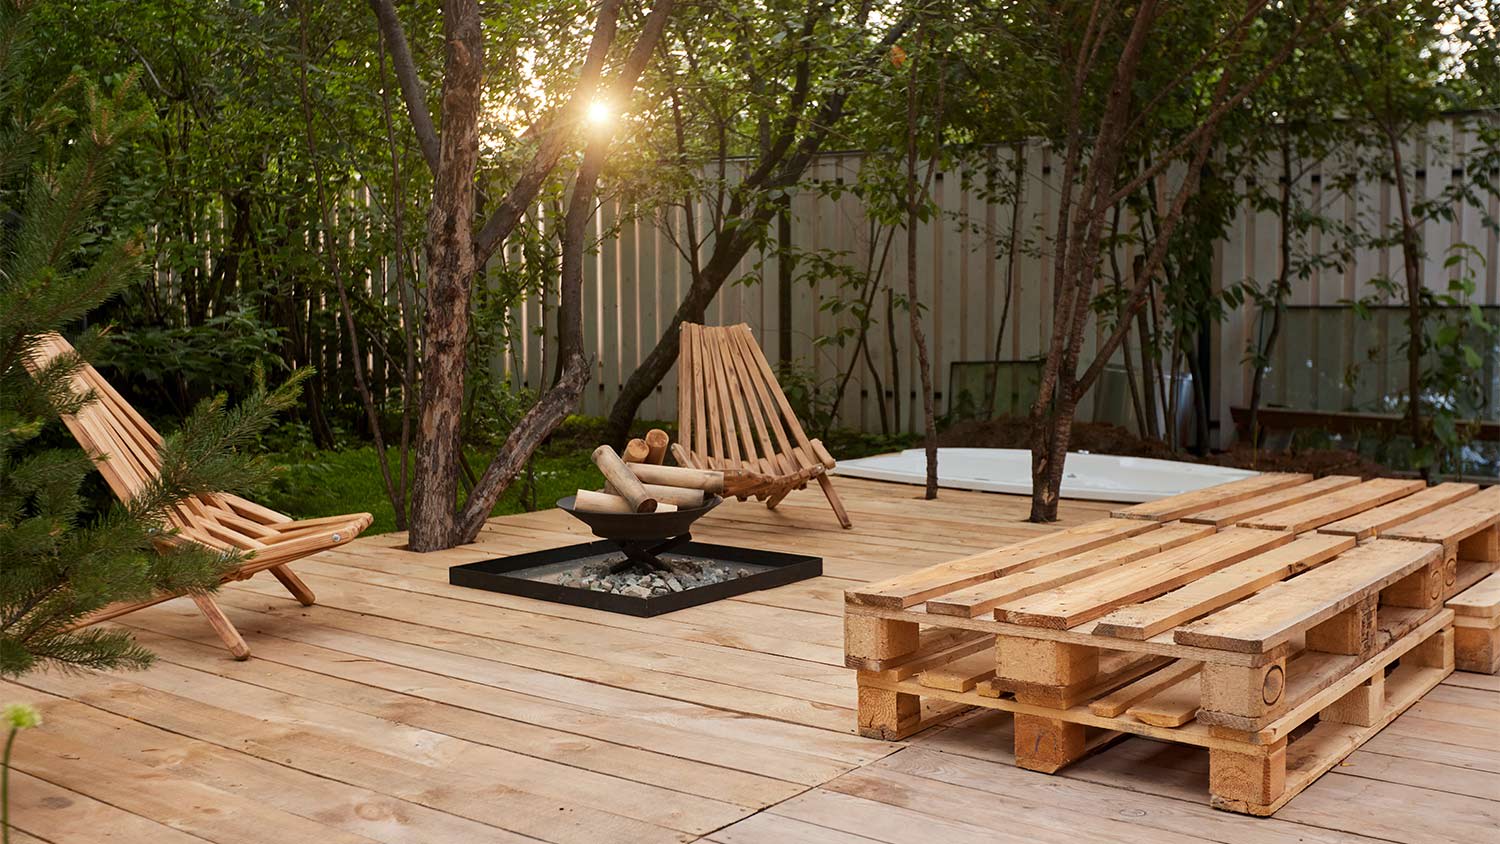
You can DIY a floating deck with the right layout, materials, and installation method. Here’s everything you need to know about how to build a floating deck.
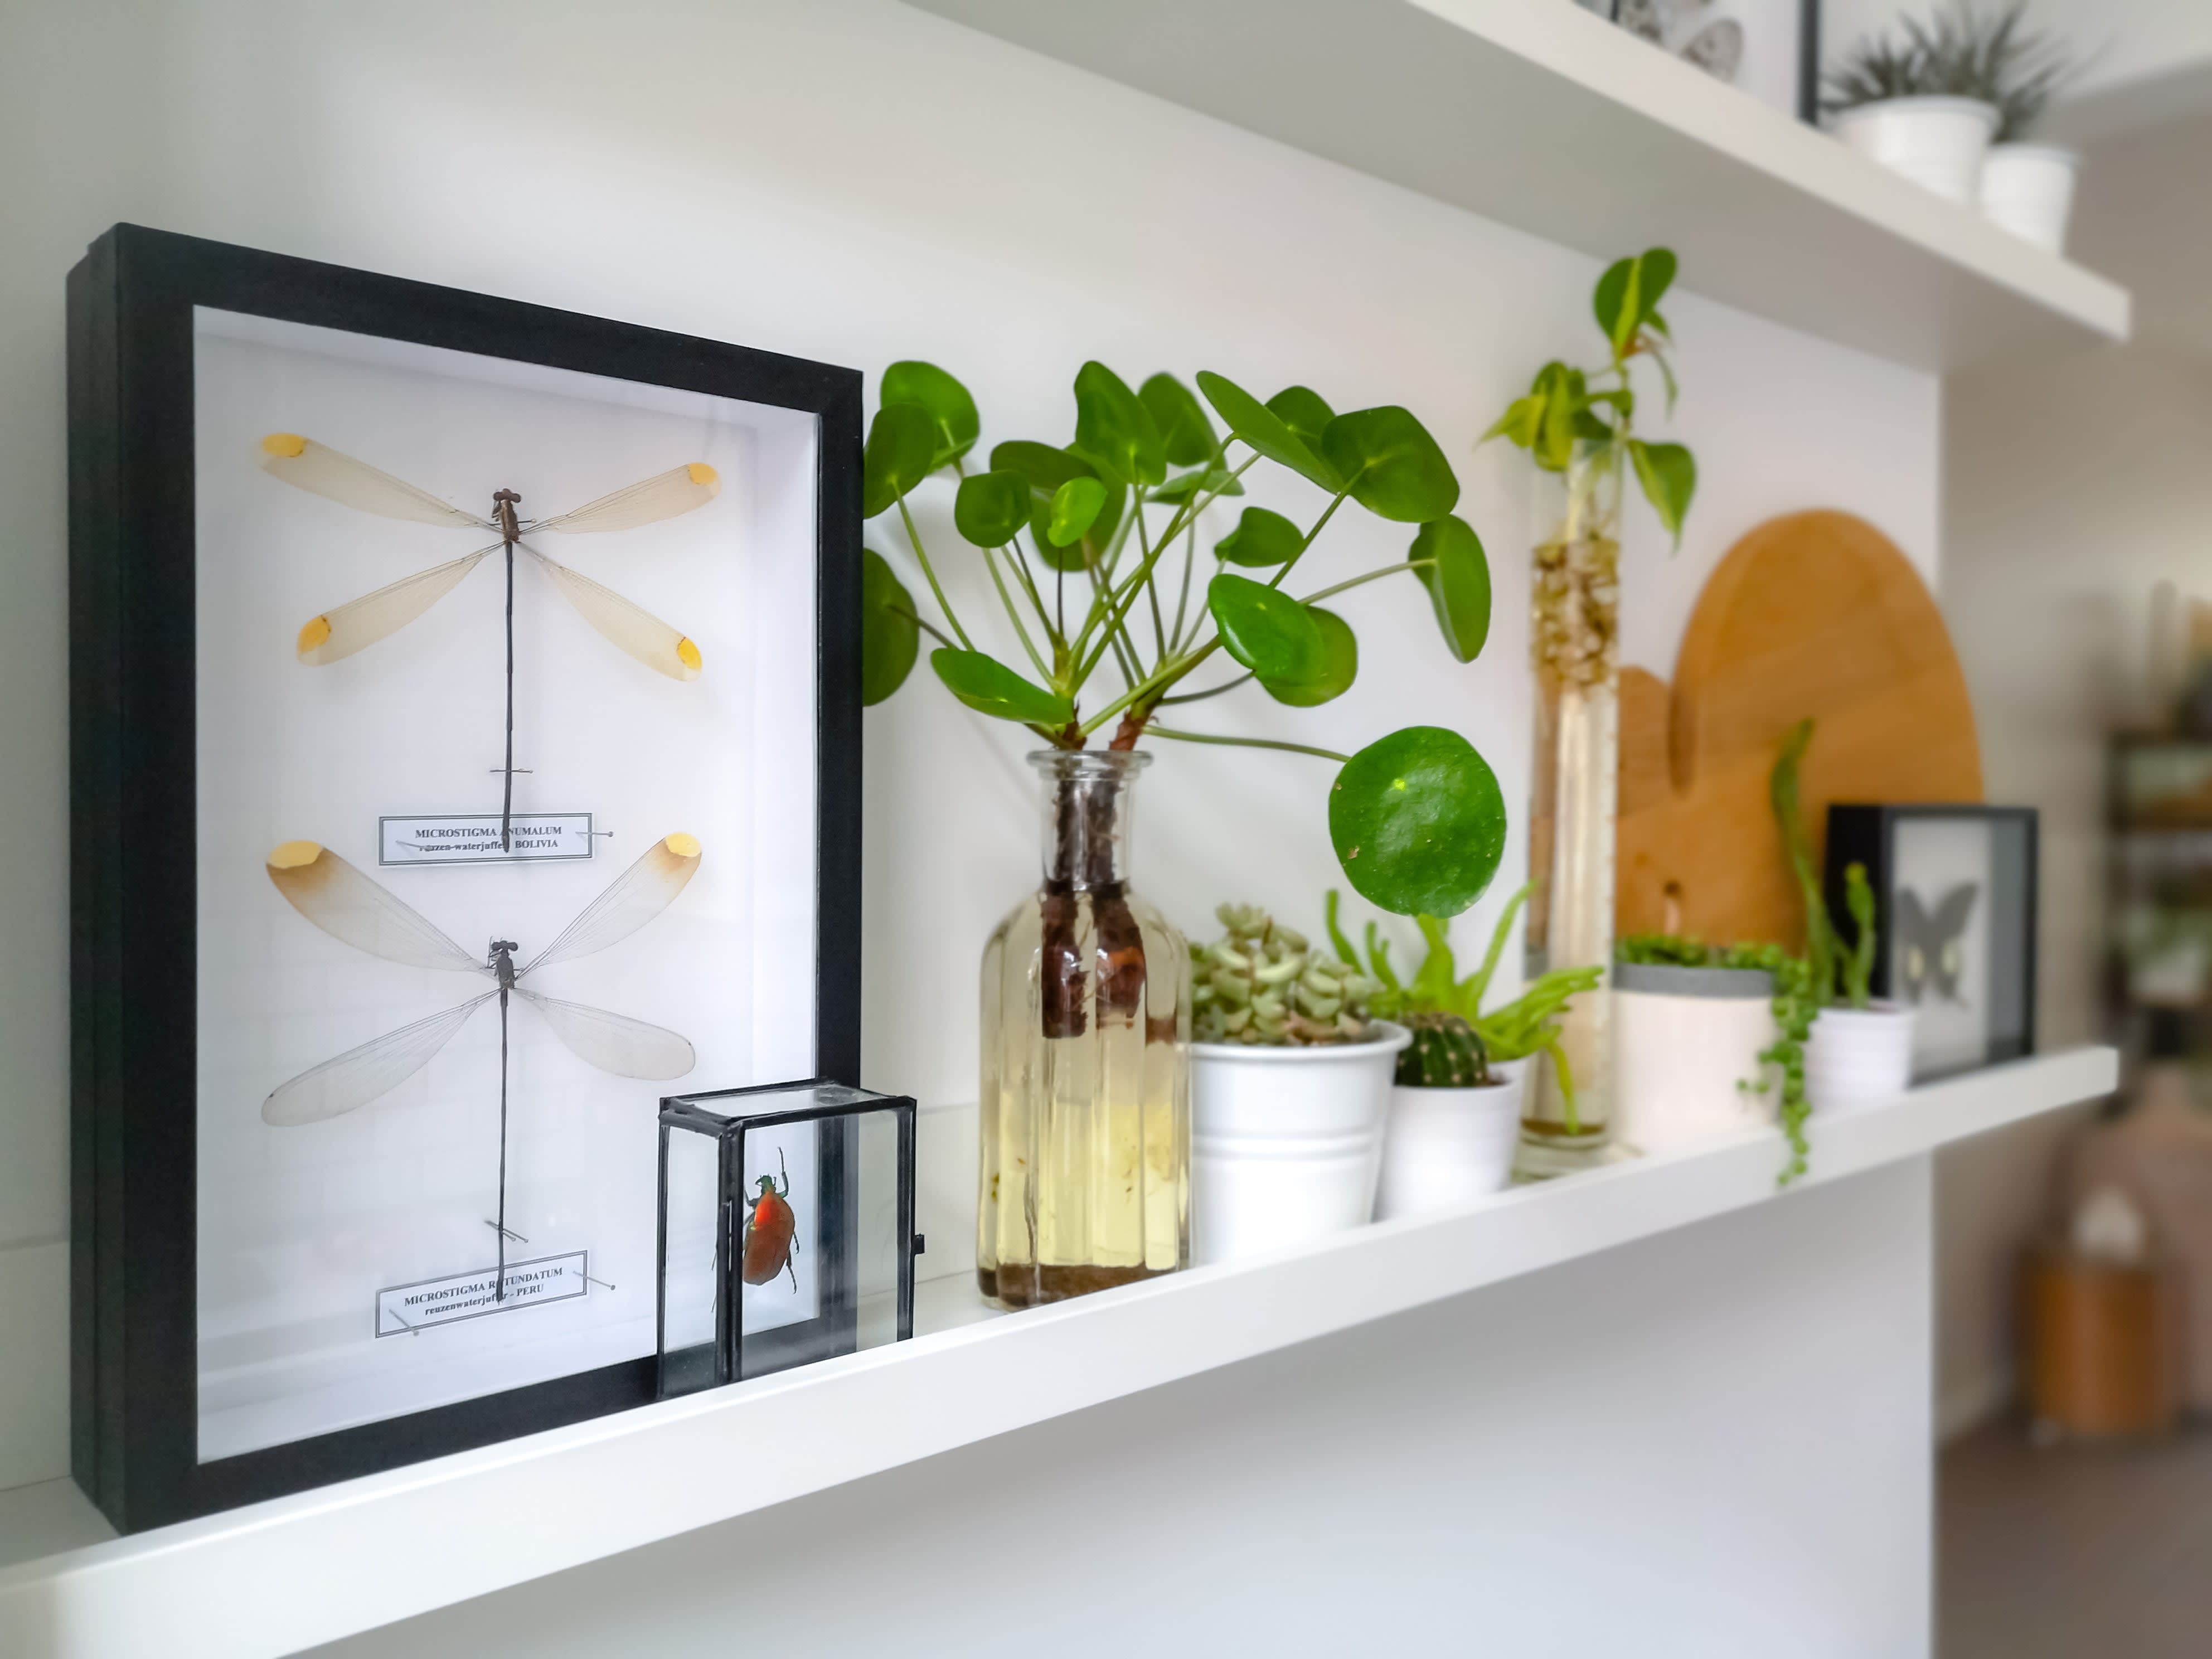
Floating shelves are perfect for showcasing your favorite decor without the clutter. Learn how to make floating shelves from scratch with this step-by-step guide.
Learn how to build a dock by yourself in just one weekend and make launching your boat or kayak onto the lake much easier.