

If you’re trying to decide between using varnish vs. polyurethane, we’re breaking them down based on appearance, budget, and other factors.
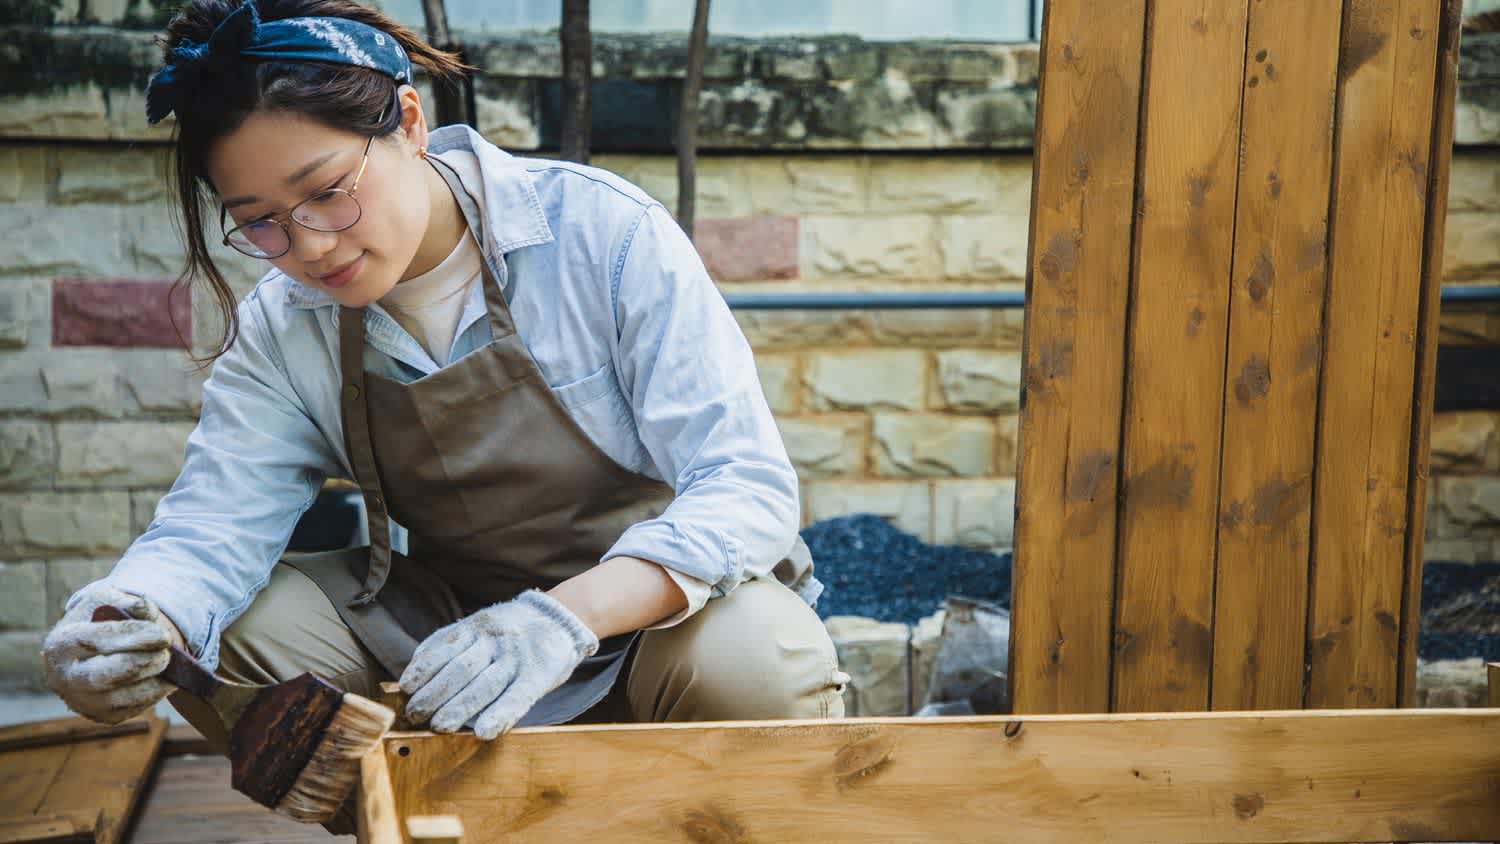
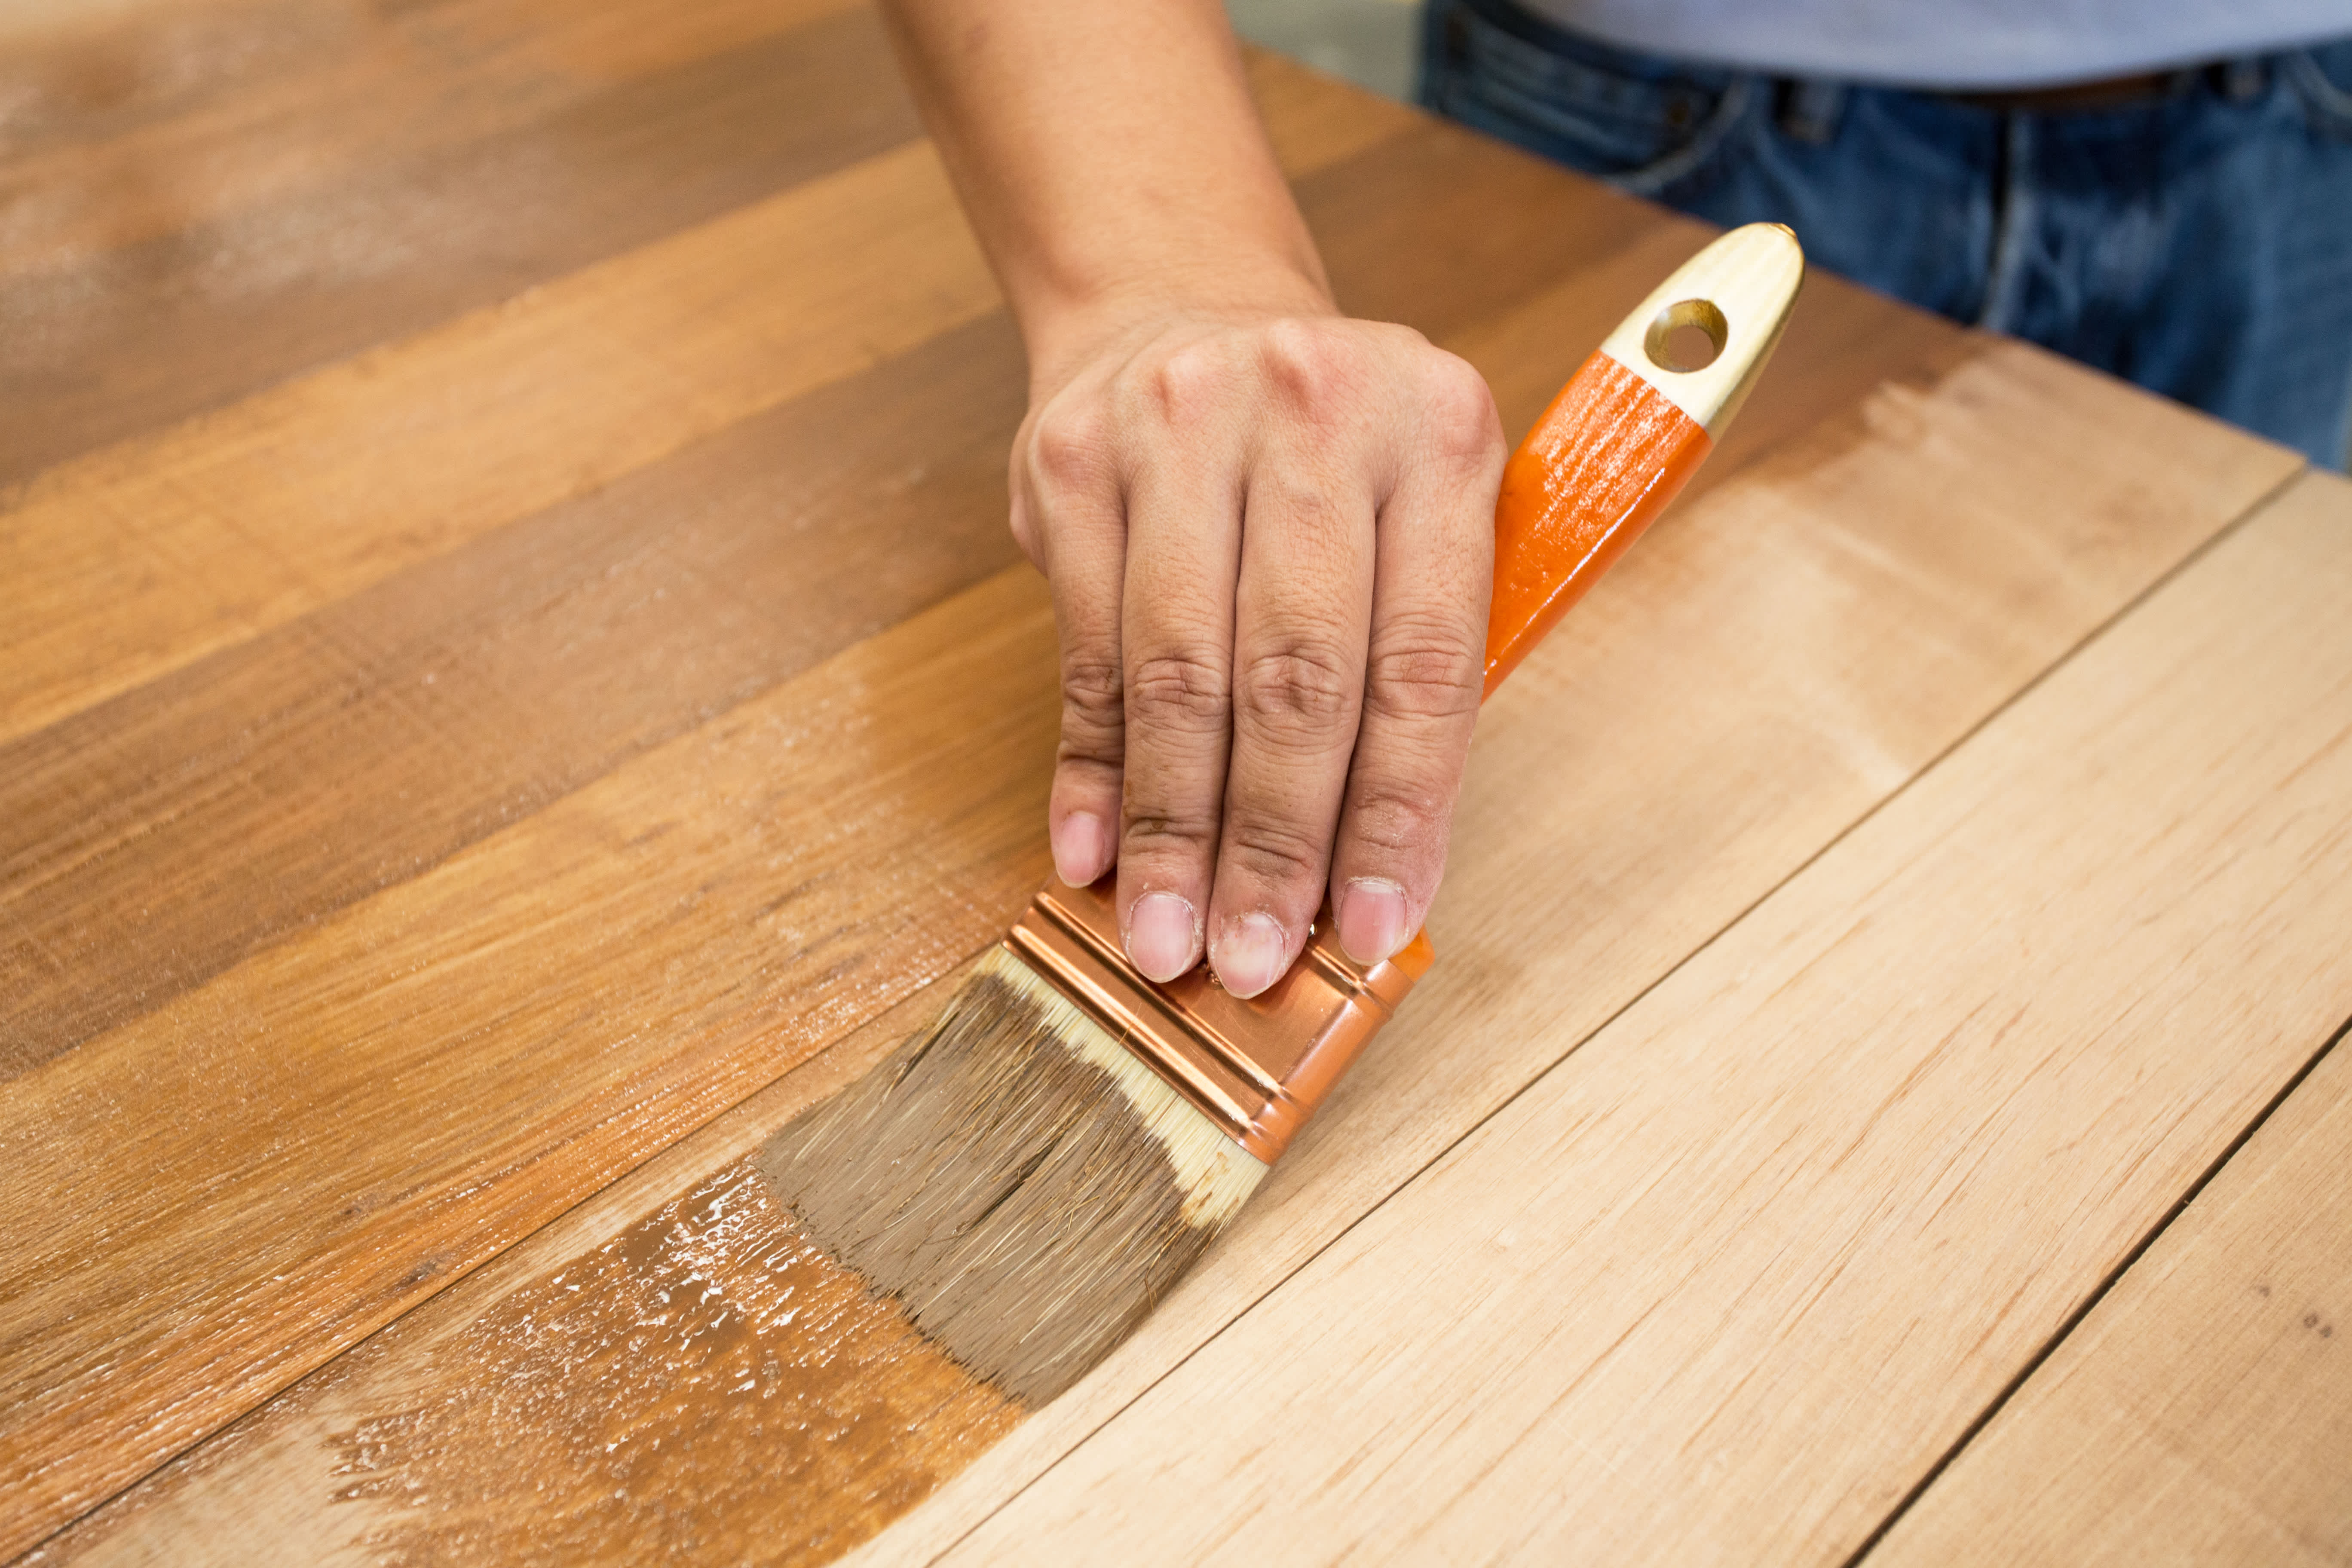
You can use polyurethane to easily boost the natural beauty of your wood pieces

Polyurethane protects your wood floors and furniture from scratches and water damage while enhancing the natural grain, with oil-based offering durability and water-based providing a clear finish.
Your project requires $50 to $100 for supplies including polyurethane, sandpaper, brushes, and mineral spirits, keeping your refinishing costs manageable for most wood surfaces.
You should apply thin, even coats with the grain, sanding between each coat to remove debris and create a smooth surface that adheres properly for a professional-looking finish.
Hiring a local furniture refinishing professional provides reliable help with sanding, applying multiple coats, and polishing your wood surfaces for a flawless, long-lasting finish.
When you’re refinishing old wood furniture or floors, topping off the project with the right sealer can enhance the natural beauty of the wood’s grain and protect it for the future. Using polyurethane on wood creates a smooth surface that resists scratches and water damage. For your finish to work, however, you need to apply it properly. This guide will teach you how to apply polyurethane.
Before finishing hardwood floors or furniture, know that there are two major types of polyurethane finish. Each can provide great results with specific advantages and drawbacks:
Oil-based polyurethane is more durable and can withstand heat, making it better for pieces like kitchen tables. It provides better color and depth, developing an amber hue over time. On the other hand, it has a stronger odor and takes longer to dry.
Water-based polyurethane is less durable and better suited for desks, bookcases, and end tables. It goes on clear with little odor and dries more quickly but may require more coats for effective protection. It can also cost up to twice as much.
The application process for both types is similar. Never shake a can of polyurethane, or you’ll cause air bubbles that create bumps on your finished surface. Gently stir the mixture with a flat stir stick. Use a quality natural bristle brush for application and avoid brushes with exploded bristles.
Finally, create a safe workspace with proper ventilation. If possible, open a window and point an exhaust fan facing out to remove vapors. Crack another window at the opposite end of the room to let fresh air gently flow in. Don’t place fans too close to the work area or they’ll blow dust onto your project. You can also wear a respirator with an organic cartridge.
For the smoothest results with no blemishes, you’ll need to create a smooth surface completely free of any old paint, varnish, or finishes. Using a sanding block or orbital sander, sand your wood surface using progressively finer sandpapers.
For new wood, start with coarse 80-grit sandpaper. For previously finished wood, start with 100- to 120-grit medium sandpaper. After the entire surface is thoroughly sanded, wipe off any dust and grit with a clean microfiber cloth and move to a fine 150- to 180-grit sandpaper.
Repeat the process with extra-fine 220-grit sandpaper.
Thoroughly clean any dust from your smooth surface using a shop vac with a soft brush attachment. After vacuuming, wipe the surface down with a clean, damp cloth. If you’re using oil-based polyurethane, dampen the cloth with mineral spirits. If you’re using water-based polyurethane, dampen it with water. Finally, wipe it down once more with a dry cloth.

Dip your brush into your can of polyurethane; use just enough to create a thin coat without any dry spots. The best way to apply polyurethane is to go with the grain in long, even strokes. Spread finish over the entire surface, overlapping strokes for a uniform coating. Catch any pools, drips, or runs as they form and incorporate them into your even coat.
Allow at least 12 hours for the first coat to become dry to the touch before moving to the next step. For oil-based stains, you may need to wait at least 24 hours.
Test the surface to ensure that it’s dry by lightly sanding an inconspicuous area. If it’s still wet, wait another hour. Once you’re certain the first coat is dry, use a razor blade to cut away any drips that can’t be sanded. Be careful not to scuff the wood or cut below the surrounding area.
Dip fine 220- to 400-grit sandpaper in water and sand away any remaining dust or debris from the drying process using circular strokes. Use just enough water to lubricate the sandpaper so you don’t burn through the finish, sanding just deep enough to remove debris. Once the surface feels smooth, wipe it down with a clean, damp cloth and again with a clean, dry cloth.

Twenty-four to 48 hours after you apply your first coat, apply a second coat using the same long, careful strokes. Spread an even layer of polyurethane over the surface and let it dry completely again.
Once your second coat is dry, you can repeat step 4 to remove blemishes. If it’s absolutely necessary, you can repeat step 5 to wet sand the surface. If you do so, you’ll need to polish your surface (as in step 8).
If you wish to apply a third coat, wait to polish and repeat step six first. You should never need more than three coats of oil-based polyurethane, but you may need to apply up to 12 coats of water-based polyurethane.
Forty-eight hours after your final coat has dried, polish the finish by dampening a clean cloth with water and applying an automotive rubbing compound in a circular motion. This compound contains a fine abrasive that removes scratches left by the finest sandpaper. After rubbing, let the entire surface dry and buff it once more with a clean, dry cloth. Repeat as needed.
If you don’t sand between coats of polyurethane, your finish may not adhere properly. Debris that gets stuck to your finish can eventually cause peeling or leave your surface looking uneven.
You should use no more than three coats of oil-based polyurethane. If working with water-based polyurethane, you may need up to 12 coats to get the results you want.
To apply polyurethane without brush marks, use a quality brush with natural bristles. You can also thin your first coat of polyurethane by mixing two parts polyurethane with one part mineral spirits in a separate jar. This can help the flow of thicker finishes for a more even coat. Ensure you’re working in an environment heated to at least 70 degrees Fahrenheit.
Your polyurethane may look cloudy due to a zinc oxide buildup at the bottom of the can. Zinc oxide is added to some polyurethane finishes to create a satin or matte look. To fix a cloudy polyurethane, stir well with a flat stir stick and avoid storing your polyurethane in extremely hot or cold places.
Showed up on time and cleaned carpets well, but didn?t move furniture.
My kitchen cabinets look brand new thanks to Custom Paint Jobs LLC. Their refinishing is exceptional.
Couldn't have been a worse experience. 3 of my belongings were lost and 5 belongings were damaged. My furniture was clearly dragged across the ground. The movers couldn't move the furniture I paid extra heavy weight fees for so I had to help them move my own furniture. The manager gave me...
 US Interstate and Rail
SOOOOOOO SHADY!!! We were quoted a max of $500 for 2- one bedroom apartments in the same complex moving to a two bedroom apartment 10 minutes away. The only large furniture that would be moved were 2 beds, 1 dresser, and a couch (very minimal heavy lifting). The movers showed up and joked...
 All My Sons Moving & Storage
Just moved from PA to Columbus in a studio apartment and needed help with some heavy furnitures because I couldn't do it alone. I called Hyremovers and they did a great and timely job and also left my apartment walls intact. Great service!
We ordered our bedroom furniture online in March with expected delivery in early April. 2 days before our delivery we received notice that the delivery would be delayed 2 weeks. We were very understanding and had no complaints. Again, 2 days before our new delivery date we received a notice...
Went well overall! The two downsides were 1) they only provided 2 of the 3 men promised and 2). the office guy who surveyed our apartment prior to the move underestimated the amount of stuff we had so the truck was too small. This meant the moving day lasted a bit longer than anticipated....
 Mr. Mover of Ohio Inc
I would absolutely recommend this business. They offer a variety of services, including: painting, roofing, and refinishing wood flooring. I hired them to refinish the original hardwood flooring in my home built in 1874. The job was quite challenging, as the floors were extremely aged and...
Removed various items (furniture, lamps, other junk) from my home. They were on time, personable, professional, etc. I can't say enough positive things about this company. <br />
Leaders does a very professional and affordable job. They were reliable and the movers treated our furniture like their own. I have used them twice, and I have recommended them to others. You can't find a better moving company in Columbus. <br />
From average costs to expert advice, get all the answers you need to get your job done.
If you’re trying to decide between using varnish vs. polyurethane, we’re breaking them down based on appearance, budget, and other factors.
If you want to keep the look of natural wood furniture, sealing it with polycrylic or polyurethane preserves its beauty. Here are the pros and cons of each.
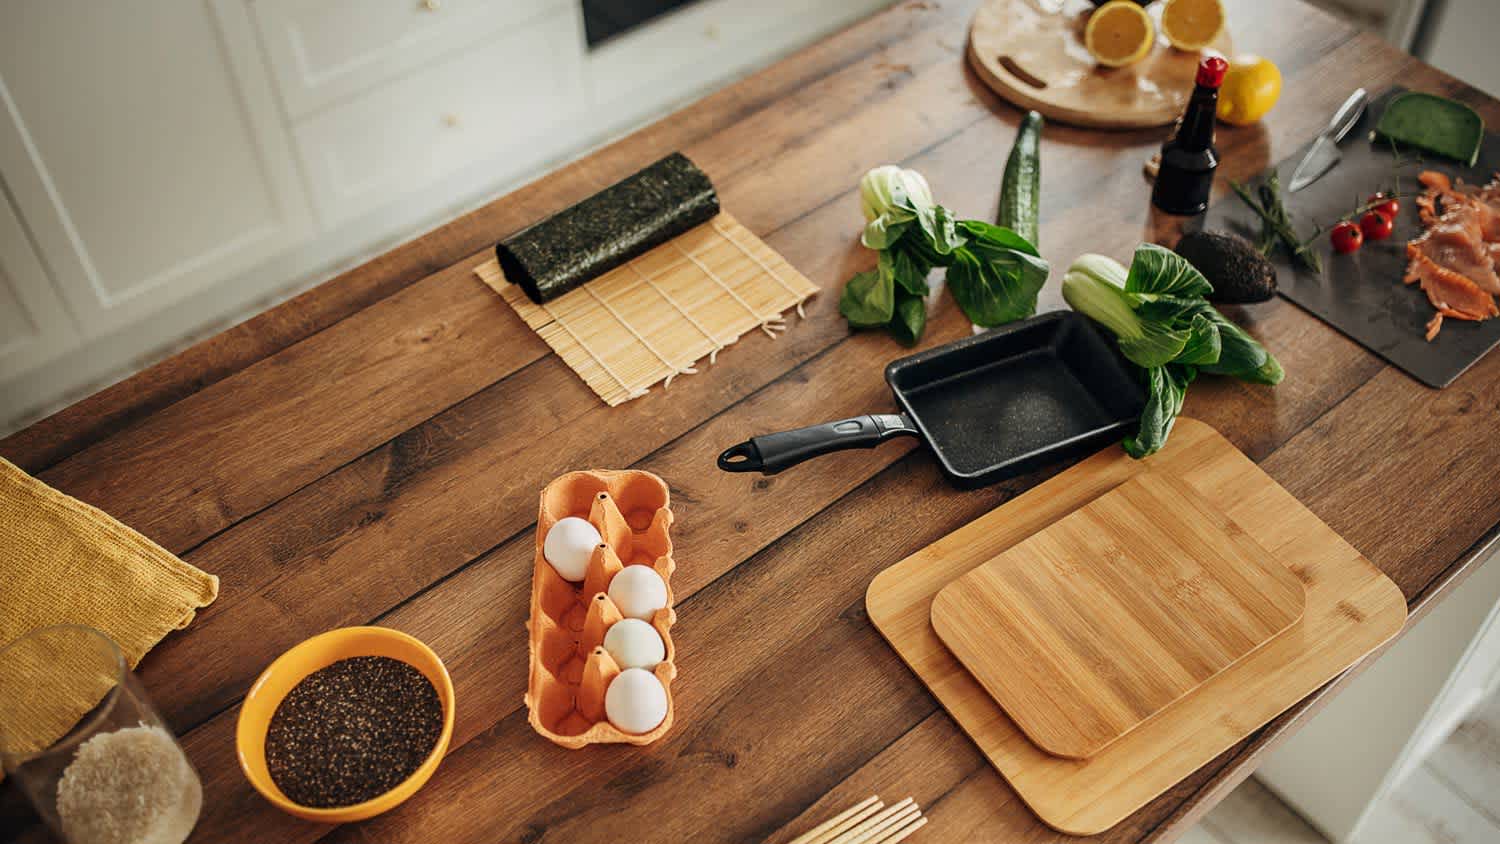
Easily finish a butcher block countertop yourself by properly preparing the surface and applying one of several finishing materials. Learn how to finish butcher block countertops with this guide.
What is polyurethane? Learn how polyurethane keeps your furniture, floors, and cabinets safe from scratches, spills, and fading over time.
There are many types of hardwood flooring, and all of them are best protected by one of many types of hardwood finish. Learn about the most popular types of hardwood finish and which is best suited to your flooring project.
Repairing foundation cracks is often possible for homeowners to do independently. This guide breaks down how to fix foundation cracks in all forms.