Refinishing stairs is a great way to spruce up one of a home's most dominant focal points. High-quality wood should be allowed to shine. Learn the cost to refinish stairs in this guide.
A few tools and a free Saturday are all you need to restore your banister

The best wood stain for a handrail depends on your preference between oil-based stains that provide even color or water-based stains that clean up easier.
Expect to pay $50 to $100 for staining supplies, including stain, sanding sealer, and polyurethane sealant to protect your banister long-term.
You need to remove the old finish before staining by using chemical stripper or direct sanding to ensure your new stain adheres properly.
Hiring a local woodworking professional provides reliable help with chemical stripping, sanding, and applying sealant for a lasting finish on your banister.
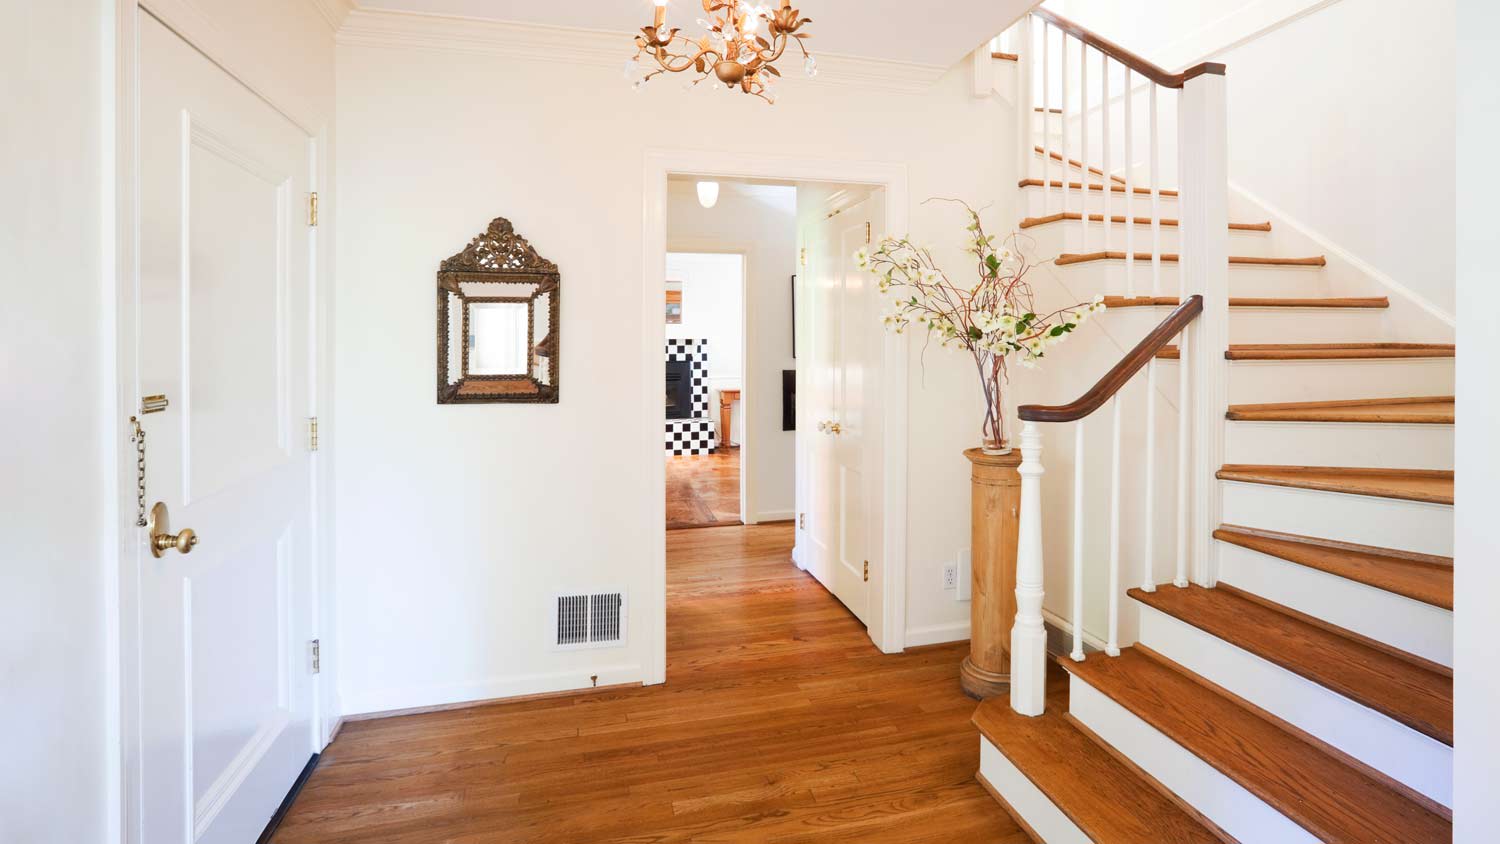
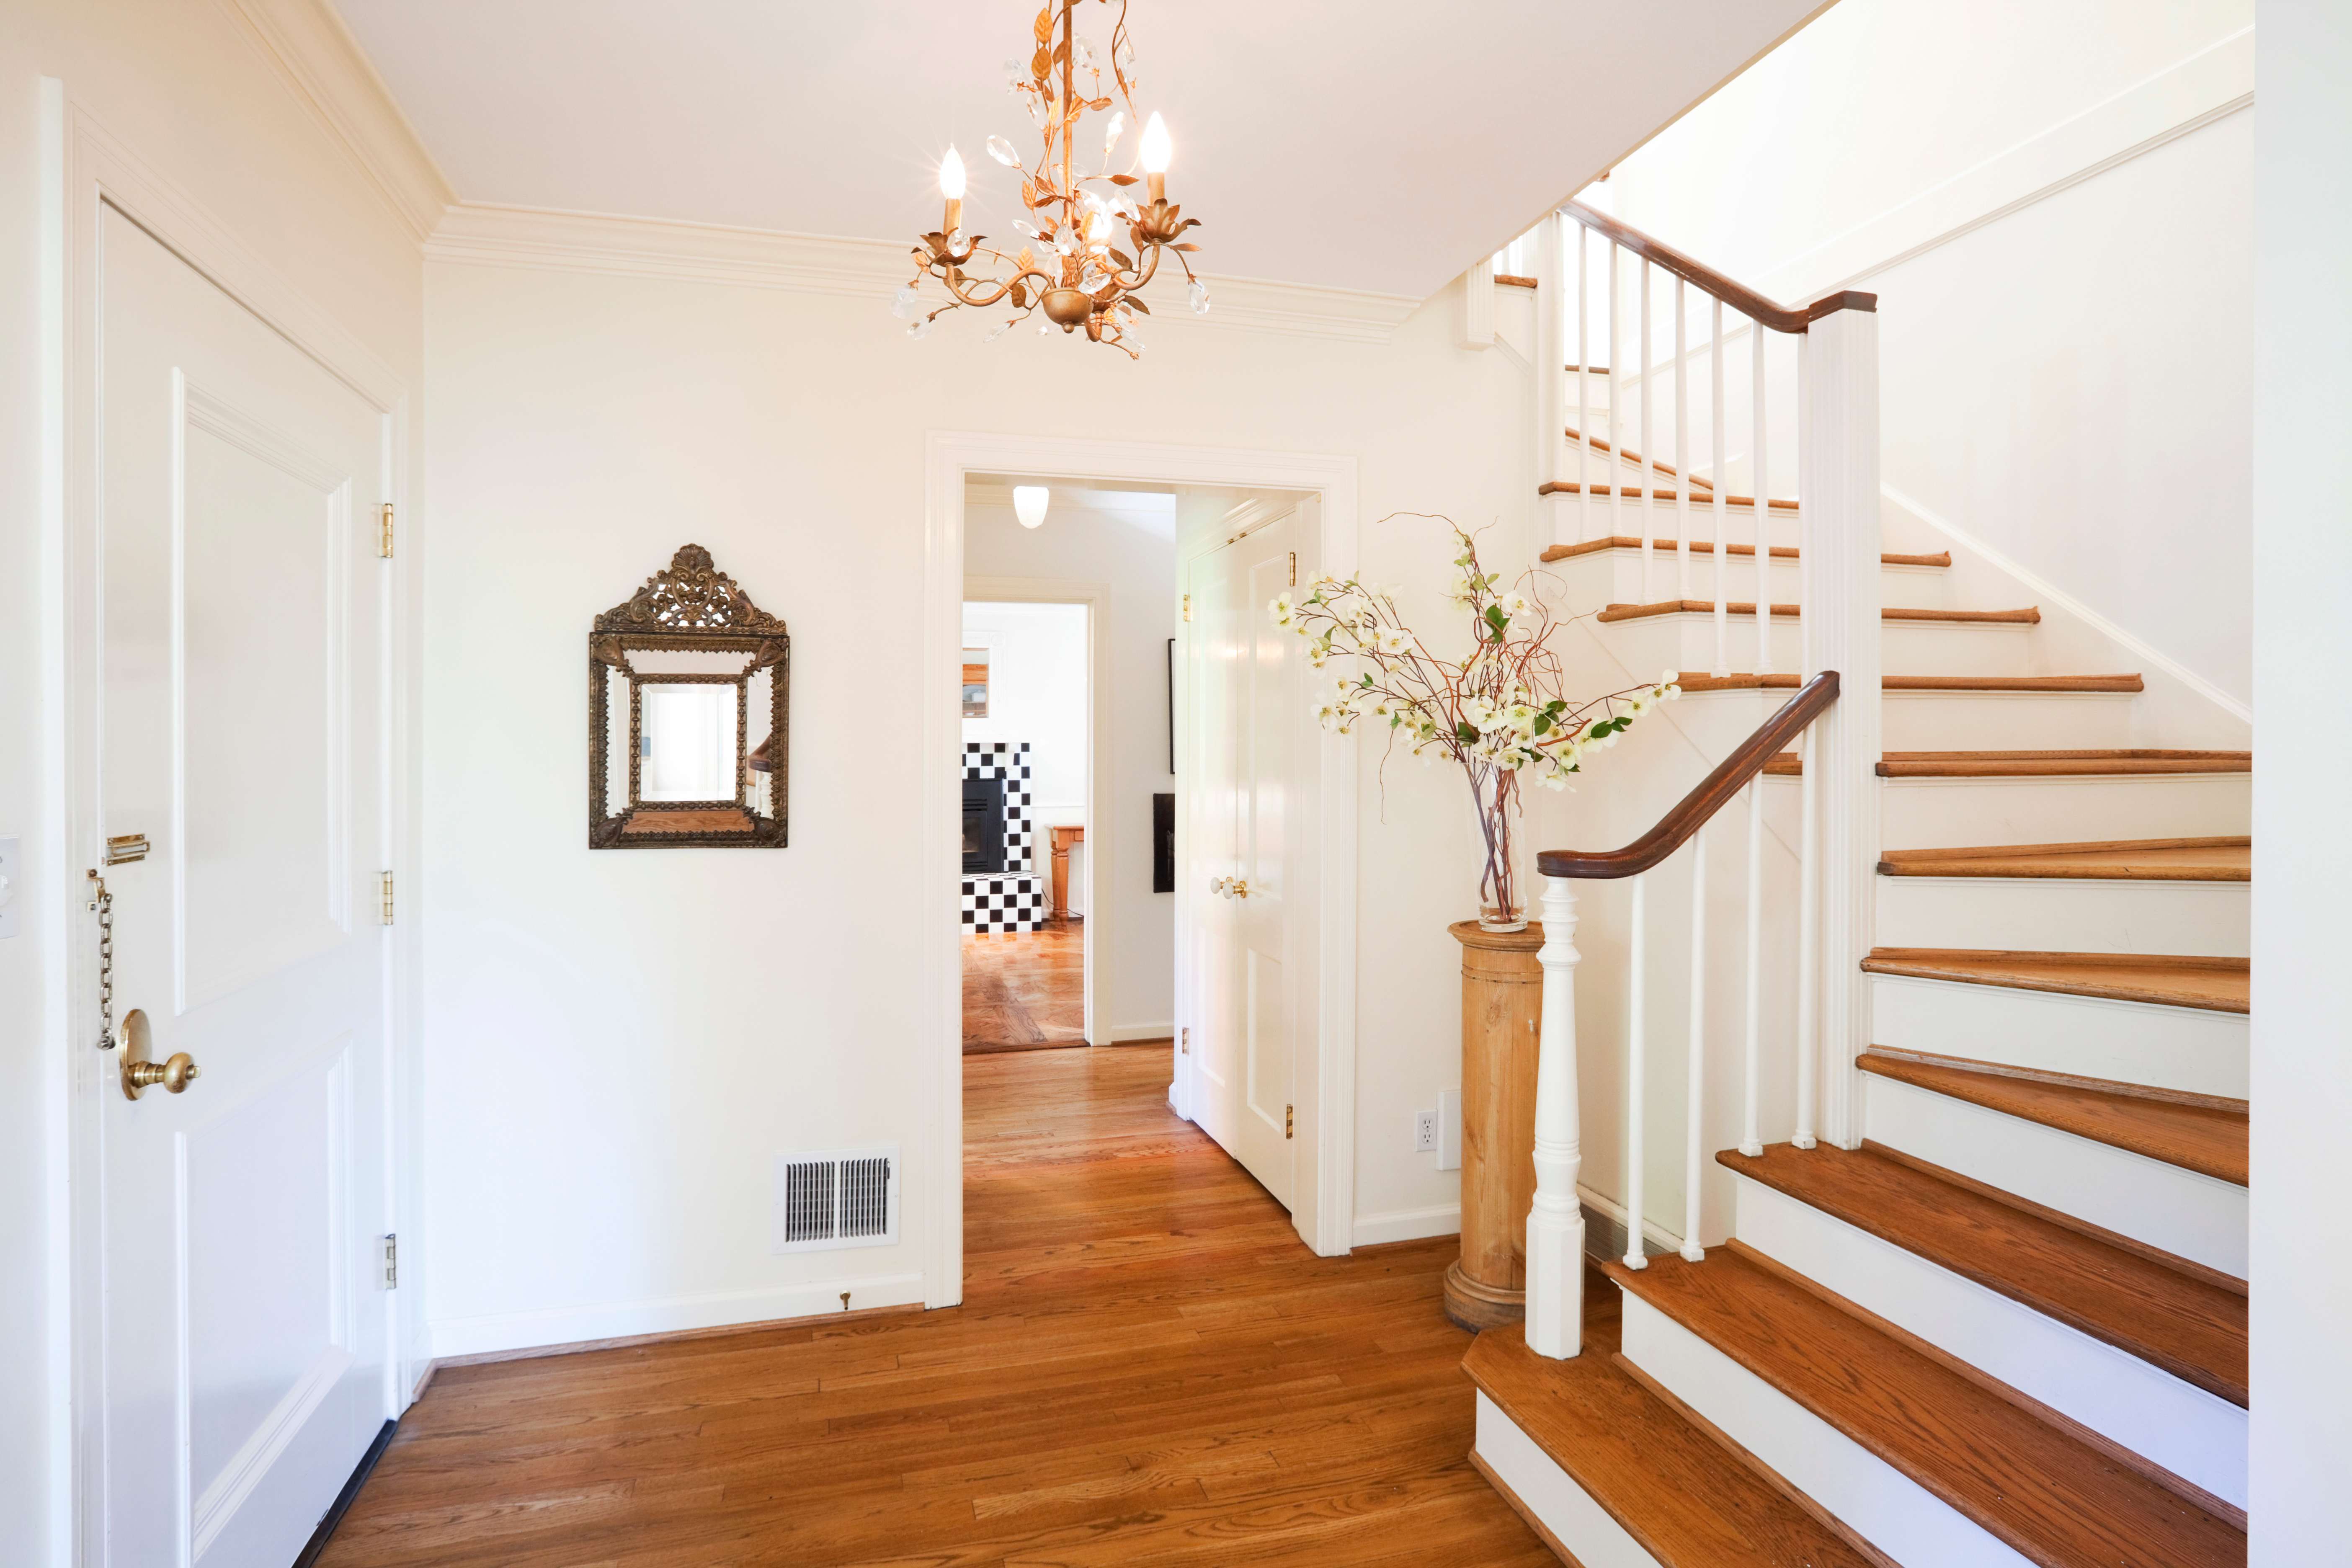
Making a grand entrance down your old oak staircase has a greater impact when your banisters look the part. Imagine a beautiful, elegant, and natural-looking focal point that only gets better with age. Staining a banister is a simple DIY staining project that will restore and modernize your outdated handrail and spindles in just under a day. And while this project requires a bit more prep work than other painting projects, the effort is well worth the final result.
Before beginning any paint project, it's important to protect your stairs and the surrounding walls with a plastic or cloth covering. Extend the drop cloth slightly above and below your banister to protect the floor from stain splatters. Then, secure the edges with painter's tape.
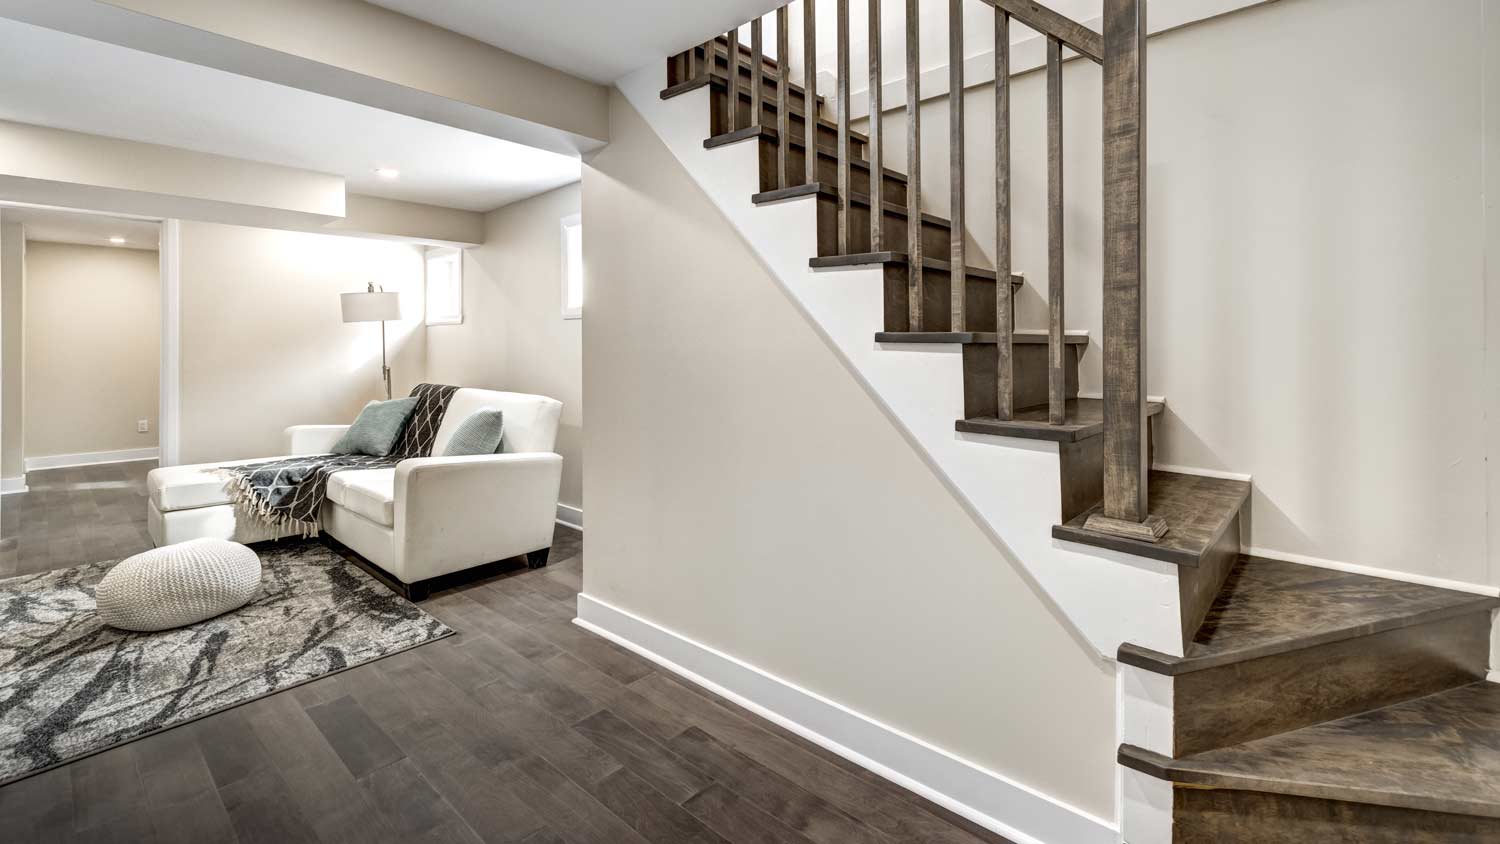
Decide whether you plan to repaint the handrail, balusters—aka spindles—or both. You might also consider mixing and matching the colors of your handrail and spindles to make your banister stand out.
Lastly, staining your banister to last requires a few potent chemical strippers, stains, and sealants, so ventilation is key. Ensure your workspace has ample airflow, and if you have kids or pets, consider keeping them distracted in another room for the duration of this project.

Fight the urge to jump right into the staining process. Your new stain will not grip onto your surface properly unless you remove the old finish first. Some quick prep work can help ensure you aren’t dealing with uneven, peeling, or chipping paint a few months down the road.
Remove the old finish using a chemical stripper or by direct sanding. Whichever you choose, grab your safety gloves, goggles, and a mask for this step.
This method removes the varnish layer—and a bit of the stain— to expose the wood for painting. Some bottles will instruct you to dilute the solution with water, but properly applying the chemical will vary based on the solution you chose. In general, you’ll start by applying a thick layer of solution using one of your paintbrushes. Take extra care not to drop liquid onto other parts of the stairs. Let the solution sit on your banister for 15 to 30 minutes, depending on your bottle’s specific instructions.
Next, grab a scrubbing pad, a plastic scraper, or soft-grade steel wool to remove the loosened varnish. Use a clean cloth for those hard-to-reach places around the balusters.
Wash off the remaining chemical solution with water—again, this may vary depending on your instructions—and then take a break while you wait for the wood to dry.
Direct sanding is a bit easier if you stripped the railing with the chemical solution first. But if you prefer to skip the chemicals, you can start by sanding off the old varnish and staining using sandpaper.
Run medium-grit sandpaper over handrails and spindles, making sure to get into all the small corners and crevices using the corner of the paper. If you have a large banister or thick varnish, a power sander might be a handy tool.
Finish with fine-grit sandpaper to get any remaining bumps, splinters, or patches of old stain until the wood is smooth. Use a clean damp cloth to catch any lingering dust or bits of sandpaper.
Your stain will adhere to your wood surface more evenly if you apply one or two thin layers of sanding sealer first. Also known as wood conditioner, this acts as a primer and costs under $20.
Add a thin layer of the sealer to the wood, wiping off any excess with a clean cloth as you go. Depending on the instructions, you can add a second layer, but avoid letting extra sealer pool in banister carvings. Once applied, take another break while this layer dries.

At long last, it's time to add the stain. Choosing a new stain color is a great way to modernize your banisters. Don't be afraid to go lighter or darker than before. A rich brown or java stain would pair nicely with crisp white walls. Darker colors can cover up existing imperfections and help hide dings and scratches that accumulate over the years. Whatever tone you choose, follow these tips for how to stain a banister:
Add the stain with an angled paintbrush, moving with the grain and layering over your last brush stroke to cover every open spot
Make sure your first coat is thin and even
Avoid letting the stain pool in nooks and crannies, as well as at the bottom of the banister
Darken the stain by applying a second coat and lightly sand in between layers for lasting results
You'll have your pick between oil or water-based stains, but your final choice will ultimately come down to your preferences. Water-based stains are generally easier to clean up and are way less potent. You could also opt for a gel stain that applies more evenly with fewer drips.
However, a raised grain effect is common with water-based stains. This is when fibers in the wood stick to the water-based layer, dulling away the original color and natural grain appearance.
An oil-based stain provides a more even appearance, but some DIYers prefer to skip it due to its potency and occasionally high levels of chemicals that can irritate your eyes and skin.
Once the stain has fully dried, apply a polyurethane sealant. Use a new clean paintbrush to add one or two layers, allowing the coats to dry in between.
Each layer of sealer and stain should take a couple of hours to dry. But with a little bit of patience and precision, you can have your banister looking like something out of a grand ballroom without having to break the bank.
Incredible workers! Very skilled with the machinery, climbing, cutting, roping, and removal. Handled everything. Professionals!
 Hoffman Expert Tree Services
I m so impressed with Custom Paint Jobs LLC s craftsmanship. They truly care about quality.
Window Depot did an amazing job on my deck. I wasnt sure what I wanted to do, but their composite decking was affordable and will last a long time. I am excited to have family over, and I am no longer embarrassed by my backyard. Jeff and the ground crew were polite, respectful, and caring for...
Storms Mobile Welding was great to work with. They were prompt, professional and did an overall excellent job on the project. I highly recommend.
Great job...edging and pre clean up went well with a great job with seal coat. Friendly, efficient and professional.
 All Star Paving and Sealing
Great tree company, very professional and honest. Glad we found them, they had the best pricing
It was wonderful working with Yordy and his team. They were very professional and are experts in what they do. They have completed the work on time, with better quality and with in fairly reasonable price. We just started with backsplash work , but liking his work, we went on to provide...
We hired Jim to replace our hardwood floors with new hardwood. He and his helper Jerry did a fantastic job. Their work ethic is impeccable!! We would highly recommend McColl Floors!
The job went extremely well. Work was done as promised and the job came out better than expected due to Mr. Moyer's commitment to excellence and personal pride in providing the best work possible. He is one of those professionals who is not satisfied until the customer is completely happy...
 Pro Flooring
We needed to have a wall cabinet resized so that we could fit a larger refrigerator underneath. I removed the cabinet from the wall myself and brought it in, where Wally was able to resize it for me in his shop. The results were perfect: it's exactly the size that I asked for, and...
 Pioneer Woodworks
From average costs to expert advice, get all the answers you need to get your job done.
Refinishing stairs is a great way to spruce up one of a home's most dominant focal points. High-quality wood should be allowed to shine. Learn the cost to refinish stairs in this guide.

The cost to carpet stairs depends on the number of stairs, material choice, and staircase type. Read on to calculate your project expenses
Need to breathe new life into your basement? Use these simple DIY strategies to finish basement stairs, ranging from a few hours of work to a single weekend.
Learn how to stain a deck the right way by following our step-by-step guide. Read on to discover how to enhance and protect your deck.
The best carpet for stairs is durable and suited for high-traffic environments. However, they aren’t as soft and can be more expensive. Read on to learn more.
Balusters and banisters are both essential parts of a staircase, but knowing how they differ is key to understanding this fundamental home feature.