

The cost of materials and labor all factor into your overall brick staining cost, but what other factors impact the bottom line? Our guide covers this and more.
Patience now, a perfect finish later


On average, you can stain pressure-treated lumber after one to three months.
Use the water droplet test or a moisture meter to determine if the wood is ready for stain.
Staining pressure-treated wood before it's ready can cause peeling, blotching, and poor absorption.
Pressure-treated lumber provides peace of mind in the longevity of your deck, fence, or other outdoor structure. But how soon can you stain pressure-treated lumber? Experts recommend waiting one to three months before staining your pressure-treated lumber. Staining too early can lead to poor adhesion, while waiting too long can leave the wood vulnerable to damage. Here’s what you need to know about your staining timeline.
Pressure-treated wood is infused with chemical preservatives under high pressure to protect it from rot, insect damage, and fungal decay. This makes the lumber ideal for decks, fences, and garden beds, where moisture and pests are a concern. Because of this treatment, pressure-treated wood retains moisture and goes through a drying period before you can stain or paint.
Untreated lumber is simply cut, dried, and sold without any chemical preservatives. While it's suitable for indoor projects like furniture, cabinets, and framing, it lacks durability for outdoor exposure. When exposed to moisture, untreated wood is more susceptible to decay, insect damage, and warping, meaning it requires additional protective measures, like staining or sealing if used outside.
On average, you should wait one to three months before staining pressure-treated lumber. The exact timeline can vary based on the type of wood, weather conditions, and how it was treated.
If the wood was kiln-dried after treatment (marked as KDAT), it may be ready to stain almost immediately or within a few weeks. However, if the wood is still damp when purchased, it will take much longer to dry. The climate also plays a significant role. Hot, dry weather speeds up the drying process, while cool, humid, or rainy conditions prolong it.
Instead of relying solely on the estimated waiting period, perform a simple moisture test so you stain at the right time for the best results.
You can choose from two types of tests to see if your pressure-treated lumber is ready for staining or if it needs more time to dry. If you hire a professional deck painter near you to do the job, they will test the wood to find the best timeline for staining.
This method is one of the easiest to check. Start by sprinkling a few drops of water onto the surface of the wood. If the water beads up, the wood is still too wet and needs more drying time.
If the water soaks in within a few seconds, it's ready for staining.
A moisture meter is a small, handheld device that measures the moisture level inside the lumber and provides the most precise measurement. Before staining, the lumber should have a moisture content of 15% or lower. You can purchase a moisture meter for as little as $15 at most big box stores or online retailers.
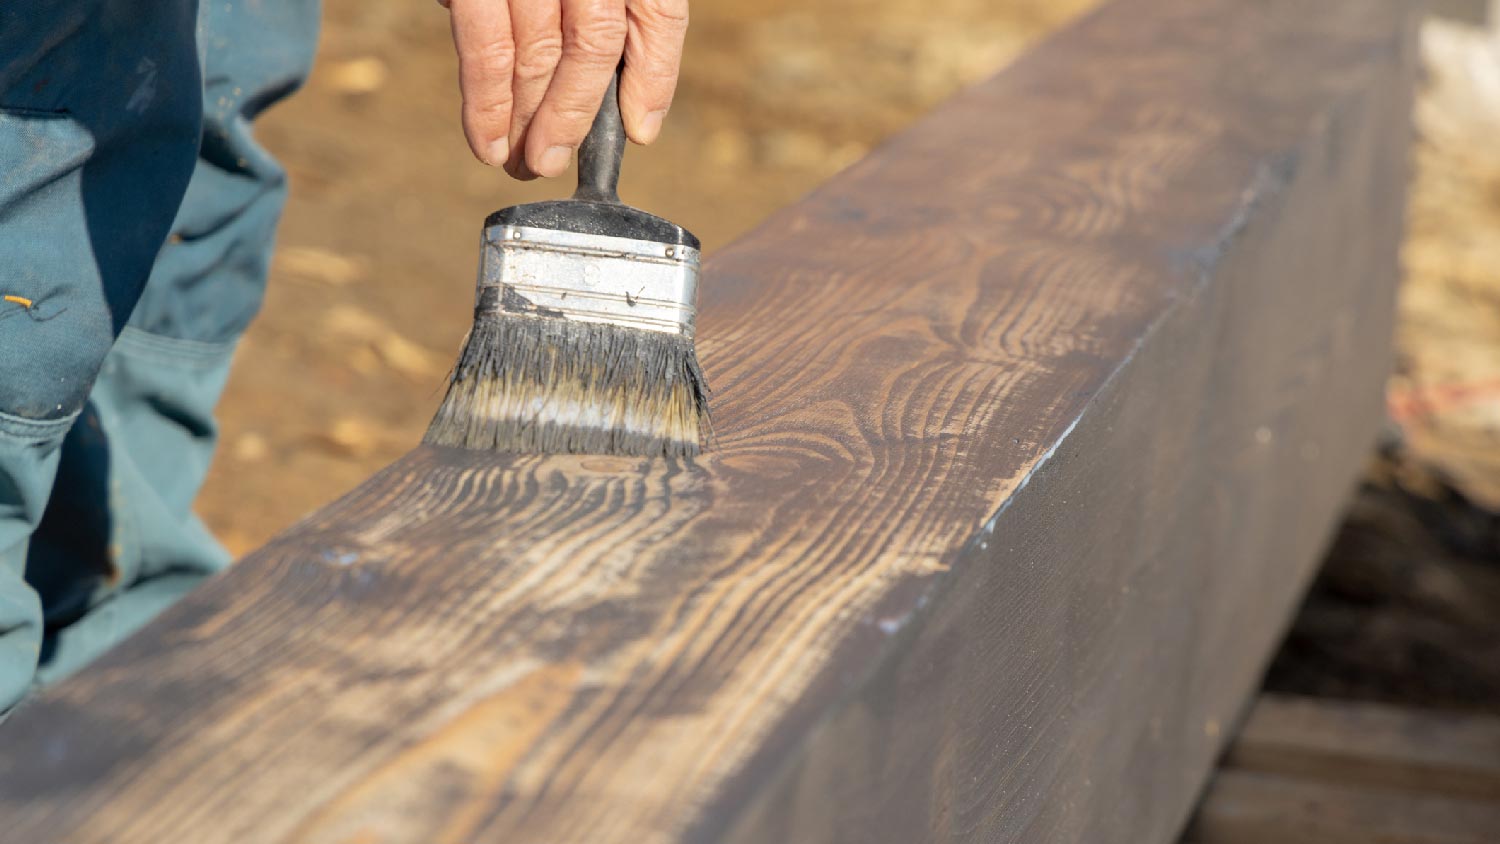
If the lumber is ready for staining, follow best practices and avoid common mistakes to extend its life. Oil-based stains can penetrate deeper and provide long-lasting protection, while water-based stains dry faster and are easier to clean up. A semi-transparent stain is the best choice because it allows the wood grain to show while still offering protection against moisture and UV rays.
Before applying the stain, thoroughly clean the lumber to remove dirt, debris, and any chemical residue from the treatment process. If the surface feels rough, lightly sand it to improve stain absorption.
The most common mistake is starting on the stain too soon. If the lumber is still wet, the stain won't absorb, causing an uneven finish or peeling. Similarly, waiting too long can lead to graying or deterioration from exposure to the elements.
Applying the stain in thick, heavy coats can prevent it from drying properly and leave behind a sticky or blotchy finish. Instead, apply a thin, even coat working with the wood grain and wiping off any excess stain that hasn't soaked in after 10 to 15 minutes.
From average costs to expert advice, get all the answers you need to get your job done.
The cost of materials and labor all factor into your overall brick staining cost, but what other factors impact the bottom line? Our guide covers this and more.

The cost to paint a house's exterior depends on its size, siding type, and height. The finish and the home's exterior condition also play a role.

Looking to give your fence a refresh? This guide explores the cost to stain a fence—and the cost to paint it, too— so you can budget for your project.

Can you paint pressure-treated wood? Learn why painting pressure-treated wood is a good way to extend the lifespan of the material.

Painting a brick house is a permanent renovation project that requires weighing the pros and cons. Keep reading to find out if you should paint your brick home.

Whether you opt for low-luster or high-gloss depends on budget, skill, aesthetics, and material. Learn how to pick the best sheen for exterior paint projects.