

Looking to step up your home’s interior with window treatments? Use this guide to blinds installation cost to set an appropriate budget for your project.
Make a clean break with blinds with these removal tips

Removing blinds for cleaning or repainting requires checking for safety latches first, which secure dangling cords and must be unscrewed before removing the blinds.
Professional blind installation costs $169 to $1,888, so learning proper removal techniques protects your investment and prevents damage to blinds or window frames.
You can extend your blinds' lifespan by dusting them monthly, avoiding harsh chemicals, and untangling drawstrings immediately to prevent warping and operational issues.
Hiring a local blind repair professional keeps your window frames intact during removal and covers marks or holes left behind from old blind installations.
Need to tear away some old window blinds for a fresh start? You may be wondering about the easiest, fastest way to remove blinds while keeping blinds, hardware, and your window's frame fully intact. After all, you never know when you might be able to sell or repurpose old blinds that have outgrown their usefulness in a specific room. This guide to how to remove blinds will get your windows ready for their next era in no time!
Whether you're moving out, remodeling, or simply changing the aesthetic of a room, removing window blinds is an important step. It's even sometimes necessary to remove blinds we love. For example, you might need to temporarily take your blinds down if you're repainting a room or window frame. Trying to paint around blinds will only cause a splotchy, splashy mess!
Many people also like to take the blinds down when deep-cleaning the windows or blinds. It's also helpful to get the blinds out of the way if you're trying to winterize windows, fix drafty windows, or attempt a cracked window DIY. Finally, learning how to bring down your blinds makes swapping window treatments for the season a breeze.
While removing blinds from a window is a pretty straightforward task, you could damage your window frame if you don't check for a safety latch first. Also known as a child safety latch or chain tether, a safety latch is used to keep dangling loops secured in models that have cords or chains. To remove a safety latch, simply unscrew any screws using a drill or screwdriver to pull off the bracket holding the latch in place. If you'll be putting your blinds back up, be sure to keep this part on hand for the reinstallation process.
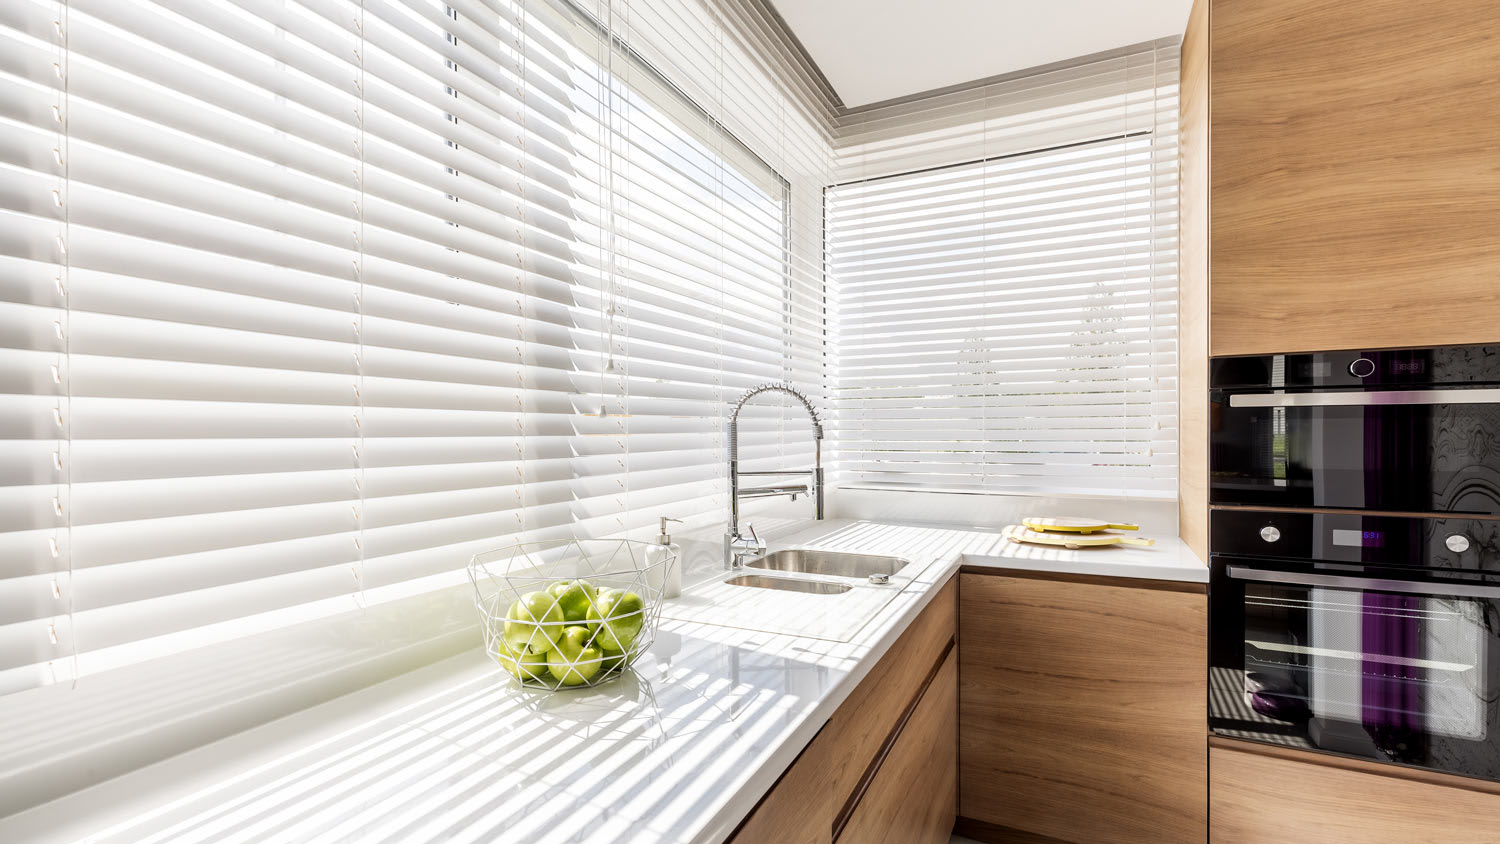
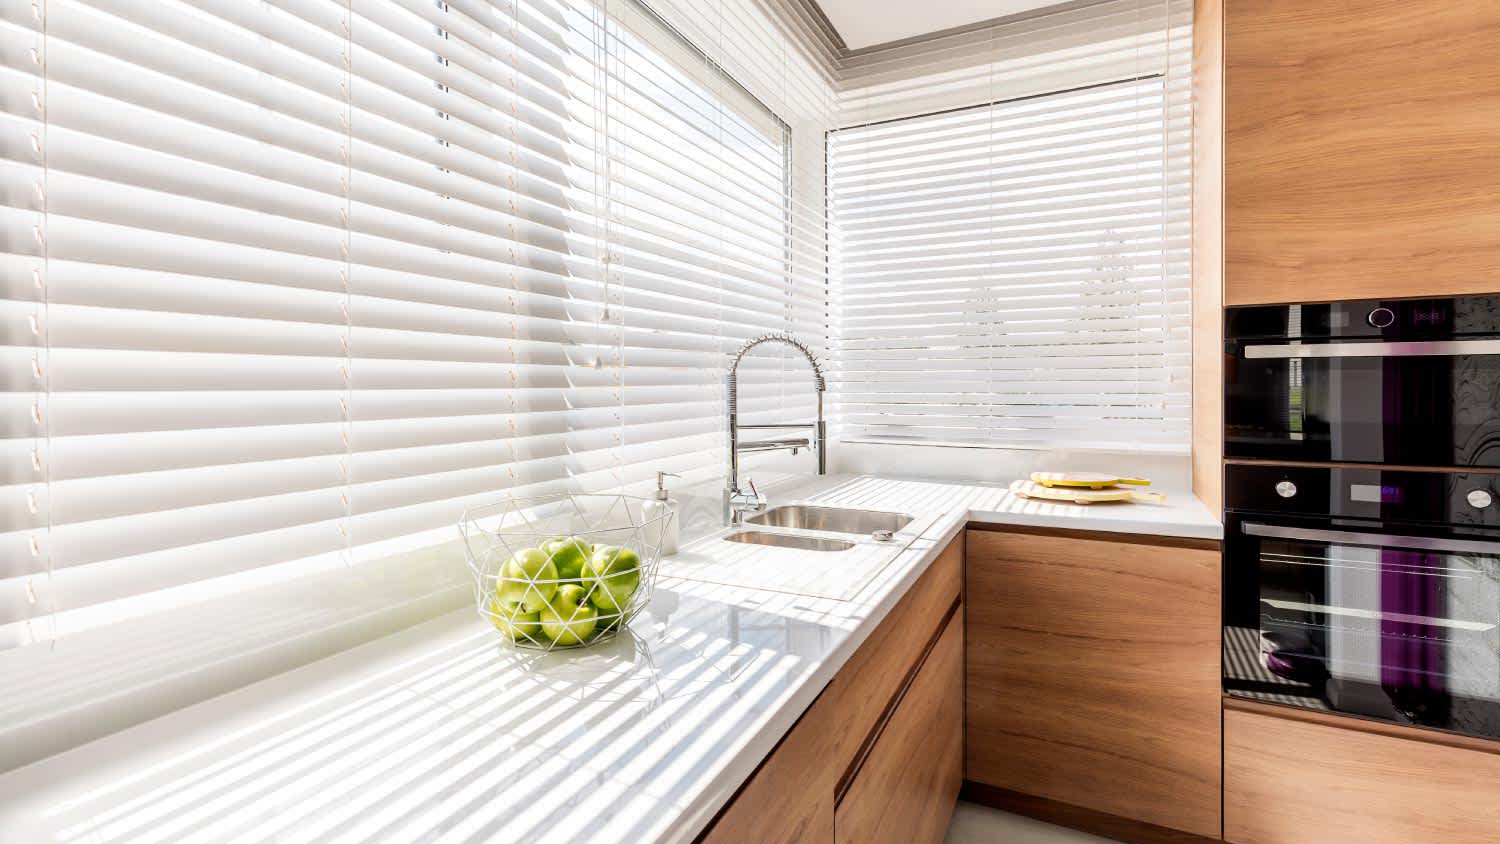
In most cases, learning how to remove blinds from windows really means learning how to remove vertical blinds. Vertical blinds are the most common window treatments. You'll know them by their telltale vertical louvers. However, this guide also covers how to remove window blinds of different types.
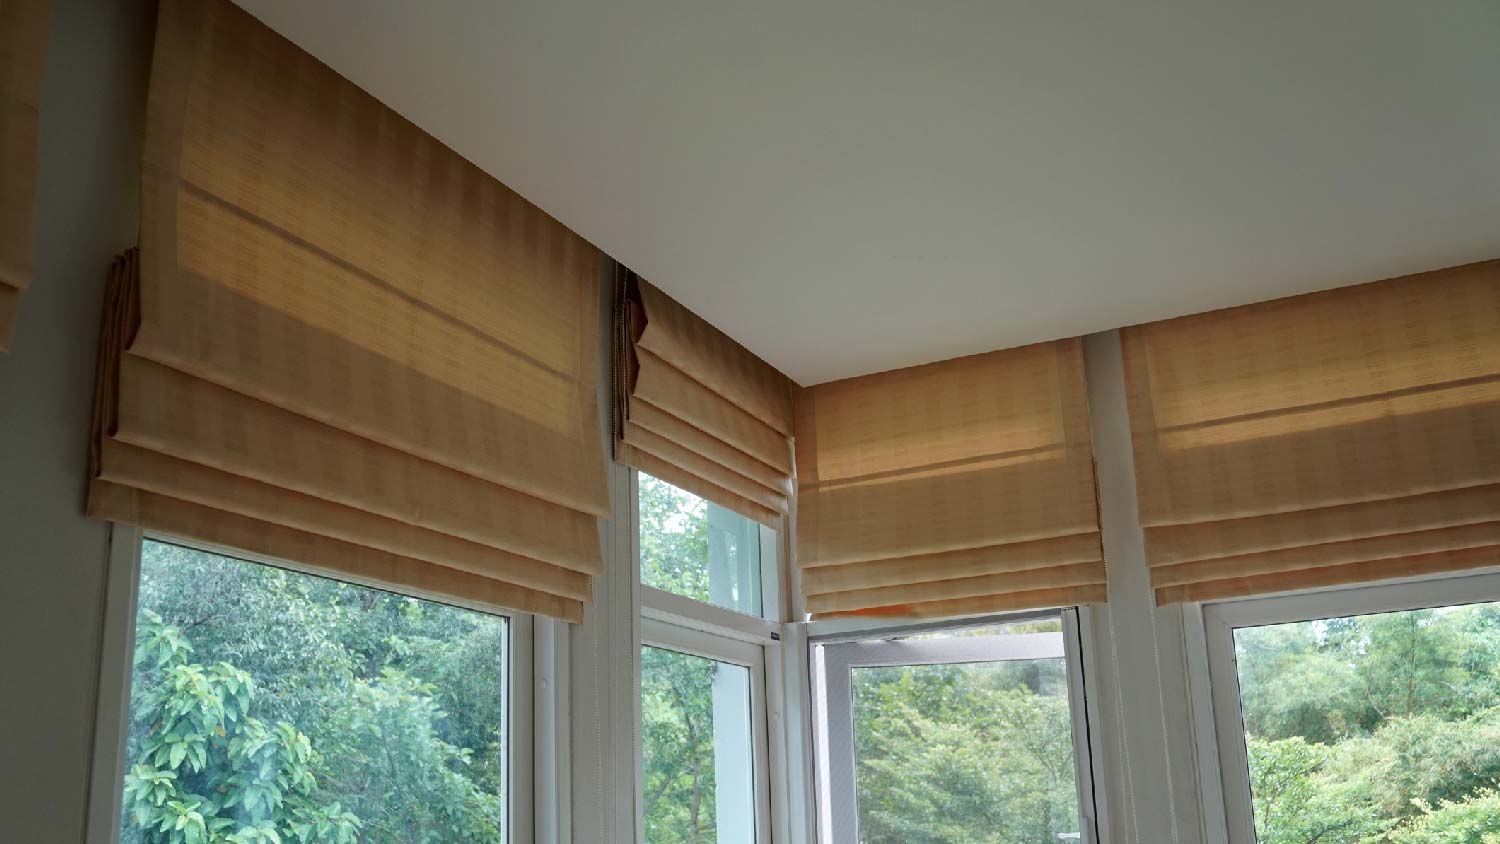
Start by pulling your blinds as far up as they will go. Next, remove the valance that covers the hardware of the blinds. A valance is a decorative trim at the top of the blinds. In most designs, this involves removing plastic clips. Here's how to dismantle the blinds:
Remove the bead chain that is used to rotate the slats open and closed by unhooking it from its carrier. The carrier is a round piece of hardware found on one side of the blinds.
When learning how to remove blinds with hidden brackets, simply find the brackets at the headrail.
Use a flathead screwdriver to pry open the front of each bracket. Keep your hand steadily balanced on the headrail to provide support.
Gently pull the headrail toward you until it comes free from the brackets.
Place the headrail in a safe place.
Release your brackets. If you won't be putting the blinds back up, use a screw gun or screwdriver to remove the screws from the brackets on either side of the window frame.
Don't force anything loose! Being too rough with prying parts away from the window frame could leave blinds inoperable. If you're met with resistance, simply use a screwdriver to gently loosen brackets before attempting to pull any pieces or hardware off.
Vertical blinds can be removed slat by slat. Use the control wand to open the blinds. This will make "lifting and separating" each blind easier.
Next, remove each individual slat by simply lifting it up and slightly twisting it out of its clip. Work slowly to avoid ripping the thin, fragile opening in the top of each slat. Finally, unhook the shade headrail by unscrewing the two small metal spring clips that are found on its backside. Twist gently using a flathead screwdriver until you feel the headrail unlocking and releasing into your hands. Gently pull it off of the window frame. Any remaining hardware can be unscrewed using a screwdriver or screw gun.
The steps for removing motorized blinds vary widely based on the manufacturer. However, the basic steps should follow this blueprint:
Fully open the blinds.
Next, disconnect the unit from its power source for your safety.
Look for the metal spring clips found along the backside of the blinds. Once located, gently pull them toward you. If your model does not have these clips, you will probably just need to unscrew connecting brackets from the wall.
If you're just removing motorized blinds to bring them in for repairs or maintenance, you don't have to worry about removing wiring. However, homeowners who are getting rid of motorized blinds should bring in a local electrician to remove or conceal any wiring that was powering the blinds.
Ideally, you won't be fussing around with screwdrivers and hardware often once your blinds are installed. To keep blinds looking new and functioning perfectly, simply follow some basic maintenance tips. Here are the best ways to make your blinds last a long time:
Dust blinds monthly: Use a feather duster or a damp cloth to dust blinds once every two to four weeks. Specialized dusters actually have soft arms that fit seamlessly between blinds to prevent dust and gunk buildup. By tackling dust early, you can avoid the need to take your blinds down from the window for a deep soaking.
Avoid harsh cleaning chemicals: While it may seem like you're doing a good thing, harsh chemicals can actually cause slats to warp.
Don't let blinds stay wet: Wetness, whether from cleaning or rainwater that has entered through the window, can cause warping and water spots on blinds.
Don't let tangles get worse: If you see a tangled drawstring, stop to untangle it immediately before the knot becomes too severe to fix. Over time, a tangled string will make it impossible to pull your blinds up and down, causing louvers to bend and crack.
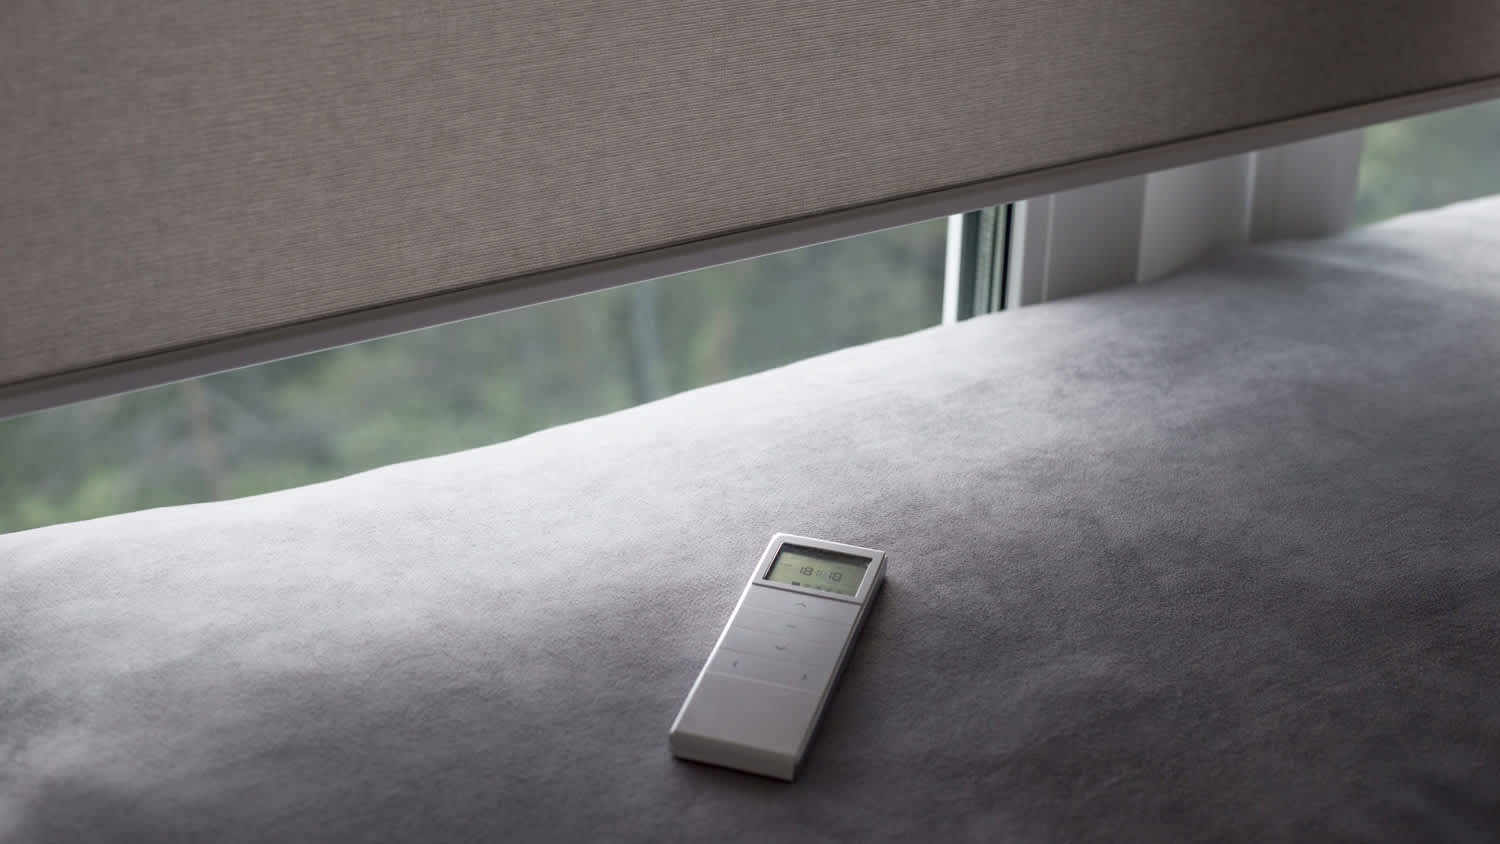
Do a battery check: If you have motorized blinds, you can preserve their lifespan by inspecting the batteries and motor regularly.
When you treat your blinds with care, they can provide extra insulation and shade, creating more energy-efficient windows at your home at practically no cost!
The average homeowner can get this task done for free with nothing more than a screwdriver and some patience. If you're swapping out blinds as part of a home renovation, consider hiring a professional local blind installer to do the job seamlessly. Old blinds can sometimes leave marks and holes in window frames that you weren't expecting. In addition to using the right tools to gently remove window treatments, professionals can also use wood filler and other materials to cover up marks. They can also install your new blinds or window treatments as seamlessly as possible without creating new or unnecessary holes and gashes in your window frames. Depending on the styles chosen, the cost to install blinds with professional help can fall between $169 and $1,888.
We have used Window Warriors many times with no issues. They arrived on time and were very professional . We have pets and Window Warrior team treated them very well, well trusted team.
I am highly satisfied with the window replacement service I received; the professionals from Savvy Exteriors were punctual and did an amazing job that exceeded my expectations.
I hired windows depot USA of central to install new windows in house in Oshawa. Ilya was very professional from the start, not only did he offered a great price, he also made sure the installation was on time. I am very satisfied with final outcome. The windows look great and the overall...
Description says they handle window repair including rotten hardwood - they called me back right away but didnâ t leave a voicemail. I followed up 3 days later and they said they donâ t do that kind of work.
We had a gutter blockage that was causing water to sheet down the side of the house and ultimately it started to come in at a window (need mortar people next). Called around 7:30am, and he responded by 8am. He was able to come out the same morning and do a look over and clean out. He also...
From average costs to expert advice, get all the answers you need to get your job done.
Looking to step up your home’s interior with window treatments? Use this guide to blinds installation cost to set an appropriate budget for your project.
Wondering how much do motorized blinds cost? Discover 2026 prices, key cost factors, and tips to save on your motorized blinds installation.

Not sure who to hire to clean blinds or shades? Learn which blind cleaning pros to call, how they work, and how to choose with confidence.
Learn how to hire a window blinds or shades installation pro with confidence. Discover questions to ask, qualifications to check, and tips for success.
Not sure what the difference is between blinds versus shades versus shutters? Let’s break down each of these popular window treatments to help you find your best match.
Cleaning your blinds can seem tricky, but you can tackle the task with basic household supplies. Find out the best way to clean your blinds.