

Painting a garage door is one of the most impactful projects you can undertake with a smaller budget. Learn what makes up the total cost, as well as tips on how you can save.
A fresh coat of paint and a fun pattern is all it takes to beautify your porch


When the weather is nice, nothing beats relaxing or entertaining on your home’s outdoor porch or patio. And if your concrete porch is looking dreary, a fresh coat of paint is an easy way to give it new color and life. You can even add some extra personality with a stencil design to mimic tile, stone, or brick. Use this guide to get the perfect painted concrete porch done right the first time.
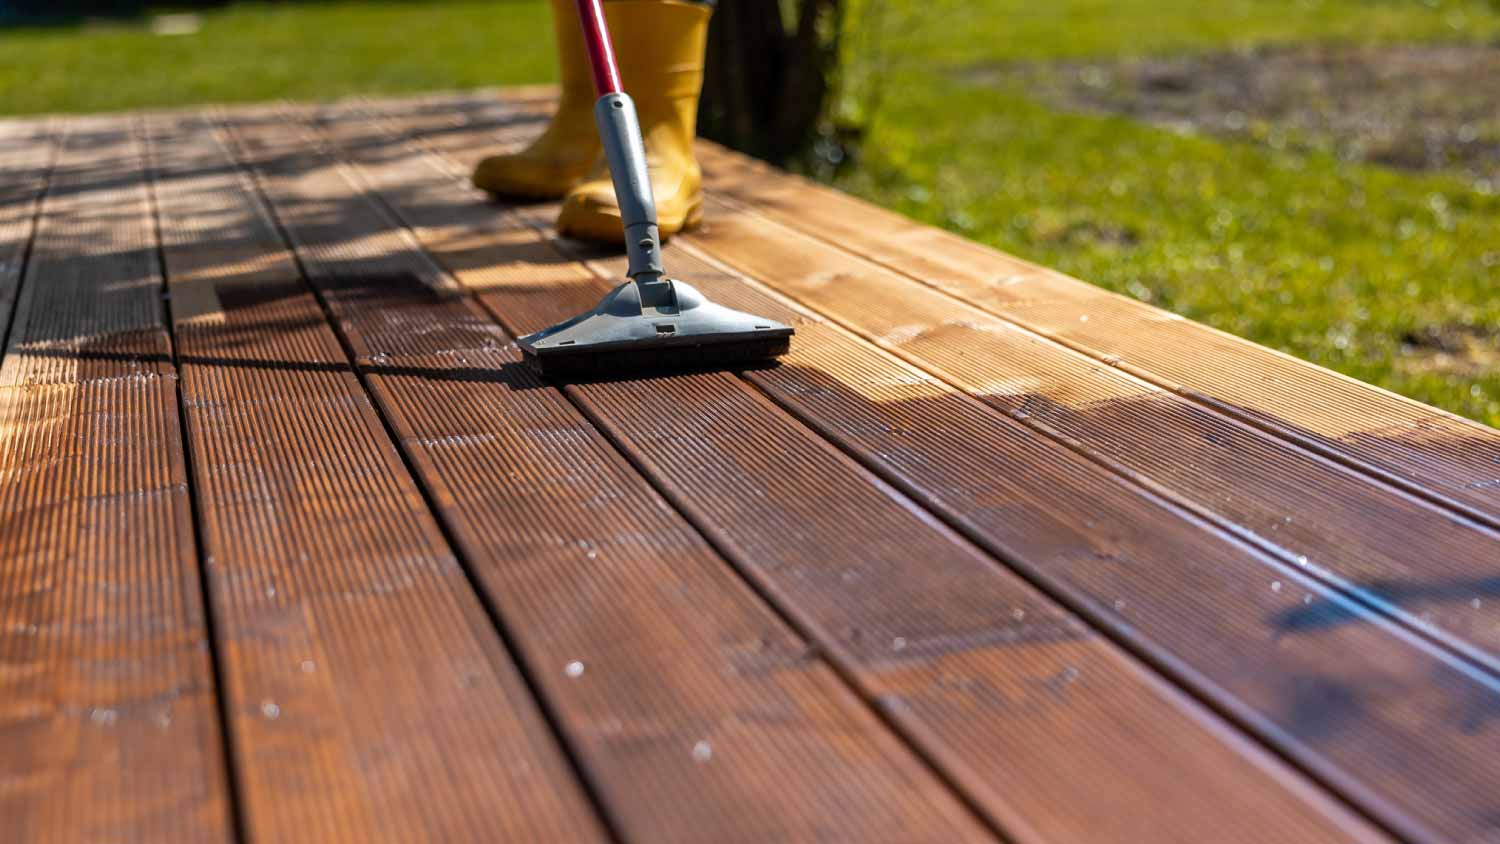
The first step in the concrete painting process is to prep the surface with a thorough clean. Start by removing all furniture and decor, then sweep away loose debris with a broom or leaf blower.
Next, if you have a pressure washer, use it to wash away any moss, dirt, grease, and oil. Use degreasing detergent if it’s compatible with your machine.
If you don’t have access to a pressure washer, rinse the surface with your hose and scrub it well with a hard bristle brush and detergent instead. Rinse away the detergent and let the concrete dry.

If you have any small cracks in your concrete surface, you can use a special concrete caulk sealant to patch them. Allow the caulk to dry for at least 24 hours before applying any other products. Once dry, use your hard bristle brush to remove any excess caulk residue.
If your porch has extensive damage that can’t be patched with caulk, you may need to contact a local concrete repair contractor. If repairs aren’t made your paint job may not last as long as you want or look the way you imagine when it’s complete.
Concrete etching uses muriatic acid to help remove old coatings and fill in the pores. This prevents it from soaking up so much paint and primer, allowing it to stick better to the surface.
A Note on Safety: The acid is a powerful chemical and should be handled with caution. Wear splash-proof goggles, rubber boots, work gloves, and a face mask to protect your skin. You’ll apply the acid to your concrete using a basic plastic sprayer similar to the type you’d use to spread weed killer.
Following the instructions on the acid product bottle, add water to the sprayer first, followed by the acid. Spray the mixture over your entire concrete patio, allowing it to sit undisturbed for 10 minutes. Rinse it off gently with your hose and let the concrete dry again completely before moving to the next step.

Painting concrete is a process that takes several coats of primer and paint, and each requires time to dry before the next coat can be added. With that in mind, watch your local weather forecast for a stretch of three to four days of dry weather. Your concrete surface should be completely dry for 24 hours before priming.
Applying primer is an important step that will help ensure a smooth paint application and a durable finish. Before starting, apply painter’s tape to any surfaces that you don’t want to get paint on. Use a leaf blower or clean broom to clean away any debris that may have collected overnight.
Use a specific concrete and masonry primer and a paint roller to cover the entire surface. It will go on white and dry with a clear finish after about an hour. Use a small paintbrush to cover any edges your roller can’t reach. Work from the back of the porch towards the outside so you don’t end up accidentally painting yourself into a corner.
Let your first coat of primer dry and cure according to the instructions on the container, waiting anywhere from one to 24 hours. Apply another layer if recommended by the manufacturer.
.jpeg?impolicy=leadImage)
When your last coat of primer is dry, sweep again with a clean broom or leaf blower to remove dirt and debris before painting.
Apply your paint or concrete stain using the same process as the primer. Once you’ve applied your first full coat, allow it to dry for 12 to 24 hours, then repeat the process with a second coat. If you want, you can choose to add a slip-resistant additive to the paint you use on pathways, steps, and other high-traffic areas.

You’re technically done painting here…unless you want to amp up your porch with some pizazz. To give your porch or patio some extra character, you can use a stencil to apply a painted pattern in a different paint color. Use a measuring tape to find the center of your porch, then lay your stencil square in that center spot.
Using painter’s tape on the corners to hold the stencil still, lightly dip your brush or roller into your paint and blot it on a disposable surface to remove any excess. Gently apply paint over the stencil, taking care not to allow excess paint to run underneath. A paint sprayer can come in handy here.
Once you’ve stenciled an area, pick up your stencil and line it up in the next bare area. Repeat the process until your porch is covered. Your stencil may come with a smaller stencil to do touch-ups and fill in edge spaces where the larger stencil won’t fit. Allow time for your stencil design to dry according to the instructions on the paint label.
If you use a paint product designed for concrete porches, a concrete sealant usually isn’t necessary. It won’t harm your floor and can make it easier to clean, but it may also make your porch slightly more slippery when it rains. The process to apply sealant is the same as the processes for primer and paint.
Whether you choose to seal your floor or not, allow 48 hours for the porch to fully dry before returning your furniture and decor.
Painting a porch is a simple DIY project that most homeowners can handle. Whether you hire a professional depends on how much work you’re willing to put in and your budget.
If you choose the DIY route, expect to spend at least $200 on the materials and tools for this project. Compare that to the cost to hire an exterior house painter, which can range from $25 to $75 per hour for the several days’ worth of work required for this project. One advantage of hiring exterior painters near you is the time you’ll save working and waiting between steps.
From average costs to expert advice, get all the answers you need to get your job done.
Painting a garage door is one of the most impactful projects you can undertake with a smaller budget. Learn what makes up the total cost, as well as tips on how you can save.

Do you want the color of your exterior doors to really pop? Learn about the labor cost to paint the front door, back door, and other entranceways.
Painting a brick house typically costs between $1.40 and $4.20 per square foot. Your total cost will depend on where you live and the finish you use.

You choose it to withstand the elements, but can you paint a vinyl fence? The answer is yes, but it might not be the best when your fence shows wear and tear.
How much stain do I need for my deck? It’s one of the most important parts of any deck revival project. Here’s how to calculate what you need.

In need of some stylish exterior window trim ideas? Explore 16 must-try styles and colors and find out what window material will suit your aesthetic.