
•
Discover the professional Christmas light installation cost, including average prices, cost factors, and tips to save on your holiday lighting project.
We shed some light on this common holiday decorating task

Fixing Christmas lights starts with checking your strand is plugged into a working outlet, then confirm each bulb is seated properly.
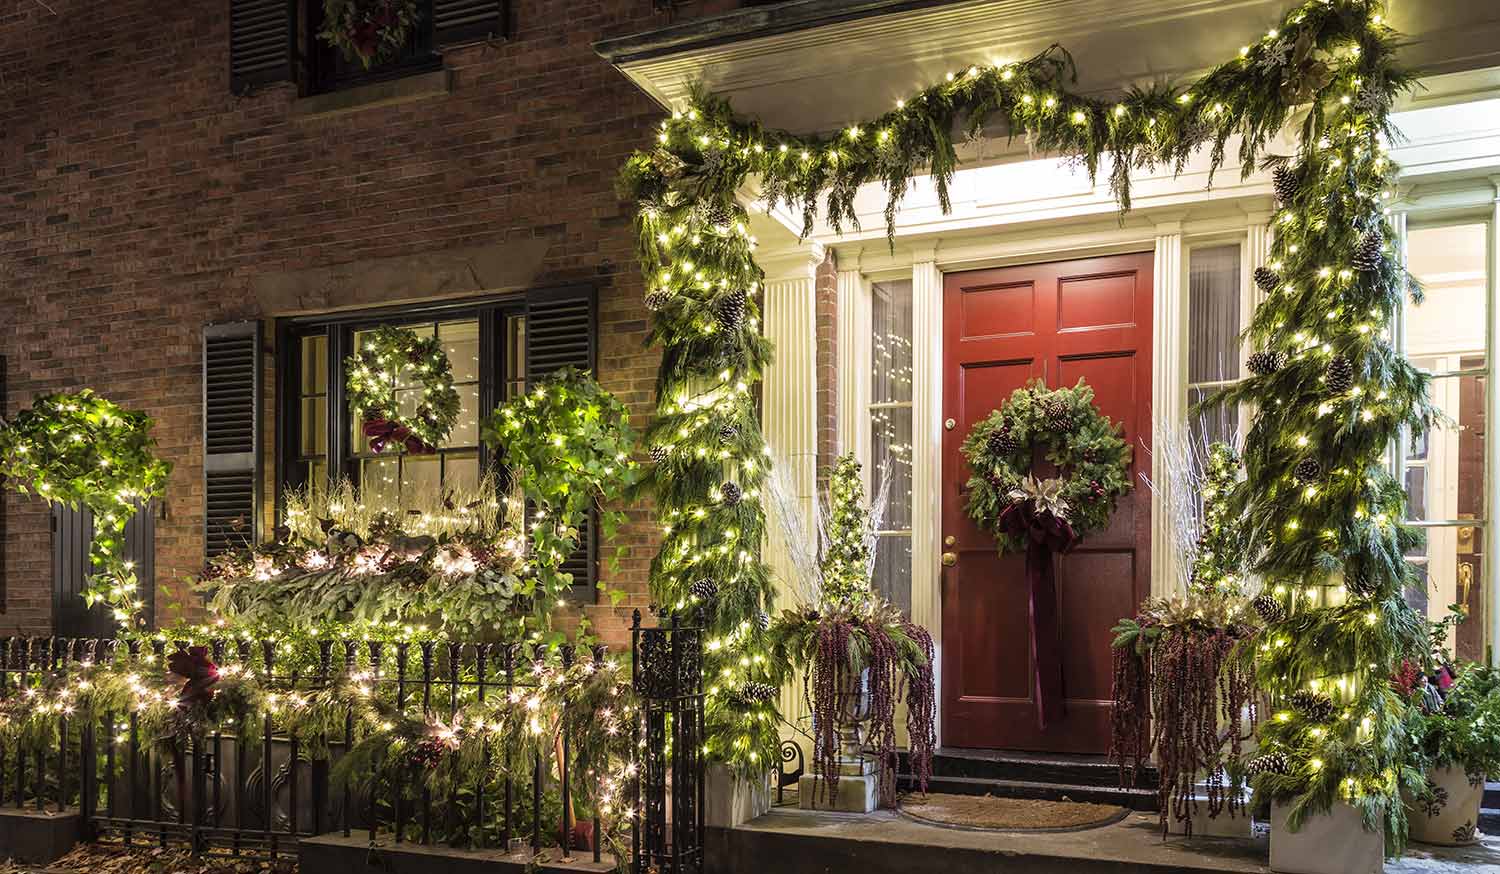
Expect to pay $220 to $670 for professional Christmas light repair and installation, so a pro handles faulty bulbs and fuses safely.
You can identify faulty bulbs by testing each one with a Christmas light tester, working from one end to the other until you locate the problem.
Hiring a local Christmas lights installation professional saves you time on bulb testing and fuse troubleshooting, so your lights work sooner.
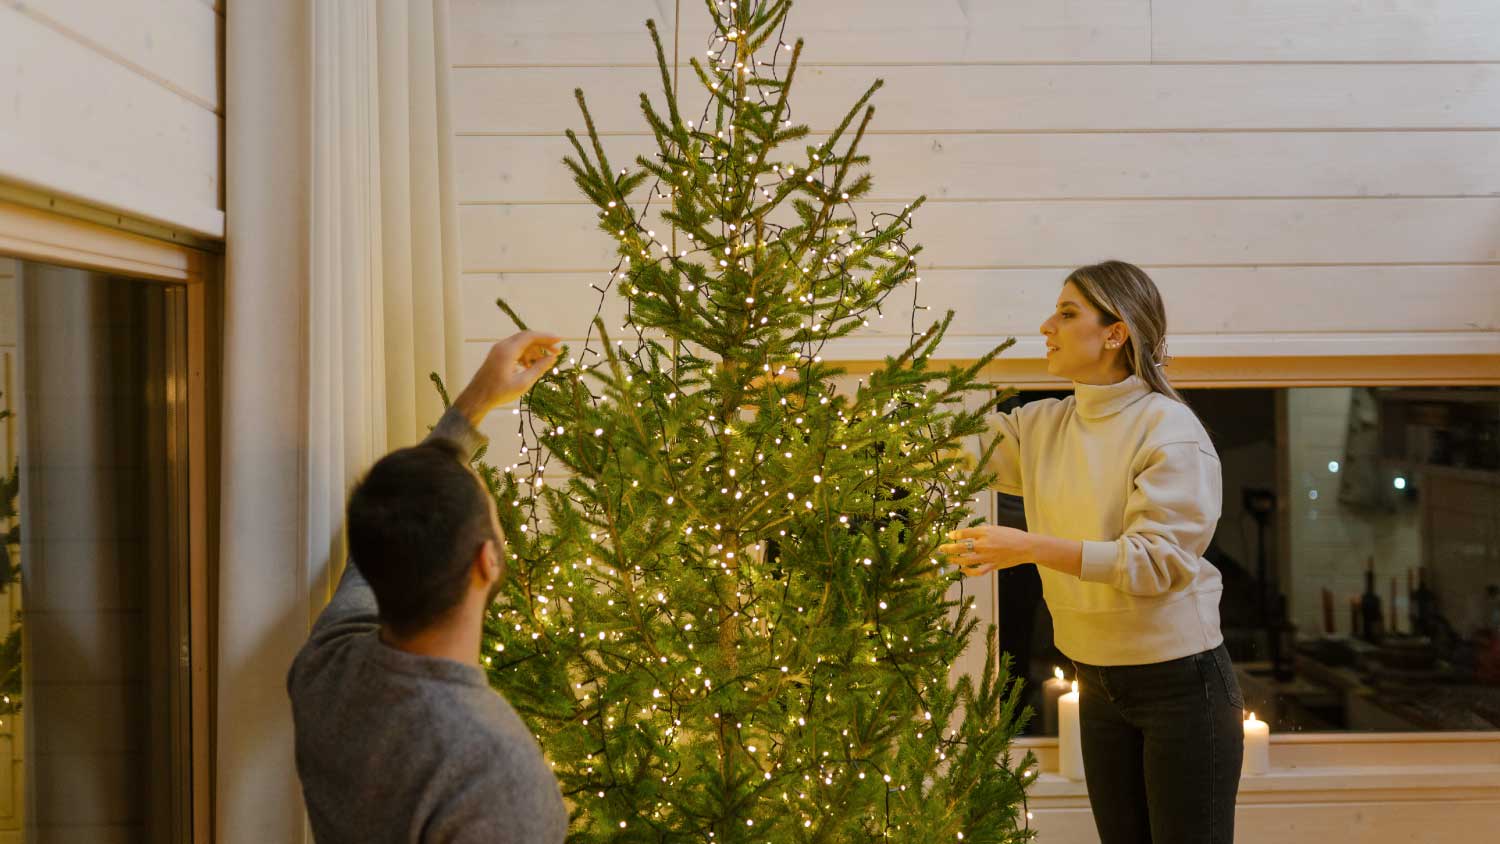
Untangling and repairing Christmas lights can be a real chore in the midst of your holiday festivities. Since string lights became the main staple of seasonal decor, how to fix Christmas lights has been a common source of seasonal puzzlement. If you would rather hire a local Christmas light installer to hang your lights, you can outsource your seasonal light fixing job. But fixing strands of lights and replacing Christmas light bulbs isn’t as hard as it seems—it can be simple and safe if you follow a few steps.
Christmas lights aren’t inexpensive. Keeping enough matching strands to decorate your tree or home for the holidays can get expensive, and throwing away whole strings of lights because of a simple problem is a waste. While there are some problems that will take a strand of lights out of service for good, there are others that can be addressed quickly with a few simple tools.
Finding the root cause of a strand of lights that is out is the key to being able to fix it. Always unplug your lights before changing a bulb or a fuse to avoid the risk of accidental shock. Here are a few things to look for.
Before you try anything else, make sure that your Christmas lights are plugged into a working outlet.
If a whole string of lights is out, check to make sure all the bulbs are seated properly.
If the whole strand of lights is out and it’s not the bulbs, check the fuse.
If only part of a string of lights is out, chances are there’s a short or a broken connection.
Check for faulty bulbs by using a Christmas light bulb tester.
A blown fuse is one of the most common causes of faulty Christmas lights. Thankfully, a blown fuse is fairly easy to fix and won’t cost an arm and a leg to do yourself. You’ll need a few tools and a little patience to get your lights glowing again.
Before you start, unplug your Christmas lights. To replace a blown fuse in your Christmas light strand, you will need to slide the fuse compartment on the male power connector of your lights open using a small flathead screwdriver. Most fuse compartments will have an arrow on them to show you the direction the lid should move to open the compartment.
Inside, there should be two clear tubes that have a thin filament inside and a metal band at each end. A blown fuse will have a gap in the filament inside. Replace the blown one with a new fuse and close the compartment. Then, you can plug your lights back in to test the repair.
If a blown fuse isn’t your issue, your bulbs may be to blame. The good news is you can easily purchase bulb testers online or at your local hardware store, which can identify which bulbs you need to replace. Here’s how to test your bulbs and replace the broken ones.
It’s important to identify the type of Christmas lights you have so that the tester you use will work properly. Not all testers will work on both LED and incandescent lights. These devices will allow you to see if a bulb has broken connection wires or isn’t seated properly, causing the string of lights to go out.
This is a deliberate safety feature: If one bulb is loose or missing, the whole strand of lights will shut off to keep you from getting shocked. The strand of lights will also go out if a light bulb isn’t seated properly or if the base of the bulb is damaged, causing a lack of continuity.
To use a typical Christmas light tester or tester pen, you’ll hold it near the top of an individual bulb. It will light up or beep if that bulb is working properly. To find the culprit bulb, start at one end of the strand and work your way to the other until you find a bulb that isn’t working and needs replacing.
Using caution, carefully remove the plastic cover that’s protecting the bulb. To remove a broken bulb from its socket, push the two copper wires at the base of the old bulb and pull the bulb upward.
Align the copper wires with the holes in the new bulb and, once the bulb is inserted, wrap the wires against the base. Plug in your lights to test the new bulb and ensure the lights come on.
Since pre-lit trees come with their own set of pre-strung lights, they are an entirely different animal to test when a strand (or three) won’t light up. These steps can help you figure out what’s causing the outage.
On a pre-lit Christmas tree, before you look to the fuses or light bulbs, you should take a look at the plugs that are strung together or stacked together. Sometimes these plugs can come loose, and the easiest way to fix the problem is to plug them back in. You can also look for multiple plugs that aren’t near the base of the tree and make sure they’re connected before bringing out the toolbox.
If everything is properly plugged in, you’ll need to test the bulbs and check the fuses of each strand of lights on your pre-lit tree, just as you would with regular string lights.
Storing Christmas lights when you’re not using them is just as important as what you do when they’re in use. Since the light bulbs on strands of lights can come loose if they’re pulled on, causing a whole string to go out, wrapping them carefully is important. If they’re difficult to get back into their original packaging, storing your lights wrapped around a piece of cardboard or on a spool to keep them from getting tangled is always a good idea.
Make sure that your Christmas lights stay dry and don’t get exposed to extreme heat or cold while they’re in storage, as these elements can damage the stripping on the wires as well as other components.
Even inexperienced DIYers can tackle minor Christmas light repairs since the issue is typically with the bulbs or fuses. However, if you don’t have the time it takes to test individual bulbs or troubleshoot multiple fuses, you can contact your local holiday decorator who will be able to identify and solve the problem in minutes. The cost to have your lights repaired and installed by a professional ranges from $220 to $670, depending on the number of lights and the difficulty of the installation.
Excellent work, punctual, polite. Strongly recommended.
Custom Paint Jobs LLC made our home feel warm and inviting. Their expertise is evident.
Visited my home for estimate same day that I called. Painted on Saturday. Great job. Good price!
Window Depot did an amazing job on my deck. I wasnt sure what I wanted to do, but their composite decking was affordable and will last a long time. I am excited to have family over, and I am no longer embarrassed by my backyard. Jeff and the ground crew were polite, respectful, and caring for...
Excellent experience! Left my place looking great. Friendly customer service too. Would recommend!
Awesome company. Had a jacuzzi tub taken out and replaced with huge walk in shower with partial glass enclosure. Onyx to the ceiling with a decorative border, moved plumbing and installed hand held shower, new ceiling, flooring, and paint. Replaced window with glass block. Everything was done...
 Columbus Bath Design
Danny was extremely pleasant and professional and graciously scheduled an appointment for an estimate on a holiday. Communication leading up to the appointment was very good. his representative was timely and polite. Although we did not end up purchasing painting, I had a very positive...
 Danny's Pro Painters LLC
There isn't much I can add that hasn't already been said about Rhino Painting. Outstanding service and communication from the first phone call through the end of the project, we could not be happier with this company. They painted our kitchen, living room, ceiling, starirwell and wood work,...
 Rhino Painting & Color Consulting LLC
This company is amazing! My garage door broke this afternoon and was stuck in the open position. I couldn't leave with the door open so I called Sanford and Sons because the company was recommended by the manufacture of my garage door motor. Nancy answered the company phone and problem...
Bob arrived within an hour of my calling and was very professional and helpful. He was willing to take a look right away even though it was late in the afternoon (and in the middle of holidays). Fixed the problem. I will definitely use their service in the future. <br />
 My Home Solutions LLC
From average costs to expert advice, get all the answers you need to get your job done.
Discover the professional Christmas light installation cost, including average prices, cost factors, and tips to save on your holiday lighting project.

Learn how to test Christmas lights quickly and easily, no matter what kind of light strands you have to keep the Holidays bright and cheery.

There’s more than one right way to put lights on a Christmas tree and the best options might surprise you.
Tired of tangles? Learn how to store Christmas lights without damaging them to ensure next year’s decorating goes smoothly.

Looking to put up a show-stopping Christmas light display this holiday season? Learn more about the types of Christmas lights to make your home shine.

Ready for a very merry holiday season? Learn how to make a Christmas light show sync to music for a choreographed display that lights up the whole block.