
•
Discover the average shower door installation cost, including labor and materials, plus tips to save on your bathroom upgrade.
Get your door back in line

Glass shower door adjustment becomes necessary when you notice sagging that prevents proper closing, noisy operation, or water leaking onto your bathroom floor.
Expect to pay $50 to $150 per hour for handyperson services, while shower door installer rates run $60 per hour for basic alignment work.
You can fix sagging frameless shower doors by loosening hinge screws, lifting the door into position with shims, and retightening once it's level.
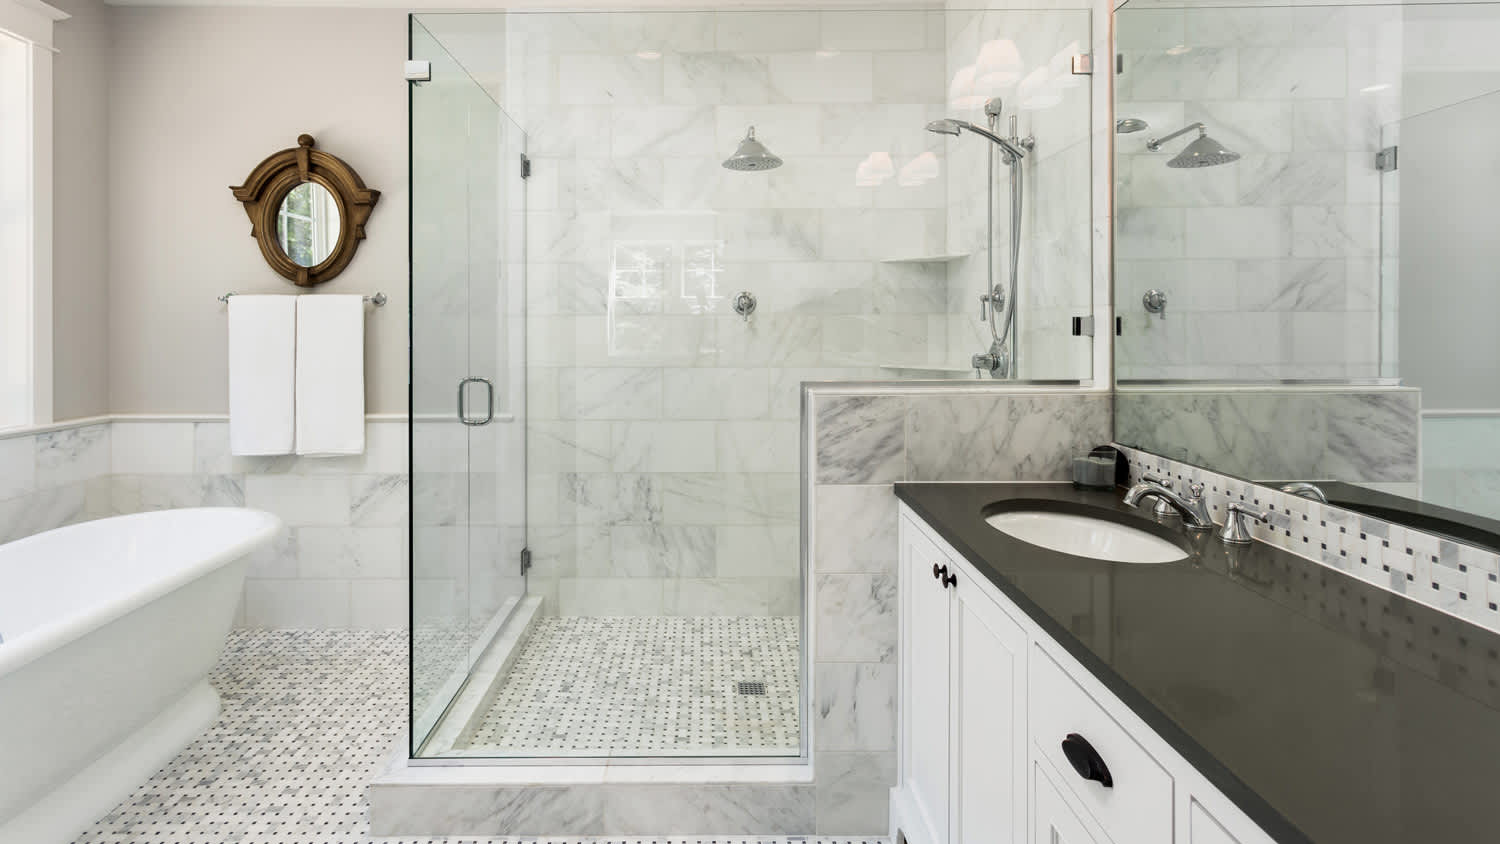
Hiring a local shower door installation professional provides reliable help with heavy doors weighing up to 170 pounds and ensures proper alignment to prevent costly water damage.
Problems with a shower door can be more than just an inconvenience—they can cause serious issues, including water leaks, mold, and mildew growth. Learning how to adjust a shower door is a great skill to have in your back pocket, especially since most showers require small fixes sooner or later. Here are methods for troubleshooting your misaligned shower door.
It’s wise to adjust your shower door whenever you start noticing issues. Ignoring the problem and just dealing with the nuisance will lead to costly repairs down the road. For example, if you get in the habit of using extra force to pull or shut your door, you could potentially break the glass.
Another common issue is water leaks, which cause puddles on the floor every time you shower. This water damage, over time, can seep through the walls or into the subfloor. If you end up with a mold and mildew problem, it can cost thousands to fix.
Hiring a shower door installer costs $60 per hour, and a basic shower door alignment takes an hour to complete. Ask your installer if there are warranties that cover the costs. Keep in mind that these only apply when there is a manufacturer’s defect or if your installer offered a warranty for their original installation.
Before you get started, turn off the water to your shower to prevent water from flooding your home. Also, grab a towel and dab up wet spots on the floor to prevent slipping.
Next, figure out what the issue is. Common signs that your shower door needs adjustments include:
Your door is saggy and doesn’t shut properly
It’s noisy when you open or close the door
You notice water puddling on the floor outside of the shower
Once you identify the issue, you can proceed to the steps below to fix it. You’ll need basic tools like a Phillips screwdriver, a level, and a ladder. Depending on the condition of your door, you may need replacement shower door wheels, shower seals, or shims.

Most shower doors only need minor adjustments to get back into good working order. Depending on your issue, here are the steps to take.
It’s difficult to close a sagging shower door all the way. Shower doors can sag due to the hardware and screws coming loose over time. Below are directions on how to make adjustments depending on your shower door type.
To fix shower doors with hinges, start by grabbing five shims. Take a stack of two shims and place it beneath the door on the right side, and do the same on the left side. Grab the remaining shim and install it between the door and the adjacent glass panel. These will help keep the door level as you work.
Locate the top hinge and use a screwdriver to loosen the two screws holding the glass together. While most adjustments can be made by fixing the top hinge, you may need to loosen the screws on the lower hinge if the door is crooked.
Once the screws are loosened, lift the door slightly into its correct position. Before you proceed, it helps to have a second person there to check the adjustment with a level. Slowly tighten the screws on the hinges. It’s normal to hear squeaking noises as you do this.
To fix a sagging shower door with rollers, loosen the roller screws on top of the door. After you do this, you’ll be able to lift or lower the door until it’s level. When it’s in the right spot, tighten the screws.
If you have a framed shower door on hinges and it’s not shutting properly, you’ll want to adjust the bracket on the top hinge. Loosen the screws on the top plate closest to the wall. Next, remove the screw that connects the door to the hinge, being careful to have a good grip on the shower door.
You can now move the door however you need to. Remove the plastic cap from the bracket and adjust it to the correct position. Once the door is perfectly level, reinsert and tighten the screws. If the door still isn’t level, you may need to repeat this process with the lower hinge.
Adjusting and leveling a shower door can stop some leaks. However, if you’re still noticing shower leaks and your door is perfectly positioned, check for a worn-out door seal. These last for one to five years, so plan to swap them out fairly regularly. Run your fingers along the bottom of the seal to check its condition. If it’s bumpy, brittle, or crumbling, you’ll need to install a replacement.
To purchase the right size seal, measure the thickness of the shower door. Then, trim the seal down to size, which you can do with sharp shears. Removing the old one is as quick as grabbing it on one end and pushing down. To install the new seal, simply pop it into place.
Noisy sliding shower doors happen because of worn-out wheels. Before you replace them, try cleaning grime and debris out of the track and lubricating the wheels. If that doesn’t fix the issue, install new ones. Shower wheels have a long lifespan of 15 to 20 years, but begin to deteriorate after that.
The first step is to lift the shower door up and off the tracks. To make this job easier, undo the top track on one end to give your door room to move. Once you’ve removed the door, you’ll be able to unscrew the wheels. Measure the wheels so you know which size to get when purchasing replacements.
Installing the new wheels is as easy as screwing them into place. If you have more than one sliding door, repeat the steps above with the second door. Next, reinstall the doors and tighten the tracks as necessary.
The biggest mistake you can make when making adjustments to your shower doors is accidentally damaging them. You need to be particularly careful when working on frameless shower doors since they weigh over 100 pounds. Unless you have experience working on shower doors, have a second person present to help you hold the door and prevent slips and breakage.
Secondly, if you’re working on fixing a leaky door, double-check your work before calling it good. Use the showerhead and spray both corners of the shower door for a few minutes to check for leaks.
DIY shower door adjustments are possible if you have the know-how and strength. Depending on the type of door and its size, shower doors can be surprisingly heavy. Most framed shower doors weigh 50 pounds or less, and large frameless ones weigh as much as 170 pounds. Before tackling the project, make sure you have a good idea of how heavy the door is.
On the other hand, if you’re not an experienced DIYer, you could put a lot of time and effort into an adjustment, only to find out that it didn’t fix the problem. If you’re not confident you can DIY this project and hold up a potentially heavy shower door, a shower door installer near you will have the know-how and tools to make adjustments. Plus, they’ll be able to easily spot the issue and fix it for you.
It’s also worth noting that if your shower door has adjustment issues and it’s fairly new, the problem may be an installation issue. In this scenario, contact the installer and have them come take a look.
Some frameless shower doors weigh up to 170 pounds, potentially making DIY projects dangerous. A pro can safely adjust or replace your shower door so you can return to your morning routine.
Jason has helped me with multiple household projects, with the most recent being new door installation. He has always showed up on time and organized and has done an incredible job! Jason is very professional and he's now my go-to for anything around my house that needs to be fixed or...
Cole has been handling plumbing and general contracting for our four properties over the past three years, and he’s always done a great job. Most recently, he installed a sink and countertop in our retail store where none existed before, and it turned out exactly how we needed. He’s...
 ANB Renovations LLC
1st Choice Renew is simply the best! We hired them for a complete home renovation, and they transformed our space into something truly amazing. The team attention to detail and commitment to quality were evident throughout the project. They were easy to work with, very responsive, and always...
This company went above and beyond with their work, chimney sweeps are usually pretty messy, but the clean up was spot on.!! Josh explained every thing that he was doing, and the things that he was checking to make sure the chimney was safe for me and my family. He was very professional,...
 Supreme brick & chimney
Custom Paint Jobs LLC turned our outdated bathroom into a modern masterpiece.
Excellent customer service and knowledge. I was recommend to him from my neighbour. My front door and window came in great and were installed beautifully perfectly, I m very satisfied with their excellent work, so decided to order one more big bow window for my living room. I cant wait for...
If I could give 10 stars for Kitchen Tune Up, I would. I cannot say enough good things about my experience with Kitchen Tune Up and the entire team involved in the process of my kitchen project. They went above and beyond as far as service and quality with my cabinets, paint, countertops, and...
It was wonderful working with Yordy and his team. They were very professional and are experts in what they do. They have completed the work on time, with better quality and with in fairly reasonable price. We just started with backsplash work , but liking his work, we went on to provide...
We were having 2”x 2” tile installed . There was a small installation error and the new additional replacement tile was from a different lot and the colors didn’t match. Joe assured us that he would rectify everything , which he did without hesitation. We decided to go with the 18” x 36” tile...
 CarifaTile
They work that 360 did on my kitchen cabinets is nothing short of amazing. I still cannot believe the difference from before and after. Jon and Jeff were both so incredibly professional throughout the whole process and their communications with me were constant and consistent. These guys...
 360 Painting Columbus
From average costs to expert advice, get all the answers you need to get your job done.
Discover the average shower door installation cost, including labor and materials, plus tips to save on your bathroom upgrade.
Find out the average shower door repair cost, key price factors, and ways to save. Get estimates to plan your shower door repair project confidently.

Discover frameless shower door costs, including average prices, installation factors, and ways to save on your bathroom upgrade.
Shower doors add durability to a bathroom renovation. This guide explores ten types of shower doors and offers tips to choose the best fit for your home.

Are you shopping for a shower door that fits best in your bathroom? Before you get your heart set on a high-end frameless bathroom door, you need to know a few details. Read on to learn about the differences in cost, function, and appearance.
Learn how to hire a qualified shower door installer for your bathroom project. Find tips on vetting pros, questions to ask, and what to expect.