
•
Discover the average window cleaning cost, key price factors, and tips to save money. Get transparent estimates to keep your windows sparkling and your budget on track.
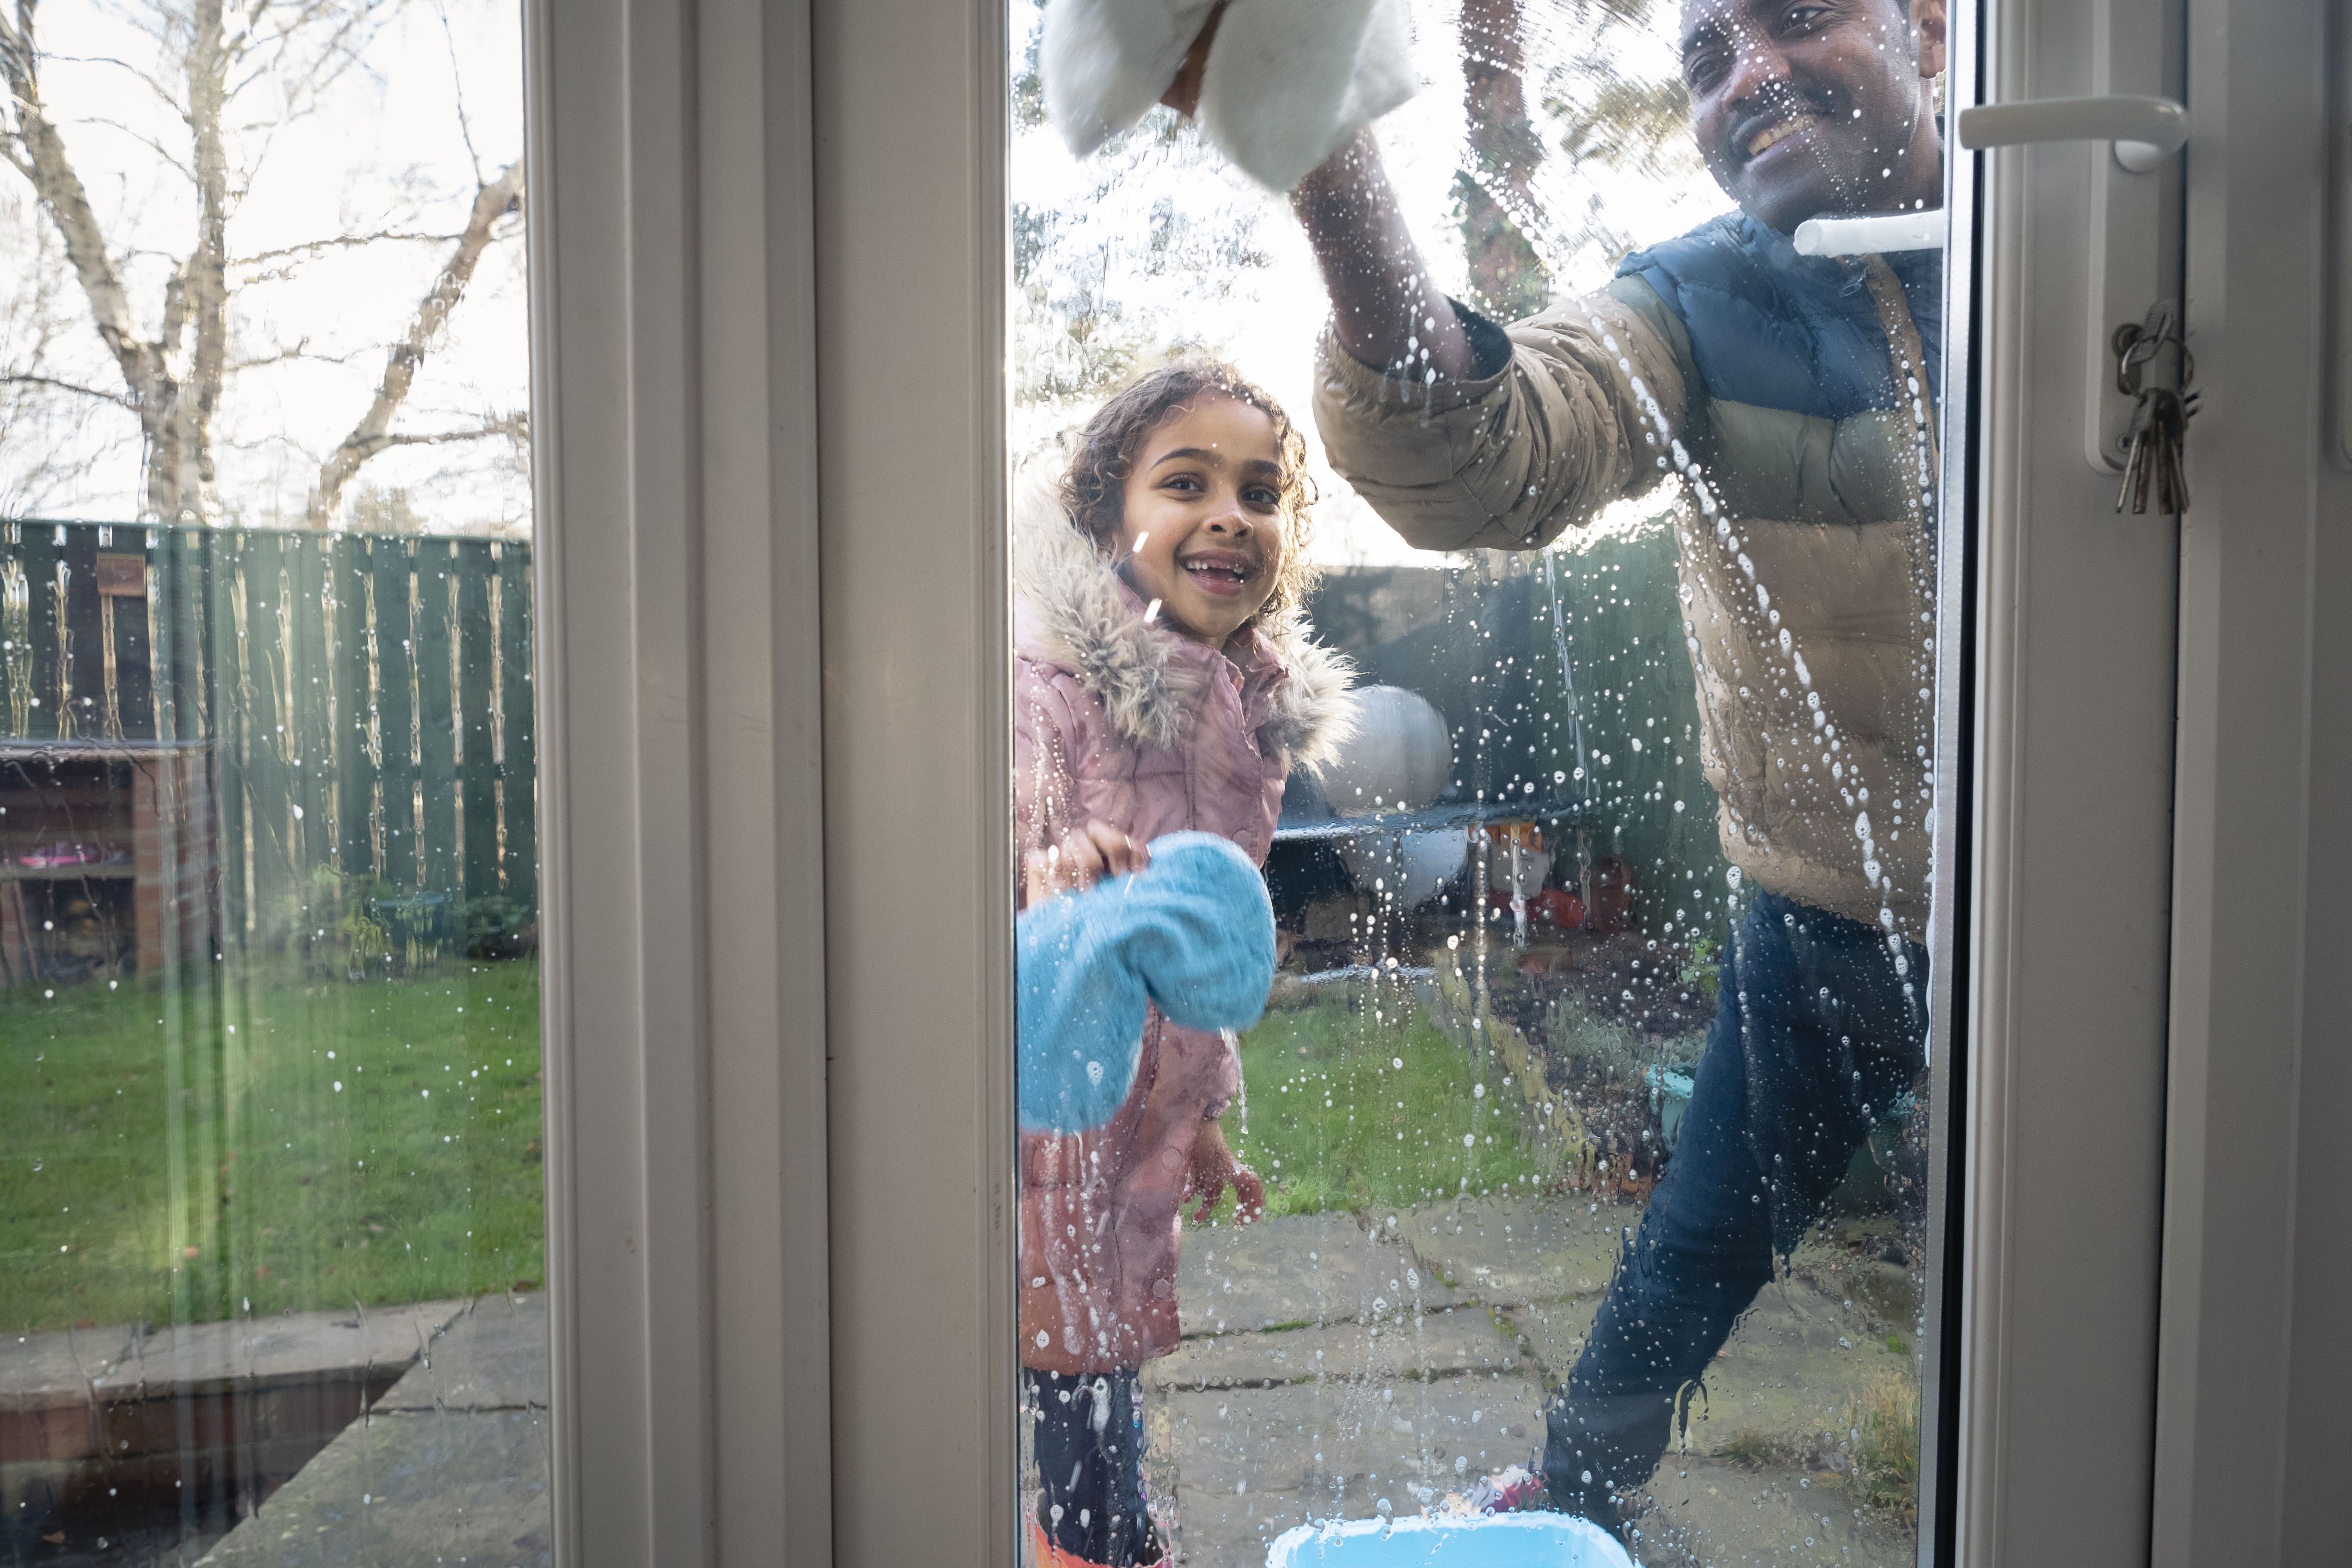
Earn your spring cleaning gold star with sparkly clean windowsills

Cleaning window sills removes dust and debris that accumulates from regular use, keeping your view clear and your windows functioning properly.
Professional window cleaning costs range from $2 to $7 per pane, with most homeowners paying around $260 for complete service.
Vacuuming your windowsills before scrubbing removes loose dirt and makes wet cleaning more effective, especially when you tackle window tracks at the same time.
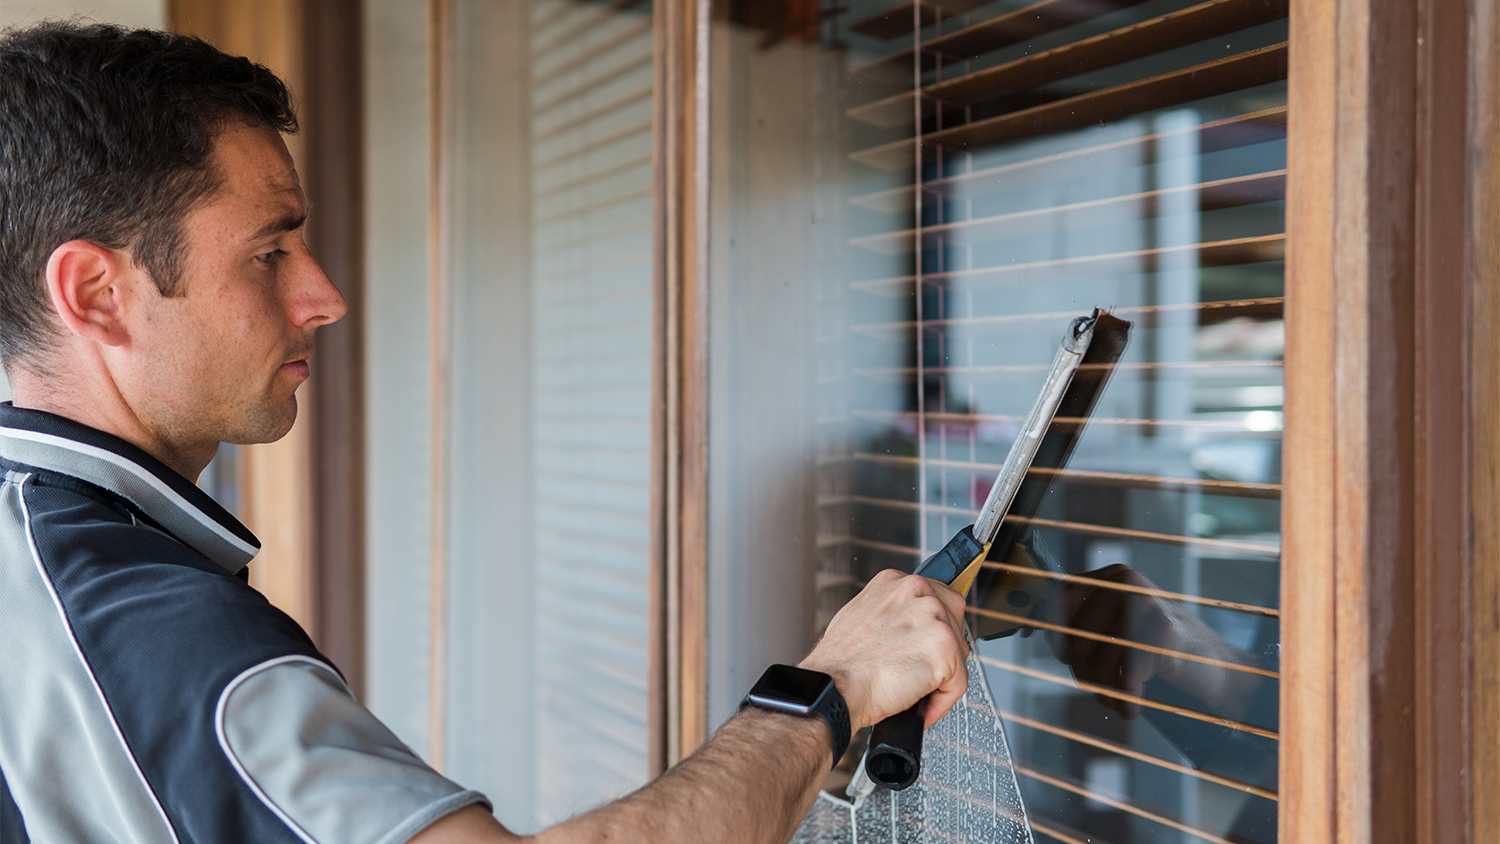
Hiring a local window cleaning professional takes care of your windowsills, tracks, and glass panes inside and out, saving you time and effort.
Windows set the tone for your entire home and keeping them in tip-top shape requires more than occasionally wiping the glass with cleaner. Cleaning the windowsills—the structure that holds the glass panes in place—is the best way to ensure that no dust or debris ever obstructs your view of the outside world.
Though this chore can seem daunting, it will never take more than 30 minutes of your time with a few smart tricks and some cleaning supplies that you probably already have. Use this guide to find out how to clean a windowsill without breaking a sweat.
Odds are, you probably already have most of what you need to make your windowsills sparkle. Removing dust and even mold is easy to do with common household objects like an old toothbrush, a microfiber cloth, and a vacuum.
Before doing anything else, whip out your vacuum (use an attachment) and use it to suck up as much free-floating dirt and dust as possible from your windowsill. Take the opportunity to clean your window tracks of dead bugs and debris, too. Removing this type of debris is much easier to do when dry rather than wet, so save the spray for later on in the process.
After eliminating all dust, it’s time to move onto the nitty gritty of window cleaning. Follow these steps and this chore will be done in no time.
If you notice any mold at all, spray each spot with a small amount of all-purpose cleaner and let it soak until it becomes easier to remove.
Then, use an old toothbrush and a combination of dish soap and warm water to scrub it away. Avoid applying water directly to wooden windowsills as this can lead to water damage.
Work by dipping the brush in the mixture and gently shaking it to remove excess liquid.
Dry everything completely before moving onto the next step.

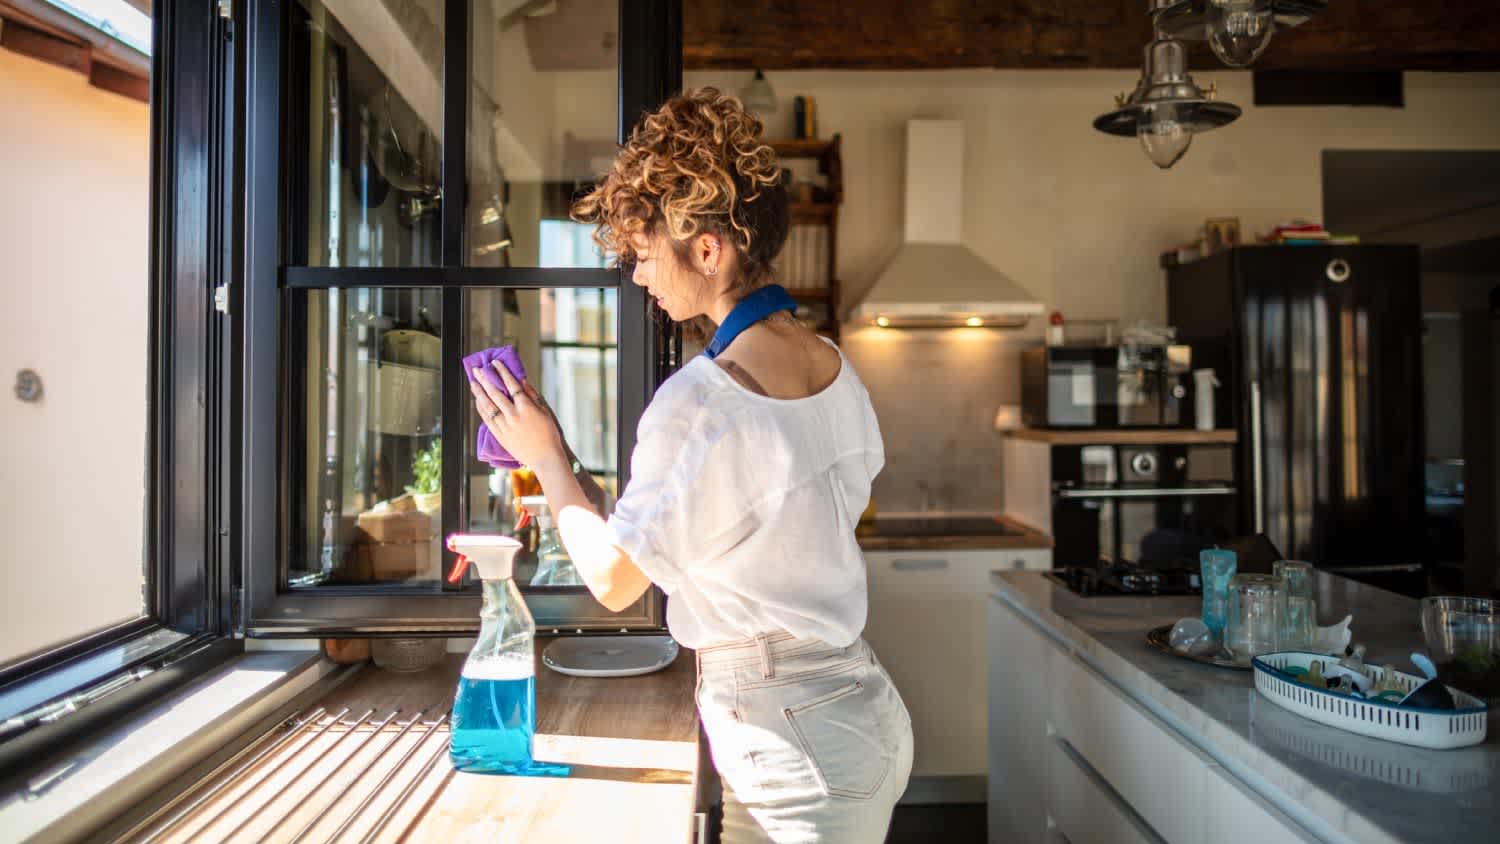
The final step in this process is also the easiest. Now that you’ve removed most of the dirt (and all of the mold), all you need to do is spray a microfiber cloth with a small amount of all-purpose cleaner and wipe away any stuck-on dirt that remains, just as you’d clean baseboards or wooden trim elsewhere in your home.
When you’ve completed this step, open your windows to let them air dry and enjoy how much brighter and cleaner your space will feel.
Windowsills become dirty after lots of use and time. If you live in a climate where you’re only able to open your windows for a few months of the year, you’ll need to do one to two yearly windowsill cleaning sessions at most.
On the other hand, you’ll need to clean windows that are used year-round every couple months. Keep an eye on any mold development and get rid of it as soon as you spot it, as it can pose health hazards to your home. And if you’d rather not do the work yourself, hire a window cleaner to do it for you.
The cost to hire a professional window cleaner can be anywhere from $2 to $7 per pane, and most homeowners pay an average of $260 for all of their windows.
While that’s considerably more expensive than the $10 to $15 you’ll need to do it yourself, the pros will be taking care of every part of your windows—not just the sills, but the tracks, panes, and even the outside, too.
We have used Window Warriors many times with no issues. They arrived on time and were very professional . We have pets and Window Warrior team treated them very well, well trusted team.
I am highly satisfied with the window replacement service I received; the professionals from Savvy Exteriors were punctual and did an amazing job that exceeded my expectations.
I hired windows depot USA of central to install new windows in house in Oshawa. Ilya was very professional from the start, not only did he offered a great price, he also made sure the installation was on time. I am very satisfied with final outcome. The windows look great and the overall...
The team is awesome!! I can generally pick up and clean throughout the week, but they CLEAN! Windows, stair rails, microwave. All the things I can’t ever seem to get to regularly. The house looks and smells great after they leave.
Description says they handle window repair including rotten hardwood - they called me back right away but didnâ t leave a voicemail. I followed up 3 days later and they said they donâ t do that kind of work.
We had a gutter blockage that was causing water to sheet down the side of the house and ultimately it started to come in at a window (need mortar people next). Called around 7:30am, and he responded by 8am. He was able to come out the same morning and do a look over and clean out. He also...
From average costs to expert advice, get all the answers you need to get your job done.
Discover the average window cleaning cost, key price factors, and tips to save money. Get transparent estimates to keep your windows sparkling and your budget on track.
When determining your AC coil cleaning cost, you’ll need to factor in the type, cleaning method, and more. Our cost guide will show you what to expect.
Garage clean-out costs vary considerably depending on the garage size, the waste type and amount, and how much work you do yourself.
Boost your home’s curb appeal with squeaky-clean windows. Use this guide to learn what professional window cleaners use to clean windows.
Every homeowner should know how to clean their outside windows, especially if they live in a multi-story home. Here’s how to stay safe while washing outdoor windows.

In addition to cleaner panes, there are many more benefits to hiring a professional window cleaner, including saving time and identifying potential problems.