
•
Discover built-in cabinets cost. Learn average prices, key cost factors, and tips to save on your custom built-in cabinetry project.
Put those leftover boards to good use with this weekend project


If your garage workbench needs a companion organizer or the living room has become an obstacle course of toys, games, and magazines, it’s time to learn how to build a storage cabinet.
Storage cabinets made from wood—like poplar or pine—can be a satisfying and resourceful weekend project that will add more storage and organization. Read on to learn how to build a storage cabinet in 12 steps.

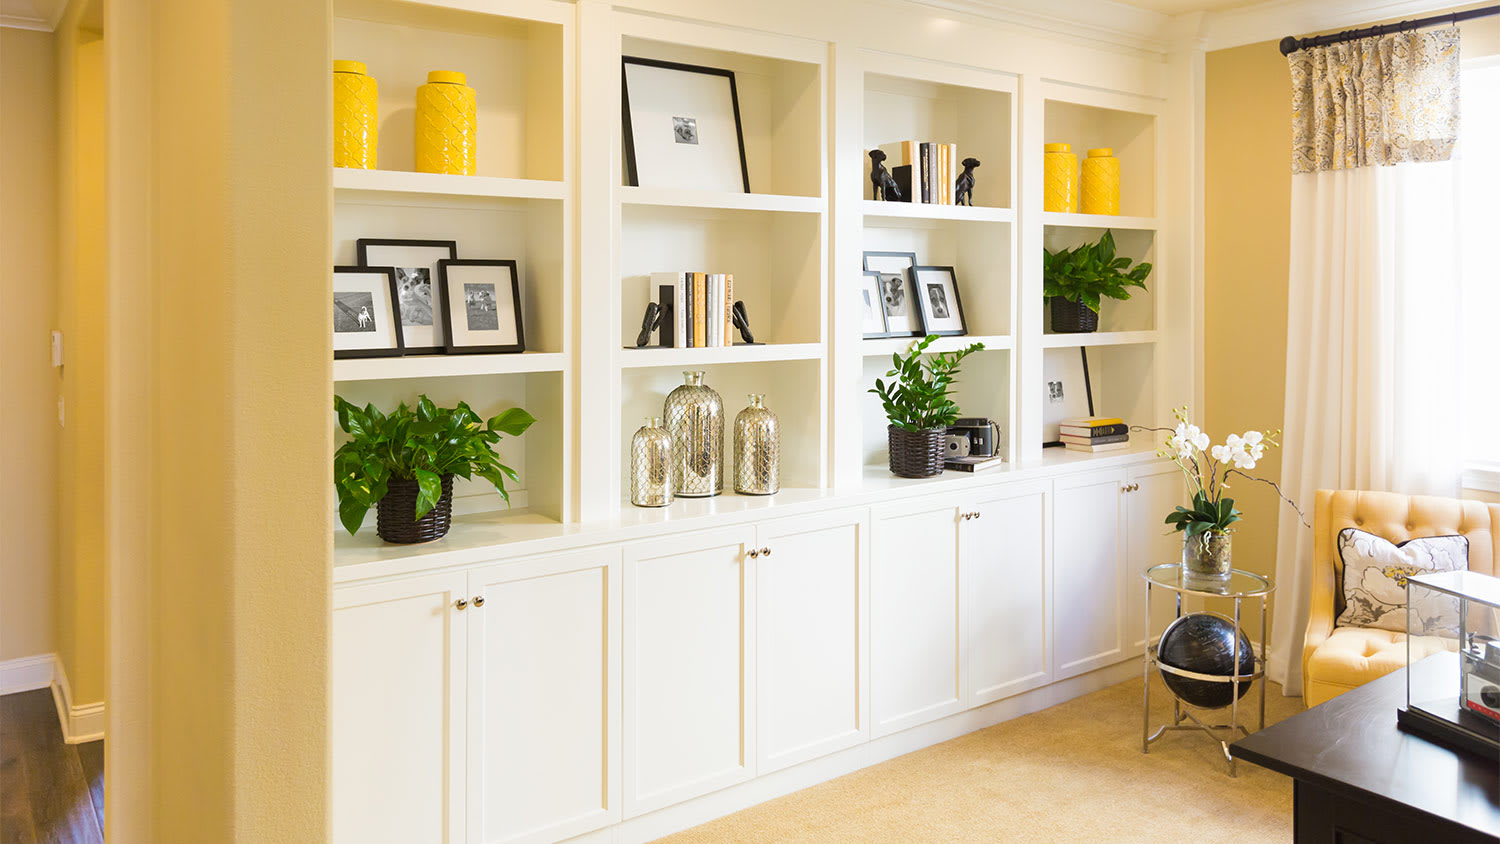
Most cabinet types follow a general process. You’ll construct a cabinet carcass, which is like its shell. Then, you’ll add shelving and any finishing touches before installing its door and hardware.
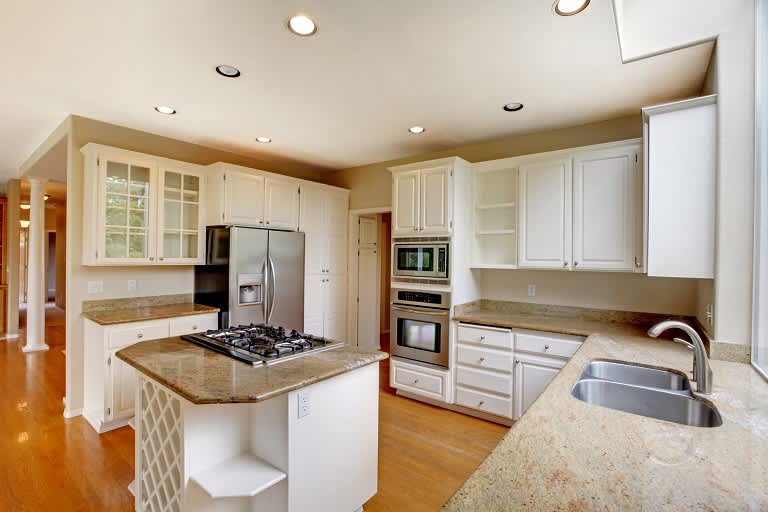
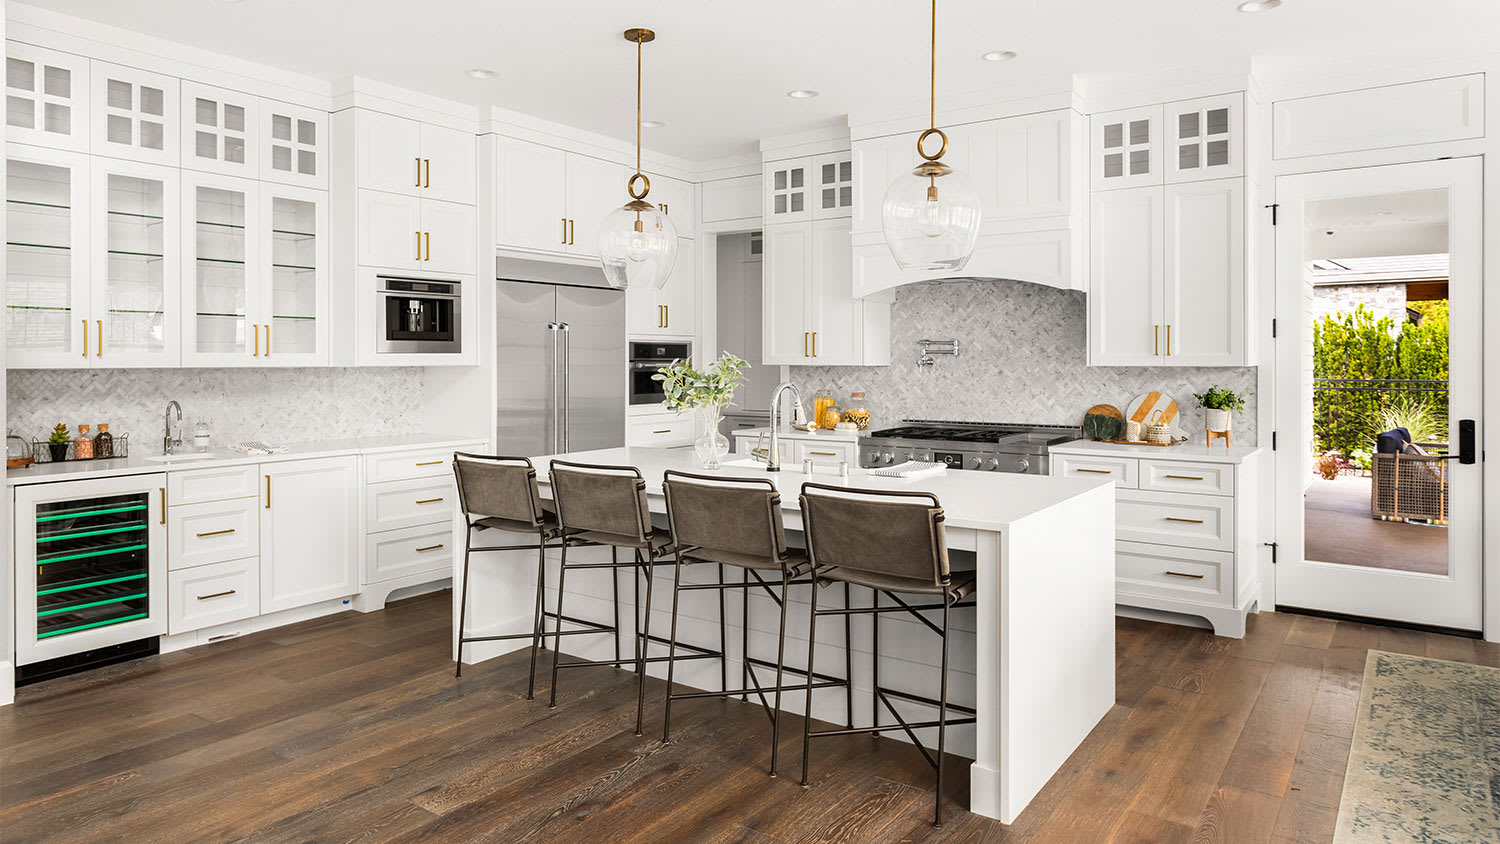
“Adding a storage cabinet to an unused space really enhances your living experience,” says Bob Tschudi, a Raleigh, North Carolina-based general contractor. “And, if finished well, it will add to the value of your home.”
First, cut your plywood pieces to a uniform size for the cabinet dimensions you would like to make with your table or circular saw. Cut the four main sides of your cabinet.
Next, cut four pieces from your 1-by-6-by-8 board that is the same length as the width of your back panel. These are your cabinet’s brace pieces.
This is an optional step if you want to add reinforcement to your cabinet and give panel pieces a more seamless appearance without screws showing on the outside of your cabinet.
Using a dado blade or router, cut a 3/4-inch dado groove along the bottom edge of each side panel piece. This creates a channel for pieces to fit together with the bottom panel.
Next, set your blade to a 1/4-inch width and carve a groove down the length of one of your brace pieces (this will become your top brace piece mentioned in step 6).
To create the carcass, grab your wood glue and your panel pieces. Apply a liberal amount of glue along the grooves or edges of your side panel and fit it into place with the adjoining panels. Use your parallel-jaw clamps to keep the panels secure and square while the glue dries. Work your way around until the side, back, and bottom panels are all joined—this should look like a three-sided box with a bottom and no top.
If you would like your cabinet to sit on the ground rather than on caster wheels, you can create a toe kick frame for it.
From one of your 3/4-inch plywood panels, cut four boards for a frame.
Miter the edges so they can be joined together with wood glue.
Add some pocket holes or additional screws for reinforcement—sandpaper the corners to remove any rough edges.
Once the glue dries, put your toe kick plate frame on the floor. Set the cabinet on top of it, and secure the cabinet with wood glue and screws.
Casters typically come in packs of four, and you can purchase these in a variety of sizes and features. Casters are a handy feature if you want the option to move or reposition your storage cabinet. Plate mount casters work well for cabinets, and you might even want to consider locking casters to ensure your cabinet stays in place without any unwanted rolling.
Cut four plywood squares from one of your panels. These will be what you mount the caster wheels on.
Carefully lay the cabinet down on its side.
Using both screws and wood glue, secure a plywood square to each corner on the bottom of your cabinet.
On each square, center the caster and mark the mounting plate holes with a pencil.
Using the kit materials (and following any manufacturer guidelines), line up and fasten each caster into its corresponding plywood square.
Next, it’s time to grab your brace pieces. If you would like to continue your seamless cabinet look, you can use a pocket hole jig kit to create pocket holes on your brace pieces.
On each brace piece, drill two pocket holes on each end (these should be on the same flat side of the board).
Take your brace piece with the 1/4-inch dado groove and rest it on top of the back panel. Secure it into place with four pocket screws.
Attach the other brace piece to the front of the panel.
Move to the back of the cabinet and install another brace piece above the toe kick along the bottom of the back panel (between the side panels) with pocket screws. Grab the last brace piece and install it at the top of the back panel (these braces are also known as the upper and lower nailer pieces).
You can easily add shelves by cutting pieces of wood from a 1-inch by 3- inch board. These pieces will run along the inside of your cabinet and support the shelf.
Secure these supporting pieces with screws—adding a screw every half-foot.
Measure and cut a 3/4-inch plywood piece to fit and slide into place.
Secure with wood glue or screws.
Remember to double-check your shelf is straight, using a level on the supporting pieces before fastening the plywood shelf.
Adding as many shelves as you’d like—which makes your cabinet perfect for storing that epic salt and pepper shaker collection—is another benefit to DIYing this project. “If you are mounting your storage cabinets between two walls or two immovable surfaces, note that not all walls are perfectly plumb,” says Bob Tschudi. “To account for this, we always make cabinets a fraction of an inch smaller. Then, we’ll use trim or caulk to fill in any gaps and make the finish look fully custom.”
For a finished look and a bit more stability, you can add a face frame. This is located on the front of the cabinet.
From a 3/4-inch plywood board, cut to size the inside strips that will create the frame.
Join these pieces together with wood glue, putting in the side pieces first and then adding the top and bottom pieces.
After the exterior face frame’s glue is dry, attach it to the cabinet box with more wood glue.
Reinforce the frame by tacking in several nails on each side. You can later fill in the nail holes with wood filler.
To fill in the seam along the sides of the frame and the cabinet, smudge in an epoxy filler.
Once the epoxy and wood filler dries, take an electric sander and sand along the cabinet seams. Then, with a piece of sandpaper, give it a final polish by sanding the inside edges of the frame.
If your storage cabinet is taller or has a more minimalist look, you can use the same wood that you used for the rest of the cabinet to create a top. All you need to do is apply more wood glue to the top of the cabinet and secure a piece that is cut to the same dimensions as your bottom panel. If your cabinet is on the shorter side and you’d like to add another design element, you can choose to add a countertop. Laminate is one of the easiest countertop materials to use in a DIY.

Before adding your door and hardware, you’ll want to finish out your cabinet surfaces with any paint or stain. Prep the surface for painting by sanding with a 120-grit first, then go ahead with your decorative finish.
Every storage cabinet needs doors and hardware to, well, hide the mess inside. If you want to add a little extra flair and finesse to your new cabinet, the classic shaker style is one of the easiest types of doors to make.
First, to create a door, cut a center panel using your 1/2-inch plywood (this should be the same dimensions as your back panel)
The four sides that make up the signature shaker-style frame are known as stiles (pieces that run vertically) and rails (horizontal pieces). Grab one of your 1- inch by 3- inch boards and cut two stiles to the height of the door and two rails to fit between them in the remaining length of the door. You can finish the shaker look one of two ways:
Grooved pieces: Create a 1/2-inch groove down the center of your rails and stiles, and then slide the 1/2-inch plywood panel into place.
Attachable frame: Drill pocket holes at the top and bottom of the panel. Attach your rails first with screws and wood glue, then follow with additional pocket holes on the top and bottom for fastening on the stiles.
To check off this step, finish by installing your hinges and hardware and fasten the door panel to the cabinet carcass.
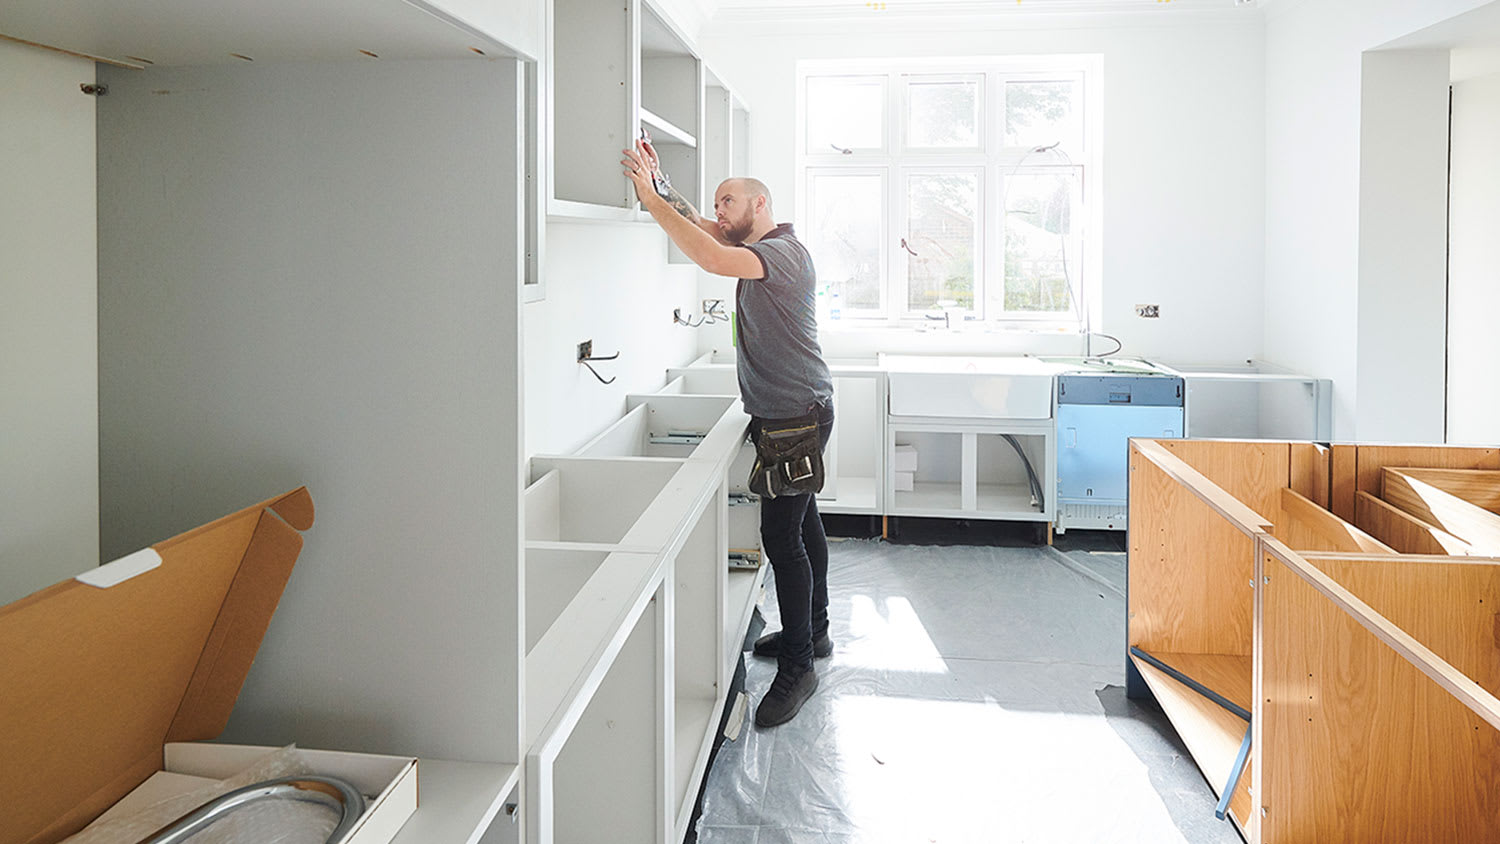
While building a storage cabinet from scratch is a satisfying project, you can save time and labor costs by purchasing and assembling a prefabricated storage cabinet. These prefab kits are available at hardware and online stores, and come with the necessary parts to create your next organizational system. You will likely still need tools like wood glue, filler, epoxy, and screws, but the kit will provide pre-cut wood pieces for you to use. Consider building your storage solution from a prefabricated kit for results that are similar to a DIY cabinet, but built faster and easier.
The cost of custom cabinets averages around $500 to $1,200 per linear foot and includes materials, labor, hardware, and accessories. Because professional carpentry labor makes up about 70% of the cost, you’ll save a significant amount by building your own cabinets. While it can be an incredibly satisfying DIY project, you may want to consider getting a quote from a local cabinet maker if you’re worried about scaling a project to fit, say, a whole kitchen, or you’re running short on time and materials.
Terrible experience. Walls/trim/floors/cabinets/doors all have drip marks, overspray, etc. Tiling at the fireplace had to be redone by another vendor due to incorrect and shoddy install by Profect. Contractor had his children in our house while he was on site without prior authorization or...
 Profect painting & exteriors
My kitchen cabinets look brand new thanks to Custom Paint Jobs LLC. Their refinishing is exceptional.
If I could give 10 stars for Kitchen Tune Up, I would. I cannot say enough good things about my experience with Kitchen Tune Up and the entire team involved in the process of my kitchen project. They went above and beyond as far as service and quality with my cabinets, paint, countertops, and...
We live in a condo and had space to add a tall cabinet. The problem was the space was already occupied by our catsâ litter box. We needed to still keep the litter box in that same corner. Beiler Custom Cabinets was able to work with our need and design request. What was created was an...
Absolutely amazing, Rob and his team are extremely efficient and professional. Pink Dumpster Rentals, Demolition, And Hauling is a go to for getting my property cleared up so we can pursue the upgrades we want to make on our home.
 Pink Dumpster Rentals, Demolition, And Hauling
They work that 360 did on my kitchen cabinets is nothing short of amazing. I still cannot believe the difference from before and after. Jon and Jeff were both so incredibly professional throughout the whole process and their communications with me were constant and consistent. These guys...
 360 Painting Columbus
I had a variety of projects around my house. The work was done quickly and correctly. I was kept informed of every step during the projects and they followed up with me to make sure it was all good.
Phil understood the style I wanted and suggested options for materials (unlike the standard kitchen folks who kept pushing the same cabinets everyone buys). He stepped through all the decisions about the details with me, using his computer program to show the differences between the choices....
 Baker Group Remodeling
I had a great experience with this company. They installed a small TV on the wall of my kitchen between two cabinets. Team came out and did a very thorough inspection and quote. The rep who installed the TV had to do some extra work to snake the cords behind the wall from the top cabinets...
 The Theater People
I couldn't be more pleased with the job Ryan and his team did! My old oak kitchen cabinets now look like brand new white ones. They were able to provide an estimate based on my photos that was far below other companies I checked with, and that was the final price too. They were able to come...
 Rhino Painting & Color Consulting LLC
From average costs to expert advice, get all the answers you need to get your job done.
Discover built-in cabinets cost. Learn average prices, key cost factors, and tips to save on your custom built-in cabinetry project.
The cost of garage cabinetry and storage depends on the size, materials, labor, and more. Our guide will show you how much garage cabinets cost.
Discover cabinet installation cost estimates, including average prices, key cost factors, and tips to save on your new kitchen or bathroom cabinets.
Discover how to build cabinets for your kitchen, bathroom, or anywhere to save money on your next remodel or just to show off your skills.
All rooms require various storage solutions for everyone’s needs. Find ways to increase your cabinet storage space outside the kitchen to stay organized.
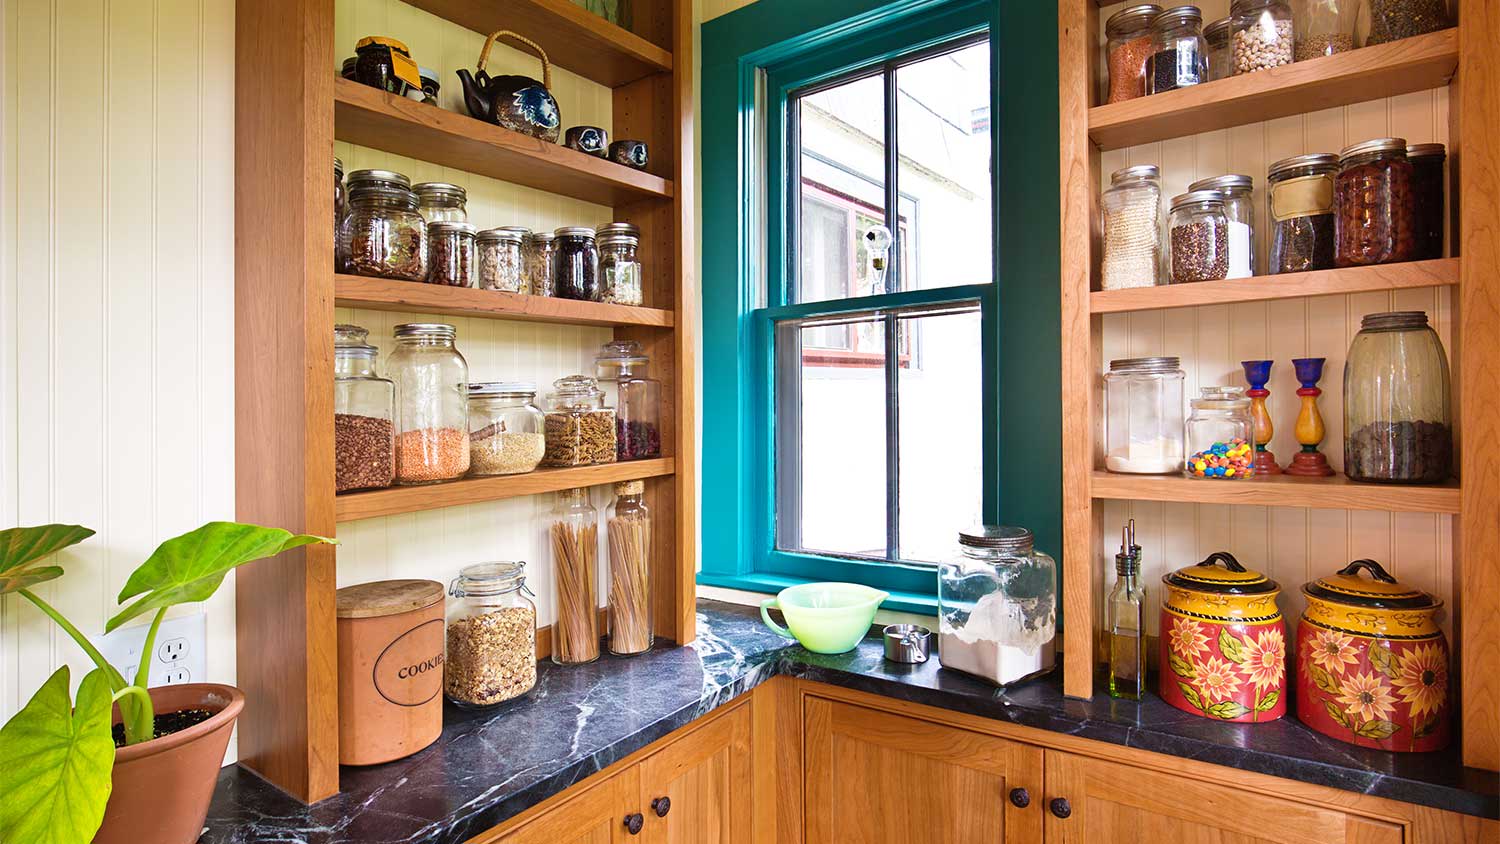
Are you planning on adding more kitchen storage? Read on for a complete guide on how to build a kitchen pantry, a key storage element for home cooks.