
Need a little extra room for clothes storage in your home? Learn about the average cost to build a closet, some cost factors to consider, and more.
Display your shoes and shirts in farmhouse fashion

Building a shiplap closet starts with preparing your walls by removing baseboards and repairing drywall damage before you install the boards.
Expect to pay $100 to $500 for DIY materials, with shiplap boards costing $2.50 to $7 per square foot depending on wood type.
Your first board needs perfect leveling since slight imperfections affect how the rest of your shiplap wall looks when you finish the installation.
Hiring a local closet design professional takes the guesswork out of maximizing your space and customizing storage solutions that match your needs perfectly.
Whether you’re hooked on the rustic charm or the natural vibes, bring your farmhouse style to your wardrobe with a shiplap closet. With a few updates, like a shiplap accent wall and farmhouse-inspired shelves, you'll have both a beautiful and functional space. Follow these steps to build a stunning farmhouse closet.
Shiplap boards cost between $2.50 and $7 per square foot on average, depending on the type of wood and where you live. Some DIY homeowners choose to use wood underlayment instead of shiplap boards due to its lower cost. If you’d rather call in a professional, a carpenter costs $35 an hour and the project generally takes two to four hours, depending on the closet size and design complexity.
Most farmhouse closets feature one accent wall with shiplap, with other walls painted or wallpapered. For the shiplap wall, remove the baseboards, shoe molding, and nails, along with any outlet or light switch covers. Repair any drywall damage and consider adding a fresh coat of paint before you install the shiplap, especially if there are glaring blemishes.
You may decide to keep the other closet walls the same, especially if they’re already painted white. But if not, now is a good time to consider repainting the walls in a farmhouse-style shade, such as green, white, or gray, or put up wallpaper that includes olive branches, tiny florals, or pale damask patterns.
Measure the height and width of your wall to determine its square footage. Based on the height of your shiplap boards, determine how many you’ll need to fill the wall from floor to ceiling. Purchase an extra board or two to account for any mistakes.
If you need to cut a board horizontally to cover the wall completely, place that board at the bottom. Consider using prefinished shiplap boards that come primed or even primed and painted. They cost slightly more than plain boards but they save you lots of time.
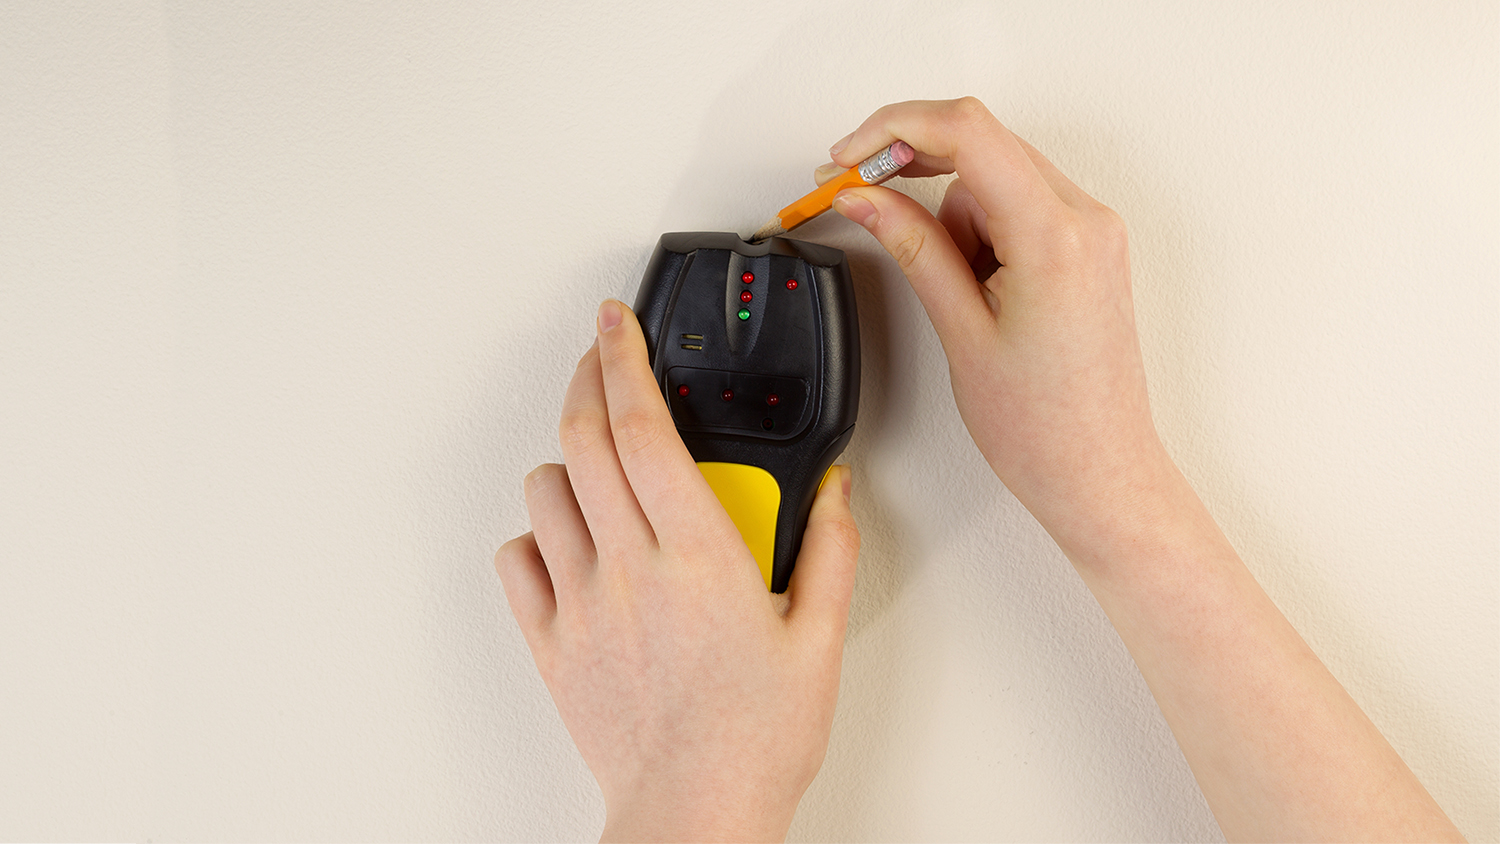
You should attach your shiplap boards to the vertical wall studs so it’s secure and doesn’t damage your drywall or any electrical wiring. Locate your wall studs and use a chalk line to mark each one. Studs are usually placed 16 or 24 inches apart.
Measure the length you need for the boards and cut accordingly. Double- and triple-check your measurements before making any cuts. If you prefer a staggered shiplap look, cut your boards so that two pieces meet part way on the wall. Intersperse where the seams come together for the best aesthetics. If you choose a staggered look, use construction adhesive instead of nails as it’s difficult to align varying board lengths with the wall studs.
Use a level to identify where you'll install your bottom-most board (always start from the bottom when installing shiplap). Slight imperfections at the base of your wall will be covered by your baseboard, so focus on getting your first board perfectly straight. This step impacts how the rest of your shiplap wall will look. Use a chalk line to mark where you'll place your first board.
Place each board on top of the last one installed. Insert nickels or popsicle sticks as spacers between each row (this step gives it the natural shiplap look). Your spacers should be three feet apart from each other. Reuse your spacers for each row you install.
Secure the top and bottom of each board with nails or construction adhesive. If you nail the boards, ensure they reach over the vertical studs. Fill in the nail holes with wood filler. Follow any installation guidelines from your shiplap manufacturer.
Once you install your shiplap wall, reattach your baseboards, shoe molding, and outlet covers.
The key to maximizing a small space is to utilize every inch. Determine the shelves, rods, and other storage options that work best for your clothes and accessories. Most farmhouse closet shelves are white, but some are natural or reclaimed wood. Consider these closet design tips:
Double hang your clothing rods: Place one clothing rod above the other for more hanging space. Leave room for full-length items like dresses.
Add upper and lower storage: Build shelves near the top of your closet for accessories you only use on occasion, such as purses or hats. Place angled shelves at the bottom of your closet for shoes and boots.
Include farmhouse closet shelves and drawers: Install shelves and drawers to store socks, bins of accessories, or jewelry, ensure your closet has ample spots for all of your go-to items.
Designate a space for your hamper: Don’t forget to create a spot for your hamper, whether it’s on the floor or included in a tilt-out design.
You can also hire a local closet designer or a local closet maker to ensure you optimize your space and customize your closet to your needs.

To enhance your shiplap closet, add or change your closet doors to resemble a farmhouse style. A few options:
Sliding faux barn doors
Shiplap doors
French closet doors (can be converted from bi-fold closet doors)
Install farmhouse trim around your existing closet door
You can either DIY your farmhouse closet doors, or buy a kit online or from a hardware store. Sliding barn door kits usually include the door and the hardware you need to install it.
If you have the space, add other elements that amplify your farmhouse vibe. Consider these fixtures and accessories:
Vintage or farmhouse chandelier
Farmhouse style mirror
Piece of artwork featuring flowers, trees, herbs, or farm animals
Farmhouse bench, chair, or stool
Light-colored patterned rug
Reclaimed wood trim
White or neutral-colored bins, organizers, and baskets
Raven and crew does absolutely fantastic job. They are very professional if any concerns were to occur with any of her work she always took responsibility and finished out with a great job. I have worked with her business for a year and have always been satisfied. Very trusted business and...
 Creations of Transformation LLC
Amazing job. Efficient and quick without compromising quality. Basement feels brand new. Would use them again in a heartbeat.
 AffordaPro Restoration
We have bought and sold numerous times over the past 50 years. Sherman Hall and Top Line are top notch. Thorough and detailed, he explains every possibility, probability, and eventuality. High class and pleasant. The best.
 Top Line Home Inspections, LLC
Fantastic group, very communicative, and they really did a great job cleaning my condo. Will be hiring them for recurring cleaning!
 eMaids of Northern Columbus
Supreme Brick & Chimney did a great job with a cleaning and inspection of the fireplace! He was efficient, on time, and very pleasant. The space was kept very clean, and the fireplace was spotless when he was done. He also performed a thorough inspection, and did a great job talking us...
 Supreme brick & chimney
This company is my go to resource for all my post renovation clean ups. They get the place spotless! All we have to do after is stage the place and sell, sell, sell! They are super professional and have some amazing scent that is left in every property. I highly recommend!
 The Royal Sanitation Group
Custom Paint Jobs LLCs custom murals brought life to our childrens rooms. They love it!
 Custom Paint Jobs, LLC
Window Depot did an amazing job on my deck. I wasnt sure what I wanted to do, but their composite decking was affordable and will last a long time. I am excited to have family over, and I am no longer embarrassed by my backyard. Jeff and the ground crew were polite, respectful, and caring for...
 Window Depot USA of Central Ohio
Great tree company, very professional and honest. Glad we found them, they had the best pricing
The team is awesome!! I can generally pick up and clean throughout the week, but they CLEAN! Windows, stair rails, microwave. All the things I can’t ever seem to get to regularly. The house looks and smells great after they leave.
From average costs to expert advice, get all the answers you need to get your job done.
Need a little extra room for clothes storage in your home? Learn about the average cost to build a closet, some cost factors to consider, and more.

Ready to maximize your storage space with a custom closet? Learn how to build a bedroom closet that's tailored to your needs and design style.
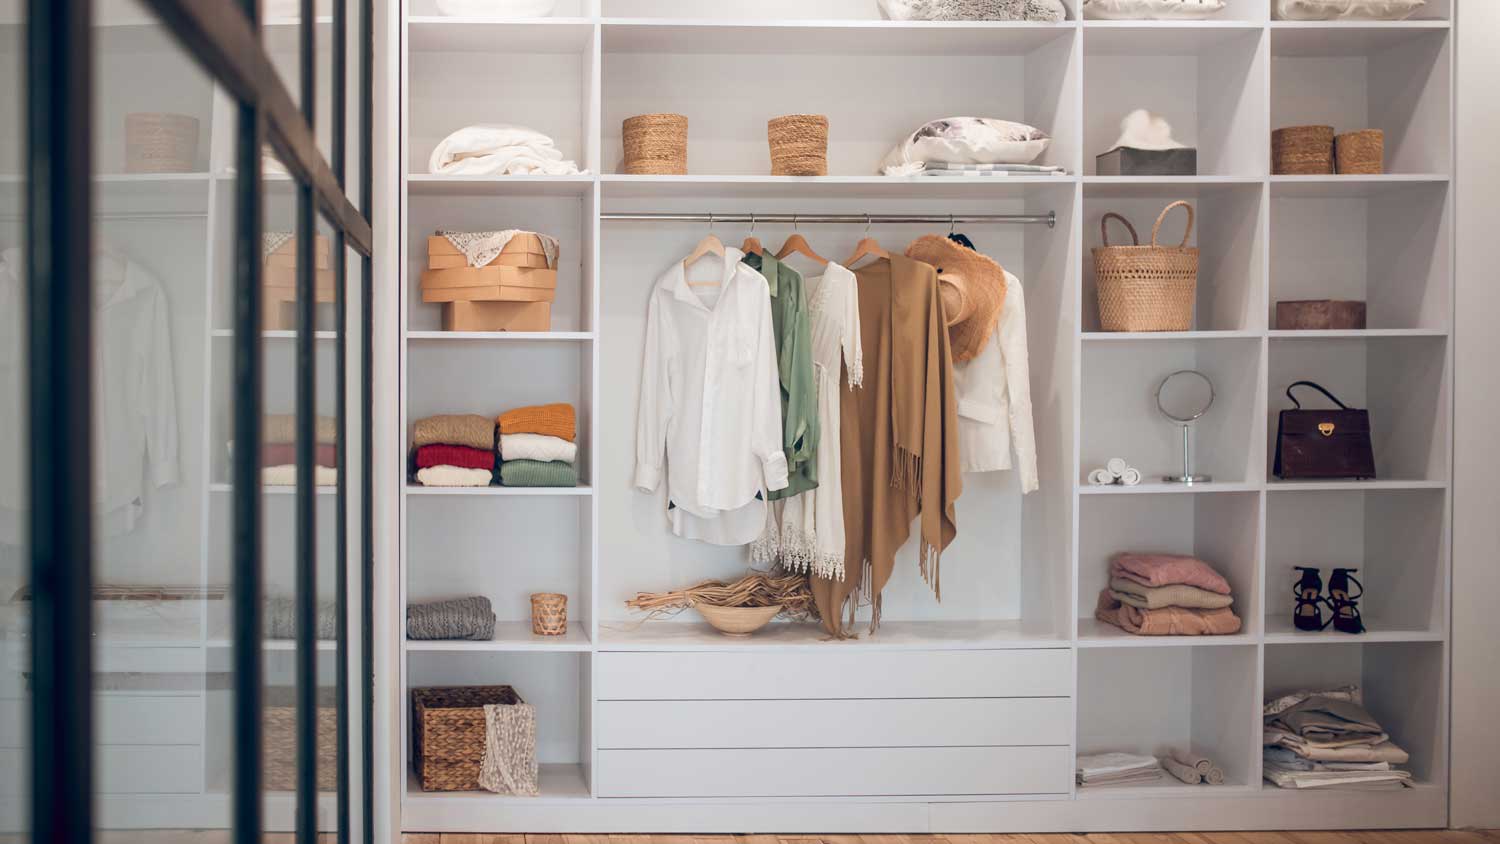
Closets can be tricky to fill, but custom shelves allow you to maximize their storage potential. Find out how to build custom DIY closet shelves.
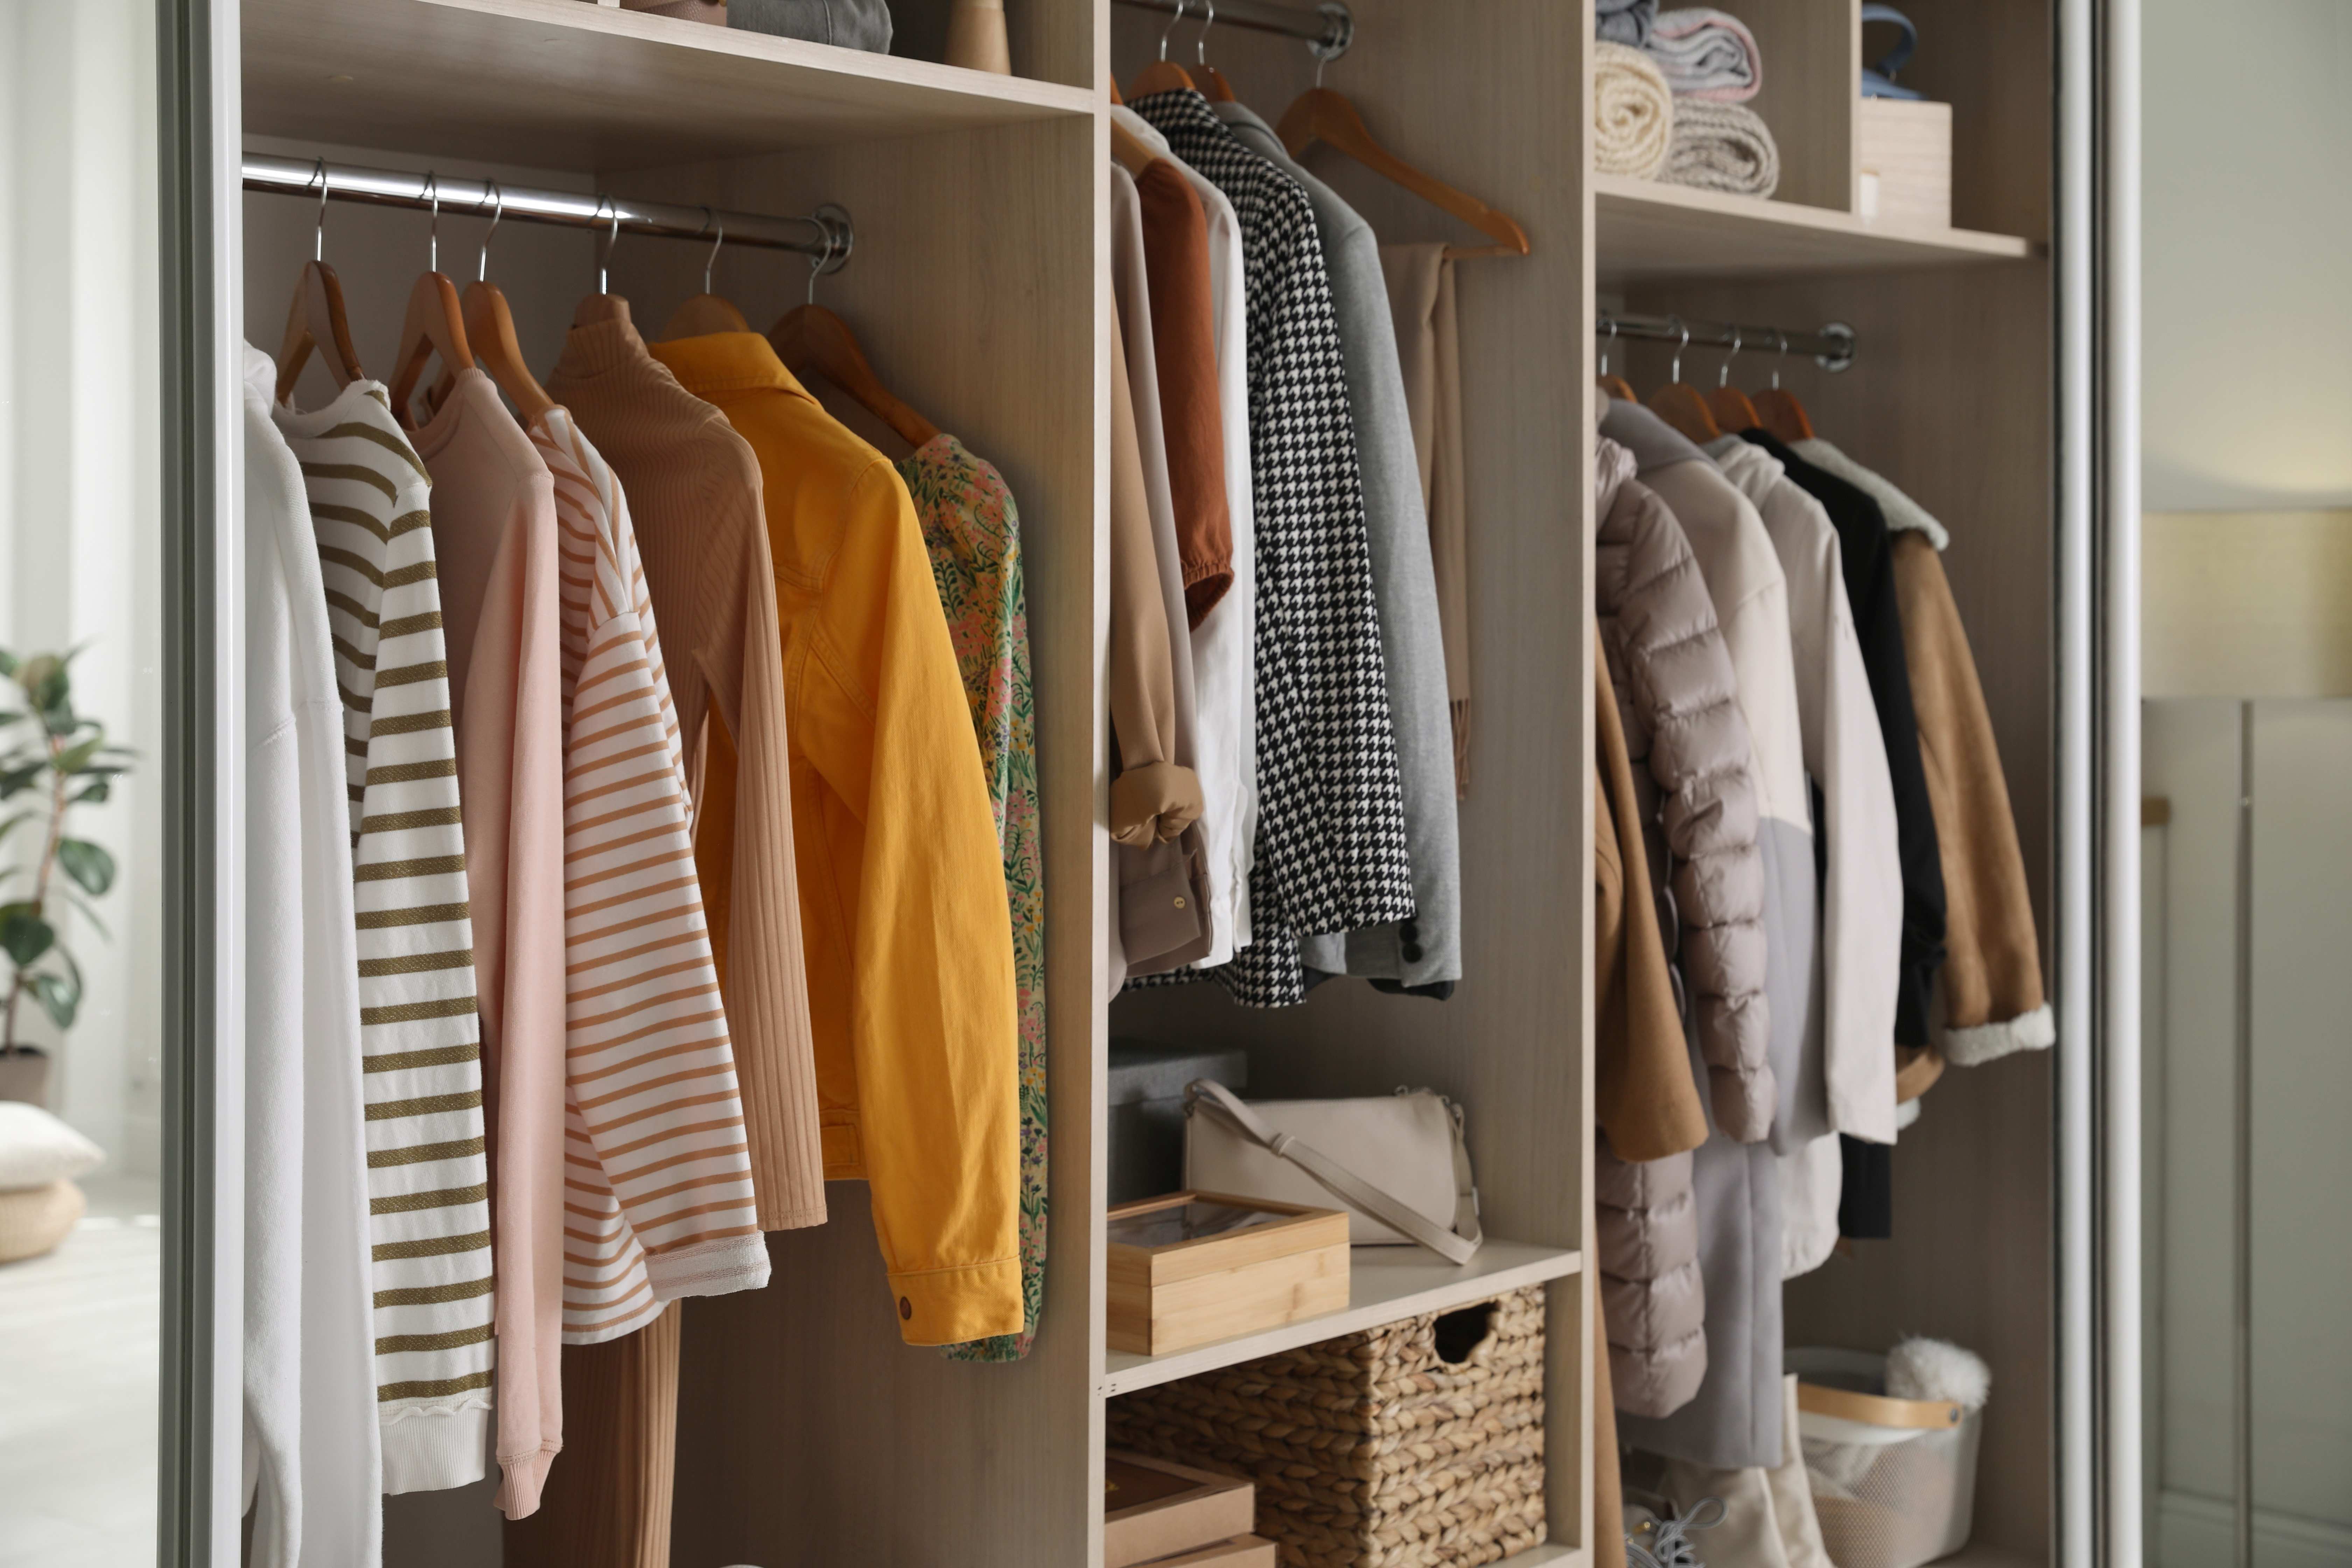
Wondering who to hire to build a closet? Compare custom closet designers vs. carpenters, see how pros get it done, and start planning today.

Designing a DIY custom closet will give you a storage unit that actually makes your space feel organized. Choose the right setup with help from these tips.
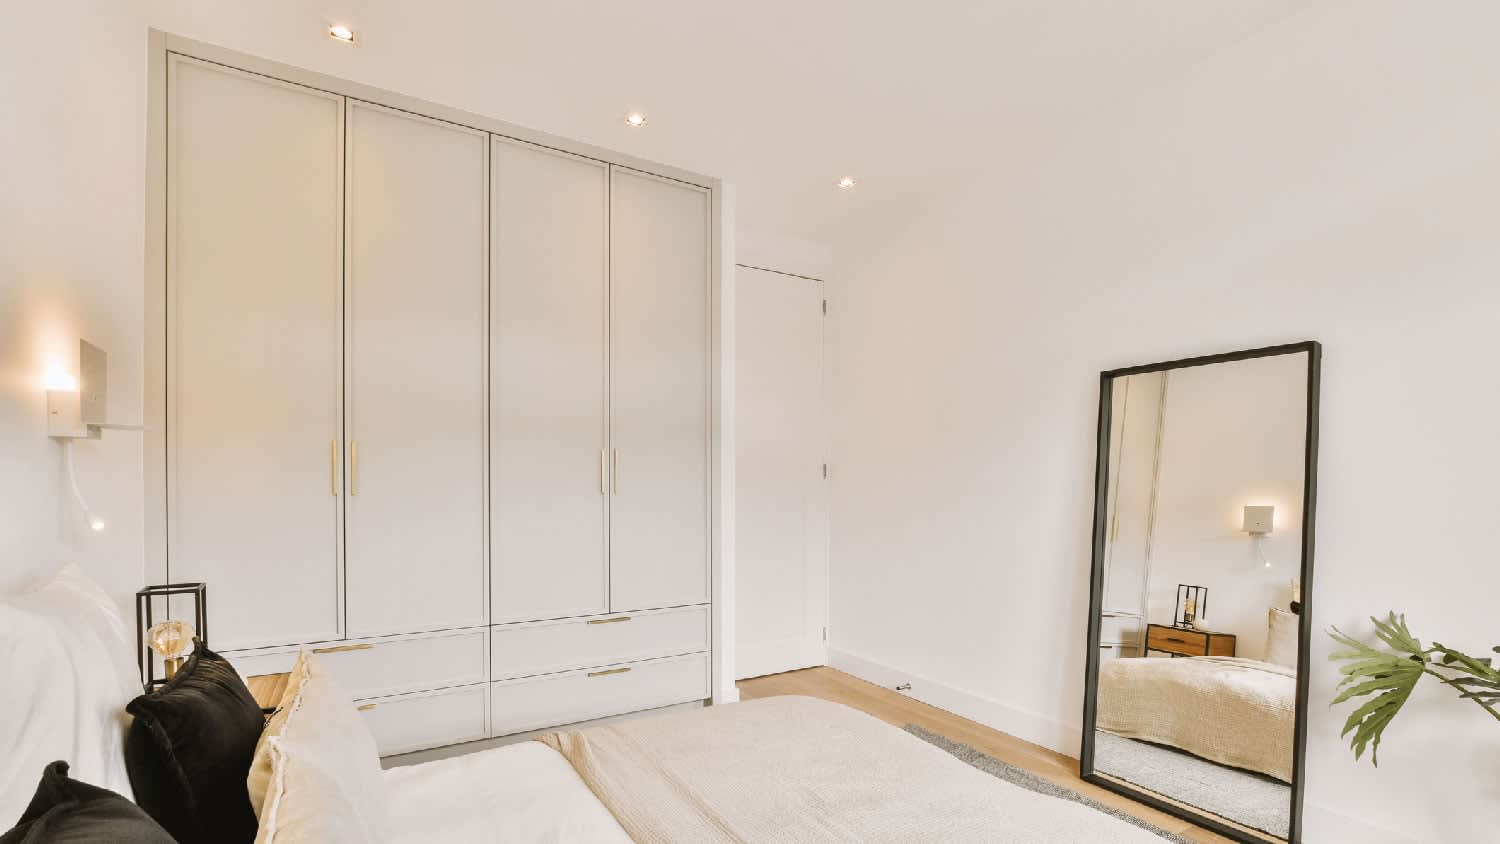
Learning how to build a closet can be a challenging DIY job. If you don’t have the right tools or know-how, consider hiring a professional for help.