

If your crown molding has edges or seams, you may want to caulk it. You can DIY this work or hire a pro—use this guide to learn the cost for both.
Cover up your trim's imperfections with a fresh overlay of veneer molding

Veneer molding covers your crown trim with a thin layer of wood that hides imperfections from furniture bumps, pet activity, and daily wear and tear.
Expect to pay $1,160 for professional molding installation, with carpenter rates ranging from $100 to $150 per hour depending on your project complexity.
You need to apply contact cement to both the veneer and molding, let it dry for 15 to 20 minutes, then press the pieces together carefully.
Hiring a local crown molding installation professional takes the guesswork out of measurements and ensures your veneer application looks seamless with proper adhesive coverage and smooth finishing.
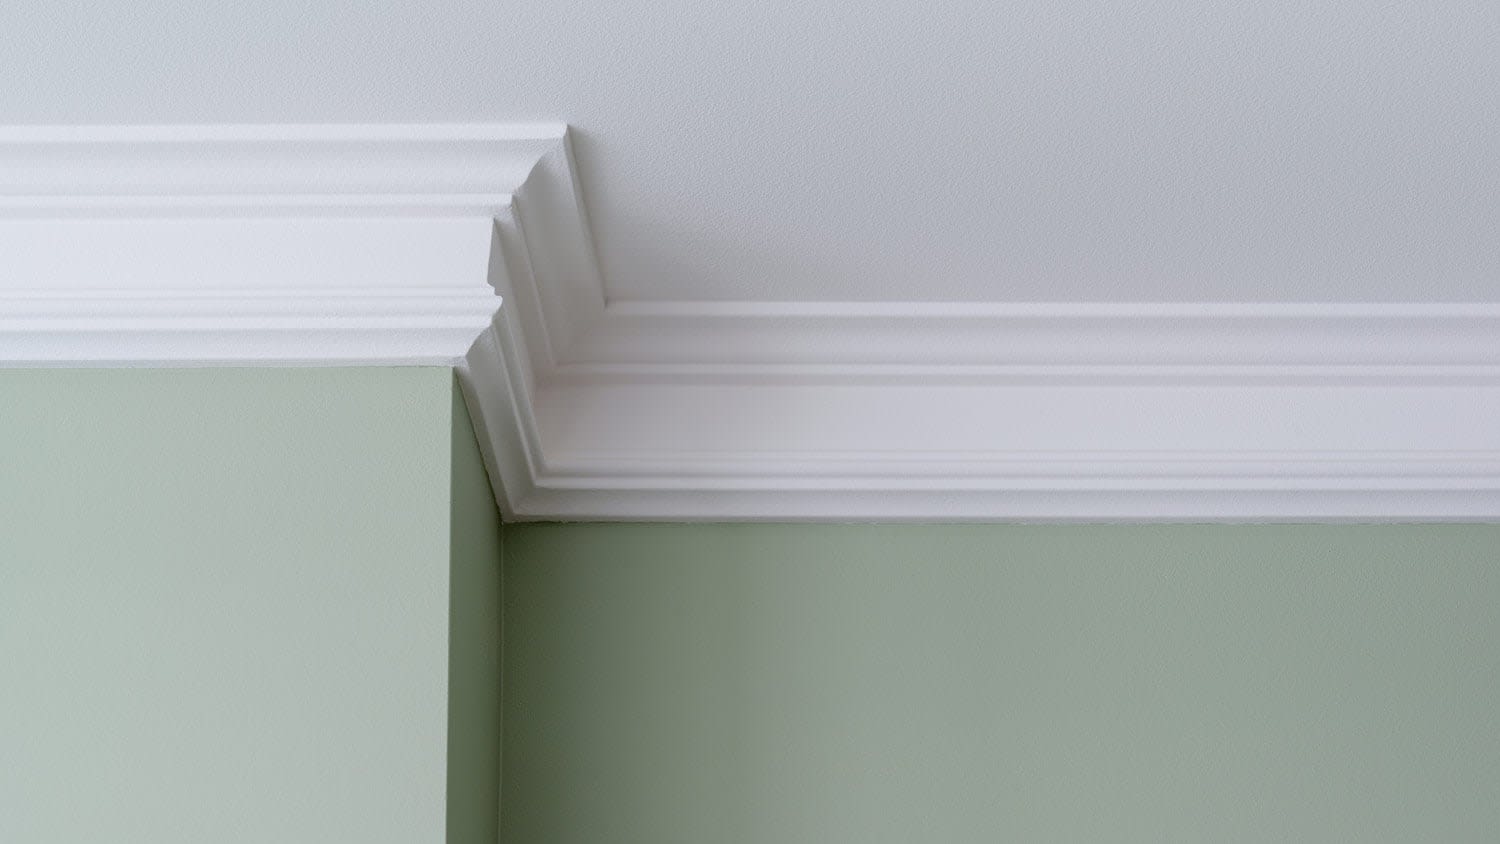
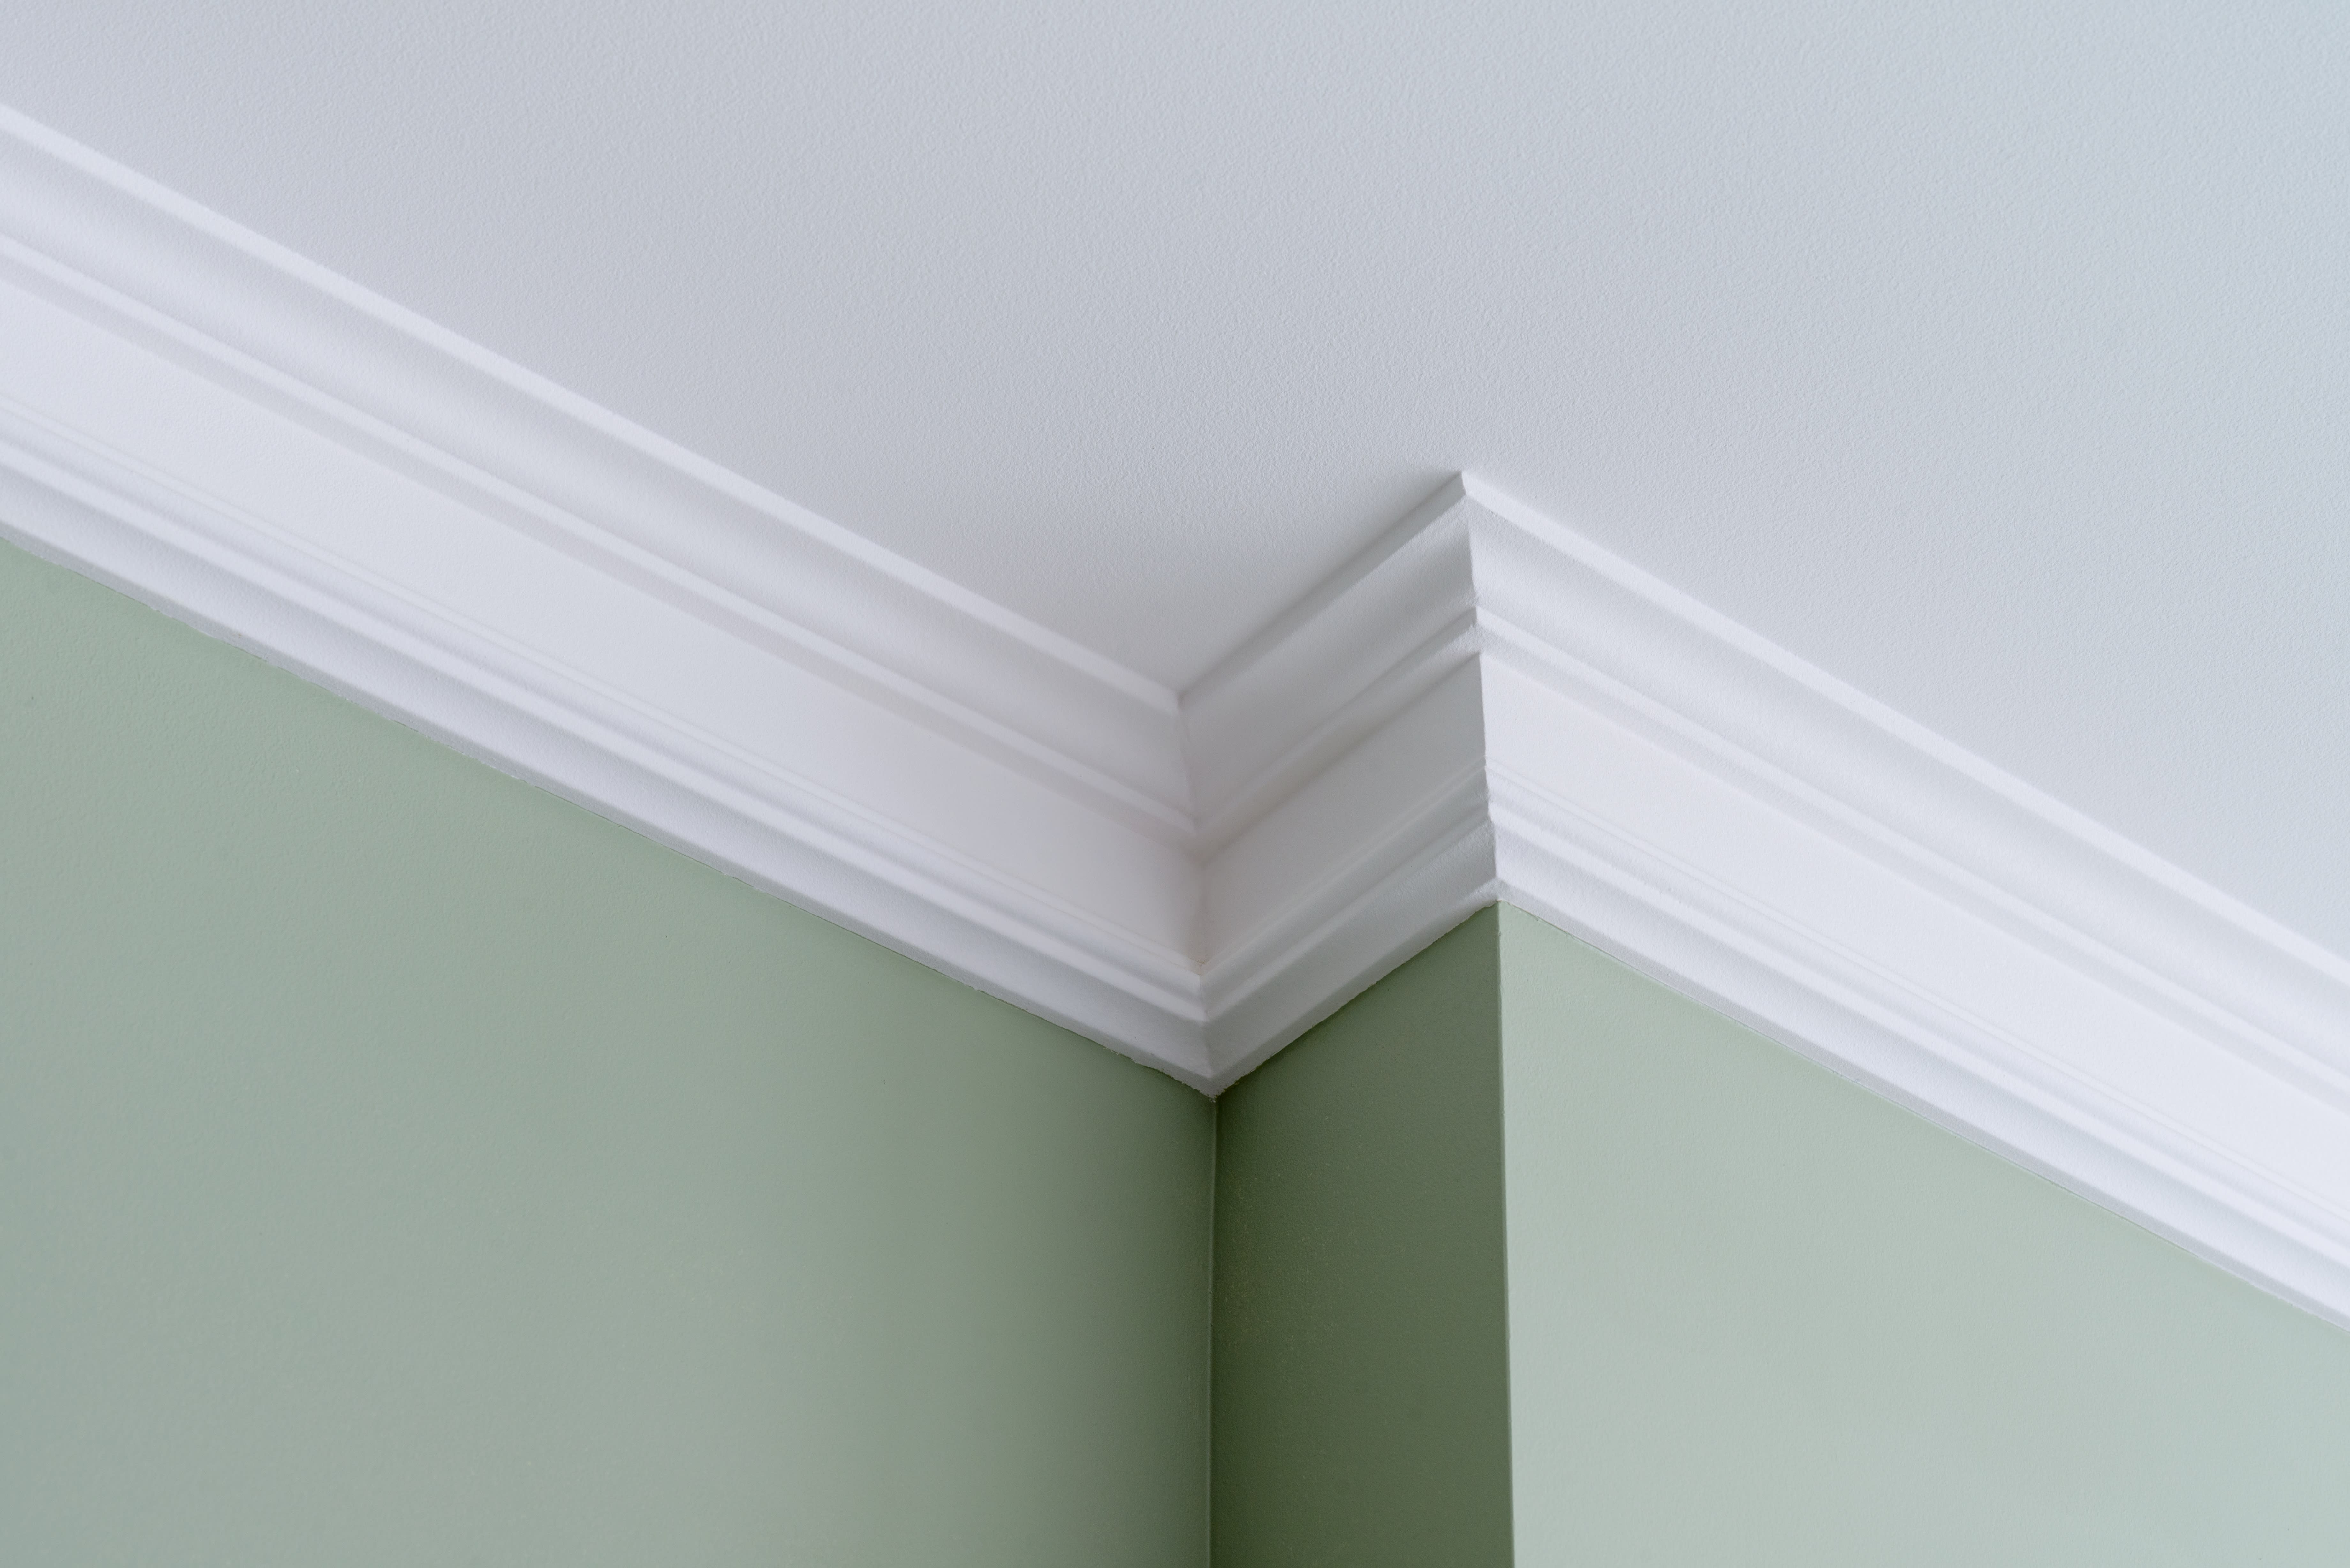
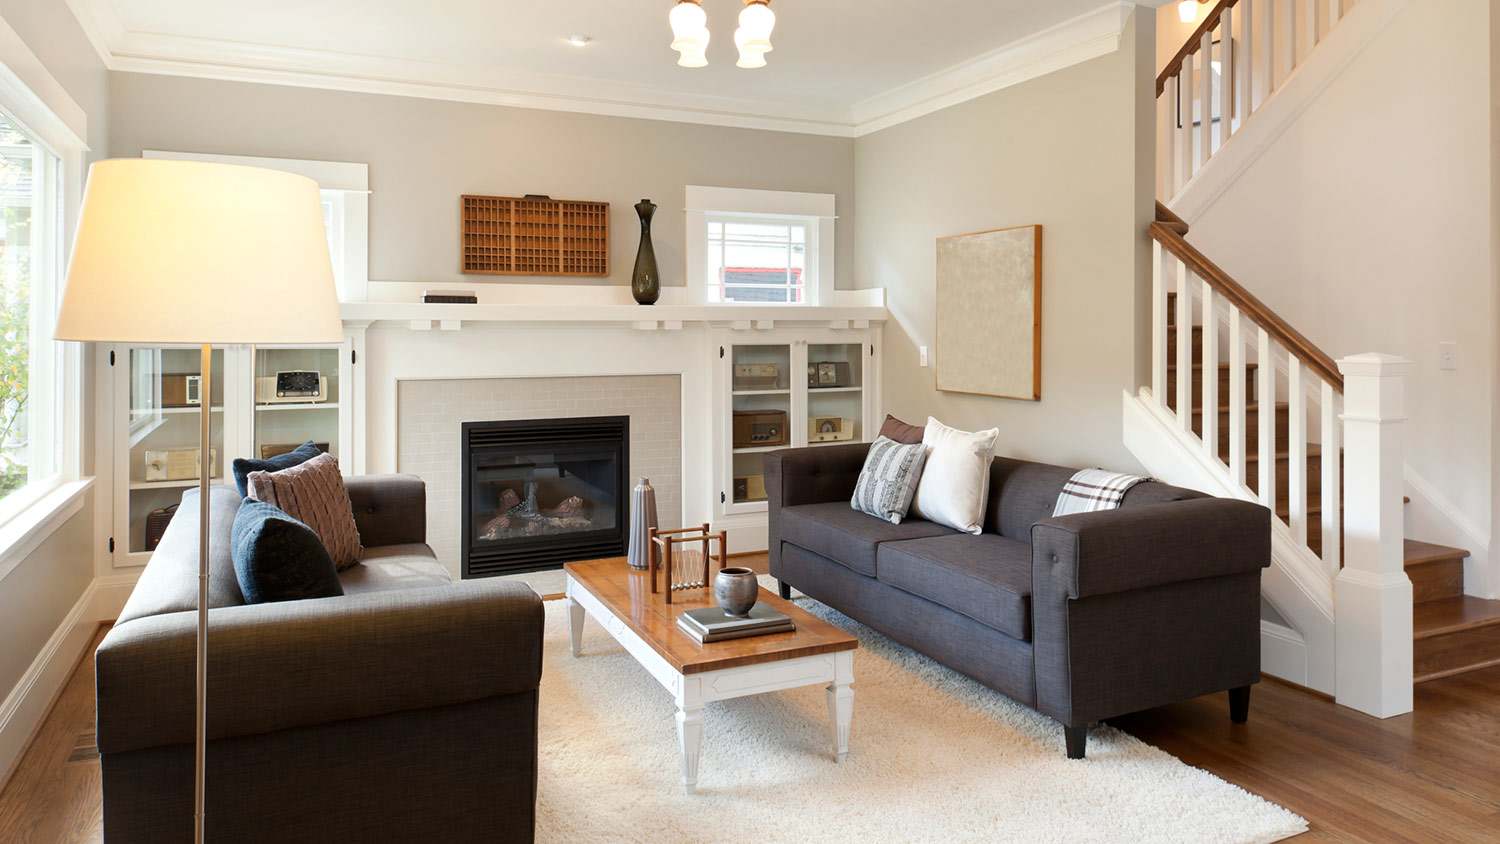
Crown molding makes an ordinary room look extraordinary and is a simple way to give your home a cohesive look throughout. But, as time goes by, wear and tear happen due to furniture bumps and scrapes, kids' activities, and pets playing in the house. If your trim has seen better days, veneer molding can restore it to its former glory. While there are many crown molding styles to choose from, veneer is an inexpensive way to give your room an upgrade. By following these five steps, you can enhance your living space in a chic way.
A veneer is a paper-thin piece of wood (one-eighth of an inch or less) that's applied to both sides of plywood, medium-density fiberboard (MDF), or particle board. It gives the appearance of a wood finish at a more affordable price. Different types of woodworking projects use veneers, and it is especially useful for crown molding. Besides keeping a wood panel stable, veneers offer an environmentally friendly refinishing option because you’re using less solid wood, and the material is recyclable and biodegradable.

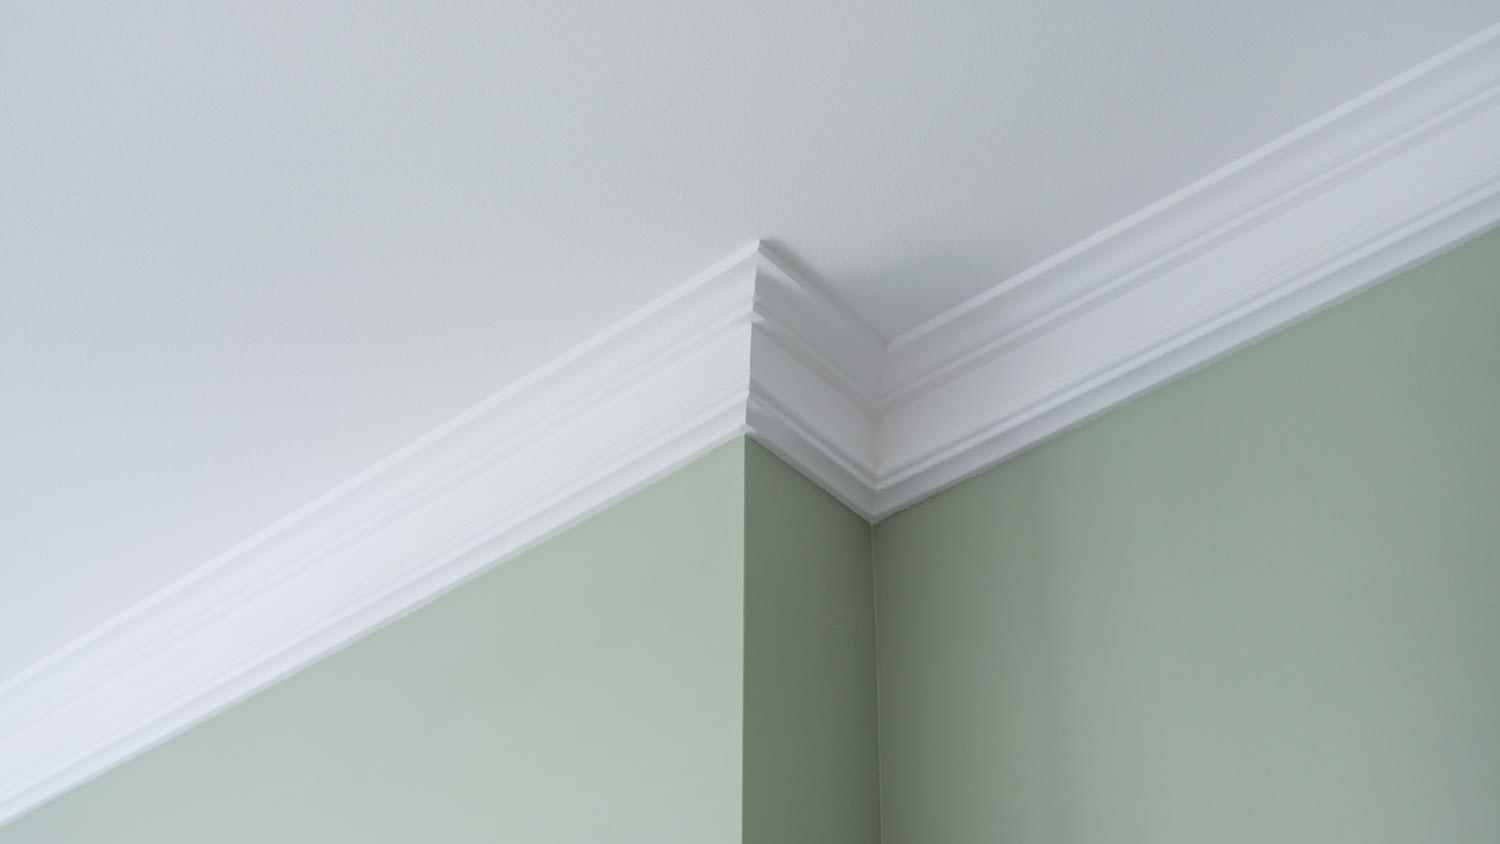
The key to making veneer look beautiful is using the right tools to give it a seamless finish with perfect corners. A rasp is a hand tool for filing or shaving off unwanted or uneven pieces of wood. It can come in handy for those finishing touches.
Keep in mind that each project is custom with veneer molding, so make sure you have all your specific crown molding materials before you begin. One of the most important materials in veneer molding is the MDF, which you'll attach the veneer to. It usually runs about $4 to $10 per linear foot installed. Veneer is easy to find at any hardware store and comes in just about any wood finish you want; it runs about $3 to $10 per square foot.
With your sharp knife or veneer saw, start by cutting the veneer to the same size as the molding. If you’re working with curves on the surface, you’ll need to allow a little extra width so the veneer can seamlessly roll in and cover the entire piece of wood. If you cut your piece too short, you may need to start over since this will cause lifting or peeling with time. Also, make sure the blade is very sharp to avoid chipping the veneer.
Use a small mohair paint roller to apply the contact cement on the back of the veneer, then gently apply it to the molding. You’ll want to have 100% glue coverage on the veneer and the molding. Start by brushing top-to-bottom and finish it off by rolling side-to-side. You'll only need about two coats of gel cement; otherwise, it will take much longer to dry.
If you’re using contact cement, allow the gel cement to dry slightly for about 15 to 20 minutes before putting the two materials together. You can use the back of your hand to test the consistency. You’ll want it dry enough so that the glue doesn’t get on your hand, but it should feel a little tacky. If you chose all-purpose construction adhesive for this step, set the two pieces together immediately before it dries.
If you’re dealing with smaller pieces, you can simply align and press down. You’ll want to start pressing at the center and spread outward to the edges to avoid bubbling. However, if you are dealing with curved edges or larger pieces, you can use wooden dowels or wax paper to ensure all corners are in place before setting the top piece down.
If you are using a thin air press, put the molding on a piece of particle board inside an air press polyurethane bag and close the bag. Turn on the air press, and it will remove the air from the bag and tightly seal the veneer onto the molding. Once the veneer is in place, turn off the machine and allow the molding to sit undisturbed in the bag for 15 minutes. If you do not have an air press, you can use your veneer scraper to smooth everything out—smooth along the grain and not against it.
A professional molding job costs about $1,160 depending on the framing, and a carpenter’s hourly rate can range from $100 and $150 per hour. If you have the time to dedicate to the project, all of the necessary tools on hand, and some DIY know-how, you can save about 25% on the project cost. Material prices account for the majority of the total project price.
Depending on how well you maintain your wood veneers, they can last for many years and even outlive other wooden pieces in your home. Keep them well-maintained to protect against moisture, sun, and heat. You can also apply high-quality polish to avoid marks and scratches.
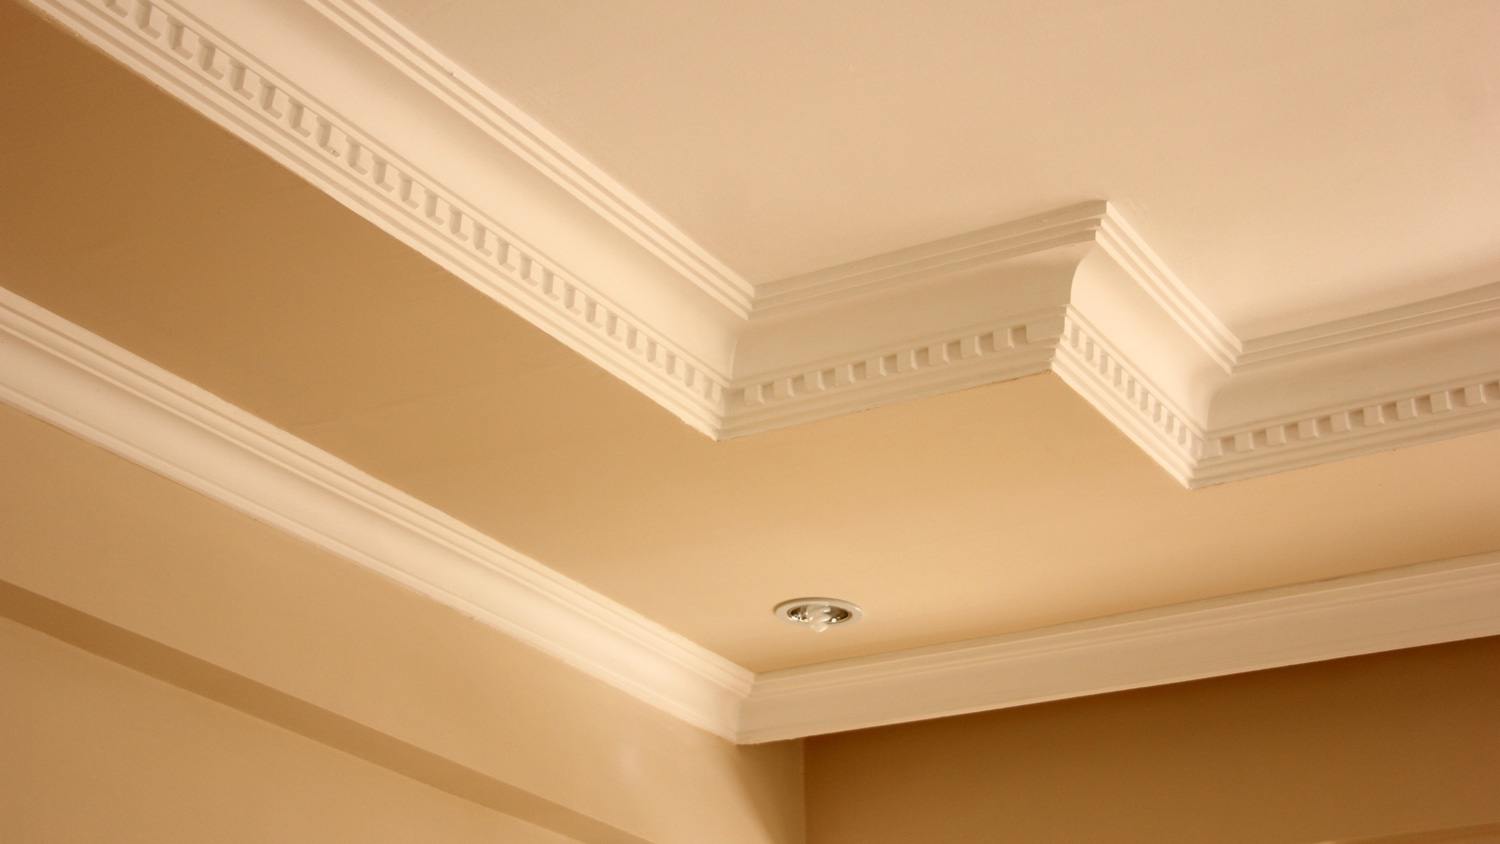
Moldings for an 8-foot wall typically range between 3 inches and 5 inches, while a 10-foot wall requires 5-inch to 7-inch molding. A good rule to follow is: The taller the baseboard, the taller you’ll need your trim to be.
You can remove veneer if needed, especially if it's damaged or lifting. Start by hand-removing the loose pieces first and continue on to the glued pieces using a putty knife. If you find that the veneer glue is very heavy, you can use a blow dryer to loosen it.
Incredible workers! Very skilled with the machinery, climbing, cutting, roping, and removal. Handled everything. Professionals!
 Hoffman Expert Tree Services
I m so impressed with Custom Paint Jobs LLC s craftsmanship. They truly care about quality.
Window Depot did an amazing job on my deck. I wasnt sure what I wanted to do, but their composite decking was affordable and will last a long time. I am excited to have family over, and I am no longer embarrassed by my backyard. Jeff and the ground crew were polite, respectful, and caring for...
Storms Mobile Welding was great to work with. They were prompt, professional and did an overall excellent job on the project. I highly recommend.
Great job...edging and pre clean up went well with a great job with seal coat. Friendly, efficient and professional.
 All Star Paving and Sealing
Great tree company, very professional and honest. Glad we found them, they had the best pricing
It was wonderful working with Yordy and his team. They were very professional and are experts in what they do. They have completed the work on time, with better quality and with in fairly reasonable price. We just started with backsplash work , but liking his work, we went on to provide...
We hired Jim to replace our hardwood floors with new hardwood. He and his helper Jerry did a fantastic job. Their work ethic is impeccable!! We would highly recommend McColl Floors!
The job went extremely well. Work was done as promised and the job came out better than expected due to Mr. Moyer's commitment to excellence and personal pride in providing the best work possible. He is one of those professionals who is not satisfied until the customer is completely happy...
 Pro Flooring
We needed to have a wall cabinet resized so that we could fit a larger refrigerator underneath. I removed the cabinet from the wall myself and brought it in, where Wally was able to resize it for me in his shop. The results were perfect: it's exactly the size that I asked for, and...
 Pioneer Woodworks
From average costs to expert advice, get all the answers you need to get your job done.
If your crown molding has edges or seams, you may want to caulk it. You can DIY this work or hire a pro—use this guide to learn the cost for both.
Installing foam crown molding is a cost-effective way to elevate your home. Costs can be kept low by matching molding to existing wall colors and doing some DIY work.
Find out how much it costs to install crown molding by type and size. Use our expert guide to figure out how much crown molding you need, how much crown molding costs near you, and whether you need to hire a pro.
Does crown molding add value to your home? It adds aesthetic value to some designs, but you should install it less because of ROI and more because you love it.
Learn how to choose crown molding that complements your home's style, fits your budget, and adds value with these expert tips for selecting the perfect trim.
There are a lot of crown molding materials to choose from, and you’ll need to know the benefits of each to know how to pick the best one for your needs.