
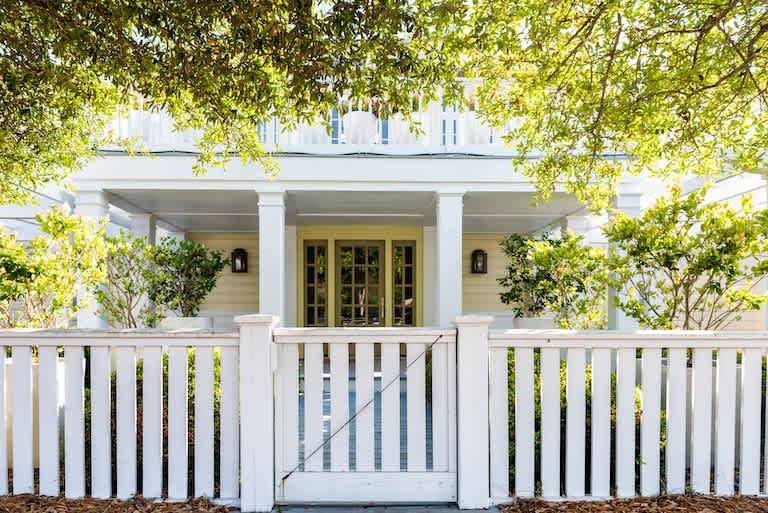
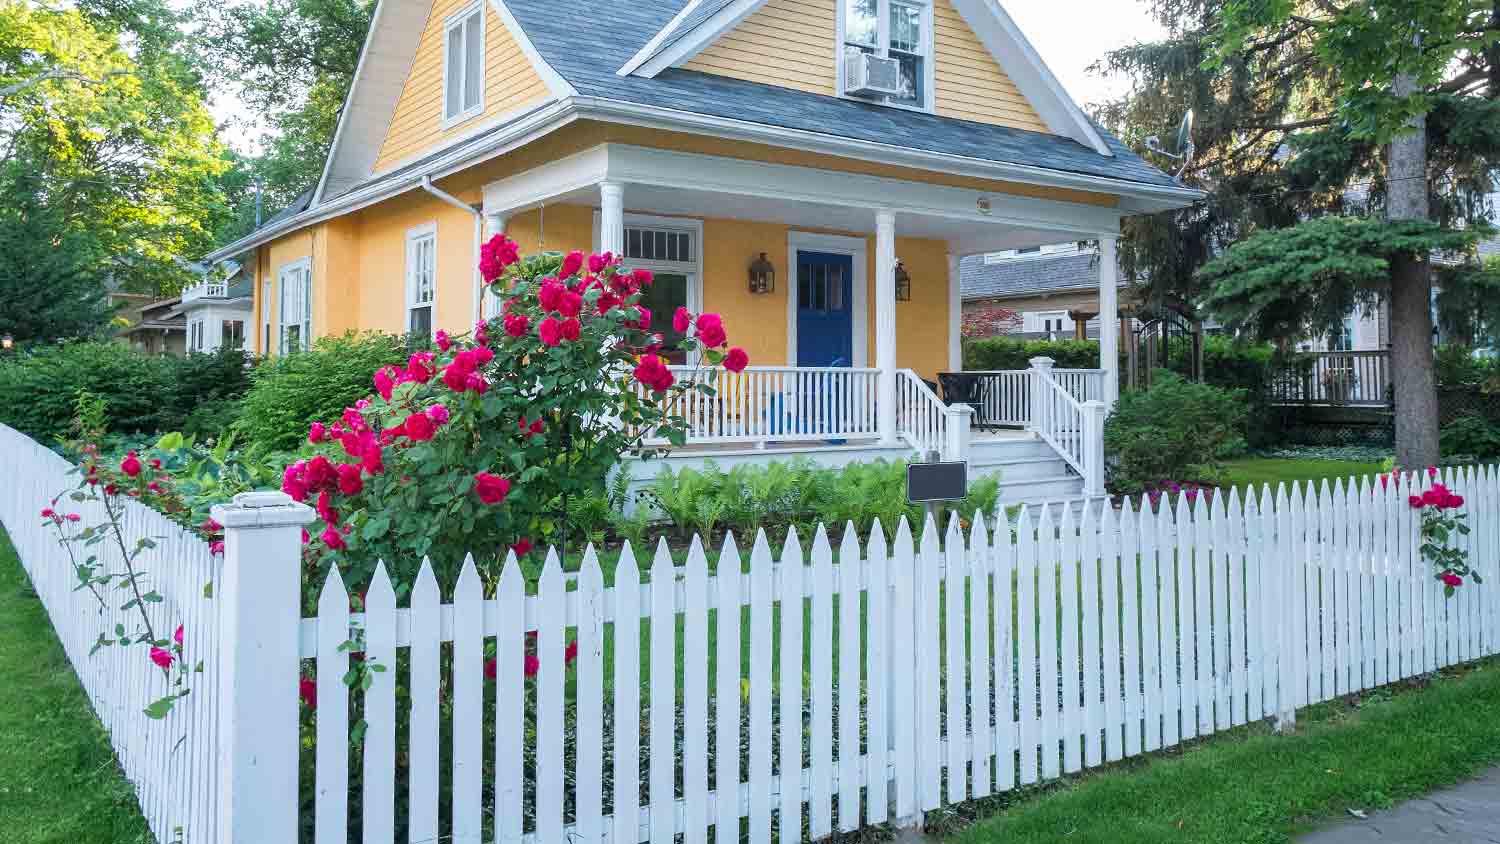
A new fence adds privacy, improves safety, and even boosts curb appeal. But how much does fence installation cost? Find out in this guide.
Build smarter, not harder

Fence installation tips save time and reduce stress when you check for permits before starting, as your area's regulations determine whether you need approval.
Expect to pay $1,860 to $4,760 for professional fence installation, while building permits cost $150 to $7,500 depending on your project scope.
Contact your utility company before digging to locate underground lines, and mark your property boundaries clearly to avoid disputes with neighbors later.
Hiring a local fencing professional provides reliable support for post installation, drainage setup, and final inspections to ensure your fence lasts for years.
Installing a fence isn’t exactly a simple task. With large panels and multiple connection points, there’s plenty of room for things to go sideways. The good news? We’ve pulled together a list of smart, time-saving fence installation tips to help the process go as smoothly as possible. Read on to take the stress out of your fence project before it even begins.
You might need a building permit to install a new fence on your property, depending on where you live. Every region has different regulations regarding fences, so contact a local municipality for specific requirements.
Most areas don't mandate building permits for fences, but you still have to check. If required, pay the fee and begin your project. Building permits cost anywhere from $150 to $7,500, but a fence will almost certainly fall on the lower end of that price range. Local codes and HOA guidelines could also mandate the design, size, and post-hole requirements.

If installing the fence requires any kind of digging, take a moment to call your local utility company. Ask about underground utility lines, how they are marked, and where they are located. You don't want to accidentally knock out the power or anything else while you’re installing your fence. The company should be able to provide you with a property map that shows all of these lines so that you can tackle the project stress-free.
Property lines can get fuzzy in populous neighborhoods, so dig out the original blueprint for the home to double-check yours before installing a fence. Also, contact the neighbors on both sides to make sure their records match up and everyone is on the same page. The last thing you want is a contentious debate later about whether or not a fence is encroaching on someone else's property.
Worst-case scenario? You'll have to tear up some of the fence and rebuild. Make sure to mark out the exact property line with paving stones or another type of marker.

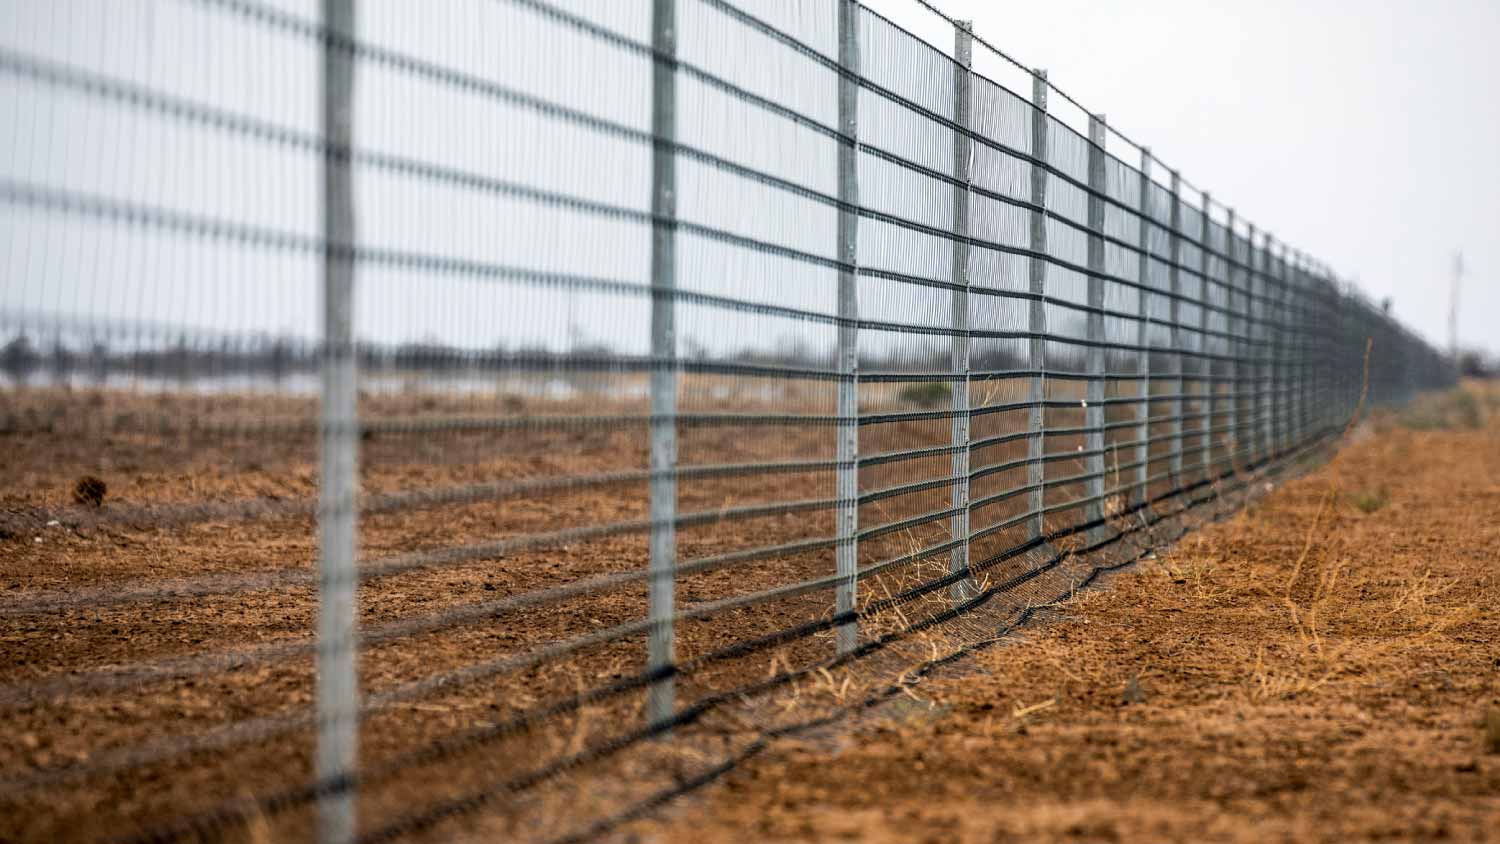
There are several fence materials to choose from, each with its own pros and cons.
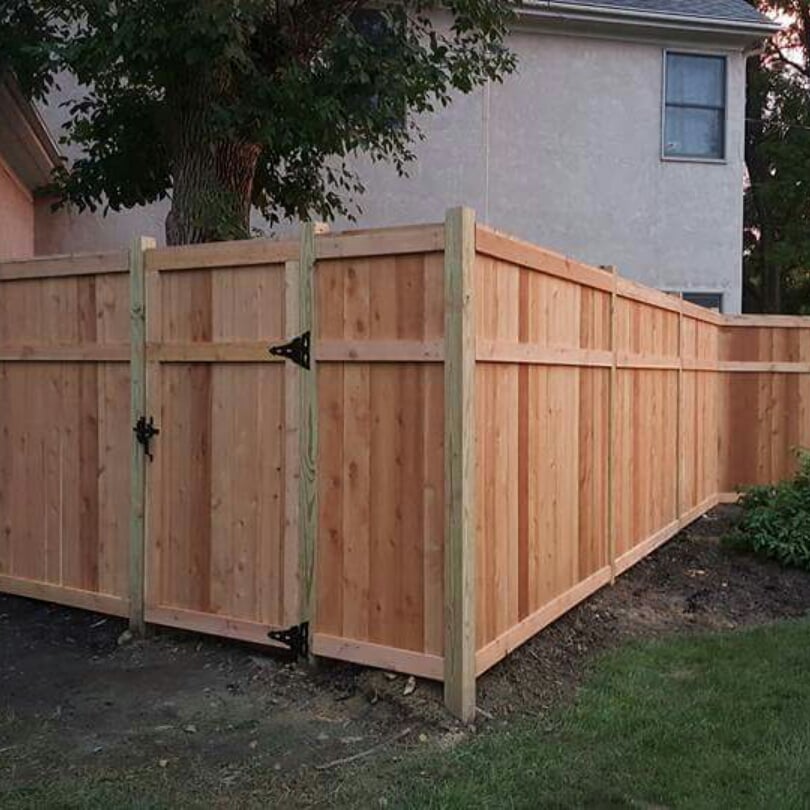
Wood is by far the most popular type of fence among homeowners, but it’s susceptible to the elements and can be damaged by extreme temperature fluctuations.
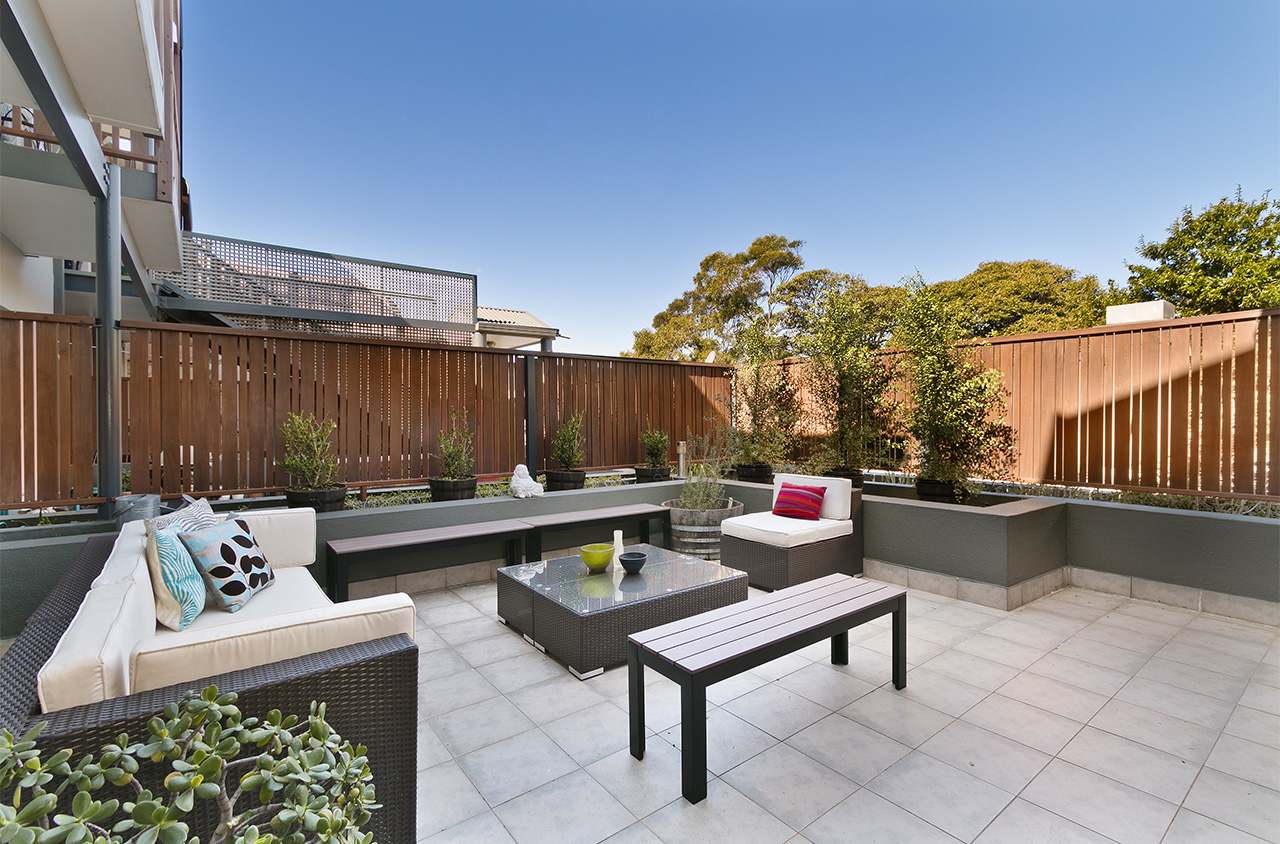
Composite is another popular choice, as this can mimic wood without the downfalls. However, it can't be painted, and the original color fades over time.
Vinyl is a classic option, but it's not suitable for areas with extreme heat.
Aluminum has been increasing in popularity in recent years, but the posts can bend easily.
Wrought iron is a particularly striking choice, but it's heavy and often expensive.
Corrugated metal is a great option for the privacy-conscious, but it may rust over time, especially in wet areas.
As for hardware, use galvanized or stainless steel screws and nails as they resist rust and corrosion.
Check and address any slopes or areas of elevated ground before starting the fence installation. Use a racked fence for minor slopes to keep the rail parallel to the ground across all of the fence panels.
Steeper slopes are a bit more complicated. You can design the fence to avoid the slope if space allows, or you can opt for a stepped fence design. In a stepped fence, the finished fence will look like steps as it ascends and descends the slope. This does require the cutting of panels to follow the slope, so it’s a less challenging fence installation.
Keeping the posts secure is the most important part of this project, as that drastically increases the overall stability of the fence. A good product to help keep fence posts secure is expanding foam. Just spray some in each post hole immediately after installing the post. As the name suggests, the foam will expand and provide a sturdy foundation.
Another option is to use mixed concrete, but this approach is slightly more labor-intensive, as it requires mixing the concrete separately and takes longer to apply.

Excessive moisture on a fence, especially a wood fence, can lead to mold, rot, and other issues. Prevent this by increasing the drainage of each fence post. Increase drainage by adding gravel to the bottom of the hole to provide extra drainage and help prevent stuff like frost heave. This is when winter conditions cause the underlying soil to expand, leading to all kinds of structural issues.
Extend the lifespan and increase the durability of your fence’s gate by adding more hinges. Conventional wisdom recommends the use of two sets of hinges, but we recommend three. That third set will provide more support to the gate.
Installing a fence is complicated, and there are a number of ways in which things can go wrong, thus impacting the lifespan of the fixture. Once you’re finished with your fence installation, call in a local fence builder to give your finished product an inspection. A seasoned pro will suss out any issues and give you advice for any upgrades or things you missed along the way.
You can also hire a pro to build a fence in the first place, saving you valuable time and effort. Professional fence installation costs anywhere from $1,860 to $4,760.
A reliable team for moves across state. My switch to a new place needed careful lifting through tight hallways. The movers checked the doorway first, then carried heavier pieces with slow, controlled movements. Their patience helped prevent damage, and I?d choose them again.
We have used Window Warriors many times with no issues. They arrived on time and were very professional . We have pets and Window Warrior team treated them very well, well trusted team.
We have bought and sold numerous times over the past 50 years. Sherman Hall and Top Line are top notch. Thorough and detailed, he explains every possibility, probability, and eventuality. High class and pleasant. The best.
 Top Line Home Inspections, LLC
Our homes curb appeal skyrocketed thanks to Custom Paint Jobs LLC s exterior painting.
Window Depot did an amazing job on my deck. I wasnt sure what I wanted to do, but their composite decking was affordable and will last a long time. I am excited to have family over, and I am no longer embarrassed by my backyard. Jeff and the ground crew were polite, respectful, and caring for...
Great job...edging and pre clean up went well with a great job with seal coat. Friendly, efficient and professional.
 All Star Paving and Sealing
Did an amazing job transforming my yard. Also installed sod in places, would recommend to everyone.
Manuel Calvillo is the best option in the area for roofing and you won't be disappointed.
We hired Andrew and the team from Midwest Lightscapes for a custom lighting design and installation on a Victorian Village home. The house had outdated low-voltage halogen outdoor lights and many of them were not working. Andrew designed and installed a new system including uplighting on the...
 Midwest Lightscapes
The work was completed in a day and a half. They cut small trees, pulled out an old swing set, pulled out railroad ties and left the place spotless when the job was complete. I am very happy with the fence and their efforts were above and beyond my expectations.
 Elite Fence
From average costs to expert advice, get all the answers you need to get your job done.
A new fence adds privacy, improves safety, and even boosts curb appeal. But how much does fence installation cost? Find out in this guide.
How much a wood fence costs depends on the material, add-ons, and more. Read this guide to learn how each cost factor impacts the price of a wood fence.
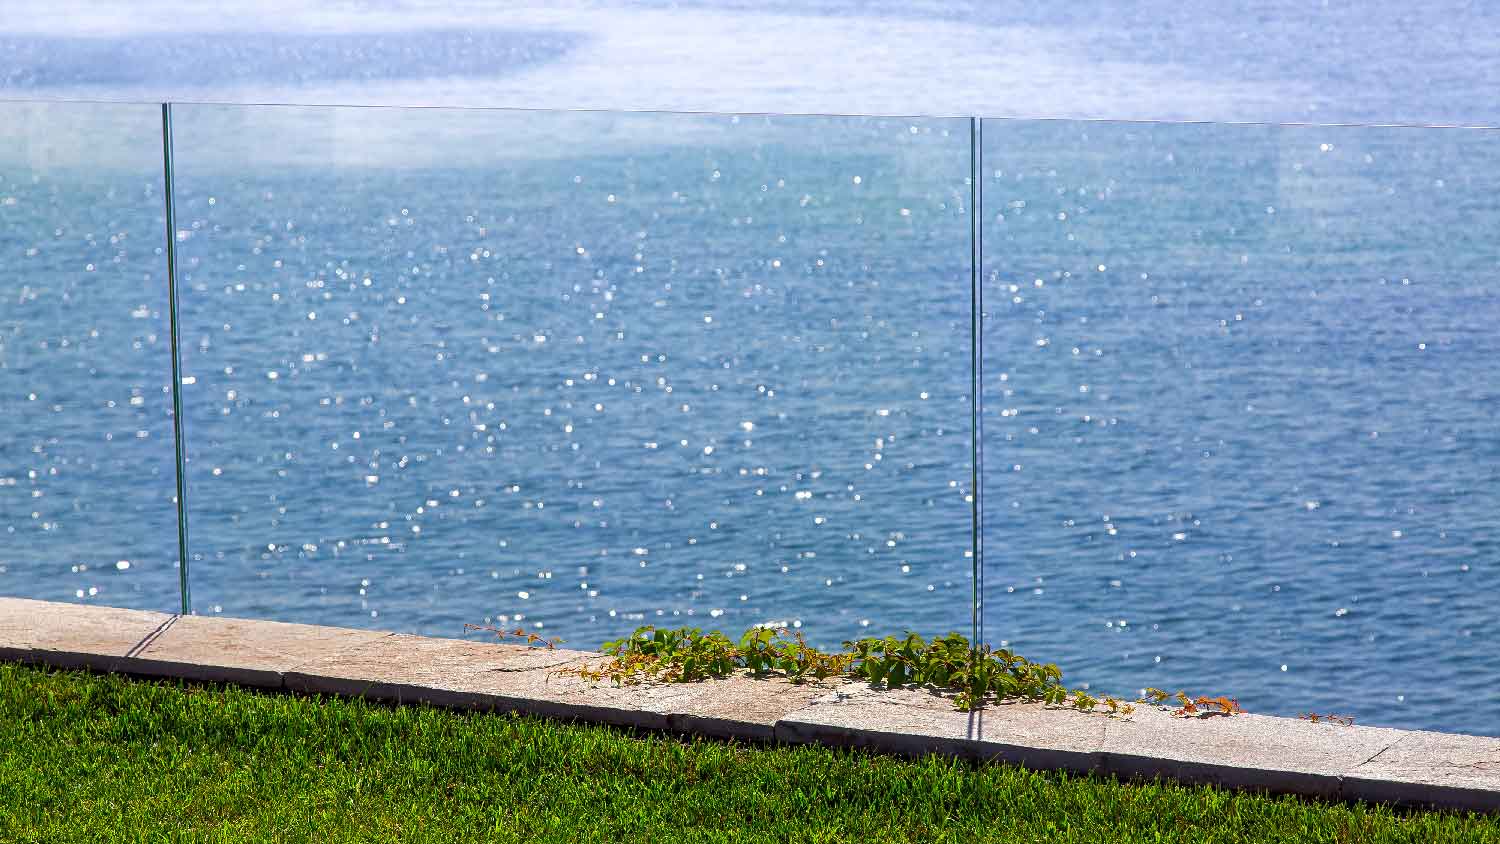
Installing a glass fence costs much more than wood or metal, but those who invest do so for aesthetics. Learn how different types can significantly influence your project budget.
Learn how to hire a barbed wire fence installer with confidence. Find qualified pros, ask the right questions, and secure your property effectively.
Fence posts are the foundation of any sturdy fence. Make sure your fence is straight and strong with this step-by-step guide on how to install a fence post.
Improper installation reduces the strength and longevity of your fence. Learn about the wrong ways to install a wood fence and how to do it right.