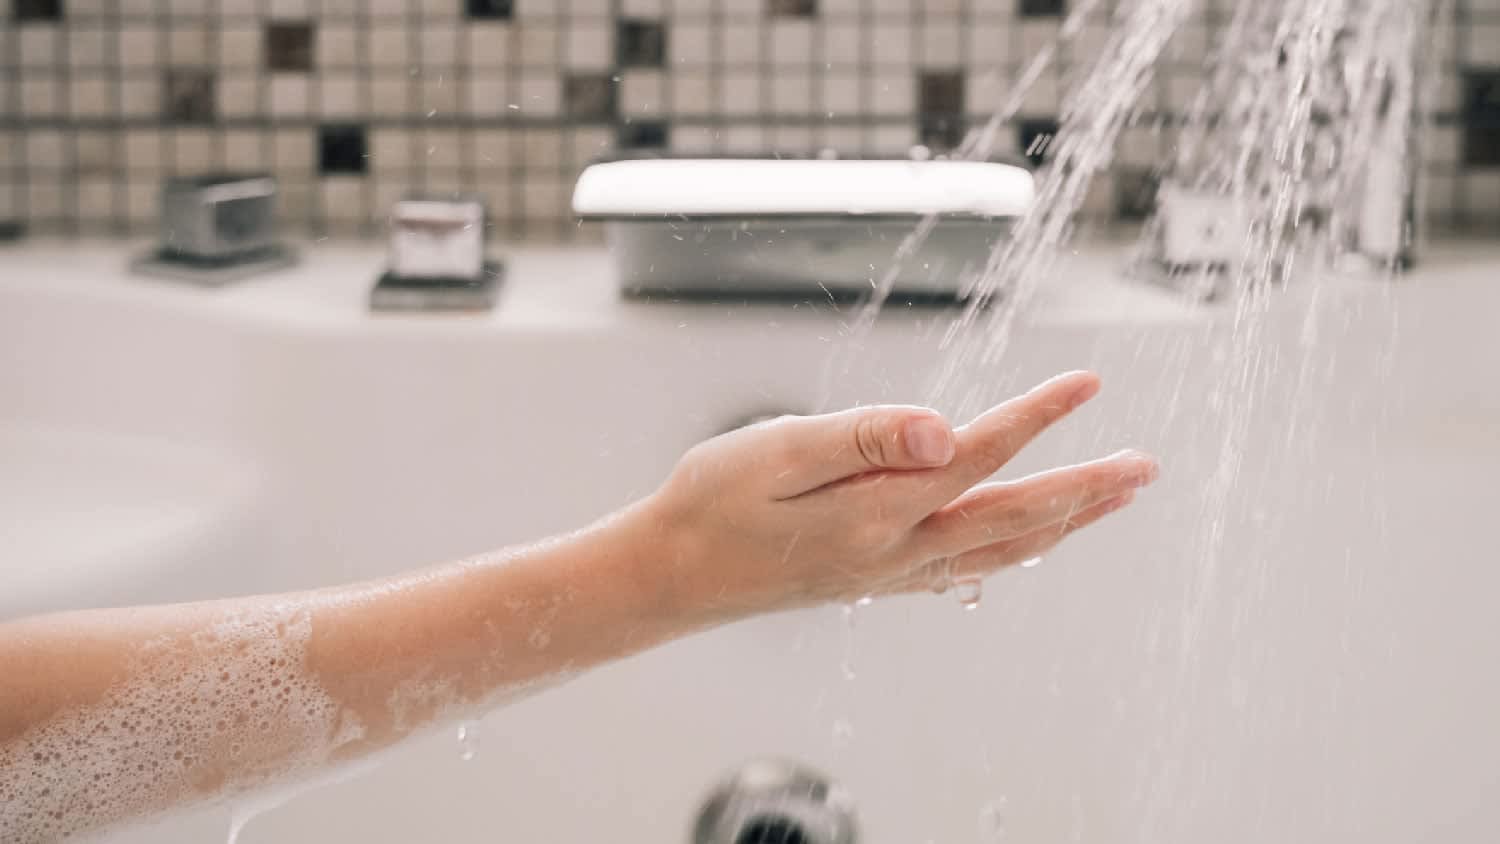
Instant hot water at your fingertips is closer than you think. Learn how a hot water heater recirculation system can deliver hot water quicker than ever.
Eliminate room-by-room temperature swings with zone heating

Adding heating zones to your home lets you control temperatures room by room, solving the frustration of uneven heating across different areas.
Expect to pay around $1,500 for a DIY two-zone system, with each additional zone adding roughly $350 in materials and equipment.
Your boiler system needs draining before you cut existing plumbing, install zone valves on return lines, and wire new wireless thermostats for each area.
Hiring a local plumbing professional takes the complexity out of configuring return lines and soldering copper fittings, keeping your radiant heat system running safely.
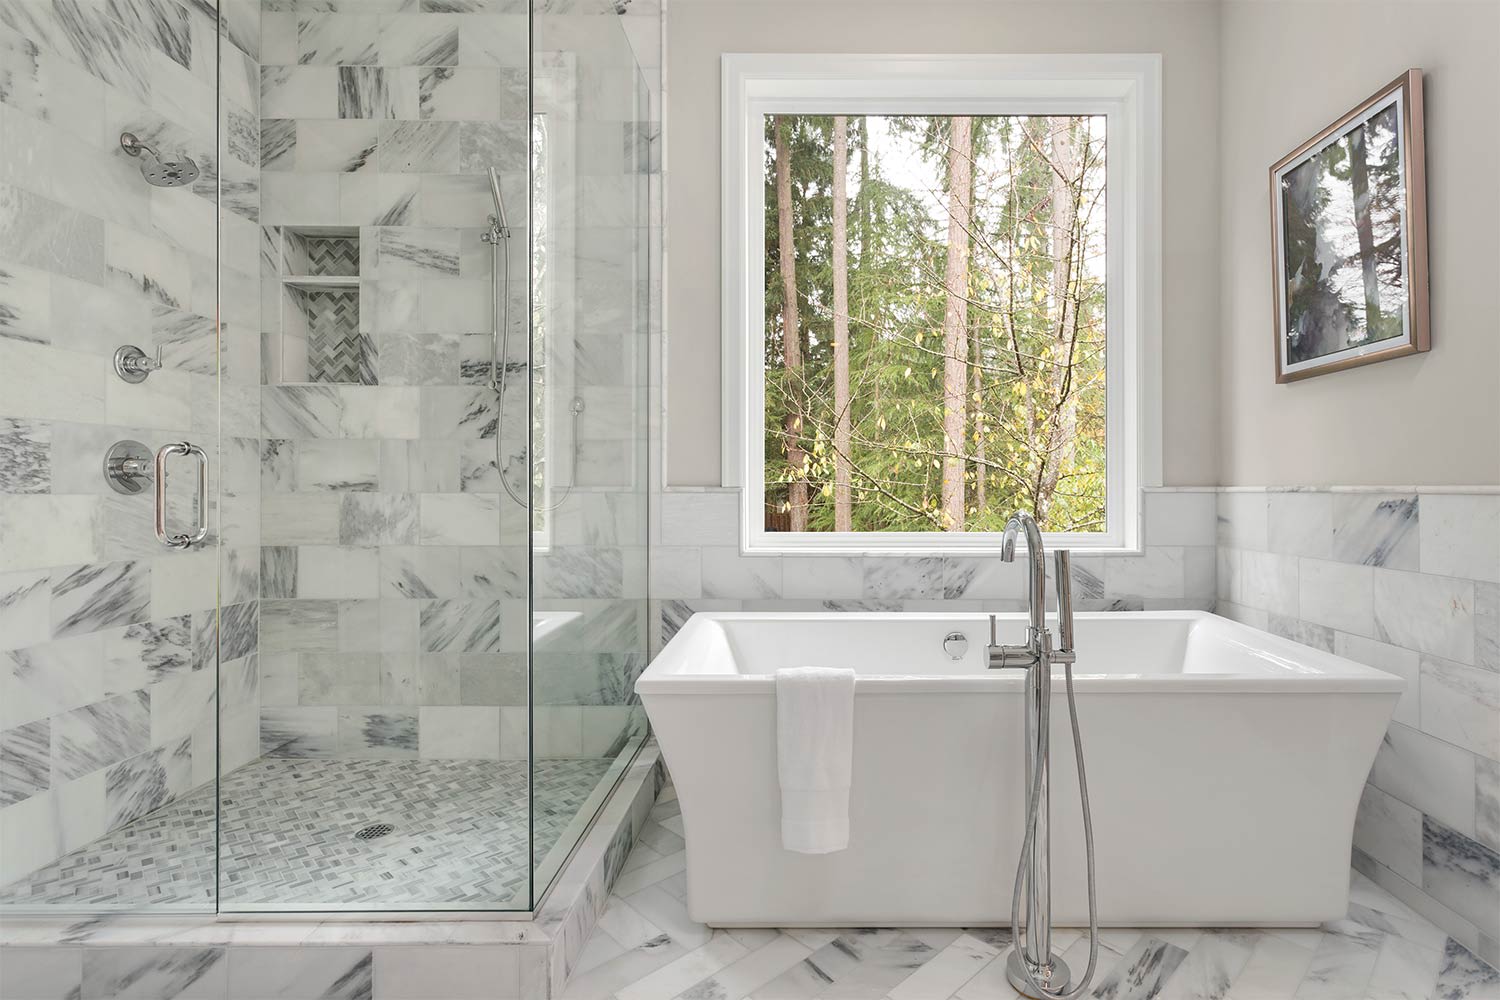
Your home's hot water heating, also called the radiant heat system, is an engineering marvel. With the boiler at its heart, radiant heat works by heating objects in the room instead of the air. But, the system can sometimes leave some areas of the house colder than others due to long plumbing runs and other variables.
Sometimes a plumber will suggest replacing some plumbing as a remedy. However, adding zone heating to your radiant system may actually be the answer you’re seeking. After all, forced-air system zoning is common. Why not radiant zone heating?

To start, make sure you remove all the water from the system.
Turn off the gas to the boiler.
Check that the water-fill valves are closed.
Turn off the electrical power to the boiler at the circuit breaker panel and boiler’s switch.
Drain the water from the entire boiler system. You may need to use a portable transfer pump if a convenient drain isn’t available.

The best location for zone valve installation is on the return side of the boiler plumbing.
With a pipe tubing cutter, cut the copper boiler-water return pipes at the boiler inlet and at the point where the lines come close together above the boiler. At this section, you may need to remove the water-return shut-off valves.
With a pipe wrench (or two), remove the copper or galvanized pipe down to the fitting nearest the boiler’s return inlet. Leave the fitting in place for reuse.
Before setting aside the old plumbing, you can use it as a template to build the new plumbing system. If configuring pipe lines feels a little advanced, consider calling a local plumbing professional for help with this step.
Build new return plumbing return lines with copper tubing pipes.
Install one zone valve on the return plumbing for each new heating zone. Remove the electronic control (head) before soldering.
Install a new shut-off valve on each zone return plumbing.
Screw a new threaded brass fitting into the boiler’s inlet fitting. Use pipe thread compound (pipe dope) when installing.
Solder all pipe fittings and valves in place using Mapp gas (a gas widely used for welding).

Each new zone requires a wireless thermostat. You can also use a smart thermostat with remote sensors. Follow the manufacturer's instructions for installing them in zoned configurations. Wired thermostats also work well. However, running the wire is prohibitive.
Choose a location five feet from the floor in each zone for the thermostat. Stay away from windows, sunlit areas, or drafty spots that could affect the reading.
Attach each thermostat to the wall in its designated location. Use plastic wall anchors if you need to.
During this step, keep track of which thermostat controls each zone valve. Depending on your system, the following steps may require you to add transformers or other devices to operate or meet National Electrical Code requirements.
Install a wireless thermostat receiver module following the manufacturer’s instructions and NEC requirements.
Wire the receiver to the new zone valve control module.
Install the zone control heads on each zone valve.
Wire the zone valve control module to each zone valve.
Just a few more steps until you can enjoy your new zoned heating.
Refill the boiler and radiator system following your system's specific requirements.
Turn the electrical power to the boiler back on.
Ignite the burner’s pilot light if your boiler doesn’t have an ignition device.
Adjust and set the new thermostats to your desired temperatures.
Adding 2-zone, zoned heating to your existing hot water boiler system yourself costs approximately $1,500 to purchase everything you’ll need for success. Expect an additional $350 per zone if you’d like to add more zones.
This project isn’t one that we recommend for beginners, however. If you’d enjoy the comforts of zoned heating but would rather skip the demands of DIY installation, your local heating and cooling expert has your back.
Sara Coleman contributed to this article.
I normally do not leave reviews, but my experience with Worthington Air was extremely frustrating and disappointing. About 30 days ago, I had a consultation done for an HVAC replacement and was quoted approximately $15,079. Based on that quote, I applied for financing through their company...
Great company! Price was competitive, technician showed up on time and completed the job (exterior electric Radon fan replacement) quickly. Would hire them again.
Raven and crew does absolutely fantastic job. They are very professional if any concerns were to occur with any of her work she always took responsibility and finished out with a great job. I have worked with her business for a year and have always been satisfied. Very trusted business and...
I would recommend this company to anyone! He showed up on time, was friendly, completed a very difficult repair on our dryer vent cover, was responsive, and pricing was extremely fair and competitive. I would have him back to do any of our repairs or cleanings without hesitation!
Ace Fireplace Services' chimney sweep service is truly exceptional. They used advanced technology to ensure a thorough cleaning process, and my chimney has never looked better. I highly recommend their services.
 Ace Fireplace Services
The technician was very professional and friendly. He answered all my questions and was very thorough. He left the fireplace area very clean . He inspected from the roof and advised me as to other work that might need to be done. There was no pressure there. I was very satisfied with the...
 Supreme brick & chimney
Excellent experience with hiring Tether House to Mount our 77’ Samsung TV in our bedroom. Fast, friendly, and knowledgeable. Highly recommend.
On time, clean and finished fast. Windows seem sturdy and the finish is good. Caulking was done with no smudges. Would recommend.
Great job...edging and pre clean up went well with a great job with seal coat. Friendly, efficient and professional.
 All Star Paving and Sealing
Good workers and they do a good job.
From average costs to expert advice, get all the answers you need to get your job done.
Instant hot water at your fingertips is closer than you think. Learn how a hot water heater recirculation system can deliver hot water quicker than ever.
Waiting for your water to get hot is a drag that also wastes water. But how do you speed up the process? Read on to make sure your water heater always gives you hot water.

An HVAC zoning system makes your home more comfortable. Learn about installing a zone system, including HVAC zoning system costs and considerations.
If your hot water runs out fast, you've got a problem with your heating system—it's either broken, inefficient, or just not big enough for your family. Find out why you're running out of hot water and what to do about it with our handy guide.
If your water heater is getting warm but not hot, a faulty thermostat, sediment, or more could be to blame. Learn how to spot and solve the problem of a water heater that’s not hot enough.
For any plumbing that’s far from the water heater, a recirculating pump is a great way to get hot water quickly. Recirculating pumps get rid of cold water fast and save you serious cash in the process. Learn what to know before getting one.