

•
Discover vinyl flooring installation costs, including average prices, key cost factors, and tips to save on your new floors.
DIY-friendly tips to keep a vinyl plank installation smooth and seamless

Common mistakes in vinyl plank flooring installation include skipping acclimation time, which causes your planks to expand or contract after installation and leads to buckling.
Your subfloor preparation affects long-term flooring performance, as dirty, uneven, or damp surfaces create warping, shifting planks, or soft spots over time.
Proper installation requires leaving a quarter-inch expansion gap around room edges, mixing planks from multiple boxes, and staggering joints at least six inches apart.
Hiring a local vinyl floor company provides reliable help with subfloor preparation and precise installation, ensuring your flooring stays level and lasts for years.
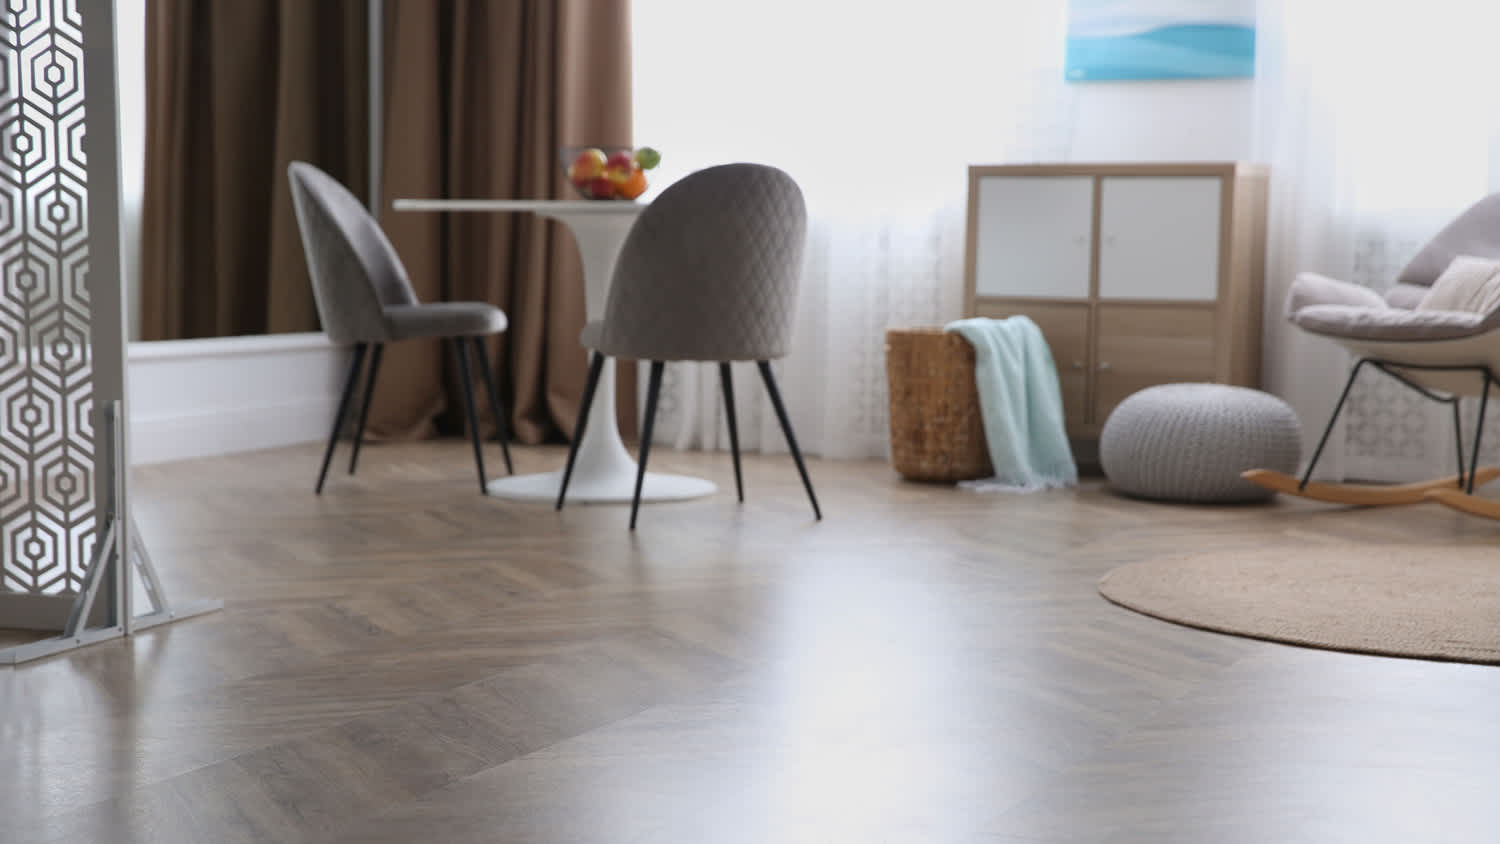
Vinyl plank flooring has become a go-to choice for homeowners thanks to its affordability, durability, and stylish look. It’s also waterproof, low-maintenance, and easier to install than many other types of flooring. While it’s DIY-friendly, it isn’t foolproof. Whether you’re tackling your first flooring project or brushing up before your next one, avoid these common mistakes when installing vinyl plank flooring that can lead to gaps, warping, or a shorter lifespan.
Vinyl plank flooring needs time to adjust to your home’s temperature and humidity. If you skip this step, the planks may expand or contract after you install them, which can lead to buckling or separation.
What to do instead: Let the planks rest in the room where you’re installing them for at least 48 hours (72 is better) before installation. During this time, keep the room at a consistent temperature that’s normal in your home.
Covering an outdated floor with new vinyl planks will make it look better, but it won’t fix subfloor imperfections. Even minor bumps or debris under the flooring can cause problems down the road. Dirty, uneven, or damp subflooring can lead to warping, shifting planks, or soft spots.
What to do instead: Clean the subfloor, make sure it’s dry, remove or flatten existing fasteners like old staples, and use a level to check for unevenness. Sand down high spots and fill in low ones to create a smooth, stable surface. If this is more than you’ve bargained for, call a local vinyl floor company for assistance.

Leaving baseboards and trim in place while you install new vinyl plank flooring is the easy way to go, but this shortcut means you likely won’t get an even edge. The result is gaps around the edges that can cause the installation to look messy and uneven. You can cover the gap with a thick quarter round, but that’s not a look everyone likes.
What to do instead: Carefully remove baseboards and trim that touch the floor. Place planks tightly against the walls so you can install the baseboards over the top of the edges. Be careful not to push the baseboards tight to the floor when you replace them, though, or you could cause gaps and buckling.
Some surfaces just aren’t suitable for vinyl plank installation. Old carpets, damaged tile, or floors with heavy texture can interfere with adhesion or locking mechanisms.
What to do instead: Make sure the surface is smooth, stable, and compatible with vinyl flooring. Depending on the manufacturer’s instructions, you may need to install an underlayment or remove existing flooring.
Vinyl planks need room to expand and contract with temperature changes. If you install them tight against the wall, they can buckle or lift as they expand.
What to do instead: Leave an expansion gap (¼ to ½ inches) around the edges of the room. You can cover this gap with baseboards or quarter-round trim.
Some homeowners start laying planks from a high-visibility wall, only to realize they’ve backed themselves into a corner or ended up with a row of narrow planks on the opposite side.
What to do instead: Plan your layout before you start. Dry fit a few rows or use a layout sketch to ensure the planks on both sides of the room will look balanced.

Staggered joints create a natural, visually-appealing pattern and help strengthen the floor. If joints line up too often, it weakens the floor’s structure and looks less professional.
What to do instead: Stagger end joints at least 6 inches apart, and vary the pattern as you go. Avoid creating a stair-step look unless that’s the style you’re going for. Planning the layout before you start can save time and prevent awkward spacing of joints.
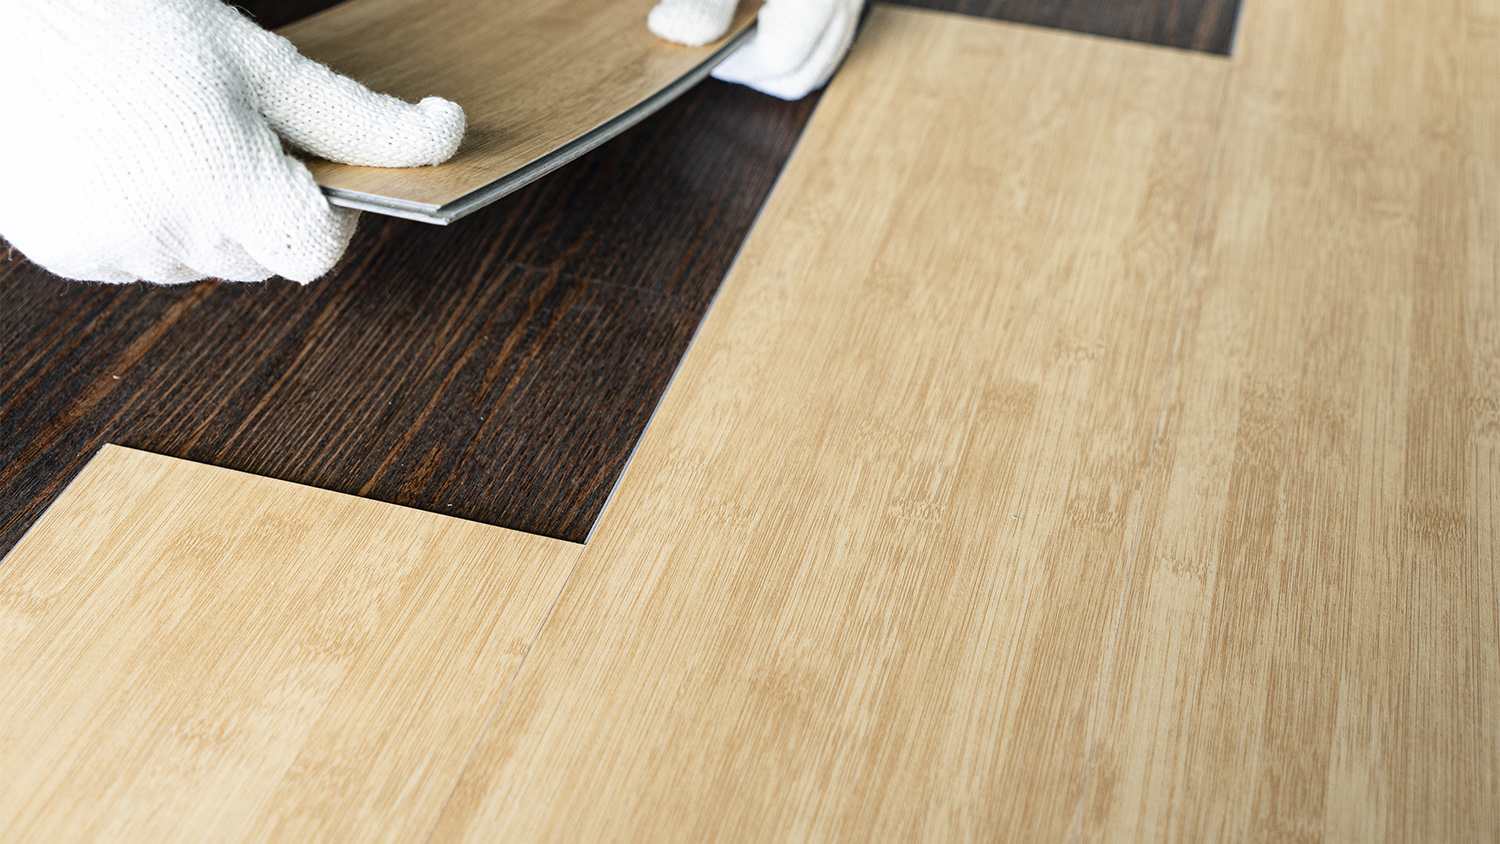
Vinyl plank flooring isn’t all the same, so ignoring the manufacturer’s instructions can lead to mistakes. Some planks click together, others require glue, and different brands have their own requirements for underlayment, transitions, and expansion gaps.
What to do instead: Read the manufacturer’s instructions and follow the installation guidance. This can save time, money, and effort and protect your warranty. If you’re concerned about getting the installation right, contact a pro who installs vinyl flooring.
Vinyl plank flooring is considered waterproof, but not every type is rated for basements, unheated cabins, or sunrooms with extreme temperatures. Once you’ve decided whether vinyl flooring is the right choice for your home, make sure you’re putting it in the right place.
What to do instead: Choose a product designed for the right environment. If you’re installing flooring in an area with major humidity swings or cold temperatures, double-check that it’s approved for those conditions. For example, choose the best vinyl flooring for kitchens so you don’t have to worry about splashes or spills while cooking and entertaining.
Whether you decide to seal grout or install a water-resistant vinyl, waterproofing your flooring is crucial, especially in rooms like bathrooms or the kitchen. A flooring pro can recommend the best materials for specific areas, install new flooring, and ensure it will stand up to water.


Installing flooring takes time, and cutting corners can lead to uneven gaps, crooked lines, or damaged planks. When DIYing, it’s easy to forget to measure twice, cut carefully, or double-check alignment as you go.
What to do instead: Slow down and check your work. Taking extra time up front can save you from having to solve problems later. Set out your tools in an easy-to-reach place, and make a plan before you begin.
All vinyl plank flooring needs time to settle and lock in place before you use it. You can lightly walk on new installations, but give the floor time to breathe before you start moving everything back in the room or showing it off right away.
What to do instead: Give new vinyl plank flooring 24 hours or more before you put furniture on it or expose it to heavy traffic. This allows it to acclimate and will prevent damage.
Vinyl plank flooring can be an excellent option if you’re tackling a flooring project yourself. While it’s DIY-friendly, a little preparation goes a long way. These DIY vinyl plank flooring tips will help you avoid common mistakes when putting in vinyl plank flooring, and your project will go better from the first snap:
Order extra: Ordering exactly the amount you need can leave you short and scrambling if things don’t go just right. Instead, know how much extra flooring to buy and round up.
Mix planks from multiple boxes: If your job requires more than one box of planks (and most do), unbox the cartons and mix them up. Plank shades can vary slightly from box to box, but mixing them helps avoid color patches.
Snap a chalk line before starting: Walls aren’t always perfectly straight, so establishing a straight reference line ensures your first row is square.
Double-check underlayment requirements: Some vinyl planks come with attached pads, while others require separate underlayment or both. Follow the manufacturer’s recommendations to prevent problems and protect your warranty.
Don't place seams in doorways: Whenever possible, avoid positioning end joints in high-traffic areas like doorways. Planks are more likely to shift, wear out, or separate in these areas.
Joseph did a great job with the staircase and trim. Timely and efficient, clear communication about the work, very fair pricing. For the stairs in particular, done very skillfully in an old house (1893) in a tight spiral, and very creative with how to do the handrail. Did a nice job with...
This company does it right. Firstly, I want to say that Landan was a joy to work with. He was so kind, transparent, and had everything under control. His entire team showed up ready to work and they were all very respectful of the fact that we were in an office space. A little backstory – we...
Finished Basements Plus was wonderful from beginning to end! First, they came out quickly for an estimate. I had 4 estimates and theirs was by far the best. (2 of the estimates were more than $20K higher than for the exact same work). Beyond their fair pricing, the work was excellent. They...
 Finished Basements Plus Inc.
Very professional, knowledgeable and helpful! Completed the install on time and as expected.
Cole has been handling plumbing and general contracting for our four properties over the past three years, and he’s always done a great job. Most recently, he installed a sink and countertop in our retail store where none existed before, and it turned out exactly how we needed. He’s...
 ANB Renovations LLC
Excellent, Prompt, Courteous Service!!! They were super friendly and quite personable. I felt very comfortable with the gentlemen that did the installation. They installed it exactly where I asked them to and they did an excellent job!! I loved their service so much.
Window Depot did an amazing job installing the windows in my basement! The process from start to finish was by far more than what I expected. I would highly recommend Window Depot if you want professionalism from the the consultation to the installation. Dont settle for mediocre when you can...
AFS was excellent from start to finish. Jess, the sales associate, was fantastic...very knowledgeable and very professional. The installation crew was excellent. I couldn't be more pleased with the process. Best of all, my new floor looks fantastic!
 America's Floor Source
We were having 2”x 2” tile installed . There was a small installation error and the new additional replacement tile was from a different lot and the colors didn’t match. Joe assured us that he would rectify everything , which he did without hesitation. We decided to go with the 18” x 36” tile...
 CarifaTile
Did an amazing job transforming my yard. Also installed sod in places, would recommend to everyone.
From average costs to expert advice, get all the answers you need to get your job done.
Discover vinyl flooring installation costs, including average prices, key cost factors, and tips to save on your new floors.
Find out the average vinyl floor repair cost, key price factors, and ways to save. Get accurate estimates to plan your vinyl floor repair project.

Looking for an inexpensive and low maintenance flooring option? Learn how to install vinyl plank flooring yourself and give your existing floors an update.
Looking for a qualified vinyl flooring installer? Learn how to find, vet, and hire the right pro with our complete guide to questions and qualifications.

Installing flooring yourself can save you money and give you a sense of pride. Learn about the easiest flooring to install and when to choose each type.

Vinyl flooring is affordable and DIY-friendly, whether you make a template or cut it in place. Learn how to install sheet vinyl flooring with this guide.