

Sandblasting is a powerful method to remove paint, primer, and other coatings from hard surfaces. Learn the cost to rent a sandblaster and the factors involved.
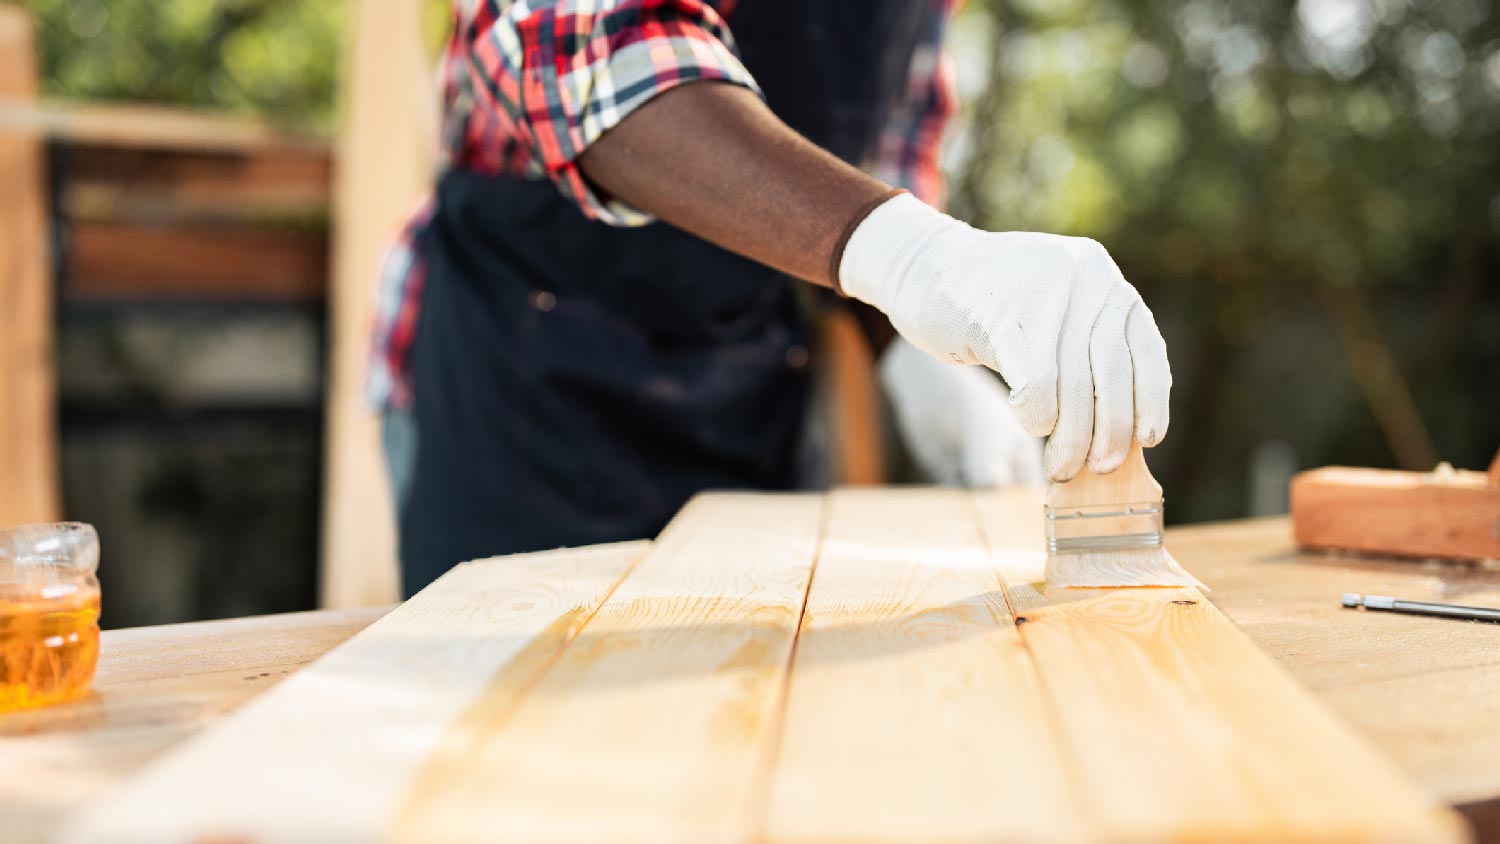
A bit of stain can help pressure-treated wood go the extra mile


Thanks to its high moisture content, pressure-treated wood needs time to dry before staining.
How long it takes to dry out depends on the wood and your local climate.
You'll most likely need to prep the wood before you stain it.
Staining is just one way to protect pressure-treated wood. Another option is painting.
Pressure-treated wood is durable, but not perfect. Over time, water and exposure to the elements can damage it. You may be wondering: can you stain pressure-treated wood? For the most part, you can, but it's important to get the timing right. Doing so can help protect it and extend its life. Here’s what you should know about staining your home’s pressure-treated wood.
When you can stain pressure-treated wood depends largely on the type of wood you're using. Often, new pressure-treated wood contains too much moisture to be stained right away.
However, kiln-dried or air-dried wood is specially dried after its chemical treatment and is often ready to stain right away. If the wood you're using is kiln-dried, it will have a tag or stamp that reads "KDAT." Air-dried wood should be marked with "ADAT."
Don't see either label on the wood? Then it's best to wait before staining so that the moisture has time to evaporate. The drying time can take anywhere from a few weeks to a few months.
You should opt for staining if you enjoy a rich, natural wooden look and are keen on saving money. While staining costs less than painting, you'll need to do it more often—every few years—and it's not as protective as a paint job. If you want a long-lasting solution and a pop of vibrant color, painting is the way to go.

A simple test will help you know if non-dried pressure-treated wood is ready for staining. Sprinkle a small amount of water onto the wood. If the wood is sufficiently dry, it will absorb the water instantly. If there's still a lot of moisture in the water, the water will form beads on the surface.
When choosing a stain, you have two main options: water-based or oil-based. Both have benefits and drawbacks. Oil-based stains tend to last longer, as they penetrate deeper into the wood. Their downside is that they can be more challenging to clean up.
Water-based stains won't sink as deeply into the wood, but cleaning up afterward is a lot easier, as you can use soap and water.
A hybrid stain is a best-of-both-worlds option. It cleans up easily with soap and water yet penetrates into the wood like an oil-based stain.
Beyond water or oil-based, other things to consider when choosing a stain include:
Opacity: A stain may be transparent, semi-transparent, or solid-colored.
Additives: Some stains contain water repellents or UV stabilizers, which can help to extend their usefulness.
You'll most likely need to do some prep work before staining pressure-treated wood, particularly if the wood is older. Clean wood will accept the stain much more efficiently than wood that has a coating of dust and debris or mildew or mold growth.
Before you stain, give the wood a good scrubbing to remove any surface dirt. You may also want to use a deck cleaner to remove any deeper dirt or even a power washer for a more thorough cleaning. If you use a power washer, be sure to choose the correct setting.
After cleaning the wood, allow it to dry before you stain. Don't worry, you won't have to wait weeks or months this time.
You can paint pressure-treated wood, rather than stain it. It all depends on your preference, but paint offers some benefits over stain. For one thing, paint tends to last longer than wood stain. It may also be more effective at protecting the wood from the elements.
You also have more choice when it comes to paint, compared to stain. Stain can be ideal if you want the wood's natural grain and color to show through. But if you're looking for something brighter or more colorful, paint can be the way to go.
A local deck painter can help you decide if paint or stain is right for you.
From average costs to expert advice, get all the answers you need to get your job done.
Sandblasting is a powerful method to remove paint, primer, and other coatings from hard surfaces. Learn the cost to rent a sandblaster and the factors involved.

The cost to paint a house's exterior depends on its size, siding type, and height. The finish and the home's exterior condition also play a role.

Painting your house increases curb appeal and durability, but you may need to rent a lift for the project. Here’s a breakdown of cost by lift type and height.

Stain protects your wood and enhances its natural beauty. Learn how long it takes for stains to dry based on your project, the type of stain, and the weather.
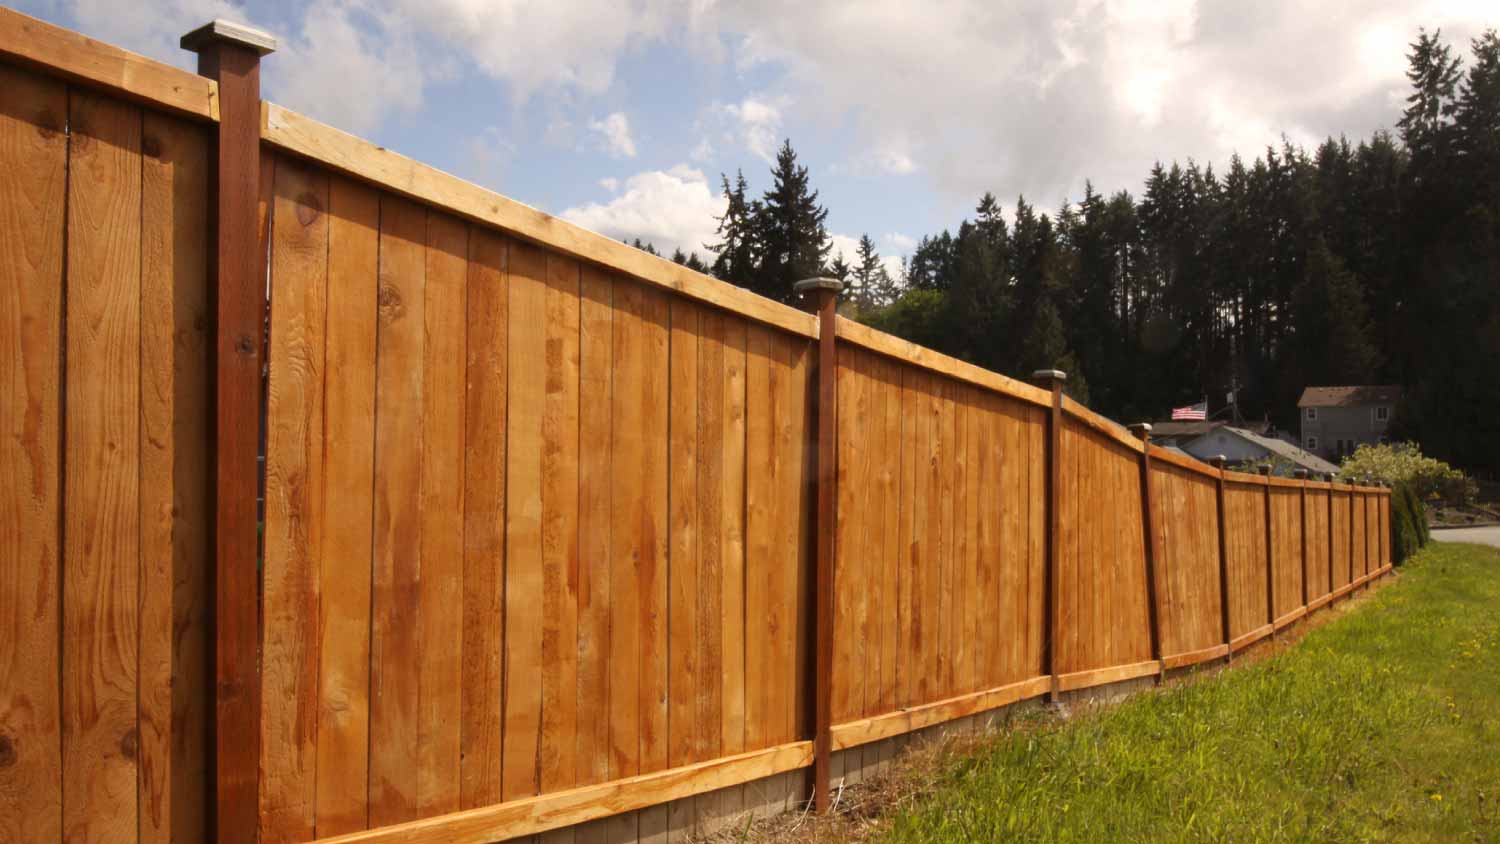
Planning to stain a fence? You’re likely wondering: How much stain do I need for my fence? Figure it out with our fence stain calculator.
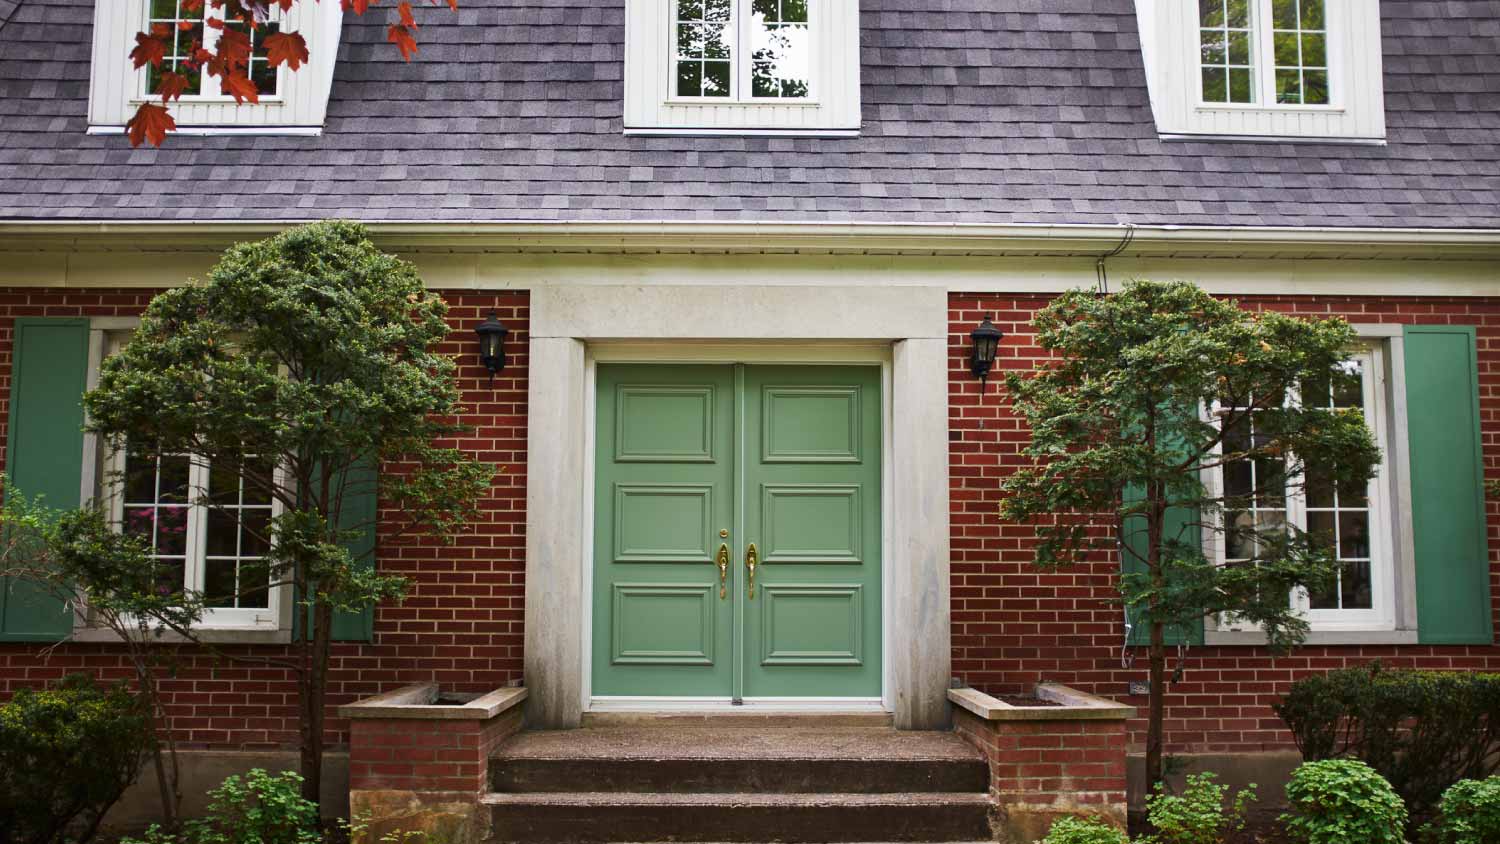
Knowing how to pick a front door color will help you achieve the style you desire and boost your curb appeal.