
Looking to estimate the cost of rough-in plumbing for your new home? We’ve got you covered with a guide that covers the different cost factors for this type of job.
The rough-in process won’t be rough as long as you get the layout right

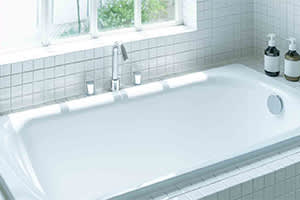
Standard tub rough-in dimensions include water supply at 20 to 22 inches above the floor and your drain 10 to 14 inches from the back wall.
Tub-shower combos require additional rough-in plumbing for the showerhead at 80 inches above the floor and the shower valve 6 to 11 inches above the faucet.
Your tub rough-in dimensions depend on the specific bathtub model, local building code requirements, ADA regulations, and predrilled outlet locations in your chosen tub.
Hiring a local bathtub installation professional takes the guesswork out of measuring and aligning rough-in plumbing with your tub's predrilled holes, keeping your bathroom project on track.
If you’re building a brand-new bathroom, you’re going to have to rough-in the plumbing. This is the process of installing the main pipes and supply lines before you install the actual fixtures, and these components have certain dimensions depending on the layout of your bathroom. This guide will show you the standard bathtub rough-in dimensions, whether it’s a regular tub or a tub-shower combo.
Standard bathtub rough-in dimensions are outlined in your local building code, but they can also depend on the predrilled outlets, design, and size of your bathtub. Here’s what you can expect.

The tub supply, which is where you’ll attach your tub faucet valves, should be 20 to 22 inches above the floor. This can change depending on the height of your tub. For a standard tub, the faucet should be 4 inches above the tub rim, with the handles 4 inches horizontally to the left and right of the centerline of the tub.
The distance of your drain from the back wall should be 10 to 14 inches from the wood framing and 6 to 8 inches wide.
The drain hole should be floor height (a vertical distance of zero from the floor).
The side-to-side buffer is the clearance between the tub's sidewall and other fixtures (like the toilet or sink) and walls. You need a minimum side-to-side buffer of 18 inches.
The front buffer is the space between the tub's front wall and other fixtures or walls, and it should be at least 18 inches.

The type of bathtub and the specific model can dramatically impact the rough-in plumbing. Bathtubs have pre-existing holes drilled for the drain and water supply. To properly plumb your bathroom, you’ll need to make sure the rough-in plumbing aligns with the holes.
Here are some ways in which your rough-in dimensions will differ depending on the type of tub you install.
In a tub-shower combo, you’ll also have to rough-in the showerhead and shower valve.
Shower water supply: The shower supply (the location where you install your showerhead) should be about 80 inches above the floor. Since the showerhead will hang down, you may want to place it slightly higher or slightly lower, depending on your preference.
Shower valve: The shower valve has no specific height. Since this is the location of your shower handle, you should place it at a height comfortable to reach while standing in the shower or sitting in the tub. Most installers place the valve 6 to 11 inches above the bathtub faucet.
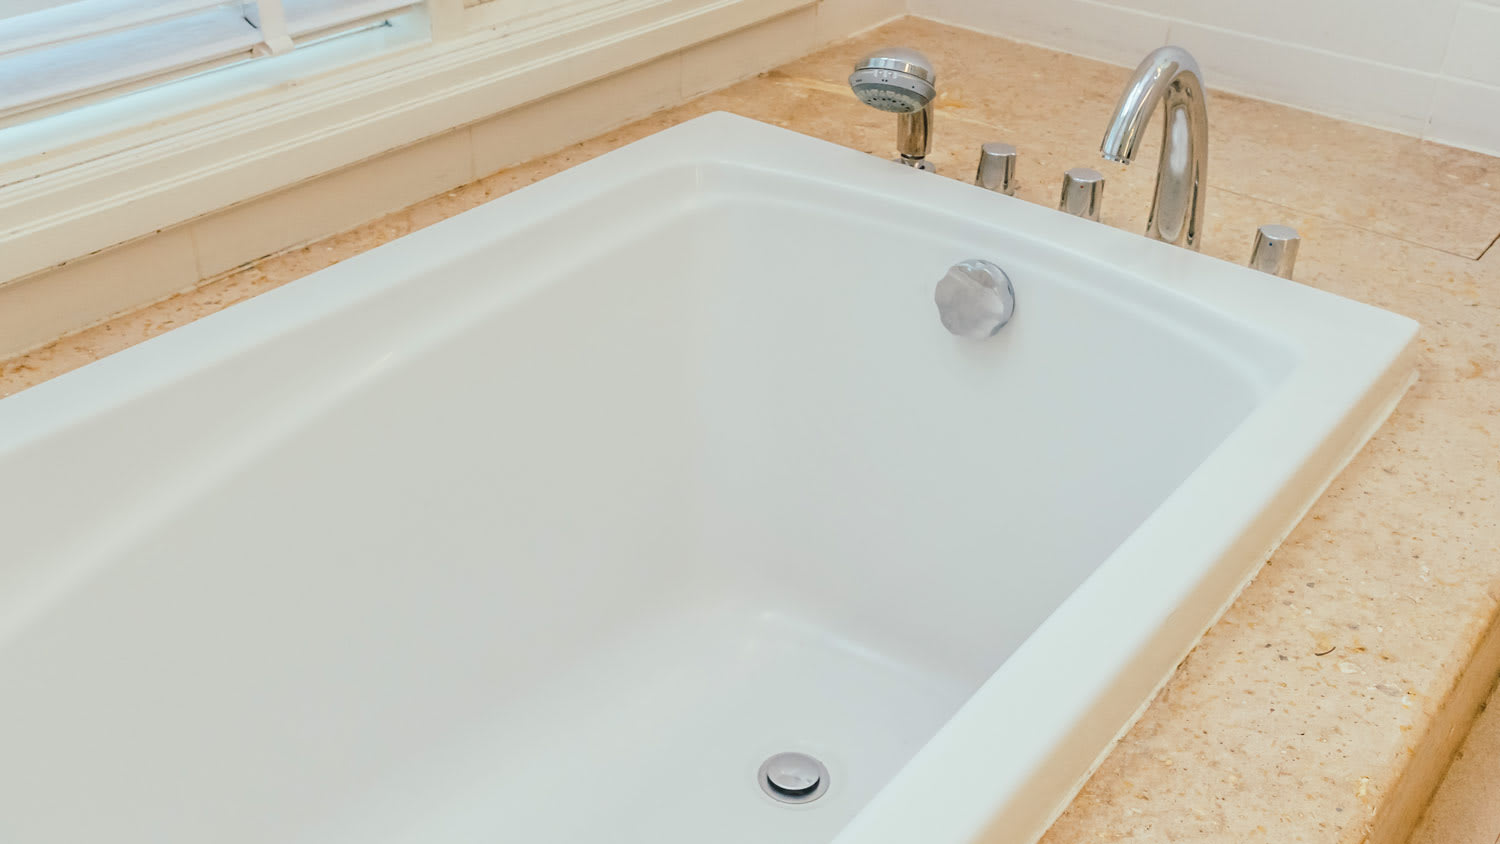
Built-in bathtubs, including alcove and drop-in tubs, are the standard in most homes. Make sure the tub’s hot and cold water supply lines are 4 inches to the left and right of the centerline. They need to line up with the faucet. In most cases, the faucet for an alcove tub is mounted on the back wall.
Freestanding bathtubs often have visible plumbing, so you’ll need to place your lines exactly as outlined in the manufacturer’s instructions. These tubs have holes to mount the faucet at the center of one of the side tub walls and a drain in the center of the tub, so keep that in mind when spacing out your rough-ins.
Jetted tubs have additional water lines and electricity. You’ll need to carefully plumb them according to the manufacturer’s instructions.
Unlike a standard bathtub, the drain in a clawfoot tub is raised off the floor, and you will have visible piping below. Since each clawfoot tub has a different design, which will change the necessary rough-in plumbing. Refer to the manufacturer’s instructions for more information about your specific tub.
To get the right bathroom rough-in dimensions, you’ll need to measure each dimension separately using a tape measure or laser distance measurer. You can also check your local building code and the specifications in the manufacturer’s instructions for your tub. Here’s how to measure the rough-in dimensions:
Find the centerline of your bathtub: The centerline is an imaginary vertical line that runs through the center of your bathtub. It theoretically splits your tub in half and is the line at which you’ll install your plumbing. Measure the width of your tub and mark the centerline or the exact middle.
Measure the tub water supply height: Measure the height of your tub and add 4 inches. This is how high you’ll place the water supply (your tub faucet) from the floor, aligned with the centerline of your tub.
Measure the hot and cold lines: Measure 4 inches to the left and the right of the water supply line. This is where you’ll place the hot and cold water supply lines and tub handles.
Measure the drain distance from the back wall: There should be a piece of wood framing to mark the start of the wall. Measure 10 to 14 inches from the end of the wood framing to the inside of your tub on the centerline. This is where you’ll put the drain, flush with the floor.
Remember that every bathtub will have different specifications. Depending on where the holes are already drilled, you may need to place the drain line further from the wall or the faucet lower or higher. If you’re installing a tub-shower combo, you’ll also need to rough-in the showerhead and shower valve.
When in doubt, always hire a plumber to measure the rough-in dimensions and install your bathtub. A leak or DIY gone wrong could lead to costly repairs.
Simple plumbing DIYs like unclogging a drain are perfect for homeowners, but taking on a major plumbing project has risks. An incorrect installation could lead to leaks and extensive damage to your home. With your safety and wallet in mind, consider hiring a licensed plumber to take on complex jobs.

Rough-in dimensions are complicated, so always hire a plumber who professionally replaces bathtubs to get the correct dimensions. It’s not easy for your average DIYer, especially because a number of different factors will influence the measurements:
The local building code dictates your bathroom layout, outlines the proper amount of clearance needed around each fixture, and allows you to use your bathroom safely and comfortably. Your plumbing pro will be experienced and knowledgeable about local codes and how they will impact your project.
If you’re installing a tub using universal bathroom design principles, you may want to follow ADA guidelines. These guidelines have strict requirements for rough-in heights so people who use wheelchairs can reach the fixtures. For example, the shower controls and spray unit must be mounted no higher than 48 inches and no lower than 38 inches from the shower floor.
It’s not just the type of tub or the model that makes a difference. The rough-in dimensions will also change with the size of the tub. A soaking tub with deeper walls may have a taller tub water supply rough-in. Most tubs will have a spot for the drain, and the location can vary by a couple of inches. However, a freestanding bathtub might require plumbing adjustments for an unconventional drain location, such as in the middle of the bathroom.
Before you install your bathtub, you’ll need to have the correct rough-in dimensions. If you find things aren’t quite lining up, what to do depends on the specific component. Certain measurements, like the height of a wall-mounted tub faucet or showerhead, don’t need to be exact. You may be able to install them a little higher or lower than intended.
Some incorrect measurements, like being off from the centerline or installing water lines that don’t align with the predrilled holes in your tub, can cause big issues. In this case, you’ll need to start the installation over with the correct measurements. It’s a good practice to hire a local bathtub installer from the start, since rough-ins are much more complicated than run-of-the-mill DIY projects.
Jason has helped me with multiple household projects, with the most recent being new door installation. He has always showed up on time and organized and has done an incredible job! Jason is very professional and he's now my go-to for anything around my house that needs to be fixed or...
Cole has been handling plumbing and general contracting for our four properties over the past three years, and he’s always done a great job. Most recently, he installed a sink and countertop in our retail store where none existed before, and it turned out exactly how we needed. He’s...
 ANB Renovations LLC
1st Choice Renew is simply the best! We hired them for a complete home renovation, and they transformed our space into something truly amazing. The team attention to detail and commitment to quality were evident throughout the project. They were easy to work with, very responsive, and always...
This company went above and beyond with their work, chimney sweeps are usually pretty messy, but the clean up was spot on.!! Josh explained every thing that he was doing, and the things that he was checking to make sure the chimney was safe for me and my family. He was very professional,...
 Supreme brick & chimney
Custom Paint Jobs LLC turned our outdated bathroom into a modern masterpiece.
Excellent customer service and knowledge. I was recommend to him from my neighbour. My front door and window came in great and were installed beautifully perfectly, I m very satisfied with their excellent work, so decided to order one more big bow window for my living room. I cant wait for...
If I could give 10 stars for Kitchen Tune Up, I would. I cannot say enough good things about my experience with Kitchen Tune Up and the entire team involved in the process of my kitchen project. They went above and beyond as far as service and quality with my cabinets, paint, countertops, and...
It was wonderful working with Yordy and his team. They were very professional and are experts in what they do. They have completed the work on time, with better quality and with in fairly reasonable price. We just started with backsplash work , but liking his work, we went on to provide...
We were having 2”x 2” tile installed . There was a small installation error and the new additional replacement tile was from a different lot and the colors didn’t match. Joe assured us that he would rectify everything , which he did without hesitation. We decided to go with the 18” x 36” tile...
 CarifaTile
They work that 360 did on my kitchen cabinets is nothing short of amazing. I still cannot believe the difference from before and after. Jon and Jeff were both so incredibly professional throughout the whole process and their communications with me were constant and consistent. These guys...
 360 Painting Columbus
From average costs to expert advice, get all the answers you need to get your job done.
Looking to estimate the cost of rough-in plumbing for your new home? We’ve got you covered with a guide that covers the different cost factors for this type of job.
The cost of installing a bathtub or a shower liner depends on the type of tub or shower, size, and features. This guide will show what you can expect to pay for your project.

An updated bathtub can give a bathroom a whole new look. Find out how much it costs to replace a bathtub, including prices by type and labor costs.
Before purchasing and installing a new toilet, you need to know the toilet rough-in measurement to ensure proper integration. Here’s how to get it done.

Get immersed in the most popular types of bathtubs, from alcove to freestanding to walk-in. Learn about features and get tips for choosing the perfect bathtub.
Tub drain sizes are standardized, but they can vary in certain circumstances. This guide will discuss the most common sizes and how to measure your tub.