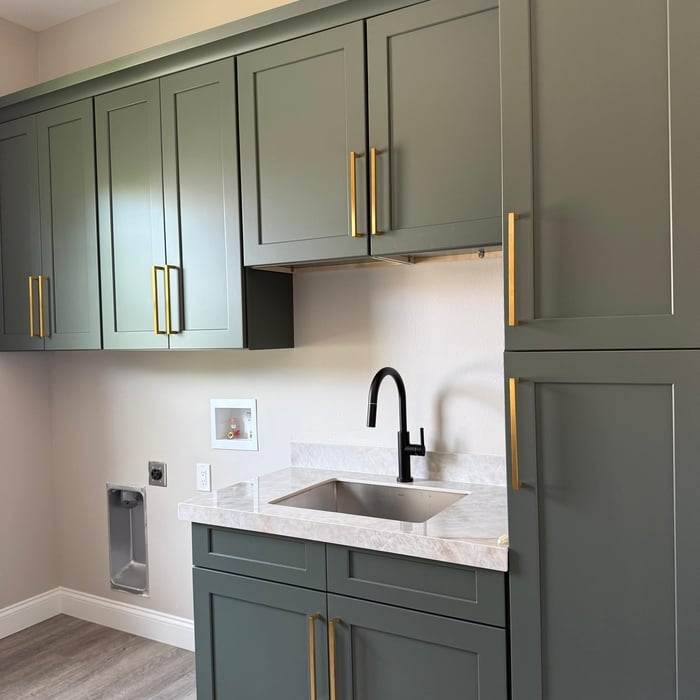






Top-rated backsplash installation pros.

Get matched with top backsplash installation pros in Pearson, GA

Enter your zip and get matched with up to 5 pros

Need a pro for your backsplash installation project in Pearson, GA?

Select your specific project to find the pro for you.

Find Backsplash installation pros in Pearson

JohnCo general contracting
5.0(
5
)
Tile: Natural Stone (Granite, Marble, Slate, Quartz, etc) - InstallTile: Natural Stone (Granite, Marble, Slate, Quartz, etc) - Install - For Business

Serving Pearson, GA and surrounding areas

In business since 2020

Free estimates

Credit card accepted

"JohnCo showed up promptly every day. They were very respectful, kept the areas clean and picked up when they were done for the day. The work was great and finished in a timely manner. I would definitely hire again."
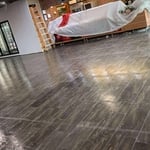
Kitchen remodeling finished product
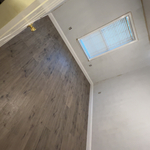
Additional Photos
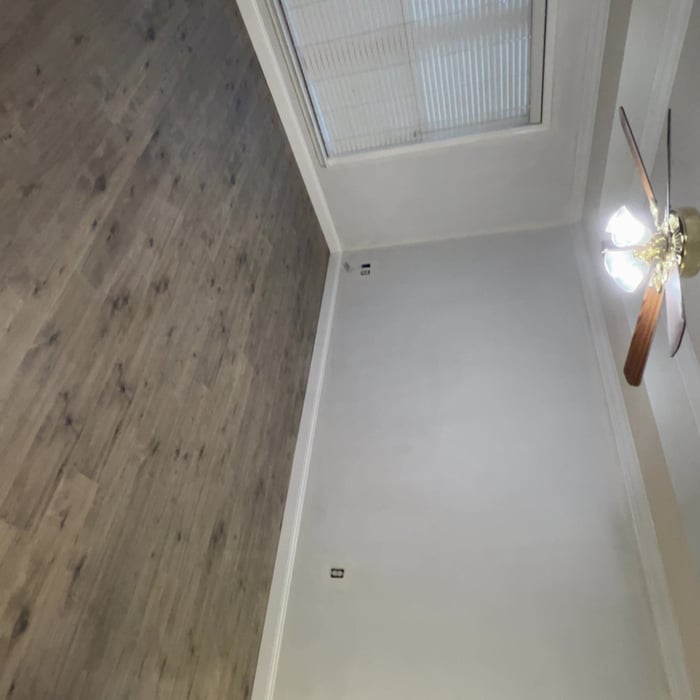
Additional Photos
Additional Photos
Additional Photos

+7

Recommended by100%of homeowners
Penafiel Quality Service
5.0(
2
)
Tile: Ceramic and Porcelain - InstallTile: Natural Stone (Granite, Marble, Slate, Quartz, etc) - Install

Serving Pearson, GA and surrounding areas

In business since 1998

Free estimates

Penafiel Quality Service is locally owned and operated. With over 19 years of experience, Penafiel Quality Service can take care of all of your remodeling projects. No project is too big or small. Customer satisfaction is our goal on each and every project

Response time2 days
Recommended by100%of homeowners
...
Showing 1-10 of 73
Backsplash Installation questions, answered by experts

Yes, it’s possible to cut tile without a wet saw; instead, you can use an angle grinder, a glass cutter, a snap cutter, tile nippers, or a rotary tool with a tile-cutting blade. A manual tile cutter or snap cutter works well for the larger tiles that wet saws are typically used for, while smaller projects might just require nippers or a glass cutting wheel. If you’re working with large quantities of tile, however, power tools are best.

Yes, it would be best if you waterproofed your shower walls before tiling. The cement backing board behind the tile is not waterproof; it’s only water-resistant. On top of your tile backing board, be sure to use a waterproof shower membrane before you start installing your shower tiles.

The process takes two to four days, depending on the size of the area and your experience level. The first day involves assessing and prepping the existing tile, while the second day is for laying the new tile. This may take longer in complex areas. After letting the adhesive dry for 24 hours, grouting and sealing can be completed on day three. For larger projects or intricate tile patterns, expect the timeline to stretch a bit longer. Also, proper drying time between steps is essential for long-lasting results, which extends the project’s time.

To make a bathroom look bigger, choose light-colored, medium- to large-format tiles. Light colors such as white, cream, or light gray make a space feel more open, while dark colors, busy patterns, and small tiles can make a bathroom feel smaller. It may seem counterintuitive, but small tiles can shrink a room visually due to the increased number of grout lines. Using medium- to large-format tiles creates a more seamless look. For the best effect, pair your light-colored tiles with a matching or similarly colored grout. This minimizes the grid-like pattern and gives the floor and walls a more continuous, uninterrupted appearance, helping the room feel significantly larger.

Glass, ceramic, porcelain, and natural stone are all excellent choices for tiling a shower floor. Some glazed finishes can be slippery when wet. Your tiling contractor can provide more information on which tiles will work best for your shower floor.

The Pearson, GA homeowners’ guide to backsplash installation services

From average costs to expert advice, get all the answers you need to get your job done.